
There’s something undeniably magical about desserts that require no baking, isn’t there? Among them, my Easy No Bake Chocolate Cheesecake stands out as a true showstopper. This luscious treat, filled with semi-sweet chocolate and creamy goodness, takes minimal effort while delivering maximum satisfaction. Trust me, whether you’re hosting a gathering or treating yourself to a cozy night in, the convenience of this quick preparation will have you smiling from ear to ear. With the added perk of customizable toppings, you can personalize each slice to your heart’s content. So, are you ready to discover just how easy it is to create this delightful chocolate masterpiece?
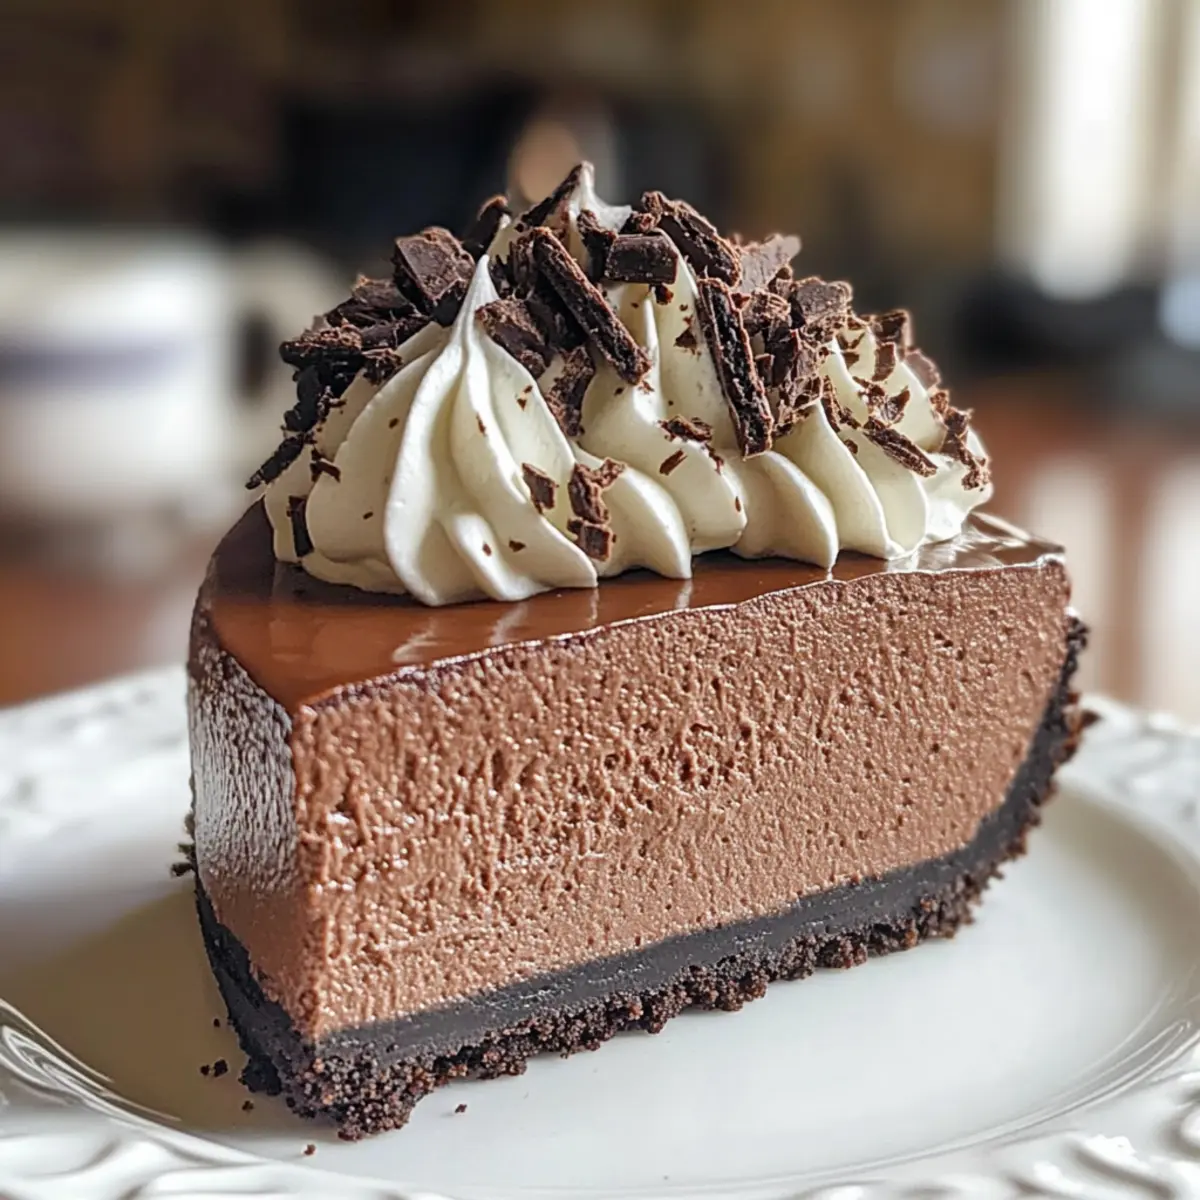
Why is No Bake Chocolate Cheesecake a Favorite?
Convenience, you’ll whip it up in no time! This dessert requires no baking, making it a fantastic choice for busy weeknights or spontaneous gatherings. Indulgent Texture: The combination of silky cream cheese and rich chocolate creates a melt-in-your-mouth experience. Customizable Toppings: From fresh berries to whipped cream, make each slice uniquely yours! Consider serving it alongside my Chocolate Raspberry Cheesecake for an enticing dessert spread. Crowd-Pleaser: It’s hard to resist; this cheesecake will impress guests and family alike!
Easy No Bake Chocolate Cheesecake Ingredients
For the Crust
• Oreo Cookies – The perfect crunchy base for our cheesecake; feel free to swap with any chocolate cookie or graham cracker crust for a twist.
• Butter – Adds richness and binds the crust together; for a vegan option, substitute with dairy-free butter.
For the Filling
• Cream Cheese – Provides the creamy texture essential for a no bake chocolate cheesecake; don’t forget to soften it for smooth mixing!
• Semi-Sweet Chocolate – Delivers that deep, decadent chocolate flavor; consider using dark or milk chocolate based on your preference.
• Powdered Sugar – Sweetens the filling without grittiness; granulated sugar can be used if blended first for a finer texture.
• Cocoa Powder – Intensifies the chocolate flavor; if you prefer a milder taste, you can omit this ingredient.
• Heavy Cream – Whipped to give a light, airy texture to the filling; coconut cream is a great dairy-free substitute if you need one.
• Vanilla Extract – Adds a warm, sweet note; almond extract can be used if you’re looking for a different flavor profile.
Optional Toppings
• Fresh Berries – Add a burst of freshness and color to your cheesecake.
• Chocolate Shavings – For an extra touch of elegance and rich flavor.
• Whipped Cream – A classic complement that makes every slice feel indulgent.
Each ingredient in this Easy No Bake Chocolate Cheesecake plays a vital role in making it the luscious dessert it is, perfect for any occasion!
Step‑by‑Step Instructions for Easy No Bake Chocolate Cheesecake
Step 1: Prepare the Crust
Start by preheating your oven to 350°F if you wish to toast the crust lightly, though it’s not necessary for this no bake recipe. Crush the Oreo cookies in a food processor until you have fine crumbs. In a mixing bowl, combine the crumbs with melted butter until well mixed, resembling wet sand. Press this mixture firmly into the bottom of a springform pan to form a solid crust. Set aside.
Step 2: Make the Filling
In a mixing bowl, use an electric mixer to beat the softened cream cheese and powdered sugar on medium speed until smooth and creamy, about 2-3 minutes. Add the melted semi-sweet chocolate, cocoa powder, and vanilla extract, ensuring everything is well incorporated for a luscious filling. Scrape down the sides of the bowl to combine fully, creating a rich chocolate mixture.
Step 3: Whip the Cream
In a separate clean bowl, whip the heavy cream with an electric mixer on high speed until stiff peaks form, which should take about 3-4 minutes. Be careful not to overwhip, as you want it to hold its shape without becoming grainy. Once whipped, gently fold this cream into the chocolate mixture using a spatula, ensuring to keep the texture airy and light.
Step 4: Combine and Chill
Spread the delicious chocolate filling evenly over the prepared crust in the springform pan, smoothing the top with a spatula. Cover the pan with plastic wrap and place it in the refrigerator. Allow the Easy No Bake Chocolate Cheesecake to chill for at least 4 hours, or until firm and set, allowing the flavors to meld beautifully.
Step 5: Serve
After chilling, carefully remove the cheesecake from the springform pan and slice it into wedges. Serve with your choice of toppings, such as fresh berries, chocolate shavings, or a dollop of whipped cream for an extra indulgent touch. Enjoy the rich, creamy delight of your homemade cheesecake with loved ones or as a well-deserved treat for yourself!
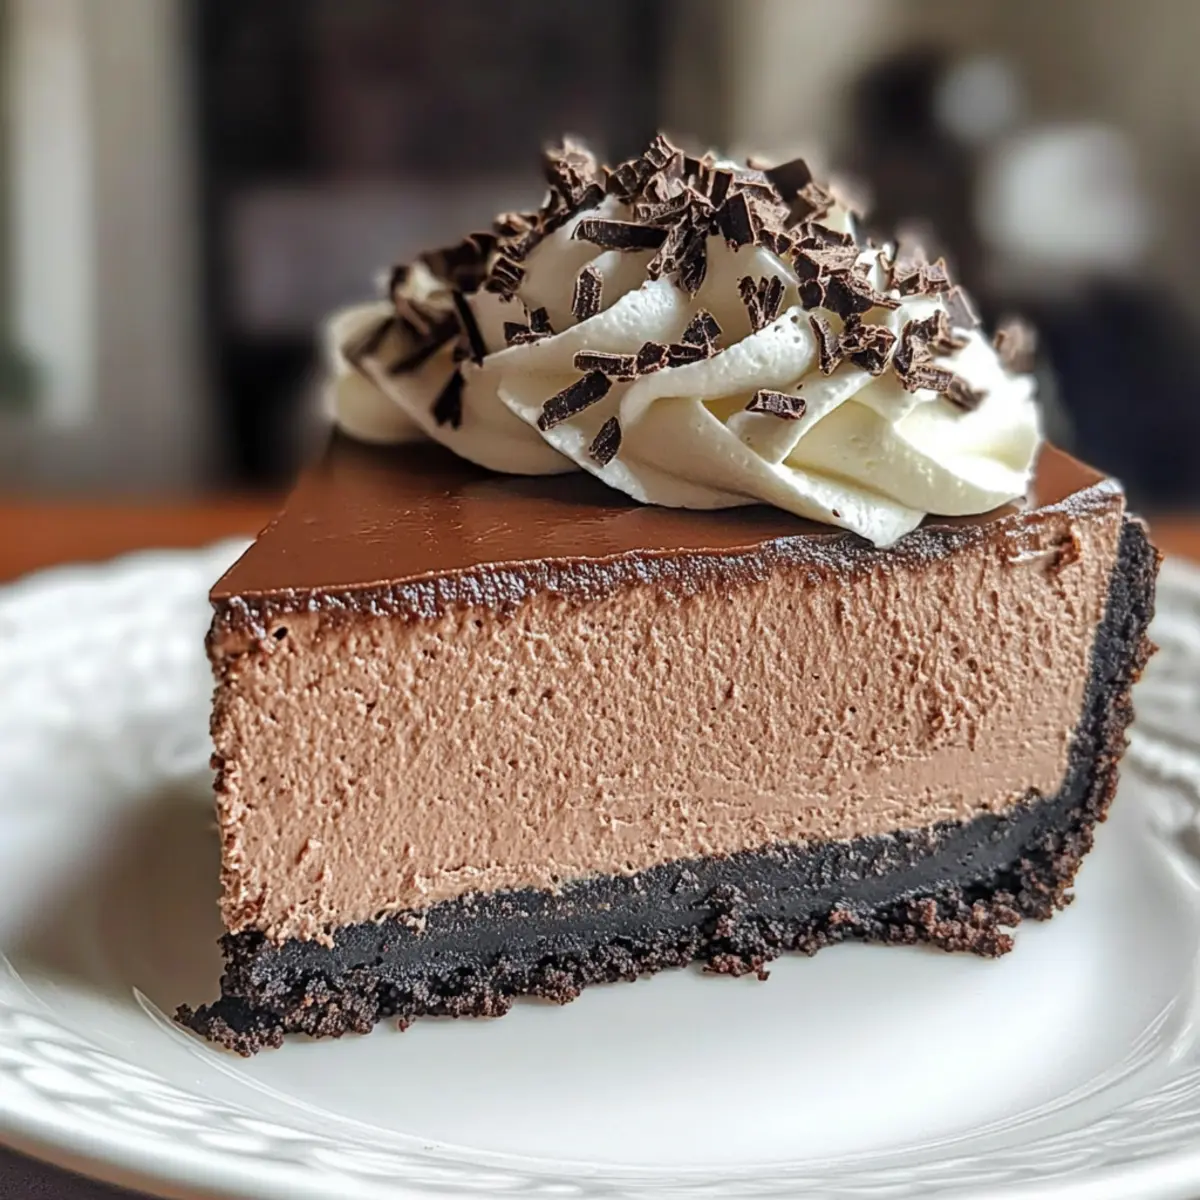
Easy No Bake Chocolate Cheesecake Variations
Feel free to get creative with your Easy No Bake Chocolate Cheesecake and make it uniquely yours!
-
Dairy-Free: Swap cream cheese with vegan cream cheese and use coconut cream instead of heavy cream for a dairy-free delight.
-
Flavor Infusion: Add a splash of espresso or coffee to the filling for a delightful mocha twist that enhances the chocolate flavor.
-
Minty Freshness: Incorporate peppermint extract into the filling for a cool, refreshing flavor reminiscent of mint chocolate treats!
-
Nutty Crunch: Fold in crushed nuts like walnuts or hazelnuts for added texture and a lovely nutty flavor contrast against the creamy cheesecake.
-
Fruit Explosion: Top your cheesecake with fresh strawberries or raspberries to bring a fruity note and a beautiful pop of color to your presentation.
-
Decadent Drizzle: Drizzle homemade chocolate sauce over slices just before serving for an extra touch of indulgence—try pairing it with my Raspberry Chocolate Lasagna for an amazing dessert combo!
-
Spiced Up: Stir in a pinch of cinnamon or nutmeg within the filling for a warm, spicy kick that will surprise and delight your taste buds.
-
Choco-Lover’s Treat: Use a mix of dark and semi-sweet chocolate for a deeper, richer chocolate experience that any chocolate lover will adore.
Play with these ideas to create your perfect cheesecake masterpiece!
Expert Tips for Easy No Bake Chocolate Cheesecake
- Chocolate Temperature: Ensure your melted chocolate is cooled slightly; adding hot chocolate can melt the cream cheese and ruin the texture.
- Whip Wisely: When whipping the cream, stop as soon as stiff peaks form. Overmixing can result in a grainy texture in your Easy No Bake Chocolate Cheesecake.
- Chill Thoroughly: Patience is key! Chill the cheesecake for at least 4 hours or longer to ensure it sets properly before serving.
- Smooth Finish: Use a spatula to smoothly spread the filling over the crust. This step helps create a beautiful presentation for your cheesecake.
- Custom Toppings: Get creative! Add toppings like berries or chocolate shavings just before serving for a beautiful, fresh look.
- Storage Savvy: Store leftover cheesecake in an airtight container in the fridge for up to 5 days, but it’s so good, you might not have any left!
What to Serve with Easy No Bake Chocolate Cheesecake
Indulge your senses and elevate your dessert experience with delightful pairings that complement the rich flavors of this creamy cheesecake.
-
Fresh Berries: The bright, tart flavor of strawberries or raspberries cuts through the sweetness, adding a refreshing contrast.
-
Chocolate Sauce: Drizzling warm chocolate sauce over the cheesecake adds a decadent touch, enhancing its rich chocolatey goodness.
-
Whipped Cream: A dollop of light, airy whipped cream creates a perfect texture balance, making each bite more indulgent and creamy.
-
Coffee or Espresso: A cup of bold coffee or espresso complements the chocolate beautifully, creating a soothing balance of flavors.
-
Mint Sprigs: Garnishing with fresh mint not only adds a pop of color but also a refreshing aroma, uplifting the rich dessert experience.
-
Ice Cream: Pair your cheesecake with a scoop of vanilla or coffee ice cream for an extra indulgent treat that melts in your mouth.
-
Nutty Caramel Drizzle: A drizzle of nutty caramel sauce adds a luxurious sweetness, pairing perfectly with the dark chocolate base of the cheesecake.
-
Chocolate Shavings: Sprinkle chocolate shavings on top for added texture and a rich chocolate kick that every chocolate lover will appreciate.
Make Ahead Options
These Easy No Bake Chocolate Cheesecake options are perfect for busy cooks looking to save time during the week! You can prepare the crust and filling up to 24 hours in advance. To do this, crush the Oreo cookies and mix with melted butter for the crust, pressing it into a springform pan, and leave it in the refrigerator. For the filling, prepare the creamy mixture, but avoid folding in the whipped cream until just before serving to maintain its airy texture. When you’re ready to indulge, simply fold the whipped cream into the filling, spread it over the chilled crust, and let it set for an additional hour if desired. This ensures your cheesecake remains just as delicious as the day you made it!
How to Store and Freeze Easy No Bake Chocolate Cheesecake
- Fridge: Store your cheesecake in an airtight container in the refrigerator for up to 5 days to maintain its creamy texture and rich flavor.
- Freezer: For longer storage, wrap slices tightly in plastic wrap and freeze for up to 2 months. Thaw in the fridge overnight before serving.
- Reheating: While this cheesecake is best served chilled, if you prefer it slightly softened, leave it at room temperature for about 30 minutes before enjoying.
- Topping Storage: Keep any toppings separate until serving to maintain their freshness and prevent sogginess, especially with fruits.
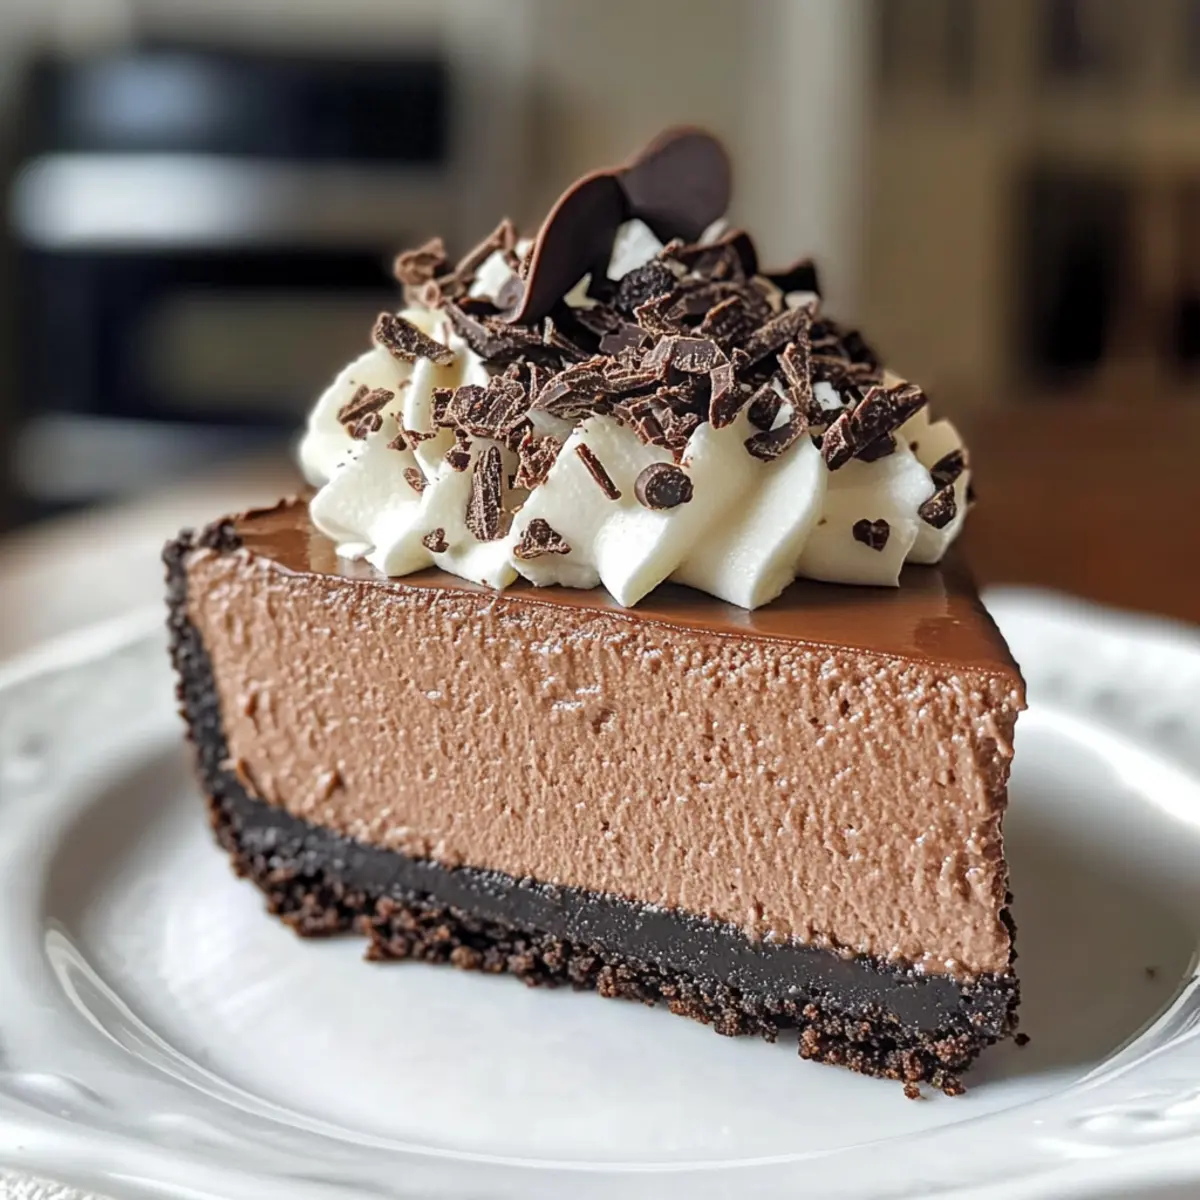
Easy No Bake Chocolate Cheesecake Recipe FAQs
How do I choose ripe ingredients for this cheesecake?
Absolutely! For the best results, make sure you select fresh, high-quality ingredients. Use cream cheese that is soft and spreadable for easy mixing, and opt for semi-sweet chocolate with a smooth texture, as it enhances the cheesecake’s flavor. If you use fresh berries as toppings, pick ones that are firm and vibrant in color, with no dark spots or signs of overripeness.
How should I store my Easy No Bake Chocolate Cheesecake?
Very simple! Store your cheesecake in an airtight container in the refrigerator for up to 5 days. If you find yourself with leftovers, which is rare because it’s so delicious, ensure it’s well-wrapped to prevent any unwanted odors or flavors from seeping in. Enjoy it chilled directly from the fridge for the best taste and texture!
Can I freeze my cheesecake? What’s the best method?
Absolutely! To freeze your Easy No Bake Chocolate Cheesecake, wrap each slice tightly in plastic wrap, ensuring there are no gaps. Place the wrapped slices in a named freezer bag or an airtight container labeled with the date. It will keep well for up to 2 months. When you’re ready to enjoy, thaw the slices in the refrigerator overnight for a delicious, creamy treat that’s just as good as fresh!
What if my cheesecake isn’t firm after chilling?
No worries! If your cheesecake seems too soft, it’s possible that it didn’t chill long enough or the whipped cream was overmixed. Ensure you allow it to chill for at least 4 hours to set. If it’s still not firm after chilling, consider adding a bit more whipped cream or using gelatin next time for added stability. You can gently rewhip that mixture and try chilling again!
Any dietary considerations for my cheesecake?
Of course! This recipe can easily be adapted for various dietary needs. For a dairy-free version, swap out cream cheese and heavy cream for dairy-free alternatives like coconut cream and nut-based cream cheese. Always double-check ingredient labels for any allergens, particularly regarding chocolate and cookies. If serving to guests, it’s nice to inform them of these modifications.
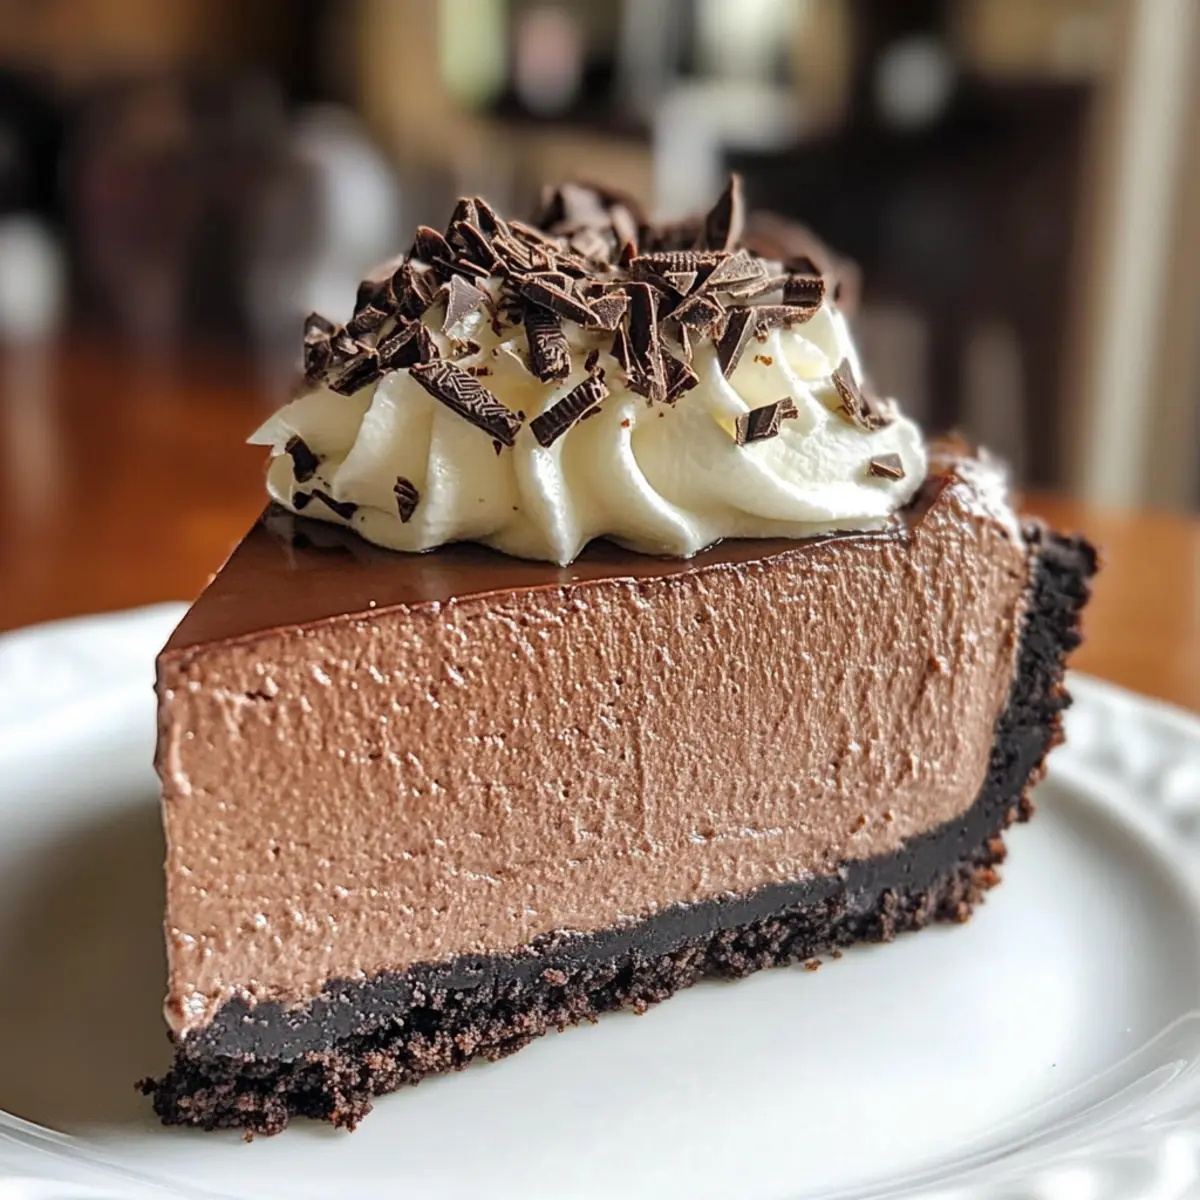
Easy No Bake Chocolate Cheesecake That Melts in Your Mouth
Ingredients
Equipment
Method
- Preheat oven to 350°F if toasting the crust lightly. Crush Oreo cookies in a food processor until fine crumbs.
- Combine crumbs with melted butter in a bowl until the mixture resembles wet sand. Press into the bottom of a springform pan to form a solid crust. Set aside.
- Beat softened cream cheese and powdered sugar with an electric mixer on medium speed until smooth and creamy, about 2-3 minutes.
- Add melted semi-sweet chocolate, cocoa powder, and vanilla extract. Mix well until a rich chocolate filling forms.
- In a separate bowl, whip heavy cream on high speed until stiff peaks form, about 3-4 minutes; fold into chocolate mixture gently.
- Spread the chocolate filling evenly over the crust and smooth the top. Cover with plastic wrap and refrigerate for at least 4 hours until set.
- Carefully remove from springform pan, slice into wedges, and serve with optional toppings like fresh berries or whipped cream.
Leave a Reply