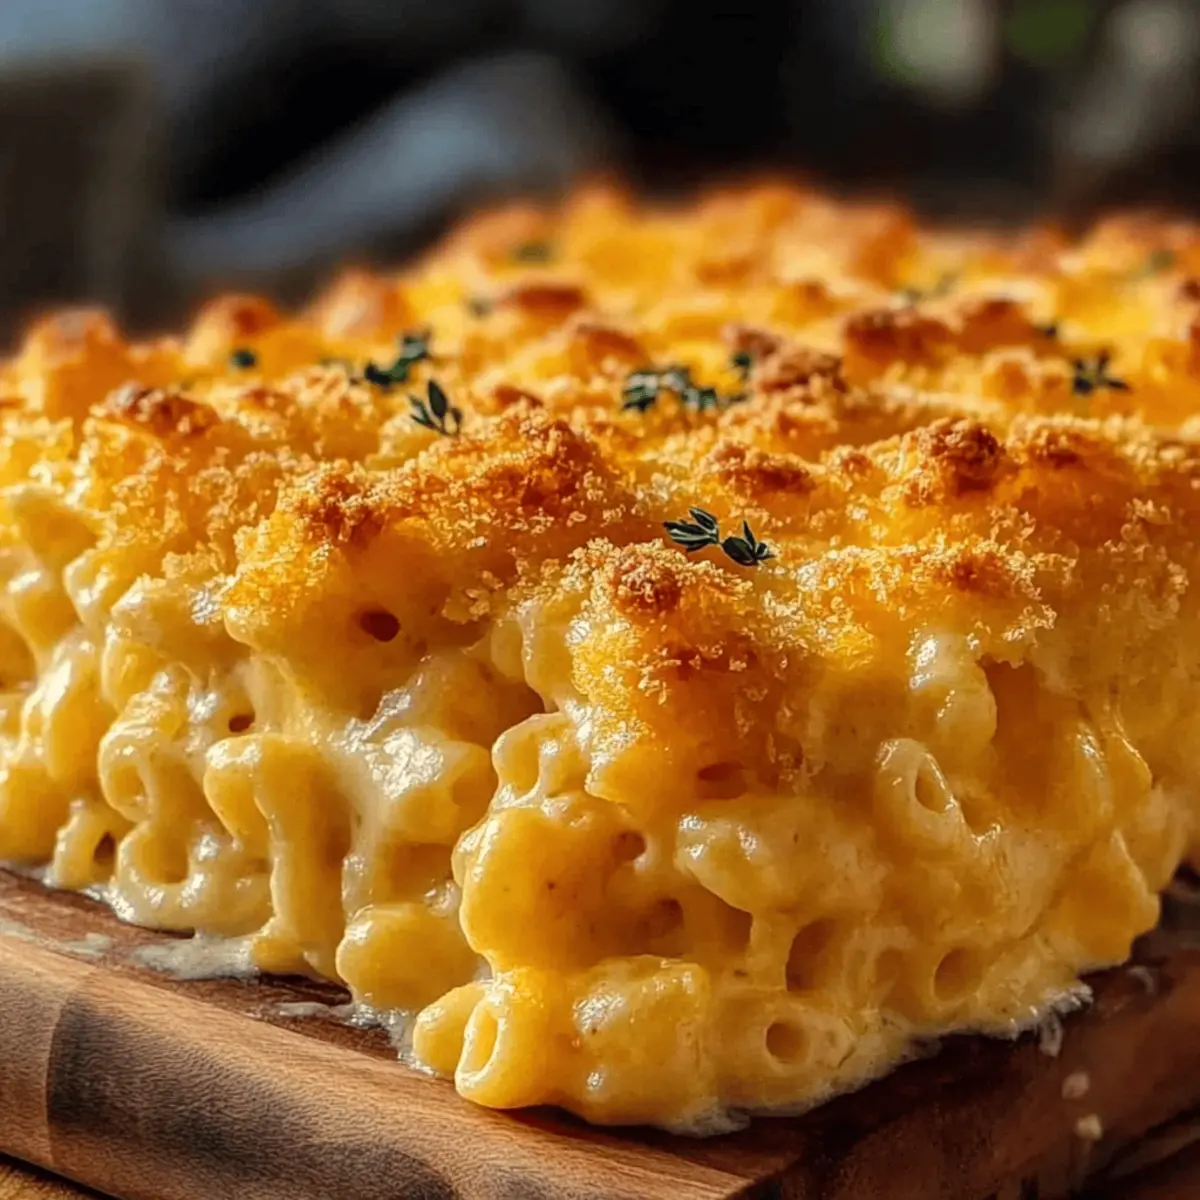
If you’ve ever found yourself daydreaming about the ultimate comfort food, let me tell you—it’s right here in a warm dish of baked mac and cheese. This creamy delight offers not just cheesy goodness but also the golden crunch of a perfectly baked topping that adds an addictive texture to every forkful. Whether it’s a cozy night in or a gathering with friends and family, this recipe for Baked Mac and Cheese is your ticket to bringing some joy to the table. What makes it even better? It’s incredibly quick to prepare, allowing you to spend less time in the kitchen and more time enjoying those precious moments with loved ones. Ready to dive into a bowl of creamy nostalgia? Let’s get cooking!
Why is this mac and cheese special?
Comfort: This baked mac and cheese is the epitome of comfort food, bringing warmth to chilly evenings or lively gatherings.
Creamy Flavor: Each bite bursts with rich cheesy goodness, ensuring every forkful feels like a warm hug.
Quick Preparation: With simple steps and common ingredients, you’ll have this delightful dish ready in under an hour, giving you more time to relax and enjoy your meal.
Crowd-Pleaser: Ideal for any occasion, it’s sure to impress family and friends—perfect alongside a crisp salad or even as a side at barbecues.
Make-Ahead: Plan ahead and save time! This dish tastes even better the next day, making it perfect for leftovers or meal prep. Don’t forget to try it next to a fresh Strawberry Sandwich Summer for a delightful meal combo!
Baked Mac and Cheese Ingredients
For the Pasta
• Elbow Macaroni – The base of this dish providing the perfect structure; feel free to substitute with any short pasta you love.
For the Cheese Sauce
• Shredded Sharp Cheddar Cheese – The hero cheese delivering flavor and creaminess; consider using medium cheddar or a cheese blend for added depth.
• Shredded Mozzarella Cheese – Brings that stretchy, gooey goodness; provolone works great as an alternative for a different twist.
• Grated Parmesan Cheese – Adds savory notes and enhances flavor; try Pecorino Romano if you’re after a bolder taste.
• Unsalted Butter – Key for creating the roux and adding rich flavor; you can use margarine in a pinch if needed.
• All-Purpose Flour – Thickens the cheese sauce beautifully; for a gluten-free option, opt for cornstarch or a gluten-free flour blend.
• Whole Milk – The creamy heart of your sauce; half-and-half can offer even richer flavor, or choose non-dairy milk for a lactose-free option.
• Salt – Essential for enhancing all the flavors in your dish; adjust according to your taste preference.
• Black Pepper – Adds a subtle heat; switch to white pepper for a more understated flavor.
• Paprika – Infuses a hint of smokiness and color; smoked paprika adds another layer of flavor.
For the Crunchy Topping
• Panko Breadcrumbs – These provide the ultimate crispiness on top; regular breadcrumbs can work but won’t give you that satisfying texture like panko does.
Each of these ingredients plays a vital role in creating the ultimate Baked Mac and Cheese experience that’s bound to leave you and your loved ones asking for seconds!
Step‑by‑Step Instructions for Baked Mac and Cheese
Step 1: Preheat the Oven
Begin by preheating your oven to 350°F (175°C). While it’s heating up, grab a 9×13-inch baking dish and generously grease it with butter or cooking spray. A properly greased dish will help prevent the baked mac and cheese from sticking, ensuring an easy serving when it’s time to enjoy this creamy delight.
Step 2: Cook the Pasta
In a large pot, bring salted water to a boil, then add the elbow macaroni. Cook according to the package instructions until al dente, usually around 7-8 minutes. Drain the pasta and give it a quick rinse under cold water to stop cooking further. This step is crucial for achieving the perfect texture in your baked mac and cheese.
Step 3: Make the Roux
In a large saucepan, melt 4 tablespoons of unsalted butter over medium heat. Once the butter is bubbling, whisk in 1/4 cup of all-purpose flour and cook for about 1-2 minutes until golden brown. This roux will serve as the base for your cheese sauce, thickening it beautifully and ensuring a satisfying creamy consistency throughout the baked mac and cheese.
Step 4: Prepare the Cheese Sauce
Gradually whisk in 3 cups of whole milk to the roux, cooking until the mixture thickens—about 5 minutes. Stir continuously to avoid lumps. Once thickened, season the sauce with salt, black pepper, and a dash of paprika for added flavor. You’ll know it’s ready when it coats the back of a spoon, creating a velvety base for your cheese.
Step 5: Add the Cheeses
Remove the saucepan from heat and add in 2 cups of shredded sharp cheddar, 1 cup of shredded mozzarella, and 1/2 cup of grated Parmesan cheese. Stir until all the cheese is melted and the sauce is smooth and creamy. This rich cheese sauce is what makes your baked mac and cheese truly indulgent and irresistibly delightful.
Step 6: Combine Pasta and Sauce
Carefully fold the cooked elbow macaroni into the cheese sauce until every piece is evenly coated. Pour the cheesy macaroni mixture into the greased baking dish, spreading it into an even layer. This step ensures each bite of your baked mac and cheese has that delightful cheese goodness that everyone loves.
Step 7: Add Topping and Bake
Sprinkle the remaining 1 cup of shredded cheddar cheese over the pasta, followed by a generous layer of panko breadcrumbs. The panko will give a beautiful crunch once baked. Place the baking dish in the oven and bake for 25-30 minutes. You’ll know it’s ready when the cheese is bubbly and the top is golden brown and crisp, creating the perfect contrast to the creamy interior.
Step 8: Cool and Serve
Once baked to perfection, remove the dish from the oven and let it cool for about 5-10 minutes. This brief resting period allows the flavors to settle, making your baked mac and cheese even more delightful when served. Scoop it onto plates and get ready to share the joy of this comforting dish with family and friends!
What to Serve with Ultimate Creamy Baked Mac and Cheese
Imagine the rich, gooey warmth of a cheesy dish complemented by fresh and vibrant sides that make for an unforgettable meal experience.
- Crisp Garden Salad: A fresh mix of greens and crunchy vegetables provides a perfect contrast to the creamy mac and cheese, brightening each bite.
- Garlic Bread: Crunchy, buttery garlic bread delivers a satisfying texture, plus it’s perfect for scooping up any leftover cheese sauce!
- Steamed Broccoli: Lightly steamed broccoli adds a refreshing touch, along with vibrant color, making every plate visually appealing.
- Roasted Brussels Sprouts: These caramelized little gems bring a delightful earthy flavor to your meal, balancing the cheesy richness beautifully.
- Sweet Corn on the Cob: Juicy, slightly sweet corn pairs wonderfully with the savory mac and cheese, adding a burst of freshness to the plate.
- Iced Tea: A refreshing glass of iced tea, with its crisp notes, offers a perfect palate cleanser between the rich bites of mac and cheese.
- Chocolate Chip Cookies: For a sweet end to your meal, warm and gooey cookies provide a nostalgic finish that will leave everyone smiling.
Baked Mac and Cheese Variations
Feel free to let your creativity shine by customizing this creamy indulgence in fun and delicious ways!
-
Meat Lover’s Version: Add crispy cooked bacon or diced ham to the pasta before baking for a savory twist. The added protein elevates the dish into a hearty main course that’s great for family dinners.
-
Veggie Boost: Toss in fresh spinach, steamed broccoli, or roasted cauliflower for a healthful upgrade. These vegetables not only enhance nutrition but also add vibrant color to each serving!
-
Spicy Kick: Mix in diced jalapeños or a splash of sriracha for some heat. This fiery addition transforms your classic mac into a bold dish that brings excitement to the table.
-
Herb Infusion: Stir in fresh herbs like thyme or basil before baking to introduce a refreshing flavor profile. These herbs elevate the comfort food appeal while also adding a delightful fragrance.
-
Cheesy Blend: Swap the cheddar for a blend of Gouda and Gruyère for a gourmet twist. These cheeses provide a rich, complex flavor that will tantalize your taste buds and impress guests.
-
Smoky Flavor: Use smoked paprika instead of regular for a deeper, more complex flavor. This small change makes a significant difference, giving your dish a rustic touch that’s simply exquisite!
-
Creamy Alternates: For added creaminess, mix in a dollop of cream cheese or sour cream. This enriches the sauce, making every bite even more luscious and satisfying.
Don’t forget to pair this delightful dish with a refreshing salad or serve it alongside our fun Christmas Tree Sandwiches for a delightful feast. Enjoy every cheesy bite!
Expert Tips for Baked Mac and Cheese
-
Pasta Perfection: Cook the elbow macaroni just until al dente. Overcooking can lead to mushy mac and cheese, as it will soften further while baking.
-
Smooth Sauce: If your cheese sauce starts to clump, whisk vigorously until smooth or use a fork to break it up. A creamy cheese sauce is essential for perfect baked mac and cheese!
-
Layer Wisely: For an extra crunchy topping, reserve some panko breadcrumbs to sprinkle on just a few minutes before baking. This can enhance the texture beautifully.
-
Resting Time: Allow the baked mac and cheese to cool for about 5-10 minutes before serving. This helps the flavors meld and makes it easier to serve perfectly formed portions.
-
Ingredient Swap: Feel free to mix in veggies like spinach or broccoli for added nutrition, but ensure they are cooked beforehand to maintain the dish’s creamy texture.
Make Ahead Options
Preparing your Baked Mac and Cheese ahead of time is a game-changer for busy weeknights! You can assemble the entire dish, cover it tightly, and refrigerate it for up to 24 hours before baking. To maintain the creamy texture, be sure to store it in an airtight container to prevent moisture loss. On baking day, simply preheat your oven and bake it straight from the fridge, adding an extra 5-10 minutes to the cooking time. If you’re looking to prep even further in advance, you can prepare the cheese sauce and cook the macaroni separately; refrigerate both for up to 3 days. When ready to serve, combine them and bake as directed for that classic, comforting goodness!
How to Store and Freeze Baked Mac and Cheese
Fridge: Store leftovers in an airtight container for up to 3 days. Make sure to let the baked mac and cheese cool completely before sealing to avoid condensation.
Freezer: Portion the dish into freezer-safe containers and freeze for up to 3 months. To reheat, let it thaw overnight in the fridge before baking to maintain its creamy texture.
Reheating: For best results, reheat in the oven at 350°F (175°C) for about 20 minutes until heated through, covering with foil to keep it moist. Alternatively, microwave in short intervals, stirring in between.
Don’t Forget: If you’re planning to freeze leftovers, skip the breadcrumbs on top until you’re ready to re-bake. This will ensure a fresh, crispy topping when you finally enjoy your Baked Mac and Cheese again!
Baked Mac and Cheese Recipe FAQs
How do I choose the best pasta for baked mac and cheese?
When selecting pasta, I recommend elbow macaroni for its perfect bite and shape. However, you can also use any short pasta like shells or fusilli. Just make sure to cook it to al dente as it will continue to cook while baking, preventing it from becoming mushy.
What’s the best way to store leftovers of baked mac and cheese?
Absolutely! Store your leftover baked mac and cheese in an airtight container in the refrigerator for up to 3 days. It’s best to let it cool completely before sealing the container to prevent excess moisture, which can make the dish soggy.
Can I freeze baked mac and cheese?
Yes, you can! To freeze, portion the mac and cheese into freezer-safe containers after it has cooled. It can be stored in the freezer for up to 3 months. I suggest omitting the breadcrumb topping before freezing to keep it crunchy. When ready to enjoy, let it thaw in the refrigerator overnight, then reheat it in the oven for the best texture.
What if my cheese sauce is clumpy?
No worries! If your cheese sauce becomes clumpy while cooking, just whisk vigorously to break up the clumps. If it’s still stubborn, use a fork to gently mash the lumps. The key is to keep the heat low and stir continuously while adding the cheese to ensure a smooth, creamy sauce.
Are there any dietary considerations for baked mac and cheese?
Definitely! If you’re cooking for someone with dietary restrictions, consider using gluten-free pasta and a lactose-free milk alternative to accommodate those with gluten or lactose intolerance. Always double-check the cheese labels as some cheeses may contain animal-derived ingredients.
How long should I let baked mac and cheese cool before serving?
After removing your baked mac and cheese from the oven, let it cool for about 5-10 minutes. This allows the flavors to meld together and makes serving easier. The cheesy goodness will set just a bit, resulting in perfect, sliceable portions!
Creamy Baked Mac and Cheese for Ultimate Comfort Food Bliss
Ingredients
Equipment
Method
- Preheat your oven to 350°F (175°C) and grease a 9x13-inch baking dish with butter or cooking spray.
- In a large pot, bring salted water to a boil, then add the elbow macaroni. Cook according to package instructions until al dente, about 7-8 minutes. Drain and rinse under cold water.
- In a large saucepan, melt 4 tablespoons of unsalted butter over medium heat. Whisk in 1/4 cup of all-purpose flour and cook for about 1-2 minutes until golden brown.
- Gradually whisk in 3 cups of whole milk to the roux, cooking until thickened, about 5 minutes. Stir continuously to avoid lumps and season with salt, black pepper, and paprika.
- Remove from heat and add 2 cups of shredded sharp cheddar, 1 cup of shredded mozzarella, and 1/2 cup of grated Parmesan. Stir until the cheese is melted and the sauce is smooth.
- Fold the cooked macaroni into the cheese sauce until evenly coated, then pour the mixture into the greased dish, spreading it into an even layer.
- Top with the remaining 1 cup of shredded cheddar cheese and sprinkle with panko breadcrumbs. Bake for 25-30 minutes until bubbly and golden brown.
- Let cool for 5-10 minutes before serving. Scoop onto plates and enjoy!
Leave a Reply