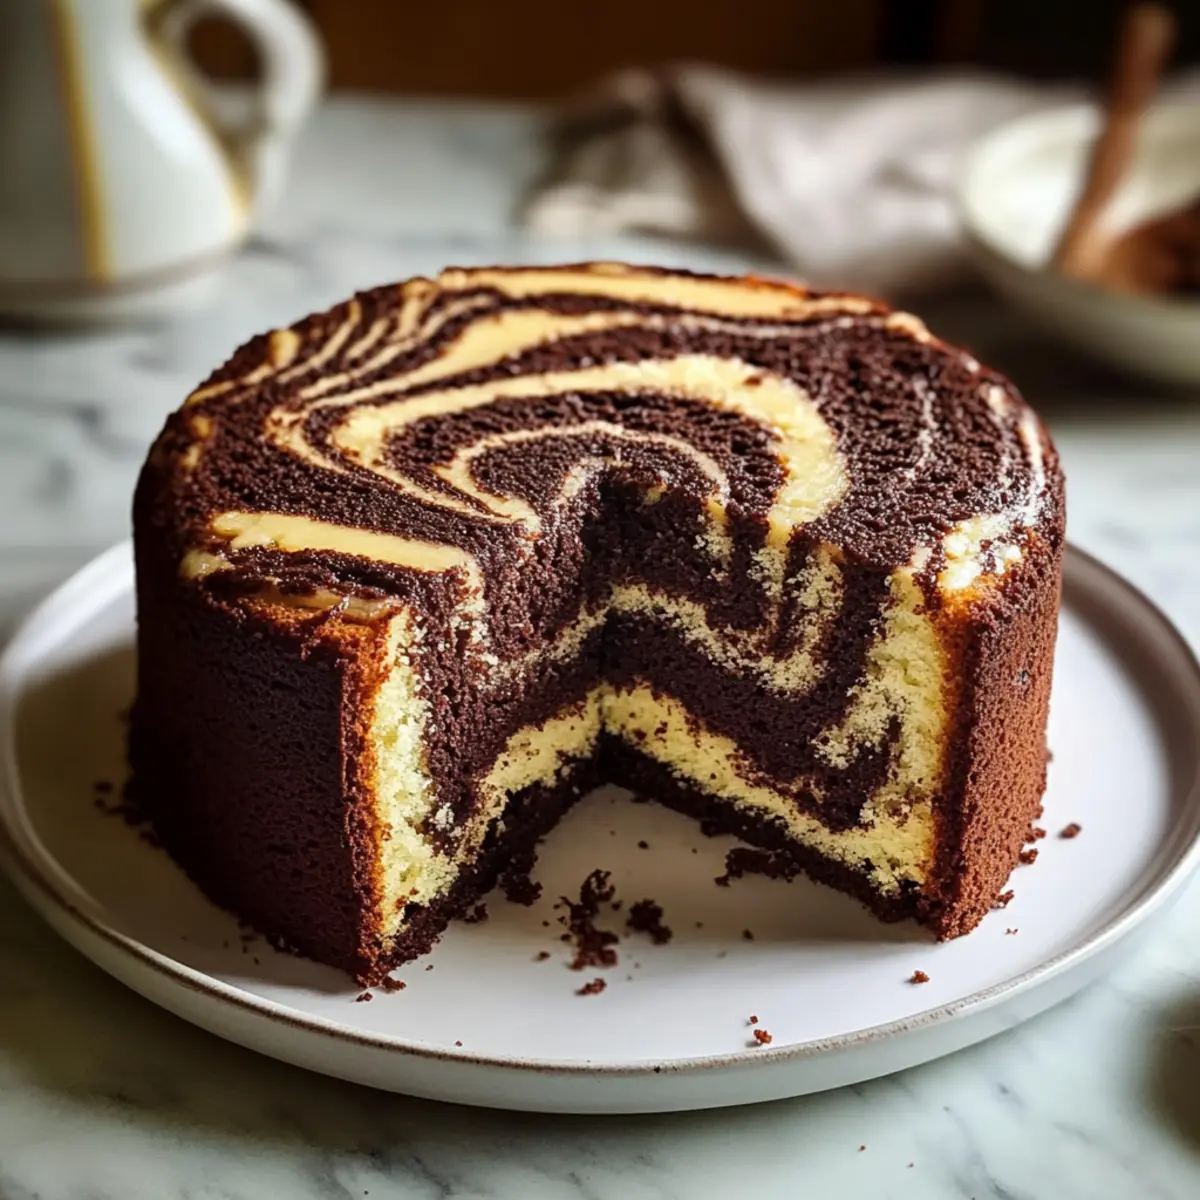
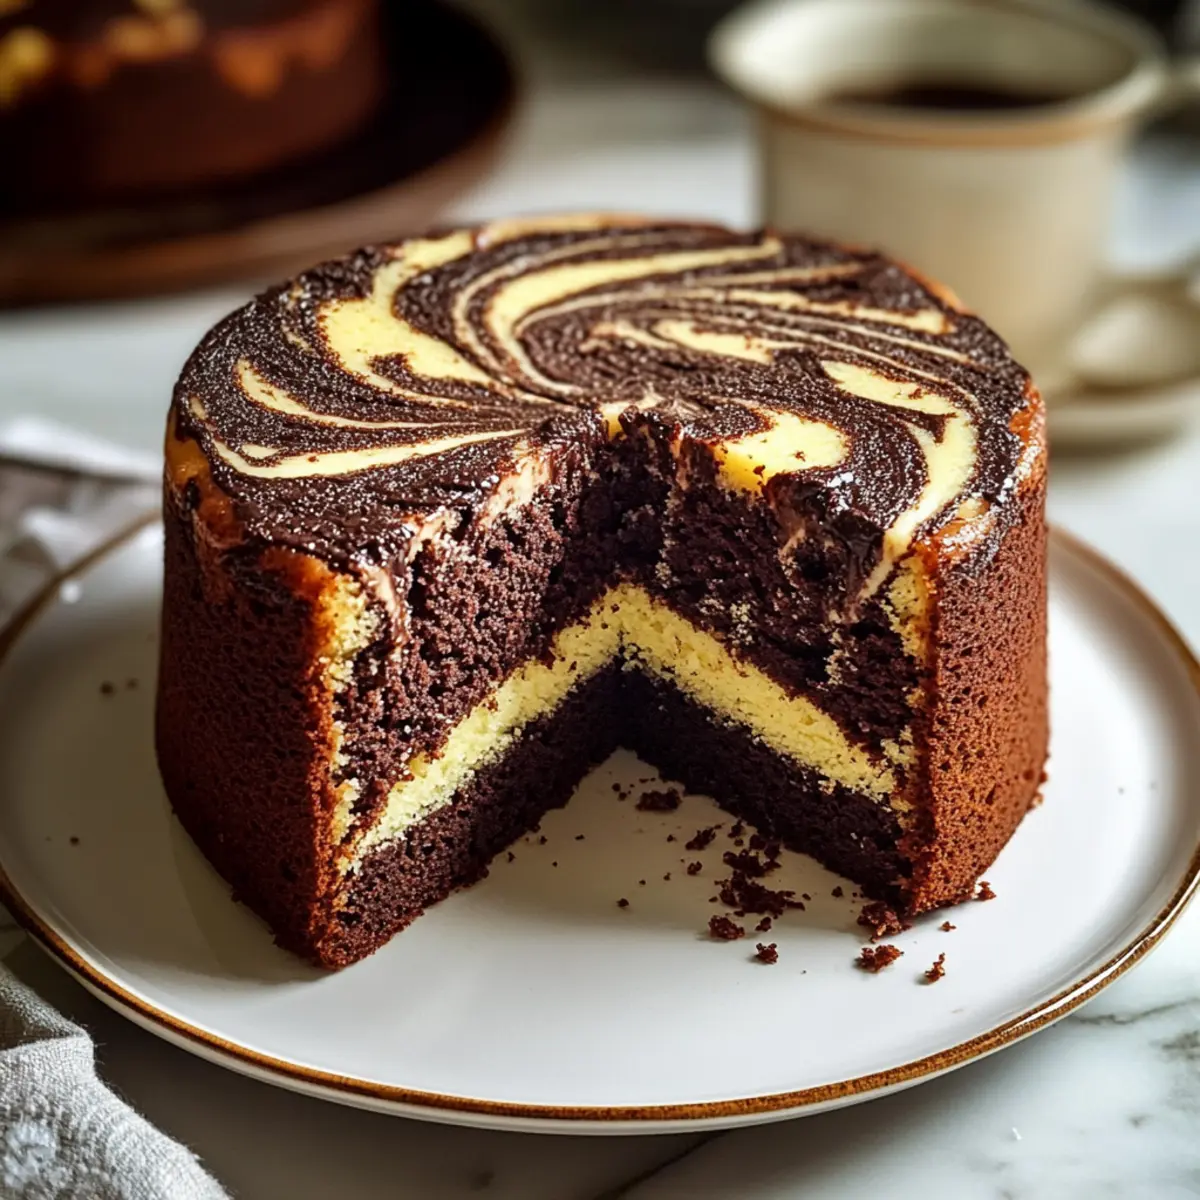
As I pulled the warm, fragrant Classic Marble Cake out of the oven, I marveled at its beautiful swirls of rich chocolate and soft vanilla. A true family favorite, this cake offers a delightful balance of flavors that’s both comforting and celebratory. What I love most about this Classic Marble Cake Recipe is its simplicity—perfect for new bakers eager to impress, yet sophisticated enough to wow seasoned chefs at any gathering. With minimal prep time and endless variations, from a Chocolate Chip Marble Cake to a zesty Citrus Marble Cake, it’s an incredibly versatile dessert that you can keep coming back to. Are you ready to create a stunning centerpiece for your next get-together? Let’s dive into the magic of marbling!
Why is Marble Cake So Irresistible?
Simplicity: This Classic Marble Cake recipe is a breeze to whip up, inviting both novice bakers and experts alike to create something extraordinary.
Visual Appeal: The stunning swirl pattern not only looks impressive but also combines delightful flavors of chocolate and vanilla that everyone loves.
Versatility: Want to switch things up? Experiment with variations like the Chocolate Chip Marble Cake or a fresh Citrus Marble Cake for a seasonal twist!
Perfect for Any Occasion: Whether it’s a cozy family dinner or a festive celebration, this cake suits every event, making it a perennial crowd-pleaser.
Make-Ahead Friendly: Bake it a day in advance for enhanced flavor—great for busy schedules! With storage options, enjoy this treat up to three days at room temperature.
With all these delightful features, you’ll wonder why you waited so long to try making this cake!
Classic Marble Cake Recipe Ingredients
For the Cake
- All-purpose flour – Provides structure to the cake; remember to use the spoon and level method to avoid overly packed flour.
- Granulated white sugar – Sweetens the batter and contributes to a light, tender crumb.
- Milk – Adds moisture; whole milk is preferred for richness, but 2% works fine too.
- Large eggs – Bind the ingredients and add moisture; using room temperature eggs helps mix them in better.
- Butter – Infuses rich flavor and provides a melt-in-your-mouth texture; ensure it’s softened, not melted.
- Baking powder – Acts as the leavening agent for lift; double-check for freshness before use.
- Pure vanilla extract – Enhances flavor; always opt for pure over imitation for the best taste.
- Salt – Balances sweetness and enhances flavors; don’t skip adding this key ingredient.
- Unsweetened cocoa powder (natural type) – Creates the chocolate batter essential for achieving the iconic marble effect.
Optional Add-Ins
- Mini chocolate chips – Add ½ cup to the vanilla batter for an extra chocolatey touch; a great way to elevate the Classic Marble Cake recipe!
- Zest (orange or lemon) – Incorporate 1 tablespoon for a refreshing fruity burst in the cake.
- Instant coffee – Mix a teaspoon into the chocolate batter for a delightful mocha variation.
- Almond extract – Substitute for vanilla to introduce a nutty goodness that pairs well with the swirls.
- Cupcake tins or Bundt pan – Use for fun cupcake versions or a show-stopping Bundt Cake presentation.
Ready to get baking? Let the swirling begin!
Step‑by‑Step Instructions for Classic Marble Cake Recipe
Step 1: Preheat the Oven
Begin by preheating your oven to 350°F (175°C). While the oven heats up, prepare a 9-inch round cake pan by greasing it with butter or non-stick spray, then flouring it lightly. This ensures that your Classic Marble Cake releases easily when it’s baked to perfection.
Step 2: Combine the Wet Ingredients
In a large mixing bowl, add the all-purpose flour, granulated sugar, milk, eggs, softened butter, baking powder, vanilla extract, and salt. Whisk these ingredients together until they’re mostly combined, ensuring there are no lumps from the butter or flour. This creates a smooth batter that will be the base for your marble cake.
Step 3: Blend the Batter
Using an electric mixer, blend the combined ingredients on a low speed, then increase to medium speed for about 2 minutes. You want the batter to be smooth and creamy. You’ll know it’s ready for the next step when there are no visible lumps and it’s silky in texture—this will give your Classic Marble Cake its delightful texture.
Step 4: Separate the Batter
Once your batter is smooth, measure out ¾ cup of the batter and set it aside in a separate bowl. This portion will be enriched with cocoa powder to create the chocolate layer in your marble cake. The remaining batter will be the vanilla base, which showcases the beautiful swirls.
Step 5: Make the Chocolate Batter
Add the unsweetened cocoa powder to the reserved ¾ cup of batter. Mix thoroughly until the cocoa is fully incorporated. The batter should turn a rich, dark brown—the contrast to the vanilla base—creating that classic chocolate layer which is essential for your marble cake.
Step 6: Create the Marble Effect
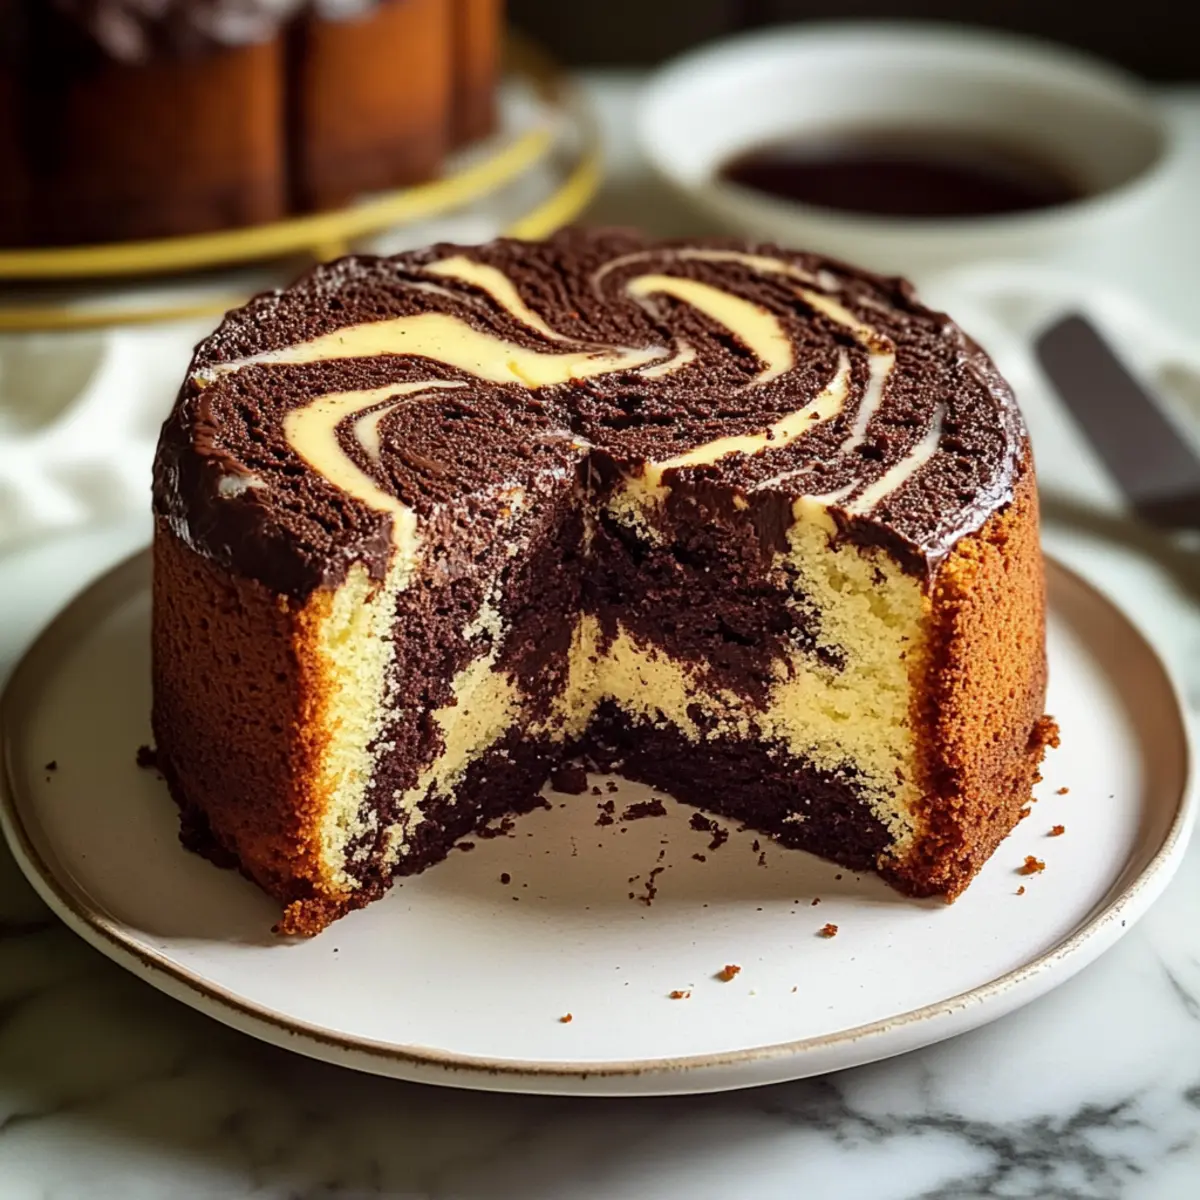
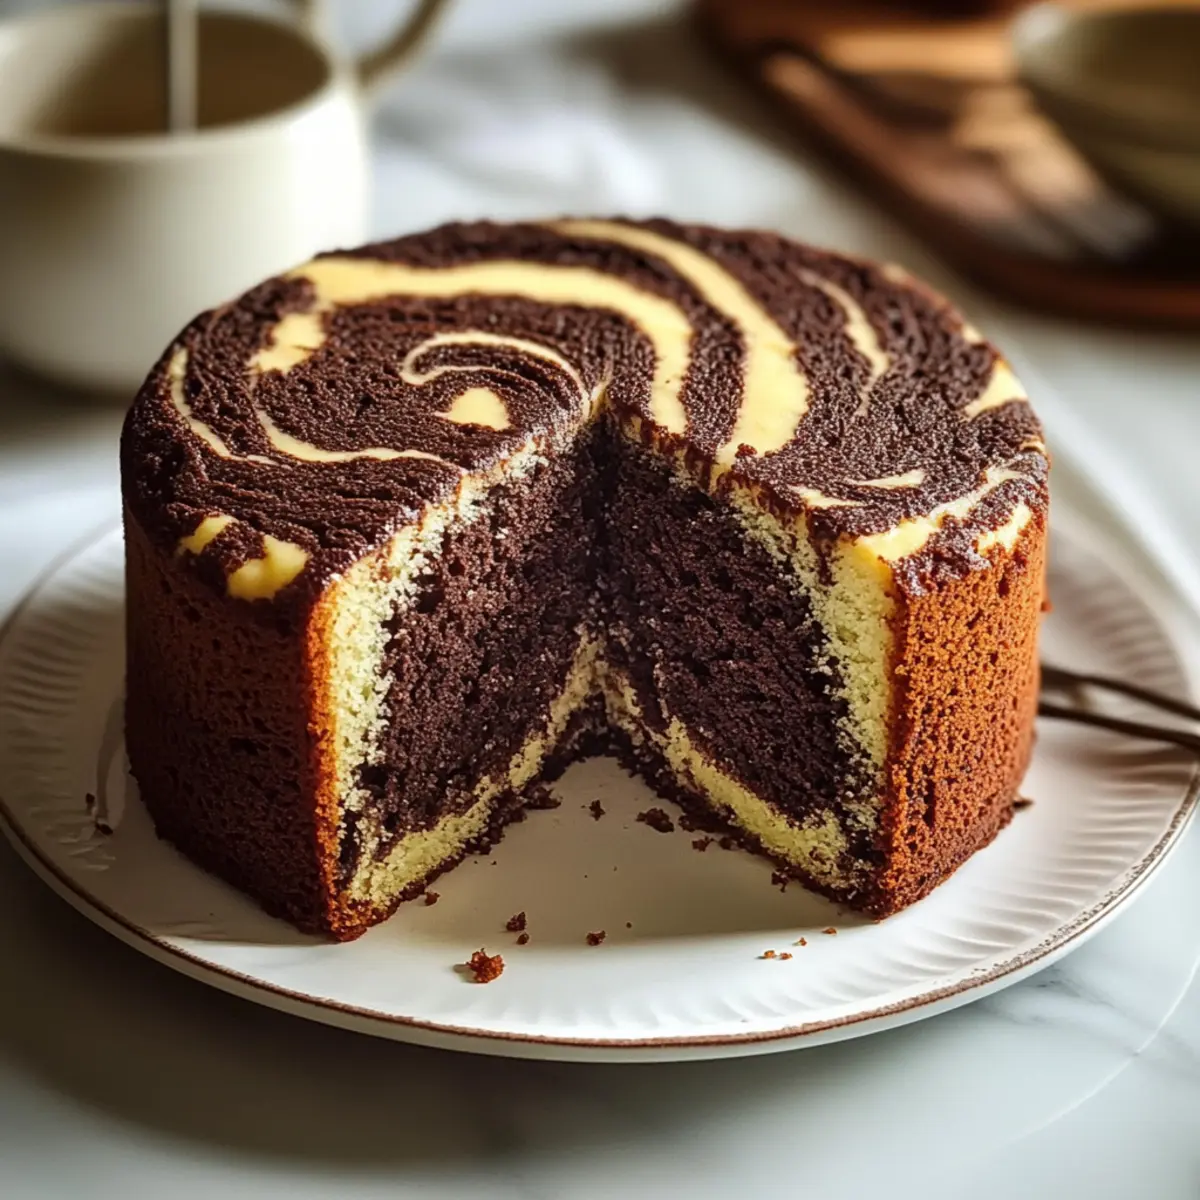
Pour the vanilla batter into the prepared cake pan, ensuring an even layer. Then, dollop the chocolate batter on top of the vanilla layer in several spots. Using a knife or a skewer, gently swirl the two batters together. Be careful not to overmix; you want to see distinct swirls for that beautiful marbled look.
Step 7: Bake the Cake
Place the cake in your preheated oven and bake for 30-35 minutes. To check for doneness, insert a toothpick into the center of the cake—it should come out clean or with just a few crumbs attached. Keeping an eye on the time will help ensure your Classic Marble Cake is perfectly baked.
Step 8: Cool and Serve
Once baked, remove the cake from the oven and let it cool in the pan for about 10 minutes. After that, carefully transfer it to a wire rack to cool completely. This cooling step will help maintain the cake’s moist texture and enhance its flavors, making it a delightful dessert ready for any occasion.
Storage Tips for Classic Marble Cake
- Room Temperature: Store your Classic Marble Cake in an airtight container at room temperature for up to 3 days. This maintains its moist, tender texture for longer enjoyment.
- Fridge: If you need it to last a bit longer, place the cake in the fridge where it will stay fresh for up to 5 days. Ensure it’s covered to prevent it from drying out.
- Freezer: For longer storage, wrap the cake tightly in plastic wrap and then in aluminum foil. It can be frozen for up to 3 months. Thaw in the fridge overnight before serving.
- Reheating: To enjoy a slice warm, gently microwave for 10-15 seconds or warm in an oven at 300°F (150°C) for a few minutes, ensuring it stays moist and delicious.
Expert Tips for Classic Marble Cake
-
Room Temperature Ingredients: Use room-temperature eggs and butter to ensure better mixing, which contributes to the cake’s tender texture.
-
Don’t Overmix: When combining the chocolate batter with the vanilla, mix just enough to see marble patterns. Overmixing leads to a uniform color rather than distinct layers.
-
Check Baking Powder Freshness: Always verify that your baking powder is fresh; expired powder can result in a dense cake that lacks the desired rise.
-
Let It Rest: Allow the cake to cool completely before serving; this lets the flavors deepen and the texture set, making it more enjoyable.
-
Versatile Add-Ins: Explore variations like a Chocolate Chip Marble Cake by adding mini chips to the batter for an extra layer of flavor and delight, bringing your Classic Marble Cake recipe to new heights.
Make Ahead Options
These Classic Marble Cakes are perfect for busy home cooks looking to save time during hectic weeknights! You can prepare the batter up to 24 hours in advance by mixing the wet ingredients and storing them in an airtight container in the refrigerator. Additionally, you can separate and make the chocolate batter at the same time, keeping it refrigerated until you’re ready to bake. When it’s time to bake, simply let the batter sit at room temperature for about 30 minutes before creating that stunning marbled effect and popping it in the oven. This way, you’ll enjoy just as delicious a cake that feels freshly baked with minimal effort!
What to Serve with Classic Marble Cake
Indulge in a delightful dining experience by pairing your gorgeous marble creation with these delicious complementing dishes.
-
Fresh Berries: Their tartness brings a refreshing contrast to the sweet flavors of the cake, making each bite even more enjoyable.
-
Whipped Cream: Light and airy, whipped cream adds a rich creaminess that enhances the classic flavors of chocolate and vanilla.
-
Fruit Salad: A bright medley of seasonal fruits adds a refreshing and healthy touch, balancing the sweetness of the cake beautifully.
-
Chocolate Ganache: A decadent drizzle of ganache elevates the dessert, creating an irresistible chocolatey touch that will please any chocolate lover.
-
Coffee: A warm cup of coffee complements the cake’s flavors, enhancing the overall experience and making it perfect for afternoon gatherings.
-
Vanilla Ice Cream: Serve a scoop alongside for a classic contrast, transforming your marble cake into an unforgettable sundae experience.
These pairings promise to create a truly memorable dessert moment, perfect for sharing with friends and family. Enjoy!
Classic Marble Cake Recipe Variations
Feel free to get creative with this Marble Cake recipe, transforming it into your family’s new favorite treat!
-
Chocolate Chip Delight: Add ½ cup mini chocolate chips to the vanilla batter for bursts of chocolatey goodness throughout your cake. These little gems melt into warm pockets, creating an irresistible contrast with the vanilla.
-
Citrus Burst: Incorporate 1 tablespoon of fresh orange or lemon zest for a bright, fruity twist that awakens your taste buds. The citrus will elevate the flavors, making your cake feel zesty and refreshing.
-
Mocha Marvel: Mix a teaspoon of instant coffee granules into the chocolate batter for a delightful mocha flavor. This variation adds a rich depth and surprise that coffee lovers will surely appreciate.
-
Almond Aroma: Substitute almond extract for vanilla in the batter to infuse a nutty profile into your marble cake. The distinctive almond flavor pairs beautifully with the chocolate and vanilla swirls.
-
Bundt Cake Beauty: Double this recipe for a stunning Bundt Cake presentation. The unique shape will perfectly showcase the cake’s beautiful marble design and make it a centerpiece at any gathering.
-
Marbled Cupcakes: Use lined cupcake tins to create individual marbled cupcakes. Fill the liners only halfway with the batters to achieve a lovely swirl and watch these adorable treats disappear at your next potluck!
-
Glazed Elegance: Drizzle a simple glaze made from powdered sugar and milk over the cooled cake for an extra sweet finish. This step enhances both the presentation and the flavor, adding a delightful sweetness that balances the cake perfectly.
As you explore these variations, consider pairing your Marble Cake with a scoop of vanilla ice cream or a slice of the rich chocolate ganache from my Classic Apple Crumble. Whatever direction you take, you’re bound to bring smiles to your family’s faces!
Classic Marble Cake Recipe FAQs
What type of flour is best for Marble Cake?
All-purpose flour is ideal for this Classic Marble Cake recipe. It provides the right structure while keeping the cake tender. When measuring, remember to use the spoon and level method to avoid packing too much flour, which can lead to a dense cake.
How should I store my Marble Cake?
To maintain freshness, store your Classic Marble Cake in an airtight container at room temperature for up to 3 days. If you’d like it to last longer, you can keep it in the fridge for up to 5 days—just remember to cover it to prevent drying out.
Can I freeze my Marble Cake?
Absolutely! To freeze your Classic Marble Cake, wrap it tightly in plastic wrap, then in aluminum foil to prevent freezer burn. It will maintain its deliciousness for up to 3 months. When you’re ready to enjoy it, simply thaw it overnight in the fridge for the best texture.
What should I do if my Marble Cake is dry?
If your cake turns out dry, don’t worry! Make sure to check your oven’s accuracy, as baking at a higher temperature can cause it to dry out. Also, using room temperature ingredients helps create a moist texture. For future bakes, consider adding a bit more milk or reducing the baking time slightly.
Can I make this recipe dairy-free?
Yes! To adapt the Classic Marble Cake recipe to a dairy-free version, substitute the milk with almond milk or oat milk and use a dairy-free butter alternative. This way, you can still enjoy that delightful chocolate and vanilla swirl, accommodating different dietary needs!
Classic Marble Cake Recipe: A Sweet Twist for Family Fun
Ingredients
Equipment
Method
- Preheat your oven to 350°F (175°C) and prepare a 9-inch round cake pan by greasing it.
- In a mixing bowl, add the flour, sugar, milk, eggs, butter, baking powder, vanilla, and salt. Whisk until combined.
- Using an electric mixer, blend on low then medium speed for 2 minutes until smooth.
- Measure out ¾ cup of the batter and set it aside in a separate bowl.
- Mix the cocoa powder into the reserved batter until fully incorporated.
- Pour the vanilla batter into the pan and dollop the chocolate batter over it. Swirl gently with a knife.
- Bake for 30-35 minutes and check doneness with a toothpick.
- Let the cake cool in the pan for 10 minutes before transferring to a wire rack.
Leave a Reply