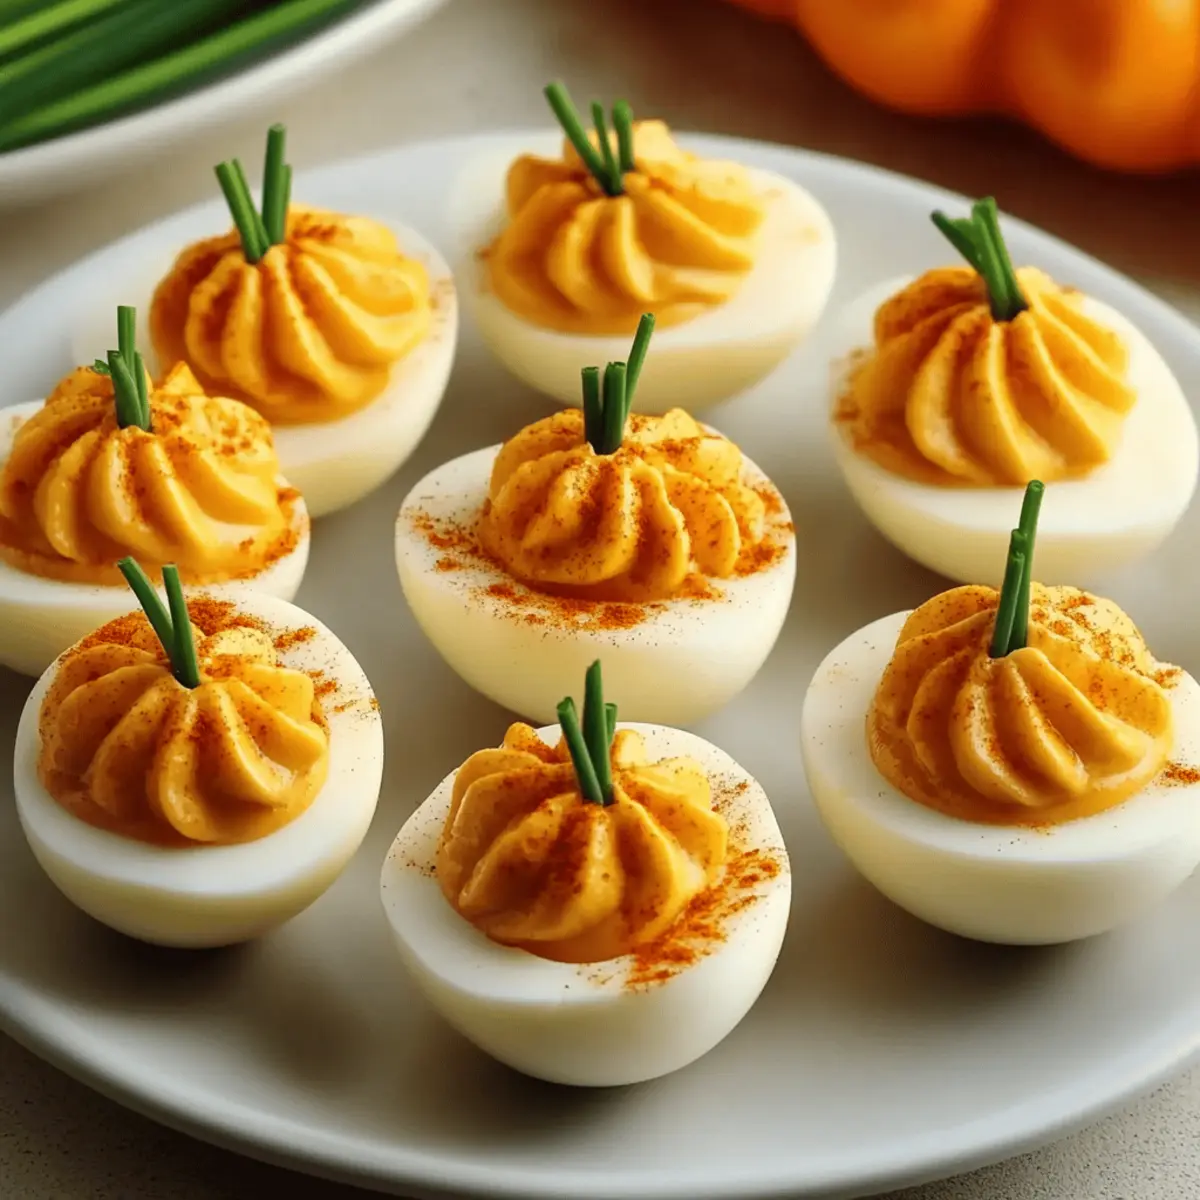
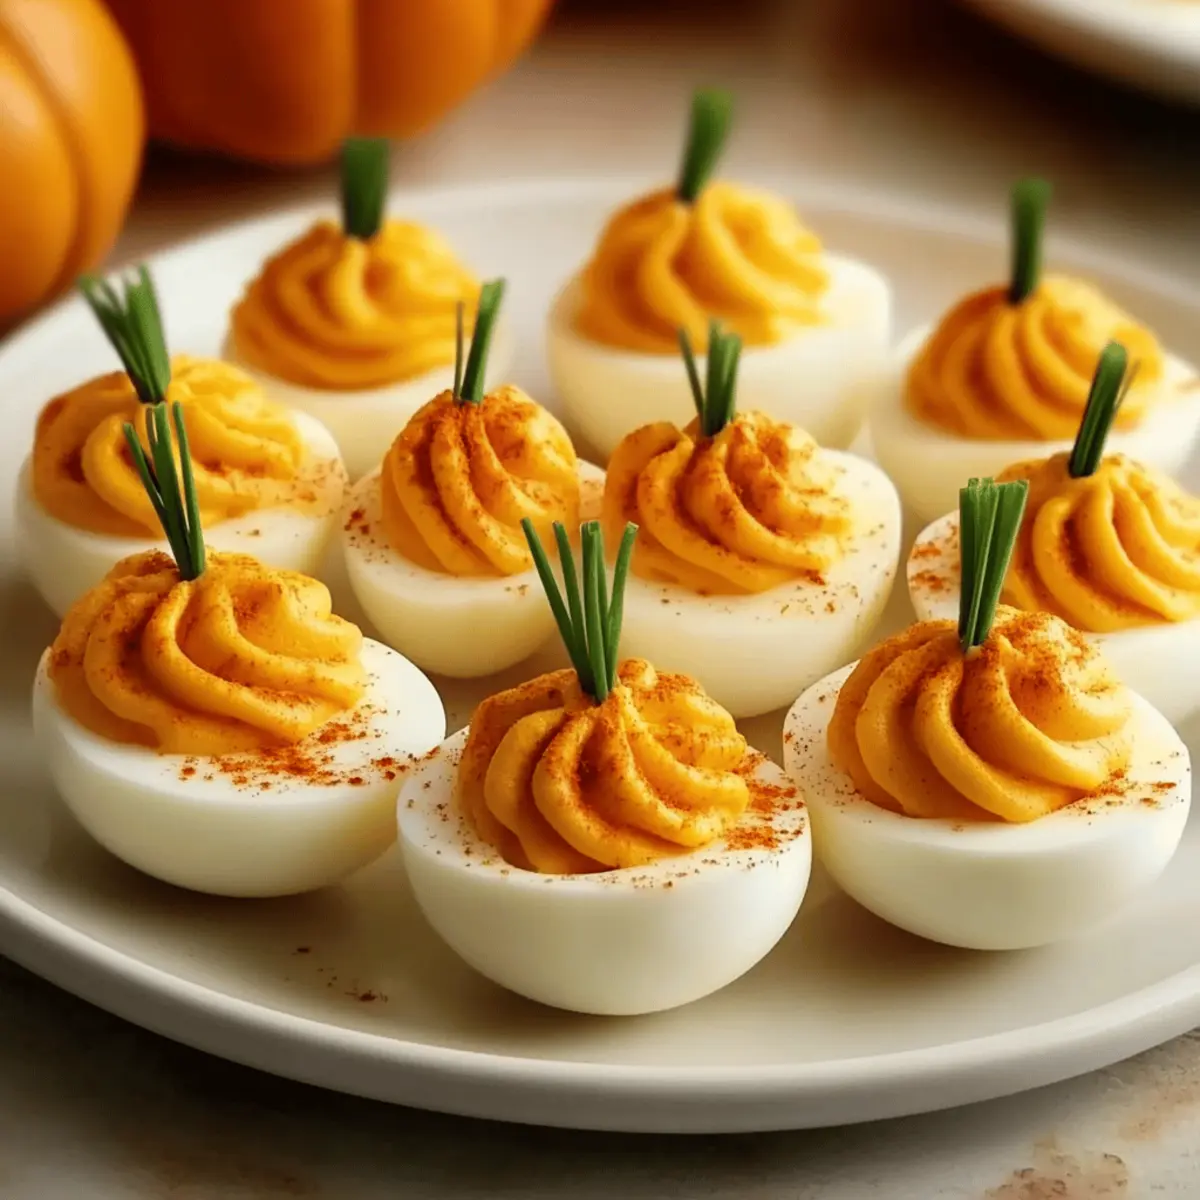
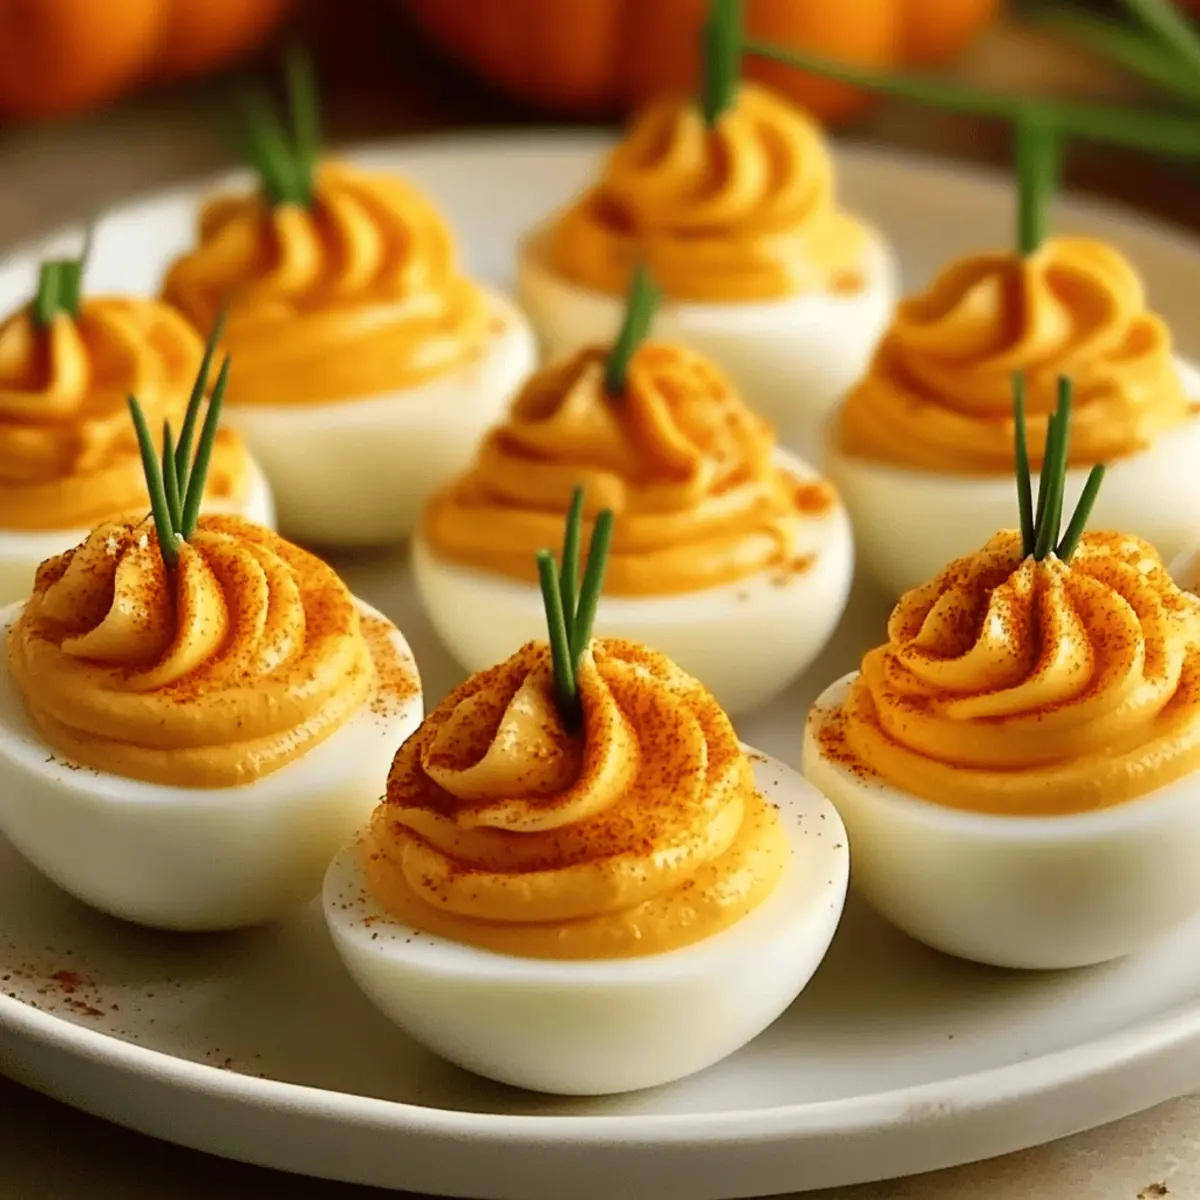
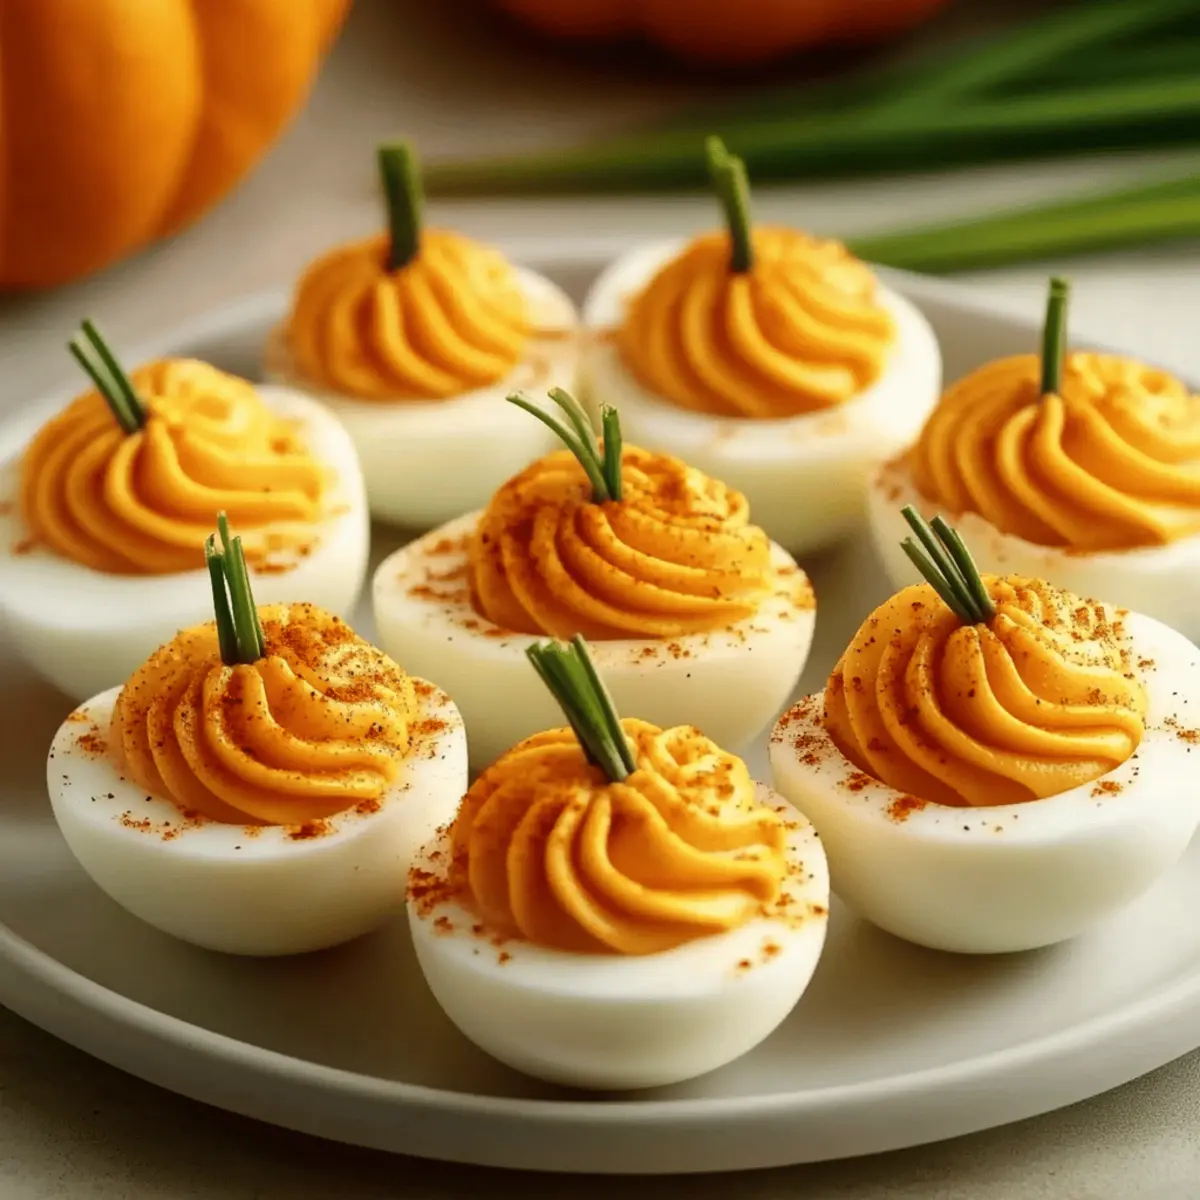
As I prepared for this year’s autumn gatherings, a sudden burst of creativity struck while I was reminiscing about the delightful flavors of fall. Enter my Pumpkin Patch Deviled Eggs, an adorable appetizer that’s sure to steal the spotlight at your next festive occasion. This easy recipe boasts a unique presentation that transforms a classic into charming little pumpkins—perfect for Halloween or Thanksgiving. Not only are these deviled eggs a crowd-pleaser, but they also offer a satisfying blend of creamy richness and playful charm, making them a standout choice for any table. Whether you’re a seasoned home chef or just looking to impress your guests, you’ll love how simple it is to whip up these delightful treats. Curious about how to make your own pumpkin patch magic? Let’s dive into the recipe!
Why Are These Deviled Eggs So Special?
Festive Appeal: These Pumpkin Patch Deviled Eggs are irresistibly cute, perfect for adding charm to your autumn gatherings.
Easy to Make: With straightforward steps, even beginner cooks can impress their guests effortlessly.
Flavorful Filling: The creamy mix of mayonnaise, mustard, and seasonings creates a delightful taste that pairs beautifully with the pumpkin theme.
Gorgeous Presentation: The vibrant orange hue and charming ridges mimic real pumpkins, ensuring they’re a visual highlight on your table.
Versatile & Adaptable: Feel free to spice things up by adding a kick with cayenne or sriracha!
Great for Sharing: These little beauties are perfect for parties, making them a beloved choice for family gatherings and festive occasions.
For more festive inspiration, check out my Christmas Deviled Eggs that are sure to delight during the holiday season!
Pumpkin Patch Deviled Eggs Ingredients
For the Filling
• Large Eggs – The base for these delicious deviled eggs; slightly older eggs (7-10 days past packing) peel more easily.
• Mayonnaise – Adds a rich, creamy texture that enhances the filling’s flavor.
• Yellow Mustard – Provides a tangy kick that balances well with the creaminess of the mayo.
• Salt – A pinch enhances the overall flavor of the filling.
• Black Pepper – Adds a subtle spice that rounds out the taste.
• Paprika – Sprinkle this for seasoning and to give a warm, inviting color to the presentation.
• Orange Food Coloring (optional) – Just a drop creates a vibrant pumpkin hue that makes your deviled eggs pop!
For the Garnish
• Chives – Finely chopped chives make perfect “stems” for your pumpkin shapes and add a fresh flavor.
These Pumpkin Patch Deviled Eggs are a delightful way to showcase the festive spirit of autumn while enjoying a gluten-free, easy-to-make appetizer that’s sure to charm your guests!
Step‑by‑Step Instructions for Pumpkin Patch Deviled Eggs
Step 1: Boil Eggs
Place your large eggs in a single layer in a saucepan, ensuring they are not crowded. Cover them with cold water, ensuring there’s about an inch above the eggs. Bring the water to a rolling boil over medium-high heat. Once boiling, remove the pan from heat, cover it with a lid, and let the eggs sit for 10 minutes.
Step 2: Ice Bath
While the eggs are resting, prepare an ice bath by filling a large bowl with cold water and ice cubes. After the 10 minutes are up, transfer the eggs carefully into the ice bath. This cools them quickly and helps prevent the yolks from developing a green ring. Allow them to sit for at least 5 minutes to fully chill.
Step 3: Peel Eggs
To peel the eggs, gently crack and roll them on a hard surface to loosen the shells. For easier peeling, peel the eggs under cool running water, which helps the shell separate from the egg white. Aim for smooth, intact whites as you finish peeling each egg, as these will be the perfect base for your Pumpkin Patch Deviled Eggs.
Step 4: Prepare Filling
Slice each peeled egg in half lengthwise and gently scoop out the yolks into a mixing bowl. Add mayonnaise, yellow mustard, a pinch of salt, black pepper, paprika, and a dash of orange food coloring if desired. Using a fork, mash the mixture until smooth and creamy, ensuring all ingredients are well combined for a delectable filling.
Step 5: Pipe Filling
Fill a piping bag fitted with a star tip with your prepared yolk mixture. Carefully pipe the filling into each egg white half, creating a rounded mound that resembles a pumpkin shape. Take your time to create an even height, aiming for a playful and inviting appearance that will impress your guests with these charming Pumpkin Patch Deviled Eggs.
Step 6: Create Ridges
Using a toothpick or a dull knife, gently press into the piped yolks to create subtle ridges mimicking a pumpkin’s texture. Start at the top and move downwards, making 4-6 lines to give the illusion of pumpkin grooves. This step adds character and visual interest to your Pumpkin Patch Deviled Eggs, enhancing their festive charm.
Step 7: Add Stems
To finish off your adorable pumpkin creations, take finely chopped chives and insert them into the tops of the piped yolks to resemble stems. Adjust the length as desired for aesthetics. For added flair, you can lightly dust the tops with paprika or sprinkle extra chives around the base to elevate the presentation of your delightful Pumpkin Patch Deviled Eggs.
Pumpkin Patch Deviled Eggs Variations
Feel free to get creative with these delightful deviled eggs and customize them to suit your taste!
-
Spicy Kick: Add cayenne pepper or sriracha into the yolk mixture for a zesty kick that will elevate your flavor profile. A touch of heat goes a long way in surprising your guests!
-
Herb Swaps: Use fresh dill or parsley instead of chives for a different flavor profile! Each herb brings its own unique essence, giving a delightful twist to the classic deviled egg.
-
Smoky Flavor: Incorporate smoked paprika instead of regular paprika. This gives your filling an extra depth with a warm, smoky essence, perfect for fall gatherings.
-
Cream Cheese Twist: Substitute half the mayonnaise with cream cheese for an ultra-creamy filling that offers a richer taste. This variation takes your deviled eggs to a whole new level of indulgence!
-
Colorful Surprise: Experiment with natural food colorings like beet juice or spinach puree to create vibrant hues without artificial ingredients. This adds a fun pop of color for your festive table!
-
Cheesy Delight: Mix in grated parmesan cheese or crumbled feta to the filling for a delightful salty punch. It complements the creaminess beautifully and makes it all the more irresistible.
-
Vegan Version: Swap the eggs with avocado halves and fill them with a mixture of mashed avocado, tahini, and lemon juice for a plant-based alternative! Not only will it be incredibly creamy, but it’s also a healthy option.
-
Nutty Crunch: For added texture, sprinkle toasted nuts or seeds on top of your finished deviled eggs. This gives a delightful crunch that contrasts with the smooth filling and makes it visually appealing.
Explore more delicious ideas with my Healthy Pumpkin Spice Muffins or try out a different holiday theme with my Christmas Deviled Eggs!
What to Serve with Pumpkin Patch Deviled Eggs
Elevate your autumn gatherings by pairing these adorable appetizers with delightful sides that awaken the senses.
- Crispy Roasted Brussels Sprouts: Their caramelized edges and earthy flavors create a perfect balance with the creamy deviled eggs.
- Savory Butternut Squash Soup: A warm, velvety soup with sweet and savory notes complements the richness of the eggs beautifully.
- Herbed Quinoa Salad: This light and fresh dish adds a delightful crunch and a burst of flavor that pairs wonderfully with the deviled eggs.
- Honey-Glazed Carrots: The natural sweetness of these tender carrots through the honey glaze contrasts deliciously with the savory filling of the eggs.
- Autumn Cheese Board: A selection of cheeses, dried fruits, and nuts enhances the festive feel while offering a wonderful variety of textures.
- Spiced Apple Cider: This warm, fragrant drink envelops your guests in cozy autumn scents, creating a perfect ambiance alongside the charming deviled eggs.
With these delightful pairings, your Pumpkin Patch Deviled Eggs will shine as the centerpiece of a memorable fall feast!
How to Store and Freeze Pumpkin Patch Deviled Eggs
Fridge: Store leftover Pumpkin Patch Deviled Eggs in an airtight container for up to 2 days. This keeps them fresh while maintaining their adorable appearance.
Make-Ahead: Boil and peel the eggs 2–3 days in advance, then prepare the filling a day ahead. Keep the filling in a piping bag in the fridge until ready to use.
Freezer: While it’s not ideal to freeze filled deviled eggs due to textural changes in the filling, you can freeze boiled egg whites for up to 3 months. Allow thawing in the fridge before piping.
Reheating: If you need to reheat any unfilled egg whites, do so gently in the microwave or oven until warm, but avoid overheating to keep them tender.
Tips for the Best Pumpkin Patch Deviled Eggs
• Fresh Eggs Matter: Use eggs that are slightly older (7-10 days past packing) for easier peeling and a smoother filling.
• Chill for Easier Peeling: Always transfer your boiled eggs to an ice bath after cooking. This helps prevent green rings and makes peeling a breeze!
• Smooth Filling: For the creamiest texture, use a fork to mash yolks or consider passing the mixture through a fine-mesh sieve to remove any lumps.
• Pipe While Fresh: Pipe the yolk filling into the egg whites as soon as it’s made to ensure the best texture and visual presentation for your Pumpkin Patch Deviled Eggs.
• Add a Pop of Color: If you’re using food coloring, start with a small amount and gradually add more until you achieve your desired pumpkin hue without overpowering the flavor.
• Create Textured Ridges: When making the ridges on your piped yolks, use a toothpick for precision, enhancing the pumpkin effect for an eye-catching presentation!
Make Ahead Options
These Pumpkin Patch Deviled Eggs are perfect for busy home cooks looking to simplify meal prep! You can boil and peel the eggs up to 3 days in advance, ensuring they stay fresh by storing them in a covered container in the refrigerator. Additionally, the creamy filling can be prepared up to 24 hours ahead; simply pipe it into a sealed piping bag and refrigerate until you’re ready to finish. When you’re ready to serve, just pipe the filling into the egg whites and add the chive stems for that delightful pumpkin look. This method not only saves time but keeps the deviled eggs just as delicious and visually appealing for your gathering!
Pumpkin Patch Deviled Eggs Recipe FAQs
What kind of eggs should I use for Pumpkin Patch Deviled Eggs?
I recommend using large eggs that are slightly older (7-10 days past packing date) for the best peeling experience. Older eggs tend to peel more easily, ensuring you get smooth whites without any frustrating bits of shell sticking.
How should I store leftover Pumpkin Patch Deviled Eggs?
Store leftover Pumpkin Patch Deviled Eggs in an airtight container in the fridge for up to 2 days. Make sure to keep them chilled, as these little gems can lose their charm quickly outside of a cool environment. If you plan to save some, do so as soon as they’re made to ensure freshness!
Can I make Pumpkin Patch Deviled Eggs in advance?
Absolutely! You can boil and peel the eggs up to 2-3 days in advance. Just prepare the filling a day ahead, and store it in a piping bag in the fridge until you’re ready to assemble the deviled eggs. This makes it an easy-to-manage option for your upcoming gatherings!
Can I freeze Pumpkin Patch Deviled Eggs?
It’s best not to freeze filled deviled eggs since the texture of the filling changes once frozen. However, you can freeze boiled egg whites for up to 3 months. To freeze, place the whites in a single layer in a freezer-safe container or bag, and then thaw them in the fridge before piping in your filling.
How can I prevent green rings from forming around the yolks?
To avoid those pesky green rings, make sure to cool your eggs quickly after boiling by placing them in an ice bath immediately. This helps to stop the cooking process and keeps the yolks vibrant and flavorful. Enjoy your beautifully colored fillings!
Are there any dietary concerns with Pumpkin Patch Deviled Eggs?
These Pumpkin Patch Deviled Eggs are gluten-free and suitable for most diets. However, if you have guests with allergies, it’s always a good idea to check on any specific ingredients (like mayonnaise or mustard) as some brands may contain allergens. Enjoy variating to accommodate your lovely guests!
Deliciously Festive Pumpkin Patch Deviled Eggs for Fall Fun
Ingredients
Equipment
Method
- Place large eggs in a single layer in a saucepan; cover with cold water and bring to a rolling boil. Remove from heat, cover, and let sit for 10 minutes.
- Prepare an ice bath. Transfer eggs to the ice bath after 10 minutes and let sit for at least 5 minutes.
- Gently crack and roll the eggs on a hard surface to loosen shells, and peel under cool running water.
- Slice each peeled egg in half and scoop out the yolks into a mixing bowl. Add mayonnaise, mustard, salt, pepper, paprika, and food coloring. Mash until smooth.
- Fill a piping bag with the yolk mixture and pipe it into each egg white half to create a rounded mound.
- Use a toothpick to create ridges in the piped yolks, mimicking pumpkin texture.
- Insert finely chopped chives into the tops of the piped yolks to resemble stems.
Leave a Reply