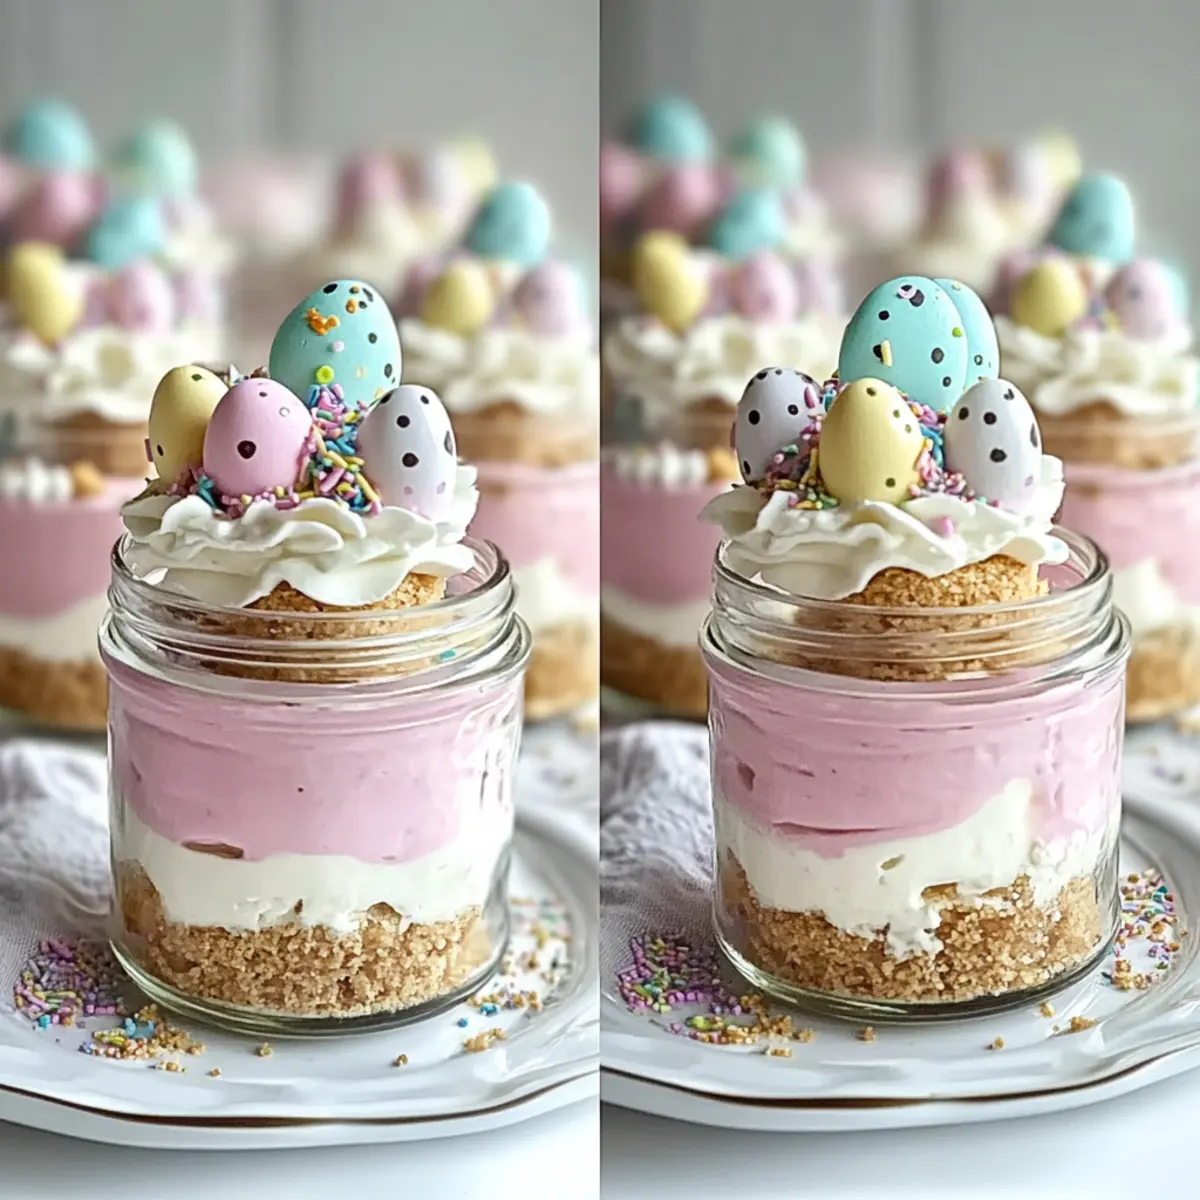
As I was arranging my kitchen for spring, a sudden burst of inspiration struck me—what if I could capture the essence of Easter in a dessert? Enter these delightful Easter Egg Cheesecake Jars, a no-bake treat that adds a touch of festivity to any table! With layers of creamy cheesecake nestled in charming jars, this recipe is not only easy but also fully customizable to suit your palate. The buttery graham cracker crust provides that satisfying crunch, while the smooth cheesecake filling is pure bliss. Best of all, these jars can be prepped ahead of time, making them perfect for those busy Easter mornings. Ready to indulge in some sweet creativity? Let’s dive into the colorful world of these cheesecake jars that are sure to impress!
Why are Easter Egg Cheesecake Jars a must-try?
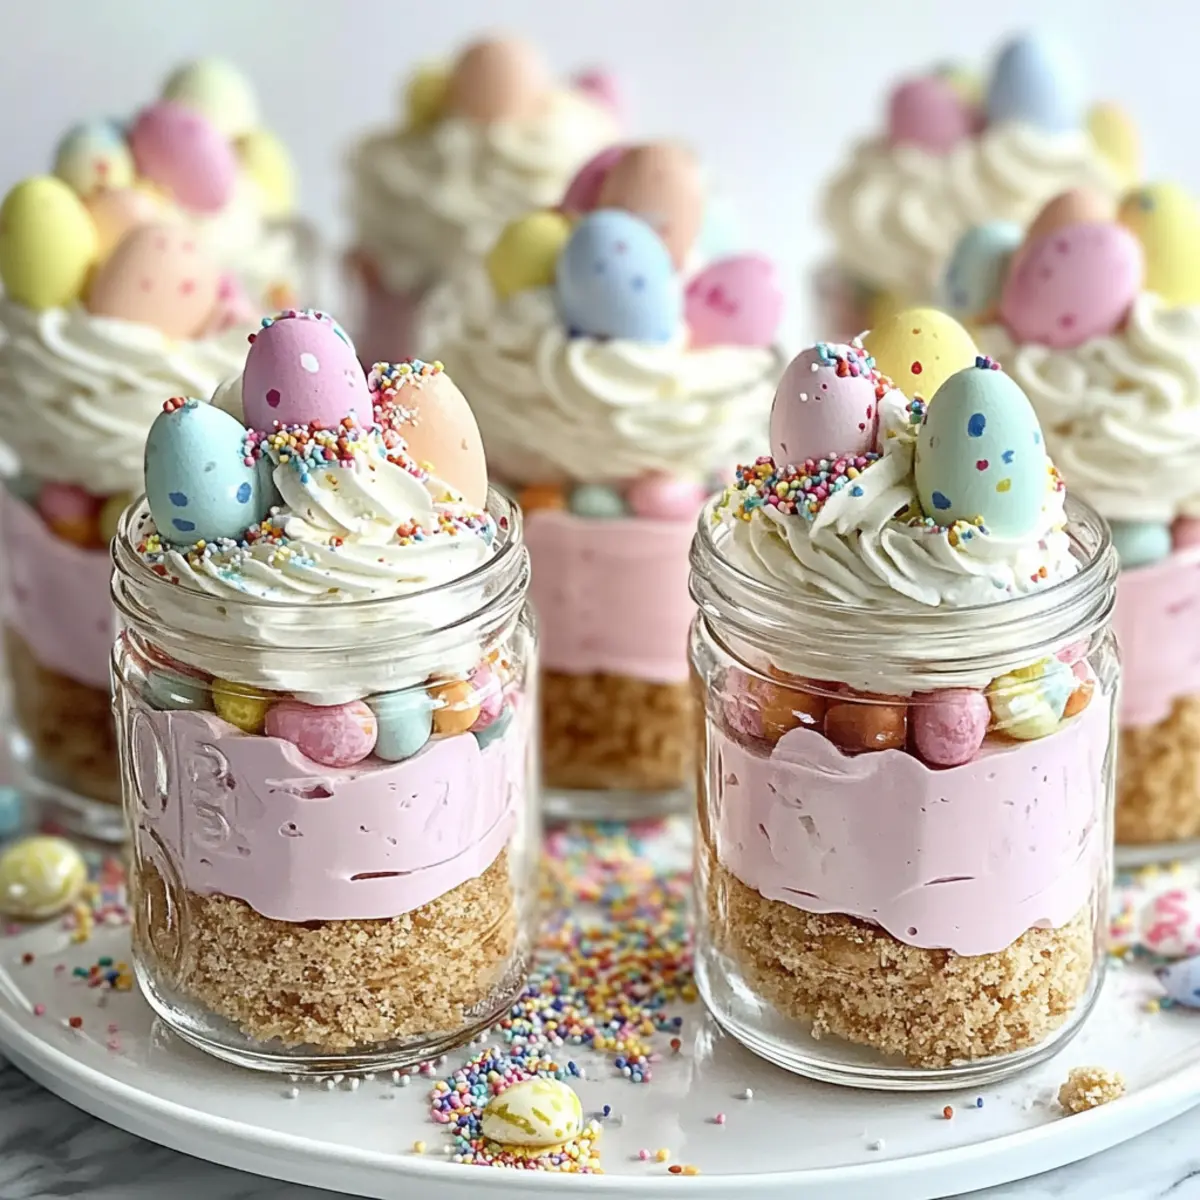
Festive Appeal: With their vibrant colors and charming presentation, these jars bring joy to any spring gathering.
No-Bake Delight: Skip the oven and create a delicious dessert that saves you time and hassle!
Customizable Options: Tailor them to your taste with different flavors and colors, making them perfect for everyone!
Easy Preparation:Even novice bakers will find these jars simple to whip up—just layer and chill!
Grab-and-Go Treats: Perfectly portioned, they’re excellent for potlucks or family gatherings, allowing everyone to indulge without mess.
Your Easter celebrations will shine even brighter with these delightful Crisp Mini Cheesecakes on your dessert table!
Easter Egg Cheesecake Jars Ingredients
For the Crust
- Graham Cracker Crumbs – Provides the crust structure; substitute with crushed Oreos or shortbread cookies for a different flavor.
- Granulated Sugar – Adds sweetness to the crust; can be adjusted or omitted based on preference.
- Unsalted Butter (melted) – Binds the graham cracker crumbs; use coconut oil for a dairy-free alternative.
For the Cheesecake Filling
- Cream Cheese – The main component for a creamy filling; ensure it is softened for easy mixing.
- Powdered Sugar – Sweetens the cheesecake filling and helps achieve a smooth texture.
- Vanilla Extract – Offers depth of flavor; use pure vanilla for the best taste.
- Heavy Cream – Creates a light and airy texture when whipped; make sure it is fresh and cold for optimal whipping.
- Pink Gel Food Coloring or Freeze-Dried Strawberry Powder – Optional for color; can omit for all-natural jars.
For the Topping
- Whipped Cream – Adds texture and sweetness on top; skip for a lighter version.
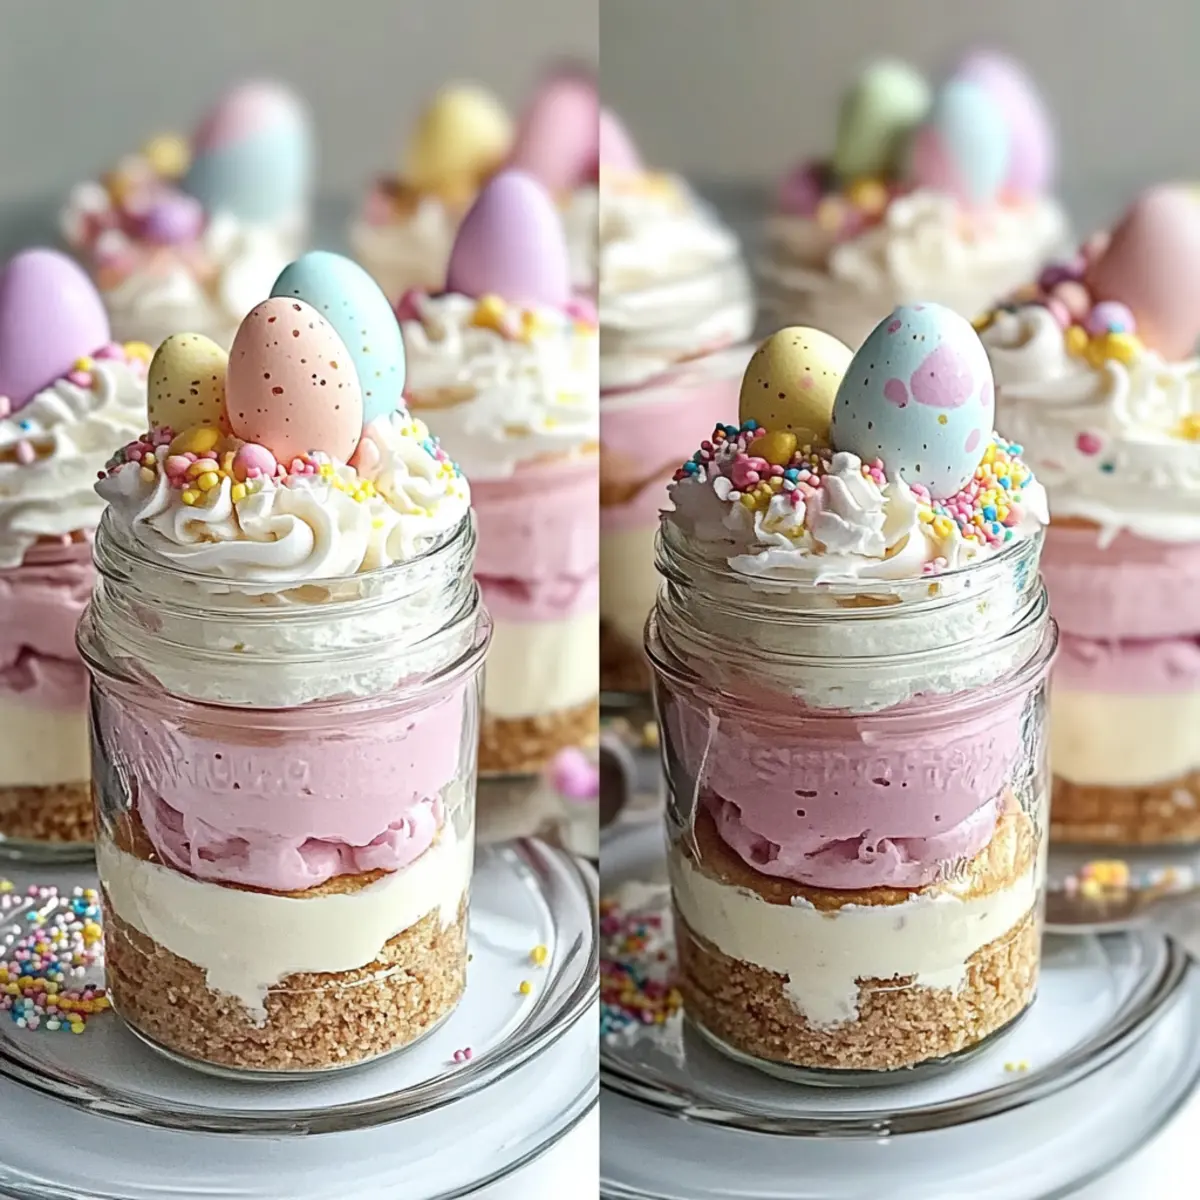
- Pastel Candy Eggs – Decorative element that adds fun and festivity; choose your favorite candy brands.
- Rainbow or Pastel Sprinkles – Enhance presentation; entirely optional based on aesthetics.
Get ready for a colorful culinary adventure with these Easter Egg Cheesecake Jars!
Step‑by‑Step Instructions for Easter Egg Cheesecake Jars
Step 1: Prepare the Crust
In a mixing bowl, combine graham cracker crumbs, granulated sugar, and melted unsalted butter until the mixture resembles wet sand. Using a spoon or your fingers, press this mixture firmly into the bottom of each jar, creating an even layer. Aim for a compact crust that holds its shape once chilled, and set the jars aside while you work on the cheesecake filling.
Step 2: Make Cheesecake Layer
In a large mixing bowl, beat the softened cream cheese using an electric mixer until it becomes smooth and creamy, which should take about 2-3 minutes. Gradually add powdered sugar and a splash of vanilla extract, continuing to mix until the mixture is light, fluffy, and fully combined, with no lumps remaining. This creamy base will be the heart of your Easter Egg Cheesecake Jars.
Step 3: Whip Cream
In a separate chilled bowl, pour in heavy cream and whip it using an electric mixer until stiff peaks form, which typically takes about 3-5 minutes. Once the cream is whipped to your desired consistency, gently fold it into the cream cheese mixture in two parts, ensuring to maintain the airiness and fluffiness. This step creates the light, airy texture that makes your cheesecake filling a delight.
Step 4: Color Cheesecake
Divide the cheesecake filling evenly into two bowls. Leave one bowl as it is for a classic layer, and in the second bowl, add pink gel food coloring or freeze-dried strawberry powder to achieve a pastel hue. Stir gently until fully mixed, creating a vibrant layer that adds visual appeal to your Easter Egg Cheesecake Jars while maintaining that delicious cheesecake flavor.
Step 5: Layering
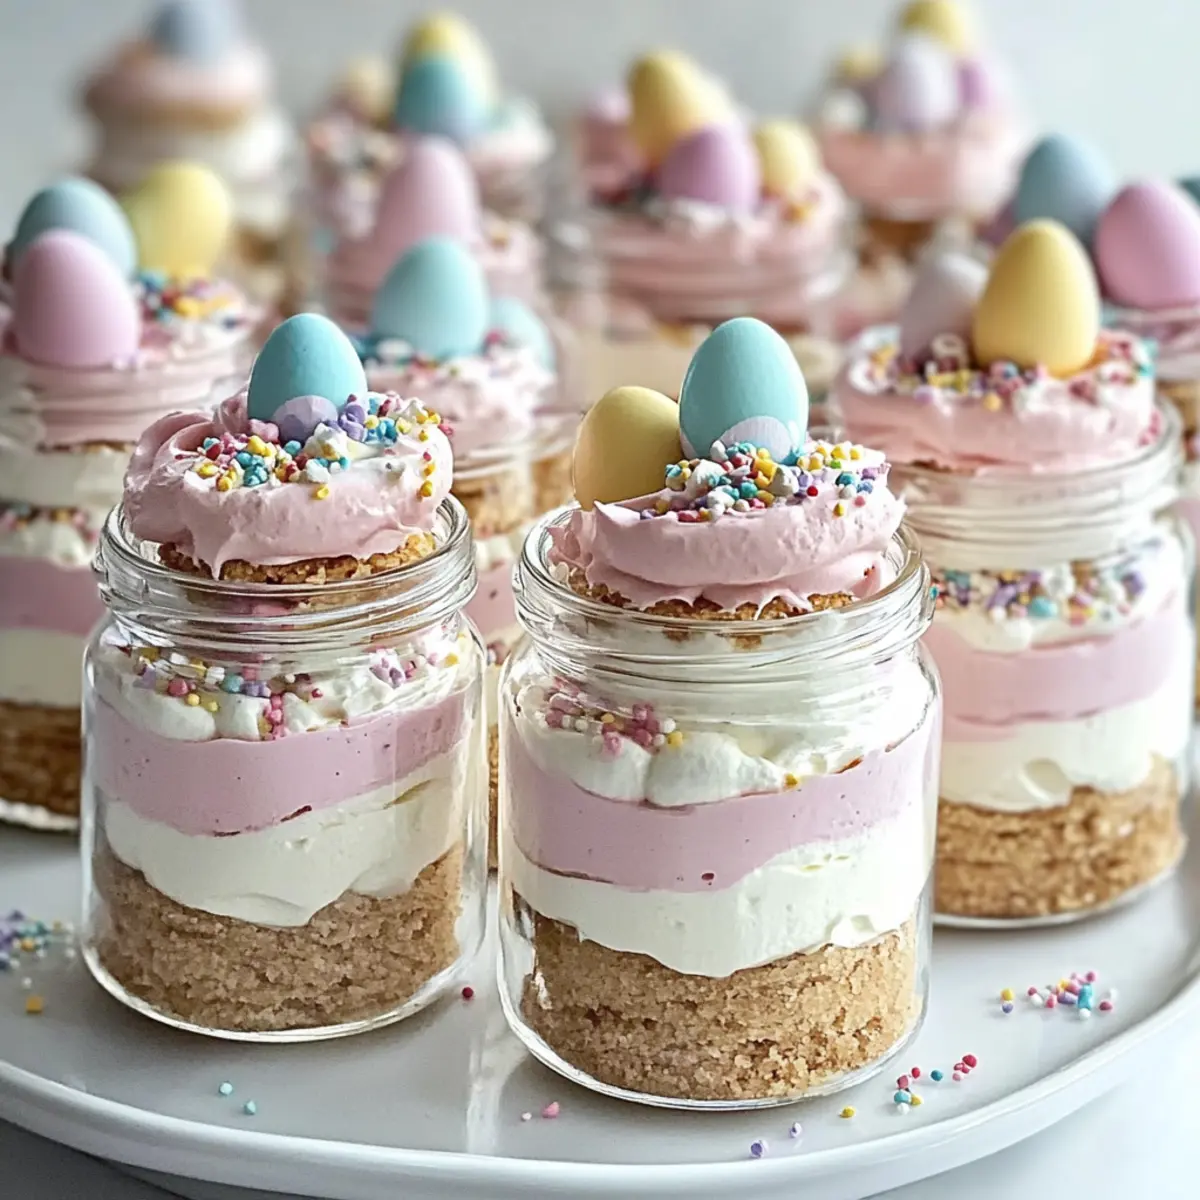
Using a spoon or piping bag, carefully layer the pink cheesecake mixture into each jar, filling them about halfway. Then, follow with the plain cheesecake layer on top for a neat and appealing finish. Take your time with this step to create distinct layers; it will enhance the presentation of your Easter Egg Cheesecake Jars and make them truly eye-catching.
Step 6: Top and Decorate
To finish these delightful jars, pipe a generous dollop of whipped cream on top of each cheesecake layer, creating a soft peak. Then, embellish your creations with pastel candy eggs and colorful sprinkles for that festive touch. These decorative elements not only enhance the visual appeal but also add a fun crunch that complements the creamy cheesecake filling.
Step 7: Chill
Place the decorated Easter Egg Cheesecake Jars in the refrigerator for at least 2 hours, allowing the layers to firm up and the flavors to meld together. This chilling process is essential for achieving the perfect consistency—once set, the luscious cheesecake will hold its shape beautifully when served.
Expert Tips for Easter Egg Cheesecake Jars
• Room Temperature Cream Cheese: Ensure cream cheese is softened for easier mixing. Cold cream cheese can lead to lumps in your cheesecake filling.
• Chill Properly: Refrigerate jars for at least 2 hours before serving. This helps the layers set beautifully, maintaining the distinct look.
• Piping Precision: Use a piping bag for layering cheesecake. This technique not only looks professional but also allows for beautiful design in your jars.
• Gentle Folding: When incorporating whipped cream, gently fold it into the mixture to preserve airiness. Over-mixing can deflate the fluffy texture you’re aiming for!
• Decorative Toppings: Add whipped cream and toppings just before serving for the freshest taste. This keeps everything looking and tasting delightful!
These expert tips will ensure your Easter Egg Cheesecake Jars turn out as fabulous as they look!
Easter Egg Cheesecake Jars Variations
Feel free to tweak these jars into delightful creations that cater to your personal taste and occasion!
-
Colorful Layers: Introduce new pastel colors like blue or lavender for a whimsical look. Each layer can surprise and delight your guests!
-
Flavor Experimentation: Try flavored extracts such as almond, lemon, or even coconut to give your jars a refreshing twist. A hint of lemon zest can brighten up the flavor.
-
Crunchy Alternatives: Substitute pastels candy eggs with seasonal fruits like raspberries or sliced strawberries for a fresh, juicy contrast. Just imagine the burst of flavor with fresh fruits!
-
Dairy-Free Option: Use vegan cream cheese and coconut whipped cream to make these jars suitable for dairy-free diets. They’ll be creamy and delicious without the dairy!
-
Chocolate Lovers: Fold in chocolate chips or cacao powder into the cheesecake mixture for a rich chocolate flavor. You can use this method to create a decadent, dreamy variation.
-
Nutty Finish: Top each jar with crushed nuts or a drizzle of nut butter for an added crunch and flavor depth. The combination of textures will make each bite exciting!
-
Lighter Version: Swap heavy cream for Greek yogurt and use reduced-fat cream cheese to lighten the dessert without losing its creamy texture. This option is perfect for healthy indulgences!
If you’re feeling inspired, check out these delightful Crisp Mini Cheesecakes or make an indulgent Chocolate Raspberry Cheesecake as another take on cheesecake fun!
Make Ahead Options
These delightful Easter Egg Cheesecake Jars are perfect for meal prep and can save you precious time during the busy holiday season! You can prepare the graham cracker crust and cheesecake layers up to 24 hours in advance by assembling them in the jars and refrigerating. To maintain quality, make sure to cover the jars tightly. When it’s time to serve, simply add the whipped cream topping and decorative pastel candy eggs just before presenting, ensuring they stay fresh and appealing. With these make-ahead steps, you can enjoy a stress-free, festive dessert that’s just as delicious and visually stunning!
What to Serve with Easter Egg Cheesecake Jars?
Elevate your dessert experience by pairing these colorful cheesecakes with delightful accompaniments that bring joy to every bite.
- Fresh Berries: A medley of strawberries, blueberries, and raspberries adds a pop of color and a burst of tangy flavor that balances the sweetness.
- Mint Tea: This refreshing herbal tea not only cleanses the palate but also complements the rich flavors of the cheesecake jars. Its soothing aroma enhances the joyful atmosphere of any spring gathering.
- Chocolate Fudge Sauce: Drizzle over the cheesecake for a decadent touch, adding an indulgent layer of flavor that chocolate lovers will adore.
- Lemon Sorbet: A scoop of tart sorbet brightens each mouthful, providing a refreshing contrast to the creamy richness of the cheesecake. It’s a light and citrusy companion that’s perfect for springtime!
- Almond Biscotti: Their crunchy texture brings a delightful crunch and mild nuttiness to the dessert. Perfect for dipping in coffee afterward, they keep the celebration going.
- Pineapple Upside-Down Cake: A fruity classic that adds a tropical twist, enhancing the festive feel of your Easter dessert table. The layers of flavor work harmoniously together!
- Sparkling Lemonade: This bubbly drink offers a delightful fizz to pair with the smooth cheesecake and is perfect for toasting to joyous occasions.
- Whipped Cream Topping: Though already included, considering adding a homemade vanilla whipped cream can enhance texture and richness, ensuring every layer of the cheesecake shines.
With these pairings, your Easter Egg Cheesecake Jars will create a sensational dessert table that celebrates the flavors of spring!
How to Store and Freeze Easter Egg Cheesecake Jars
Fridge: Keep these jars covered in the refrigerator for up to 3 days. This helps maintain their delightful texture and flavor, ensuring every bite is as fresh as the first.
Freezer: For longer storage, you can freeze the jars, but avoid adding whipped cream or toppings before freezing. They will last for up to 2 months; just remember to thaw in the fridge overnight before serving.
Reheating: Although these Easter Egg Cheesecake Jars are enjoyed cold and don’t require reheating, make sure to top them with fresh whipped cream and toppings just before serving for the best presentation.
Prep Ahead: These jars can be prepared up to a day in advance, making them an ideal dessert for stress-free Easter celebrations.
Easter Egg Cheesecake Jars Recipe FAQs
How do I select ripe ingredients for my Easter Egg Cheesecake Jars?
When choosing your cream cheese, ensure it’s fresh and at room temperature for easy mixing. If using freeze-dried strawberry powder, look for vibrant color without any off smells. For the pastel candy eggs, opt for the freshest options you can find at your local store to enhance the visual appeal of your jars.
How should I store my Easter Egg Cheesecake Jars?
Keep your jars covered in the refrigerator for up to 3 days. This helps maintain their delightful texture and flavor. Ensure they are tightly sealed to prevent them from absorbing other odors in the fridge.
Can I freeze Easter Egg Cheesecake Jars?
Absolutely! To freeze, prepare the jars without the whipped cream and toppings. Seal them tightly and store in the freezer for up to 2 months. Thaw in the fridge overnight before serving, then add fresh whipped cream and decorations just before enjoying.
What should I do if my cheesecake filling is too runny?
If your filling seems too runny, the culprit is typically over-whipping or under-mixing the cream cheese. To troubleshoot, try chilling the mixture briefly in the fridge for 30 minutes to firm it up, then carefully fold in more whipped cream (making sure it’s whipped to stiff peaks). This should give your cheesecake a thicker consistency.
Can my pets eat any of the ingredients in the Easter Egg Cheesecake Jars?
No, it’s best to keep these jars away from your pets. Ingredients like cream cheese and sugar can cause digestive issues for them. Always make sure that any treats or desserts are kept out of their reach.
Can I customize the flavors in my cheesecake jars?
Very! You can tailor the flavor profile by adding different extracts, such as almond or lemon, to the cream cheese mixture. Additionally, try using different food coloring or even incorporating smashed fruit into the layers for a fun twist!
Easter Egg Cheesecake Jars: No-Bake Bliss for Spring Celebrations
Ingredients
Equipment
Method
- In a mixing bowl, combine graham cracker crumbs, granulated sugar, and melted butter until the mixture resembles wet sand. Press the mixture into the bottom of each jar.
- In a large mixing bowl, beat softened cream cheese until smooth. Gradually add powdered sugar and vanilla, mixing until fluffy and well combined.
- In a separate bowl, whip heavy cream until stiff peaks form, then gently fold it into the cream cheese mixture in two parts.
- Divide the cheesecake filling into two bowls. Leave one plain and mix pink gel food coloring or strawberry powder into the second bowl.
- Layer the pink cheesecake mixture into each jar, filling them halfway, then top with the plain cheesecake layer.
- Pipe whipped cream on top, and decorate with pastel candy eggs and colorful sprinkles.
- Chill the jars in the refrigerator for at least 2 hours before serving.
Leave a Reply