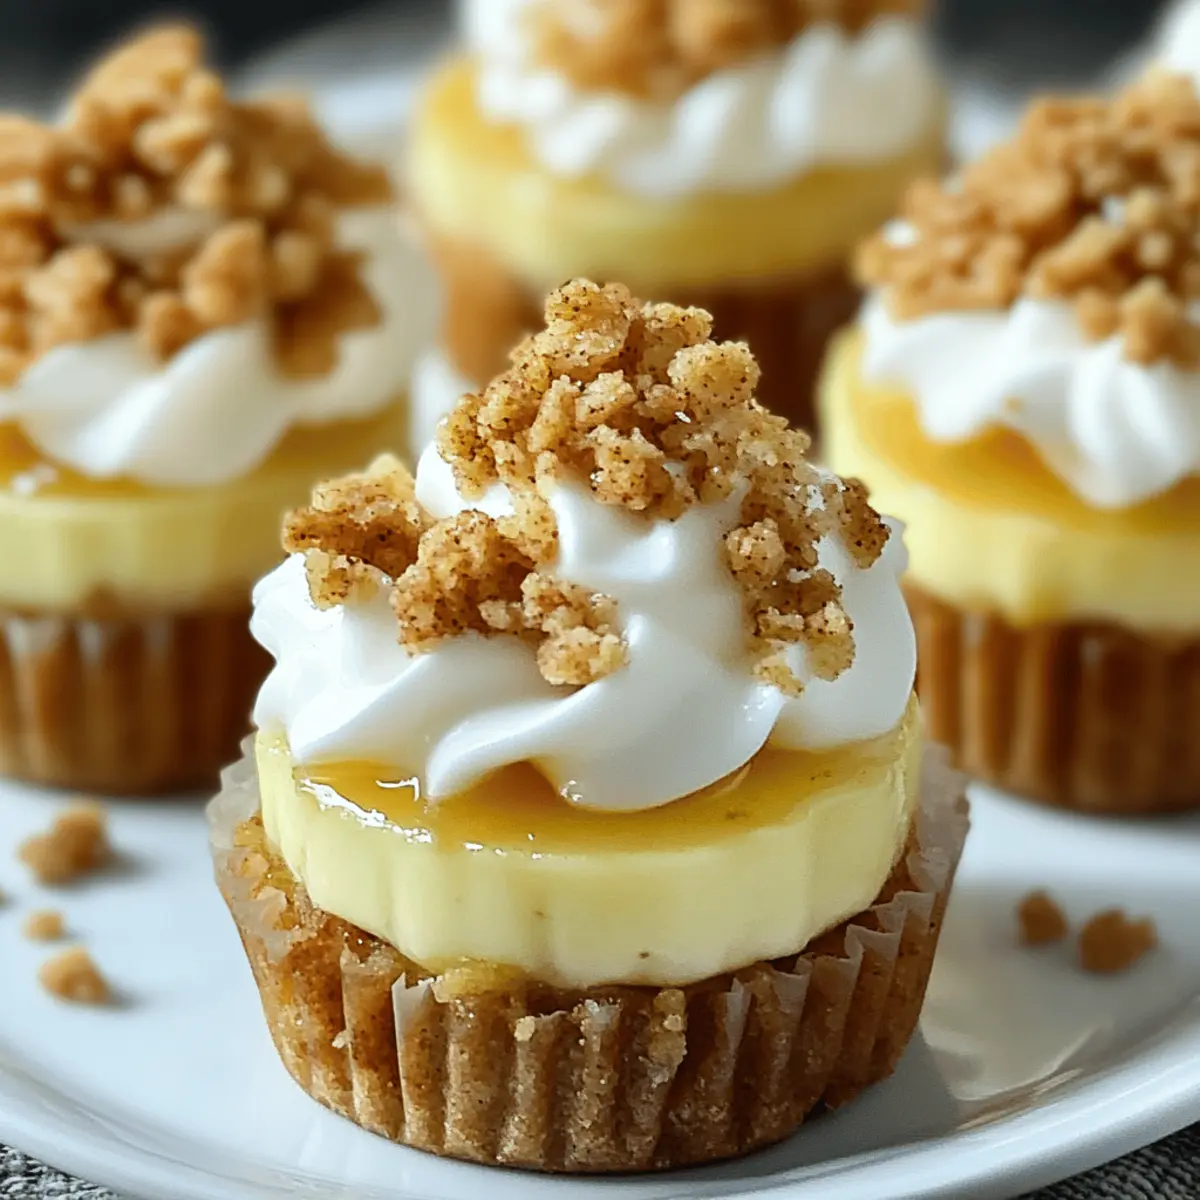
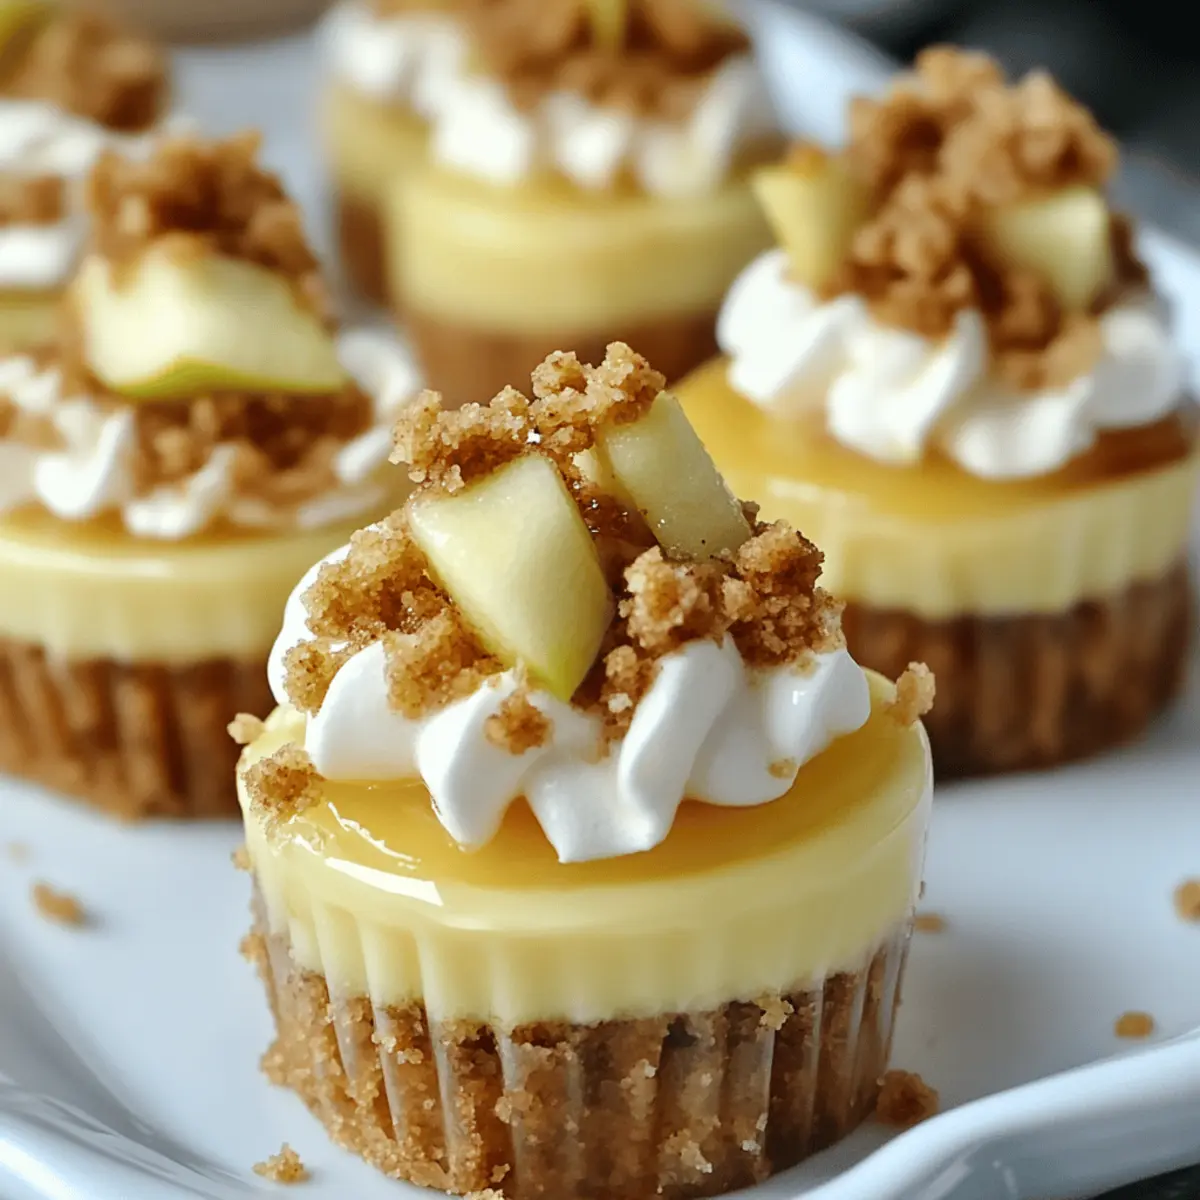
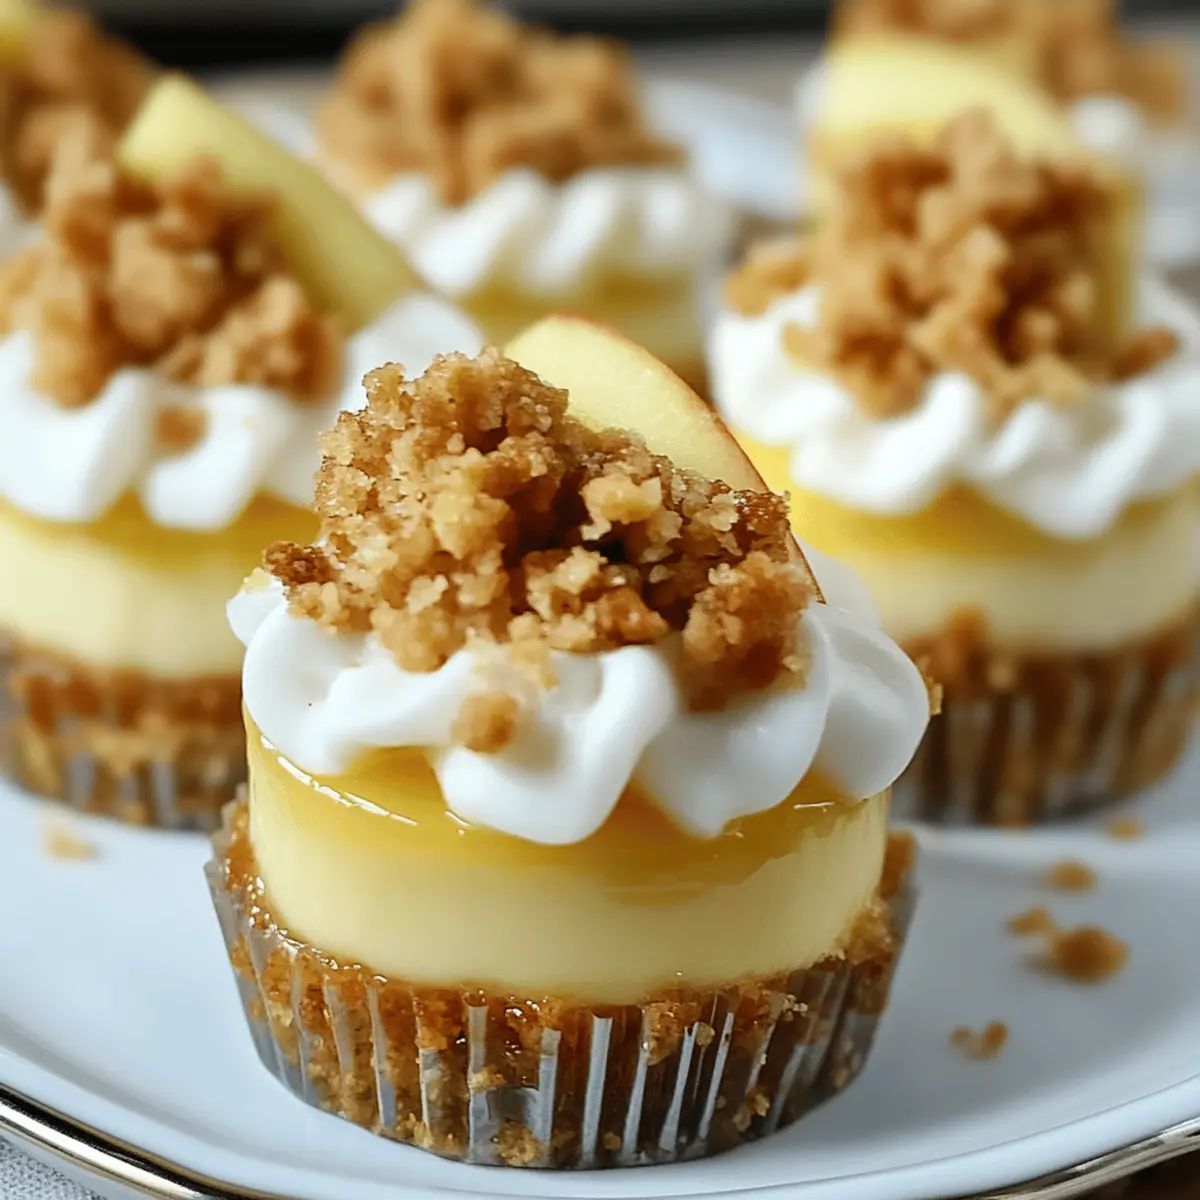
As the crisp air of autumn sweeps in, I find myself craving the comforting flavors that this season brings. That’s when I decided to whip up these Apple Crisp Mini Cheesecakes—perfectly portioned little bites of heaven that blend a rich cheesecake base with tender spiced apples and a crunchy oat streusel topping. Not only are they incredibly easy to make, coming together in just 30 minutes, but their individual servings make them a delightful treat for entertaining friends or family. Plus, they can be prepared ahead of time, allowing you to enjoy the festivities without fussing in the kitchen. Curious to discover how to create these fall-inspired desserts that are sure to impress? Let’s dive in!
Why are mini cheesecakes so irresistible?
Indulgent Flavor: The rich and creamy cheesecake contrasts beautifully with tender apples and a crunchy oat topping, creating a symphony of textures.
Perfect Portions: These individual servings make them ideal for gatherings, allowing everyone to savor their own little treat without the mess of slicing.
Effortless Preparation: With no complicated techniques needed, you can whip these up in just 30 minutes, making them a go-to option for busy weeknights or entertaining.
Make-Ahead Magic: Prepare them a day in advance, so you can simply pull them out for a delicious dessert when guests arrive—just like my Apple Crumble Warm!
Versatile Variations: Want to customize? Add nuts or chocolate chips for a fun twist and surprise your loved ones with different flavor profiles each time you make them!
These stunning mini cheesecakes are sure to impress, becoming your new favorite fall dessert!
Apple Crisp Mini Cheesecakes Ingredients
• Perfect for cozy gatherings or crisp evenings, these desserts are easy to make ahead.
For the Crust
- Graham Crackers – A staple for a sturdy base; crush until fine for optimal texture.
- Sugar – Sweetens the crust; you can experiment with brown sugar for extra flavor.
- Cinnamon – Adds warmth to the crust; feel free to adjust according to taste.
- Butter – Melted to bind the crust ingredients together; helps create a crispy finish.
For the Cheesecake Filling
- Cream Cheese – The heart of the cheesecake; ensure it’s softened for smooth blending.
- Sugar – Provides sweetness to balance the tang; customize based on preference.
- Vanilla Extract – Enhances flavor; opt for pure vanilla for the richest taste.
- Egg – Adds richness and structure; mix in briefly to prevent cracks in your filling.
For the Apple Topping
- Golden Delicious Apples – Natural sweetness and firm texture; you can substitute with Honeycrisp for tartness.
- Lemon Juice – Brightens apple flavor and prevents browning; essential for freshness.
- Cinnamon – Deepens the apple mixture’s flavor; adjust to suit your spice preference.
- Nutmeg – Just a pinch adds that cozy warmth; not too much, as it can overpower.
- Cornstarch – Thickens the apple mixture; crucial for keeping the crust from getting soggy.
For the Streusel Topping
- Oats – Crunchy texture for the perfect topping; substitute with chopped nuts for a delightful twist.
- Brown Sugar – Adds a lovely richness to the streusel; feel free to adjust to taste.
- Butter – Provides moisture and binds the topping ingredients; ensures a crispy texture when baked.
Dive into making these delicious Apple Crisp Mini Cheesecakes today, and you’ll have a fall dessert that everyone will love!
Step‑by‑Step Instructions for Apple Crisp Mini Cheesecakes
Step 1: Prepare the Crust
In a mixing bowl, combine crushed graham crackers, sugar, and cinnamon. Pour in melted butter and stir until the mixture is well combined and resembles wet sand. Firmly press the crumb mixture into the bottom of muffin tin liners, creating an even layer. Chill the crusts in the refrigerator for about 10 minutes while you prepare the cheesecake filling.
Step 2: Make the Filling
In a large bowl, beat the softened cream cheese and sugar with an electric mixer on medium speed until smooth and creamy. Add in the vanilla extract and egg, mixing just until combined to prevent cracks in your filling. Be careful not to overmix! Once smooth, set the filling aside while you prepare the apple topping.
Step 3: Prepare the Apples
Peel and dice the Golden Delicious apples, then place them in a medium mixing bowl. Drizzle with lemon juice and toss in cinnamon, nutmeg, and cornstarch to coat evenly. This mixture not only enhances the flavor but also helps maintain the right texture. Set aside to allow the spices to infuse while you assemble the mini cheesecakes.
Step 4: Assemble
Take the chilled graham cracker crusts from the refrigerator and spoon the cheesecake filling into each lined muffin cup, filling about three-quarters full. Gently press the spiced apple mixture on top of the filling, ensuring even distribution. Finish by sprinkling the streusel topping over the apples, allowing the mixture to create that perfect crunchy layer.
Step 5: Bake
Preheat your oven to 325°F (163°C). Place the assembled mini cheesecakes in the oven and bake for 28-30 minutes. Look for the edges to be set while the centers jiggle slightly—they will firm up as they cool. This will ensure your Apple Crisp Mini Cheesecakes have that delightful creamy texture.
Step 6: Cool and Chill
Once baked, remove the mini cheesecakes from the oven and let them cool in the pan for about 30 minutes. Afterward, transfer them to the refrigerator and chill for several hours, or ideally overnight. Chilling helps flavors meld beautifully, making each cheesecake even more flavorful when served.
Make Ahead Options
These Apple Crisp Mini Cheesecakes are a fantastic choice for meal prep! You can prepare the graham cracker crust and store it in the refrigerator for up to 3 days. Simply press the crusts into muffin tins, then cover with plastic wrap to keep them fresh. You can also pre-chop the apples, toss them with lemon juice, and refrigerate for up to 24 hours to prevent browning. When you’re ready to serve, assemble the cheesecakes by filling each crust with the cheesecake mixture, topping with spiced apples, and adding the streusel right before baking. This means you can enjoy delicious, homemade desserts with minimal last-minute effort and impressive quality!
Storage Tips for Apple Crisp Mini Cheesecakes
Fridge: Keep your Apple Crisp Mini Cheesecakes refrigerated for up to 5 days. Store them in an airtight container to maintain freshness and prevent any unwanted flavors from seeping in.
Make-Ahead: You can prepare these delightful mini cheesecakes up to 3 days in advance. Simply bake, cool, and refrigerate until you’re ready to serve, which is perfect for hassle-free entertaining.
Freezer: Freeze the mini cheesecakes for up to 3 weeks. Wrap each cheesecake tightly in plastic wrap and then place them in a freezer-safe bag or container.
Thawing: To enjoy your frozen Apple Crisp Mini Cheesecakes, thaw them overnight in the refrigerator for the best texture and flavor before serving.
Apple Crisp Mini Cheesecakes Variations
Feel free to get creative with your Apple Crisp Mini Cheesecakes and adapt them to your tastes!
-
Nutty Crunch: Add chopped pecans or walnuts to the streusel for an irresistible crunchy bite. These nuts not only provide texture but also bring a delightful roasted flavor that complements the apples beautifully.
-
Choco-Lover’s Twist: Incorporate mini chocolate chips into the cheesecake batter for a deliciously sweet surprise. This unique addition creates a rich chocolatey contrast against the spiced apples, making every bite unforgettable.
-
Cranberry Zing: Fold in dried cranberries with the apples for a burst of tartness and vibrant color. This sweet-and-tart combination gives your mini cheesecakes an autumnal flair that’s perfect for the season.
-
Larger Cheesecake Version: Adapt the recipe for a 9-inch springform pan, adjusting the baking time. This allows you to make a stunning centerpiece dessert that can easily be sliced and served during gatherings.
-
Apple Variety Play: Experiment with different types of apples like Honeycrisp or Gala for a varied flavor profile. Each variety adds its unique twist, ensuring that your cheesecakes stay interesting and seasonal.
-
Maple Syrup Sweetener: Replace half of the sugar in the cheesecake filling with maple syrup for a cozy, caramel-like taste. It enhances the overall flavor, adding warmth that perfectly matches the season.
-
Spiced Rum Infusion: Add a splash of spiced rum to the apple mixture for an adult twist. This will elevate the flavors and provide a sophisticated kick that your guests will love.
-
Savory Sweet: For a unique flavor profile, mix in some grated cheddar cheese into the filling, balancing sweet and savory notes. This unexpected twist can surprise and delight while capturing the warmth of fall.
Elevate your dessert game with these variations, and don’t forget to check out my delightful recipe for Apple Cobbler Buttery to explore more delicious apple-inspired treats!
What to Serve with Apple Crisp Mini Cheesecakes
These delightful little desserts are sure to steal the spotlight, but enhancing your menu can create a truly memorable gathering!
-
Warm Caramel Sauce: A rich drizzle over the cheesecakes intensifies their flavors, adding a luxurious touch that’s hard to resist.
-
Vanilla Ice Cream: The creamy coldness juxtaposes the warm cheesecakes perfectly, melting into each bite for an indulgent experience.
-
Spiced Cider: A cozy drink elevates the autumn vibe, making each mouthful of cheesecake feel even more festive and warm.
-
Whipped Cream: Light and fluffy, it balances the rich cheesecake while adding a touch of sweetness. Top each dessert generously for an elegant finish!
-
Fresh Apple Slices: Crisp and refreshing, they can serve as a light accompaniment and a nod to the flavors within the cheesecakes, enhancing the overall apple theme.
-
Pecan Topping: Add a sprinkle of chopped pecans on top of each cheesecake for an extra crunchy element and nutty flavor that complements the oat streusel.
-
Chai Latte: This warm, spiced drink makes a lovely pairing, balancing the cheesecakes’ sweetness while echoing the flavors of cinnamon and nutmeg.
-
Chocolates or Truffles: An indulgent surprise for chocolate lovers, providing a contrast to the fruity cheesecake—it’s a delightful way to end a meal.
Expert Tips for Apple Crisp Mini Cheesecakes
-
Avoid Overmixing: Be gentle once you add the egg to the cheesecake filling. Overmixing can lead to cracks during baking, ruining the creamy texture.
-
Use Fresh Apples: Opt for Golden Delicious or Honeycrisp apples for their sweetness and firmness. They hold their shape beautifully during baking, enhancing your mini cheesecakes.
-
Chill the Crust: After pressing the graham cracker mixture into the muffin tins, chilling for about 10 minutes helps set the crust. This prevents it from crumbling when you fill it later.
-
Spice to Taste: Adjust the cinnamon and nutmeg quantities in the apple mixture to suit your personal taste. A little more can create a cozy autumn flavor!
-
Storage Tips: These Apple Crisp Mini Cheesecakes can be made up to three days ahead of time. Keep them stored in the refrigerator to maintain their freshness and flavor.
-
Presentation Matters: For a beautiful finish, drizzle with caramel sauce or top with a dollop of whipped cream just before serving. It adds visual appeal and extra flavor!

Apple Crisp Mini Cheesecakes Recipe FAQs
How do I select the right apples for this recipe?
Absolutely! For this recipe, Golden Delicious apples are a top choice due to their natural sweetness and firmness. However, you can also use Honeycrisp or Gala apples if you prefer a bit of tartness and crunch. Look for apples that are firm and free from bruises or dark spots for the best results.
How should I store my Apple Crisp Mini Cheesecakes?
Keep your mini cheesecakes refrigerated for up to 5 days in an airtight container. This helps maintain their freshness and flavor! If you’re making them ahead of time, they can also be prepared up to 3 days in advance. Just pop them in the fridge until you’re ready to serve!
Can I freeze the mini cheesecakes, and how do I do it?
Yes, you can absolutely freeze these delicious treats! Wrap each individual cheesecake tightly in plastic wrap and then place them in a freezer-safe bag or container. They will stay fresh for up to 3 weeks. To enjoy, simply thaw them overnight in the refrigerator before serving for the best texture.
What do I do if my cheesecakes have cracks after baking?
Very common! To prevent cracks, it’s important to avoid overmixing after adding the egg to the cheesecake filling. Mix just until combined. Additionally, baking at the right temperature and allowing them to cool gradually in the pan can help. If they do crack, don’t worry! A drizzle of caramel or a dollop of whipped cream can cover it up beautifully!
Are there any dietary considerations for my guests or pets?
It’s always great to be mindful of allergies! This recipe contains dairy, eggs, and gluten, which are common allergens. If you’re baking for someone with dietary restrictions, consider using gluten-free graham crackers, dairy-free cream cheese, and a substitute for eggs, like a flax egg (1 tablespoon of ground flaxseed mixed with 2.5 tablespoons of water, set aside until thickened). And as a rule of thumb, keep this delectable dessert away from pets, as ingredients like chocolate and sugar can be harmful to them.
Apple Crisp Mini Cheesecakes: A Cozy Fall Delight
Ingredients
Equipment
Method
- In a mixing bowl, combine crushed graham crackers, sugar, and cinnamon. Pour in melted butter and stir until well combined. Press into the bottom of muffin tin liners, creating an even layer. Chill for about 10 minutes.
- Beat softened cream cheese and sugar with an electric mixer on medium speed until smooth. Add vanilla extract and egg, mixing just until combined. Set aside.
- Peel and dice the Golden Delicious apples, drizzle with lemon juice, and toss in cinnamon, nutmeg, and cornstarch. Set aside.
- Spoon the cheesecake filling into each lined muffin cup, filling about three-quarters full. Press the spiced apple mixture on top and sprinkle with streusel topping.
- Preheat oven to 325°F. Bake for 28-30 minutes until edges are set and centers jiggle slightly. They will firm up as they cool.
- Let cool in the pan for about 30 minutes. Transfer to the refrigerator and chill for several hours or overnight.
Leave a Reply