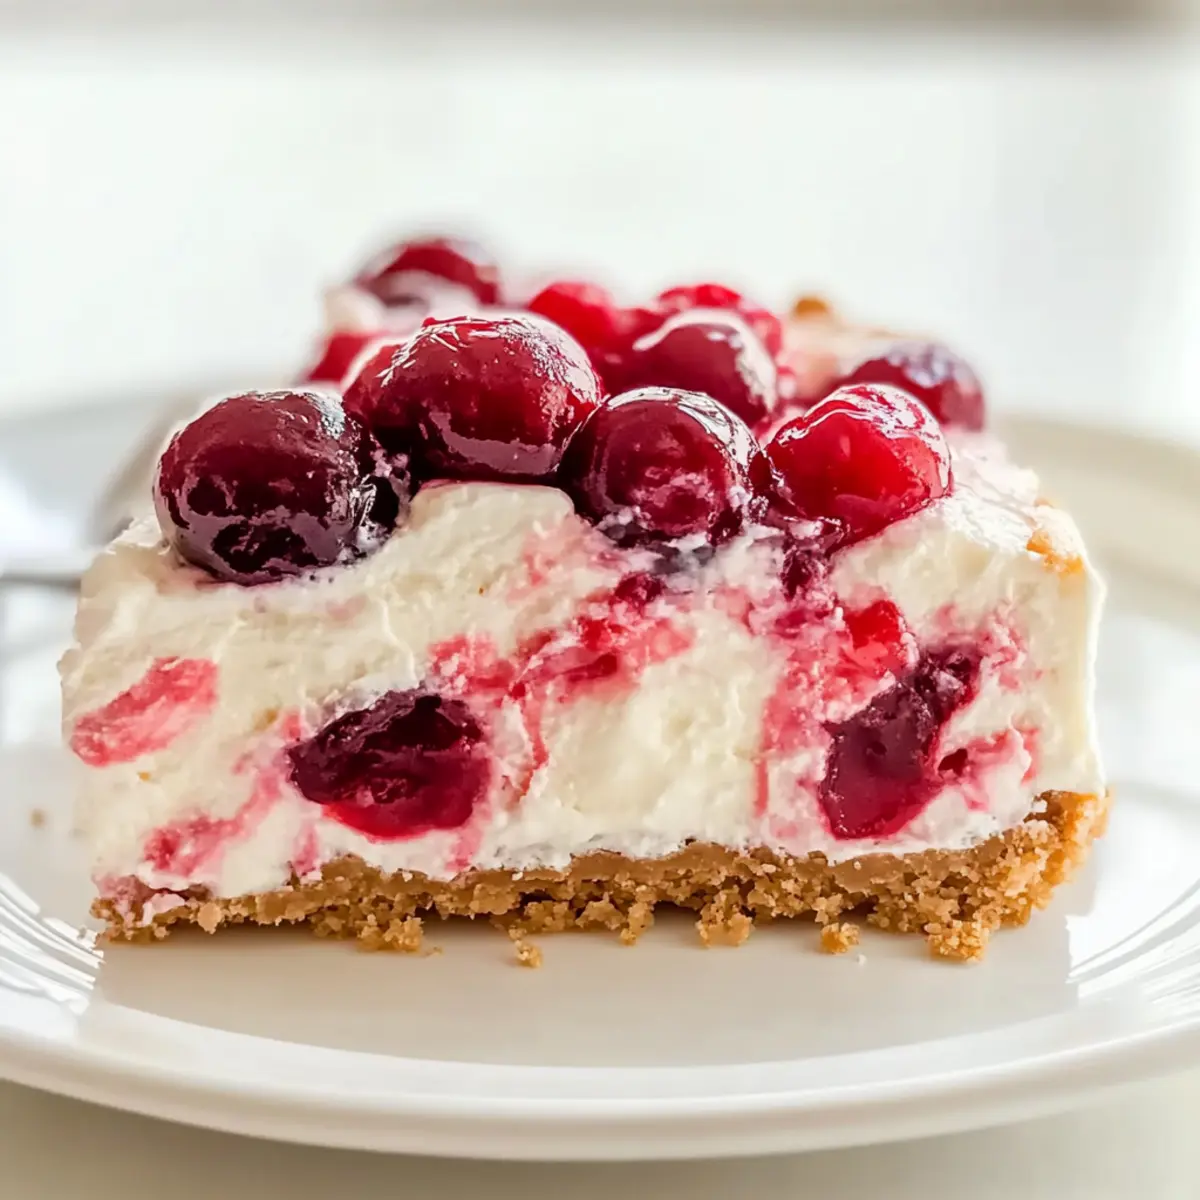
As I stood in my kitchen, the sweet scent of cherries filled the air, transporting me to a sun-drenched summer picnic. That’s when it hit me—a craving for something refreshing, easy, and utterly satisfying: Cherry Cheesecake Lush. This no-bake dessert is a delightful blend of creamy cheesecake layered over a crunchy cookie crust, topped with a luscious cherry filling. Not only is it quick to whip together, making it perfect for any gathering, but it’s also a crowd-pleaser even for those who claim they can’t bake! With simple ingredients and minimal effort, you can create a stunning treat that will leave everyone asking for seconds. Curious about how to make this showstopper? Let’s dive into the layers of delight that await!
Why is Cherry Cheesecake Lush a Must-Try?
Irresistibly Easy: This no-bake dessert takes minimal effort, perfect for busy days when you need a quick treat.
Creamy Layers: Each bite reveals a delightful combination of creamy cheesecake and crunchy cookie crust, elevating your dessert experience.
Versatile Topping: The luscious cherry topping can be adjusted to your preference; swap out with fresh cherries for a vibrant twist!
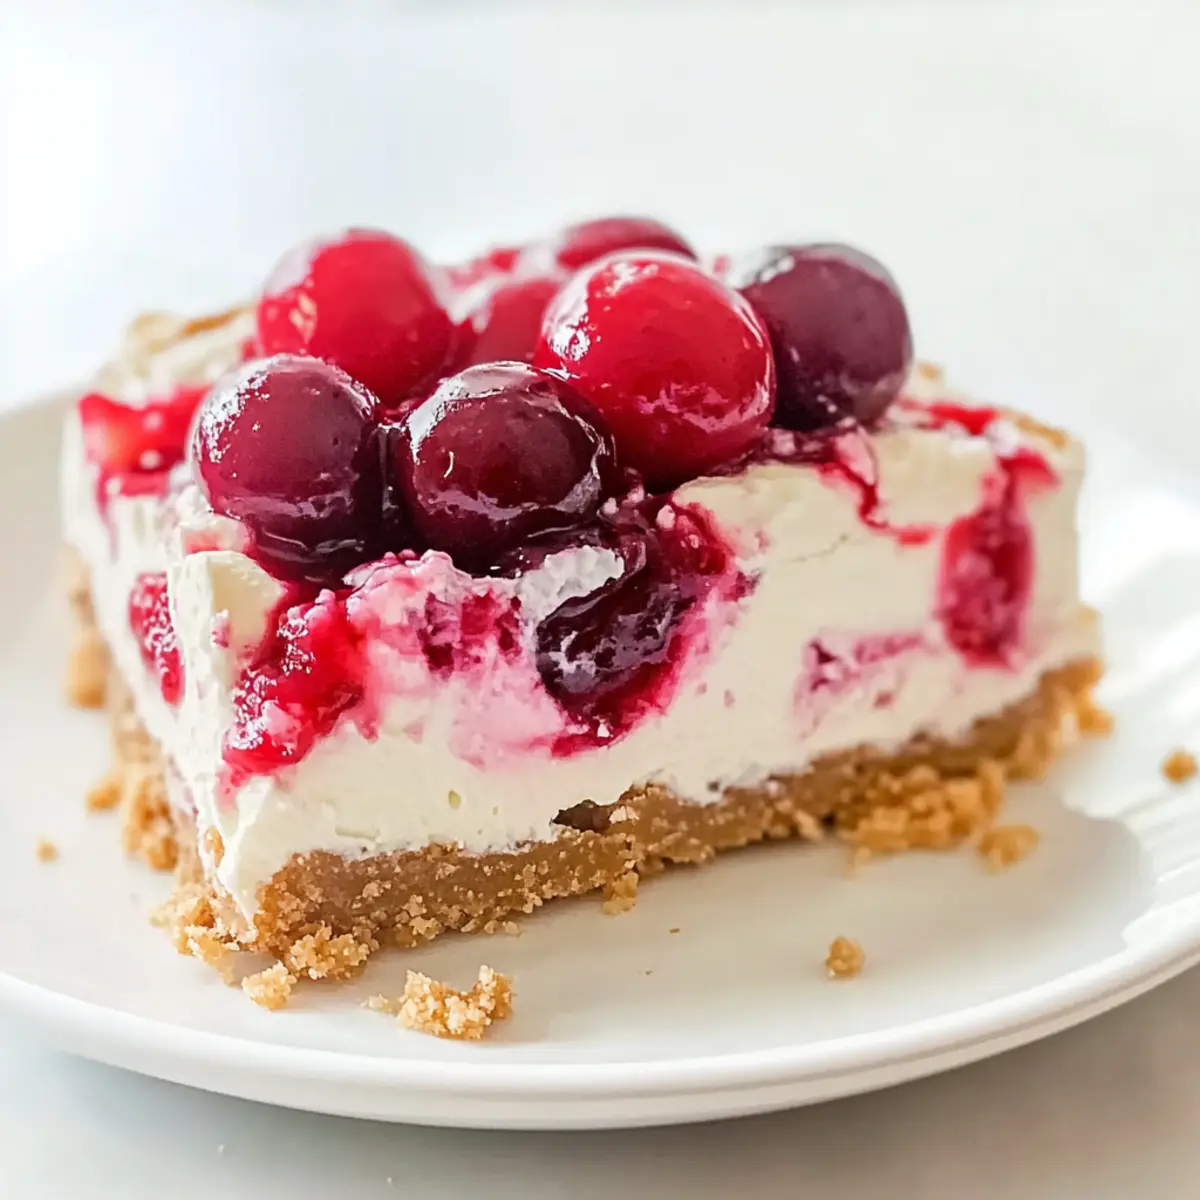
Showstopping Appeal: It’s a visually stunning dessert that garners rave reviews at any gathering, making you the star of the show.
Make-Ahead Convenience: Prepare it a day in advance for unbeatable flavors, freeing up your time when hosting. Serve alongside a scoop of vanilla ice cream or additional whipped cream for that extra touch of indulgence!
Cherry Cheesecake Lush Ingredients
For the Cookie Crust
- Vanilla Sandwich Cookies – Provide the base crust’s crunch and sweetness; can substitute with gluten-free cookies for a gluten-free option.
- Salted Butter – Binds cookie crumbs together and adds richness; ensure it is melted and cooled before mixing.
For the Cheesecake Filling
- Cream Cheese – Forms the creamy filling; ensure it is softened to avoid lumps.
- Granulated Sugar – Adds sweetness to the cream cheese layer; adjust to taste as needed.
- Vanilla Extract – Enhances flavor in the cream cheese layer.
- Frozen Whipped Topping (Cool Whip) – Adds airiness and volume to the cheesecake layers; can use dairy-free versions if needed.
- Cheesecake Flavored Instant Pudding Mix – Provides creamy texture and flavor; can substitute extra cream cheese and whipped topping, adjusting sugar accordingly.
- Whole Milk – Used to mix with pudding; can substitute with almond or oat milk for dairy-free options.
For the Topping
- Cherry Pie Filling – The topping that brings sweetness and tartness; consider fresh cherries mixed with sugar and cornstarch as an alternative.
- Chopped Pecans – Add crunch and flavor to the topping; optional but recommended for extra texture.
This Cherry Cheesecake Lush is sure to become a go-to recipe, not just for its delightful taste but also for its quick preparation!
Step‑by‑Step Instructions for Cherry Cheesecake Lush
Step 1: Prepare the Cookie Crust
Preheat your oven to 350°F (175°C) and grease a 9×13 inch baking dish. In a food processor, crush vanilla sandwich cookies until crumbly, resembling wet sand. Mix the crumbs with melted and cooled salted butter until well combined. Press this mixture firmly into the bottom of the greased dish and bake for about 10 minutes until set. Allow the crust to cool completely before adding the creamy layers.
Step 2: Make the Cream Cheese Layer
Using an electric mixer, beat the softened cream cheese in a large bowl until smooth and creamy, about 2-3 minutes. Gradually add granulated sugar and vanilla extract, mixing until well combined and fluffy. Carefully fold in half of the thawed whipped topping to maintain the light texture. Spread this delicious cream cheese mixture evenly over the cooled cookie crust, creating a delightful base layer for your Cherry Cheesecake Lush.
Step 3: Prepare the Cheesecake Layer
In a separate bowl, whisk together the cheesecake flavored instant pudding mix and whole milk for about 2 minutes until the mixture thickens. Gently fold in the remaining whipped topping until fully incorporated and creamy. Pour this luscious cheesecake filling over the cream cheese layer, spreading it evenly with a spatula to make sure every bite is packed with flavor and creaminess.
Step 4: Add the Cherry Topping
Carefully spoon the cherry pie filling over the top of the cheesecake layer, ensuring that it covers the surface beautifully. If desired, sprinkle chopped pecans over the cherry layer for an added crunch and richness. This vibrant topping not only looks stunning but also adds a sweet and tart burst of flavor that complements the creamy layers of the Cherry Cheesecake Lush.
Step 5: Chill and Serve
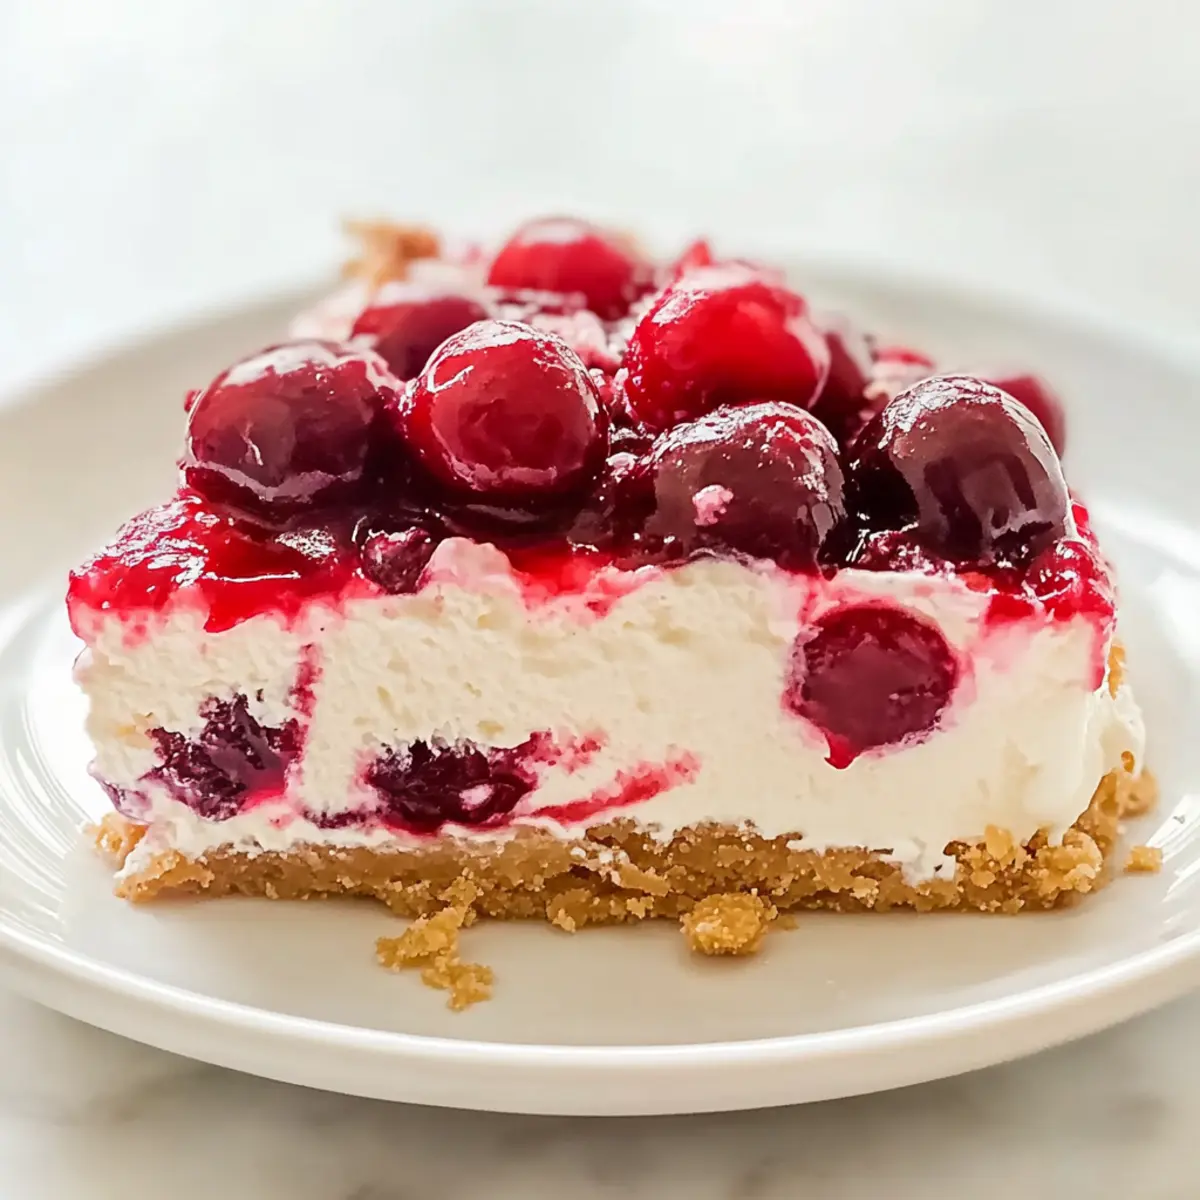
Cover the baking dish tightly with plastic wrap and refrigerate for at least 4 hours, or ideally overnight, to let the flavors meld and the dessert set properly. Once chilled, cut into squares and serve your Cherry Cheesecake Lush cold. Each slice should reveal stunning layers, making it an impressive treat for family dinners and gatherings alike.
Expert Tips for Cherry Cheesecake Lush
-
Room Temperature Essential: Ensure your cream cheese is at room temperature before beating it. This prevents lumps and creates a smooth filling in your Cherry Cheesecake Lush.
-
Gentle Folding Technique: When incorporating whipped topping, use a gentle folding motion to maintain its light and airy texture. This step is crucial for achieving that perfect creamy layer.
-
Flavor Infusion: For an enhanced flavor experience, consider preparing the dessert a day in advance. This allows the layers to meld beautifully, creating a richer taste.
-
Proper Chilling Time: Be sure to chill your Cherry Cheesecake Lush for at least 4 hours, but overnight is best. This helps set the layers and ensures every slice holds its shape perfectly.
-
Keep it Covered: Store leftover dessert in the refrigerator covered with plastic wrap for up to three days. This keeps it fresh and delicious, ready for a sweet treat anytime!
Cherry Cheesecake Lush Variations & Substitutions
Feel free to put your own spin on this recipe and create a Cherry Cheesecake Lush that speaks to your tastebuds!
-
Gluten-Free Option: Substitute vanilla sandwich cookies with gluten-free cookies for a delightful gluten-free treat. This means that everyone can join in on the fun, ensuring that no one is left out at dessert time.
-
Fresh Cherry Twist: Swap cherry pie filling for fresh cherries mixed with a little sugar and cornstarch for a burst of vibrant flavor. The natural sweetness and tartness of fresh cherries will elevate your dessert to a whole new level of freshness.
-
Dairy-Free Delight: Use dairy-free whipped topping and cream cheese for a completely dairy-free dessert without sacrificing creaminess. This is a perfect option for guests with dietary restrictions, ensuring they can enjoy every delicious bite.
-
Flavorful Pudding Alternatives: Try using chocolate or vanilla instant pudding mix instead of cheesecake-flavored for a unique and delicious twist. Chocolate brings a rich depth while vanilla offers a simple elegance that you can’t go wrong with.
-
Nutty Crunch: Add toasted almond slivers or walnuts instead of chopped pecans to enhance texture and taste. The extra crunch will create a delightful contrast to the creamy layers, making each bite interesting.
-
Warm Spice Addition: Sprinkle a hint of cinnamon or nutmeg into the cream cheese filling for a cozy, spiced flavor. This subtle addition can evoke warm memories, transforming your Cherry Cheesecake Lush into a comforting dessert perfect for any occasion.
-
Berry Medley: Swap out the cherry topping for mixed berry pie filling, such as blueberries and raspberries, for a delightful burst of fruity goodness. This berry blend not only looks gorgeous but adds a tartness that balances beautifully with the creamy layers.
-
Choco Drizzle: Drizzle melted chocolate over the topped cherries for an indulgent finish. This chocolatey touch complements the cherries perfectly, creating a sensational dessert that will impress even the pickiest eaters.
For more dessert inspirations, don’t forget to check out my delicious Cherry Pistachio Cheesecake or the rich and creamy Cheesecake Fudge Snap. Happy baking!
What to Serve with Cherry Cheesecake Lush?
To create a memorable dining experience, consider these delightful companions for your luscious dessert.
-
Vanilla Ice Cream: The creamy, chilled ice cream perfectly contrasts the smooth cheesecake, enhancing the treat’s overall indulgence. A scoop of vanilla beside your slice adds a delightful, frosty touch.
-
Fresh Berries: Strawberries or blueberries add a burst of freshness and color to your dessert plate. Their natural tartness beautifully balances the sweetness of the Cherry Cheesecake Lush.
-
Chocolate Sauce: A drizzle of chocolate sauce adds an extra layer of decadence, making each bite even more tempting. Its rich flavor pairs exceptionally with the creamy layers and cherry topping.
-
Homemade Whipped Cream: Light and airy, a dollop of whipped cream on top enhances the visual appeal and provides a fluffy texture that contrasts with the silky cheesecake.
-
Mint Leaves: A sprig of fresh mint not only decorates the plate but also introduces a refreshing element. Its vibrant flavor complements the cherry topping beautifully.
-
Coffee or Espresso: A cup of freshly brewed coffee or a shot of espresso creates a lovely contrast with the dessert’s sweetness. The rich, bold notes of coffee balance the creamy lusciousness wonderfully.
-
Lemon Sorbet: For a lighter option, lemon sorbet. The tangy flavor refreshes your palate after the rich dessert, making each bite an enjoyable experience.
These pairings will elevate your Cherry Cheesecake Lush experience, ensuring everyone leaves the table satisfied!
How to Store and Freeze Cherry Cheesecake Lush
Refrigerator: Keep your Cherry Cheesecake Lush covered with plastic wrap or in an airtight container for up to 3 days. This preserves its delightful freshness and creamy texture.
Make-Ahead: You can prepare this luscious dessert up to a day in advance. Allow the flavors to meld and chill overnight for the best taste experience.
Freezer: While it’s best enjoyed fresh, you can freeze the Cherry Cheesecake Lush for up to 2 months. Slice and wrap each piece tightly in plastic wrap before placing it in an airtight container. Thaw in the refrigerator before serving.
Reheating: There’s no need to reheat this no-bake dessert—simply serve it straight from the fridge for a refreshing treat!
Make Ahead Options
These Cherry Cheesecake Lush are perfect for meal prep enthusiasts! You can prepare the cookie crust and cream cheese layer up to 24 hours in advance, allowing the flavors to meld beautifully. Simply bake the crust and let it cool completely before adding the cream cheese layer. The cheesecake layer can also be made ahead; just keep it refrigerated in an airtight container until you’re ready to assemble. When it’s time to serve, spoon the cherry pie filling on top, and refrigerate for at least 4 hours or overnight for the best results. This makes entertaining easy, as you’ll have a delightful dessert ready to go with minimal effort!

Cherry Cheesecake Lush Recipe FAQs
How do I select ripe cherries for the topping?
Absolutely! When choosing cherries, look for ones that are firm, plump, and shiny. They should be deep red with a rich color. Avoid any with blemishes or dark spots, as these indicate overripeness. Fresh cherries can elevate your cherry topping significantly!
What’s the best way to store leftover Cherry Cheesecake Lush?
Very! To keep your Cherry Cheesecake Lush fresh, store it in the refrigerator covered tightly with plastic wrap or in an airtight container for up to 3 days. This will help maintain its creamy texture and flavor while preventing it from absorbing any odors from the fridge.
Can I freeze Cherry Cheesecake Lush?
Absolutely! While it’s best enjoyed fresh, you can freeze it for up to 2 months. To freeze, slice the lush and wrap each piece tightly in plastic wrap, then place them in an airtight container. When you’re ready to enjoy, simply thaw it in the refrigerator for several hours before serving—no need to reheat!
What if my cream cheese layer has lumps?
If your cream cheese layer has lumps, don’t worry! This can happen if the cream cheese is too cold. To fix this, ensure you beat the cream cheese until it’s completely smooth before adding the sugar and vanilla. If lumps persist, you can strain the mixture through a fine mesh sieve, or blend in a food processor until creamy.
Can pets have any of the ingredients in Cherry Cheesecake Lush?
No, it’s best to keep this dessert away from pets. Ingredients like cream cheese and sugar can upset their stomachs. Additionally, cherries’ pits can be a choking hazard. Always choose pet-safe treats if you want to include your furry friends during dessert time.
Creamy Cherry Cheesecake Lush: A No-Bake Dream Dessert
Ingredients
Equipment
Method
- Preheat your oven to 350°F (175°C) and grease a 9x13 inch baking dish. Crush vanilla sandwich cookies until crumbly and mix with melted butter. Press into the bottom of the dish and bake for 10 minutes until set. Let cool completely.
- Beat softened cream cheese until smooth. Gradually add sugar and vanilla, mixing until fluffy. Fold in half of the whipped topping. Spread over cooled cookie crust.
- Whisk together pudding mix and whole milk until thick. Fold in remaining whipped topping and pour over cream cheese layer, spreading evenly.
- Spoon cherry pie filling over cheesecake layer, and sprinkle with pecans if desired.
- Cover tightly and refrigerate for at least 4 hours, or overnight. Cut into squares and serve chilled.
Leave a Reply