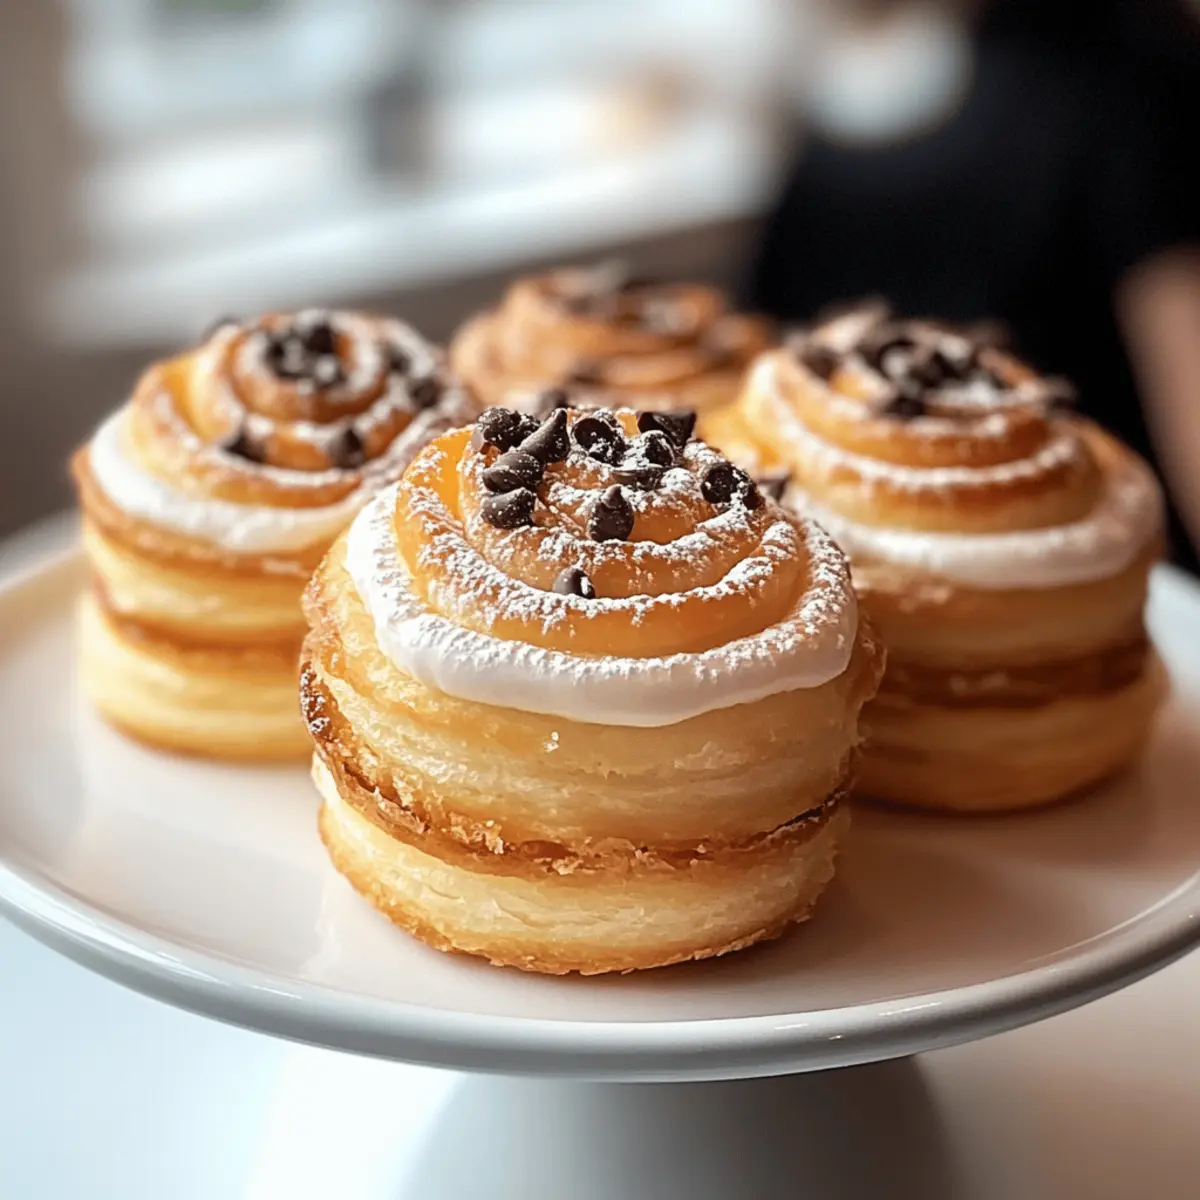
The aroma of fresh pastries wafting through a cozy kitchen is an experience like no other. When I stumbled upon the enchanting world of cruffins, a delightful fusion of croissants and muffins, I knew I had to share this treasure with fellow home-chefs. These delicious cruffins not only elevate breakfast but also serve as the perfect sweet treat for any occasion! With their flaky layers and buttery texture, they’re surprisingly simple to make, bringing that bakery magic right to your countertop. Whether you’re looking to impress guests during brunch or indulging in a personal dessert moment, these cruffins will surely hit the spot. Curious about how to create your own batch of heavenly pastries? Let’s dive into the delightful process together!
Why Are These Cruffins Irresistible?
Flaky Layers: The secret to these cruffins lies in their delicate, flaky layers that rival even the best bakery treats. Buttery Goodness: Each bite melts in your mouth with rich, buttery flavor that’s simply unmatched. Versatile Options: You can fill these charming pastries with everything from chocolate to fruit preserves, tailoring them to your cravings. Quick & Easy: With basic ingredients and simple steps, you can whip these up in no time — a great addition to your homemade breakfast lineup. Crowd-Pleasing Delight: They’re not just for you; your guests will be raving about them, making them the star of any gathering! For more delightful ideas, check out this Strawberry Sandwich Summer recipe to complement your cruffins.
Delicious Cruffins Ingredients
• Ready to create these delicious cruffins? Let’s gather the essentials!
For the Dough
- All-Purpose Flour – Provides structure for the flaky layers; you can substitute with bread flour for a chewier texture.
- Unsalted Butter – Delivers rich flavor and flakiness; make sure it’s at room temperature for easy mixing.
- Granulated Sugar – Adds sweetness and helps with browning; brown sugar can enhance the richness.
- Whole Milk – Binds ingredients and adds moisture; low-fat milk works too but might change the texture.
- Active Dry Yeast – Provides lightness; always check that it’s fresh for the best results.
- Eggs – One for the dough adds flavor and structure, while another is perfect for the egg wash.
For the Filling
- Fillings (e.g., chocolate chips, fruit preserves) – Choose your favorite flavors; about 1 cup is needed to fully delight each cruffin!
Step‑by‑Step Instructions for Delicious Cruffins
Step 1: Prepare the Dough
In a large mixing bowl, combine all-purpose flour, granulated sugar, and active dry yeast. Create a well in the center and add whole milk and one egg. Mix until a shaggy dough forms, then knead on a floured surface for about 5-7 minutes until the dough is smooth and elastic, which is key for our delicious cruffins.
Step 2: First Rise
Shape the kneaded dough into a ball and place it in a lightly oiled bowl, ensuring it is adequately coated. Cover the bowl with a damp cloth or plastic wrap, then let it rise in a warm area for about 1 hour, or until doubled in size — you’ll know it’s ready when it feels airy and puffy to the touch.
Step 3: Roll Out Dough
Once the dough has risen, punch it down gently to release any air. Roll it out into a rectangle approximately ¼ inch thick. Spread softened unsalted butter evenly over 2/3 of the surface, leaving one edge bare. Fold the unbuttered edge over the buttered portion, creating layers that will make our cruffins flaky.
Step 4: Cut & Fill
Roll the dough out again to ½ inch thickness. Now, cut it into squares and place about one tablespoon of your favorite filling, like chocolate chips or fruit preserves, in the center of each square. Fold the opposite corners in towards the center and pinch to seal the edges, creating delightful little parcels of flavor.
Step 5: Second Rise
Arrange the filled dough in greased muffin tins, leaving some space between each one. Cover them again with a cloth and allow them to rise for another 30 minutes until they appear puffed and doubled in size. This second rise is crucial for achieving that light, airy texture in your delicious cruffins!
Step 6: Bake
Preheat your oven to 375°F (190°C). Once heated, bake the cruffins for about 25 minutes, or until they are golden brown and fragrant. You’ll know they’re done when they have a lovely golden crust that beckons you, releasing that irresistible buttery aroma throughout your kitchen.
How to Store and Freeze Delicious Cruffins
Fridge: Store cooled cruffins in an airtight container for up to 7 days. Keeping them sealed prevents dryness, ensuring every bite remains moist and delightful.
Freezer: For longer storage, wrap each cruffin individually in plastic wrap and place them in a freezer-safe bag. They can be frozen for up to 3 months without compromising their flaky texture.
Reheating: To enjoy cruffins after freezing, preheat your oven to 350°F (175°C) and reheat for about 10-15 minutes until warmed through. This method refreshes their buttery goodness!
What to Serve with Delicious Cruffins?
The perfect pairing can elevate your cruffins from delightful pastries to an unforgettable meal experience.
- Fresh Fruit Salad: Juicy berries and citrus add a refreshing contrast to the buttery richness of cruffins.
- Whipped Cream: A dollop of lightly sweetened whipped cream brings creaminess that balances the texture of each flaky layer beautifully.
- Espresso or Coffee: The bold flavors of coffee enhance the sweetness of cruffins, creating a warm, inviting breakfast experience.
- Yogurt Parfait: Layered with granola and fruit, a yogurt parfait offers a tangy crunch that complements the soft sweetness of cruffins.
- Chocolate Sauce Drizzle: Adding a drizzle of warm chocolate sauce intensifies the sweetness and creates a decadent dessert moment.
- Savory Cheese Plate: A selection of cheeses provides a delightful contrast to the sweet pastries, making for an exciting brunch spread.
- Herbal Tea: The light, fragrant notes of herbal tea create a serene pairing that harmonizes with the flaky textures of the cruffins.
By mixing textures and flavors, you can create an enchanting dining experience that fully showcases the charm of your delicious cruffins!
Expert Tips for Delicious Cruffins
-
Cold Butter Matters: Use cold butter when rolling out the dough to achieve distinct, flaky layers in your delicious cruffins.
-
Don’t Rush the Rise: Give your dough adequate time to rise; this step is crucial for the airy texture that makes cruffins so delightful.
-
Evenly Cut Squares: Ensure the dough squares are uniform in size to promote even baking and a consistent shape for your cruffins.
-
Fill Wisely: Avoid overfilling your cruffins; about one tablespoon of filling ensures they’re packed with flavor without spilling out during baking.
-
Check for Doneness: Monitor your cruffins closely while baking; they should be golden brown, so keep an eye on them to prevent burning.
Delicious Cruffins Variations & Substitutions
Feel free to play around with these suggestions and get creative with your delicious cruffins!
-
Dairy-Free: Use coconut oil or dairy-free butter instead of unsalted butter for a vegan-friendly version.
-
Chocolate Lovers: Swap in dark chocolate chips for a richer taste, or mix in some espresso powder for enhanced flavor.
-
Fruit-Infused: Substitute chocolate chips with seasonal fruit preserves like raspberry or peach to add a fruity zing.
-
Savory Twist: Create a delightful savory cruffin by using cheese blends or fillings like pesto for an unexpected treat.
-
Spice It Up: Add a dash of cinnamon or nutmeg to the dough for a warm, aromatic flavor that dances on your palate.
-
Nutty Crunch: Mix in chopped nuts (e.g., almonds or pecans) with your fillings for an added texture and taste that elevates each bite.
-
Whipped Topping: After baking, drizzle your cruffins with a homemade vanilla glaze. Pair them with a dollop of whipped cream for an extravagant finishing touch.
For a lovely afternoon treat, consider bringing a batch of these delicious cruffins alongside a refreshing fruit salad, or enjoy them with your favorite coffee blend. You might also enjoy making these delectable Strawberry Sandwich Summer creations for a delightful brunch spread!
Make Ahead Options
These delicious cruffins are perfect for meal prep enthusiasts! You can make the dough up to 24 hours in advance before shaping and baking. Simply complete steps one and two, then cover and refrigerate the dough once it has risen. When you’re ready to enjoy your cruffins, roll out and fill the dough, allowing it to rise a second time for about 30 minutes. For even more convenience, you can fully bake the cruffins and store them in an airtight container for up to 3 days. Just warm them in the oven for a few minutes before serving to bring back that fresh-baked flavor. Trust me, you’ll have bakery-quality results with minimal effort—perfect for busy weeknights!
Delicious Cruffins Recipe FAQs
What type of flour should I use for cruffins?
All-purpose flour is ideal for creating the flaky layers in your cruffins, but you can substitute it with bread flour if you prefer a chewier texture. Just remember that bread flour will slightly alter the pastry’s lightness.
How should I store my cruffins?
Absolutely! To keep your delicious cruffins fresh, store them in an airtight container in the fridge for up to 7 days. This will help prevent them from drying out and maintain their delightful texture.
Can I freeze cruffins for later?
Yes, you can! Wrap each cooled cruffin individually in plastic wrap and place them in a freezer-safe bag. They can be frozen for up to 3 months. To enjoy them later, simply preheat your oven to 350°F (175°C) and reheat for about 10-15 minutes until warm and flaky.
What should I do if my dough doesn’t rise?
If your dough isn’t rising, it could be due to inactive yeast. Make sure your yeast is fresh and was activated properly. You can check this by mixing yeast with warm water and a bit of sugar; it should foam within 5-10 minutes. Also, make sure you’ve allowed enough time and warmth for the dough to rise—sometimes, a cozy, warm spot works wonders!
Can I use different fillings for my cruffins?
Very! The beauty of cruffins lies in their versatility. You can fill them with chocolate chips, fruit preserves, or even savory options like cheese and herbs. Just ensure not to overload the fillings—about one tablespoon per cruffin is perfect for a burst of flavor without the mess!
Are cruffins safe for pets?
While it might be tempting to share, it’s best to avoid giving cruffins to pets due to ingredients like sugar and butter, which could upset their stomach. If you’re looking for pet-friendly treats, consider baking separate goodies specifically for them!
Flaky & Buttery Delicious Cruffins for Sweet Mornings
Ingredients
Equipment
Method
- In a large mixing bowl, combine all-purpose flour, granulated sugar, and active dry yeast. Create a well in the center and add whole milk and one egg. Mix until a shaggy dough forms, then knead on a floured surface for about 5-7 minutes until smooth and elastic.
- Shape the kneaded dough into a ball and place it in a lightly oiled bowl. Cover and let it rise in a warm area for about 1 hour, or until doubled in size.
- Once the dough has risen, punch it down gently. Roll it out into a rectangle approximately ¼ inch thick. Spread softened unsalted butter evenly over 2/3 of the surface, leaving one edge bare. Fold the unbuttered edge over the buttered portion.
- Roll the dough out again to ½ inch thickness. Cut it into squares and place about one tablespoon of your favorite filling in the center of each square. Fold corners towards the center and pinch to seal.
- Arrange the filled dough in greased muffin tins, cover with a cloth, and allow them to rise for another 30 minutes.
- Preheat your oven to 375°F (190°C). Bake the cruffins for about 25 minutes, or until golden brown.
Leave a Reply