Standing in my kitchen the other day, I suddenly realized I’ve been missing a crucial ingredient: a delicious vanilla paste recipe that elevates all my baked goods! With just a handful of natural ingredients and about thirty minutes of your time, you can create rich and aromatic Homemade Vanilla Bean Paste that’ll transform your cookies, cakes, and more into something remarkably special. Not only does this recipe allow you to control the quality of flavor, but it also proves to be a cost-effective alternative to store-bought options. Plus, you can easily tailor it to fit dietary preferences with an alcohol-free version. Curious how to whip up this delightful addition to your pantry? Let’s dive in!
Why is homemade vanilla paste a game changer?
Ease and Speed: Creating your own vanilla paste is not only a time-saver but also needs just thirty minutes of your time!
Cost-effective Quality: Forget the overpriced store-bought versions; this recipe gives you gourmet flavor without breaking the bank.
Natural Ingredients: Enjoy the benefits of pure, natural ingredients, so you know exactly what you’re adding to your creations.
Versatile Uses: From cookies to ice creams, this paste enhances a variety of dishes, making it a must-have in your kitchen arsenal.
Personal Touch: Easily customize the flavor by trying variations such as swapping honey for maple syrup or choosing an alcohol-free base; your baking will never be mundane again!
If you’re looking for effortless ways to elevate your desserts, check out my Strawberry Sandwich or impress your guests with an exquisite Thanksgiving Turkey.
Delicious Vanilla Paste Ingredients
Get ready to elevate your baking with these simple yet essential ingredients for a Delicious Vanilla Paste Recipe In 30 Minutes.
For the Paste
- Vanilla Beans – The core of your vanilla paste; Madagascar or Tahitian beans deliver the richest flavor.
- Vodka or Bourbon – Acts as the alcohol base for extraction, but feel free to swap it out for glycerin if you want an alcohol-free option!
- Simple Syrup – This sweetener adds consistency; easily made with equal parts sugar and water, boiled and cooled to create the perfect texture.
- Honey – Adds a hint of natural sweetness and thickens the paste for a luxurious feel.
- Xanthan Gum (optional) – Use this thickener if you prefer a denser vanilla paste for a more decadent touch.
These ingredients will ensure your homemade vanilla bean paste is packed full of flavor and ready to transform your baked treats!
Step‑by‑Step Instructions for Delicious Vanilla Paste Recipe In 30 Minutes
Step 1: Prepare Vanilla Beans
Carefully split each vanilla bean lengthwise using a sharp knife, revealing the fragrant seeds inside. Scrape out the seeds with the back of the knife and place both the seeds and the empty pods into a clean, airtight jar. This step is essential for making your Delicious Vanilla Paste Recipe truly rich and aromatic.
Step 2: Make Simple Syrup
In a medium saucepan, combine ½ cup of sugar and ½ cup of water. Turn the heat to medium-high and bring the mixture to a gentle boil, stirring occasionally until the sugar is fully dissolved. Once dissolved, remove from heat and allow the syrup to cool completely. This simple syrup will sweeten your vanilla paste perfectly.
Step 3: Combine Ingredients
Once the simple syrup has cooled, pour it into the jar with the vanilla seeds and pods. Next, add ¼ cup of vodka or bourbon for an alcohol-based version, or substitute with glycerin for an alcohol-free option. If you desire a thicker texture, add ½ teaspoon of xanthan gum, and let the mixture sit for about 5 minutes before stirring to combine everything seamlessly.
Step 4: Seal and Steep
After combining the ingredients, seal the jar tightly with a lid. Store it in a cool, dark place, shaking the jar every 2-3 days to promote even extraction. Allow the mixture to steep for at least 4-6 weeks, though you can start tasting it after 2 weeks and adjust the steeping time to your flavor preference.
Step 5: Final Touch
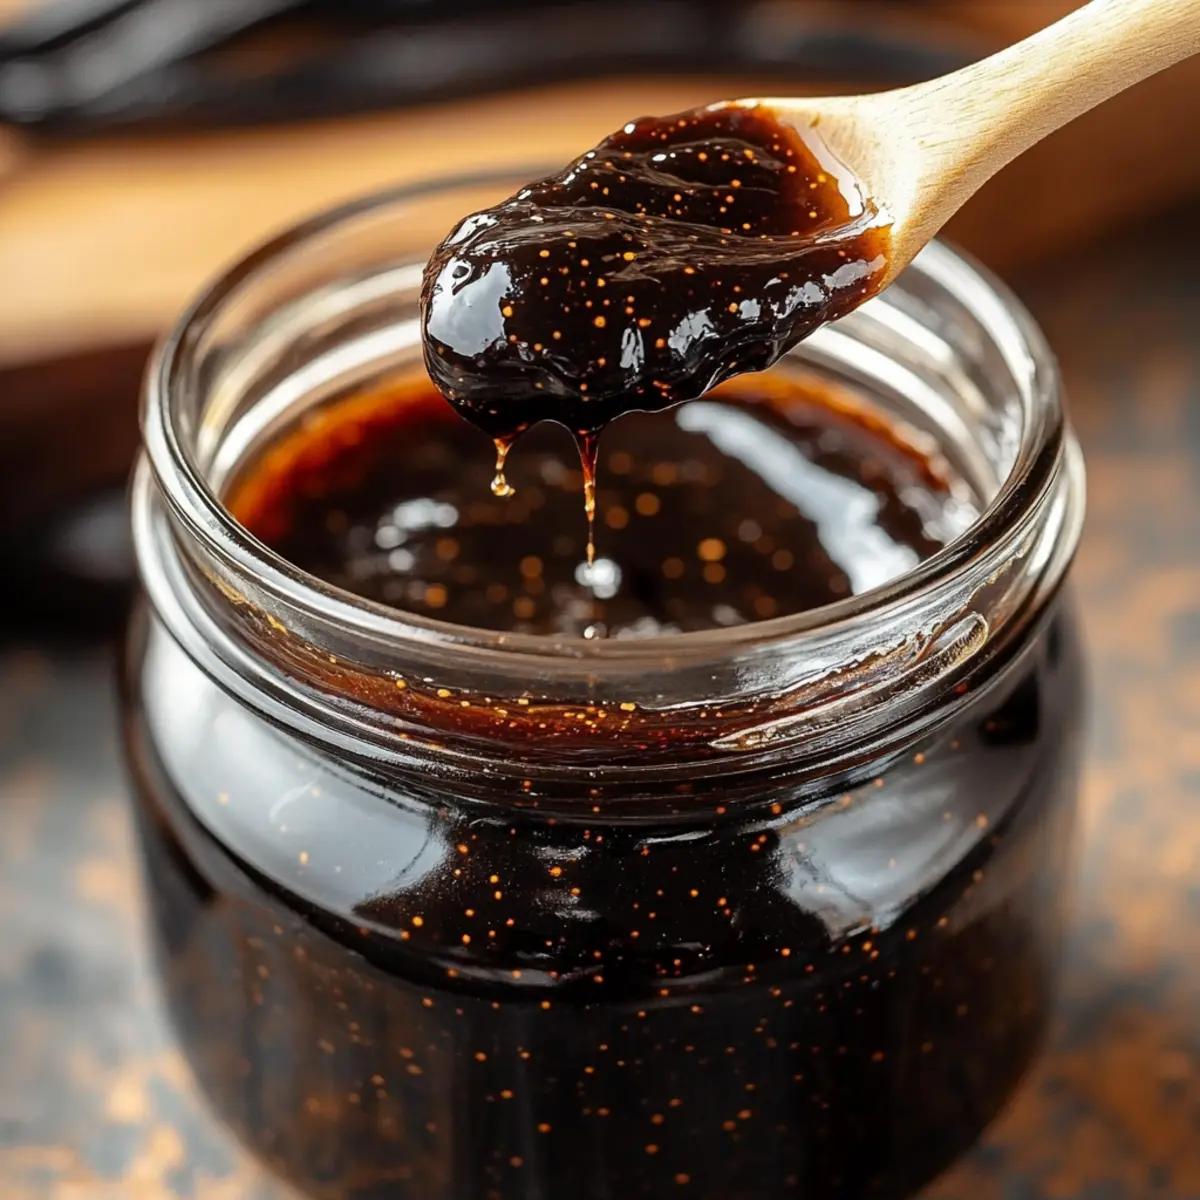
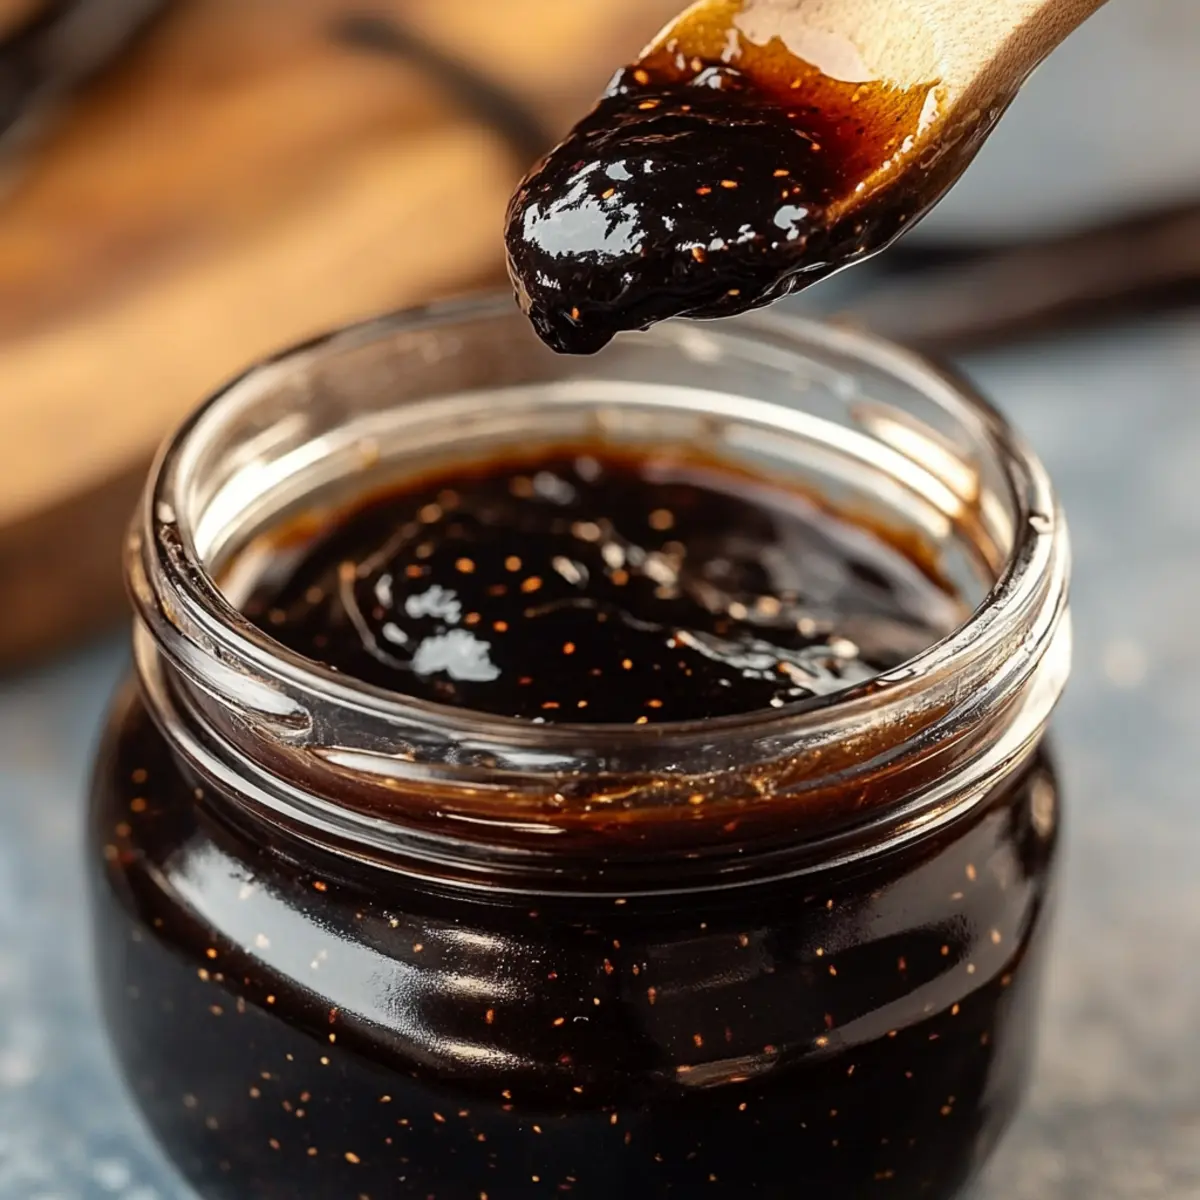
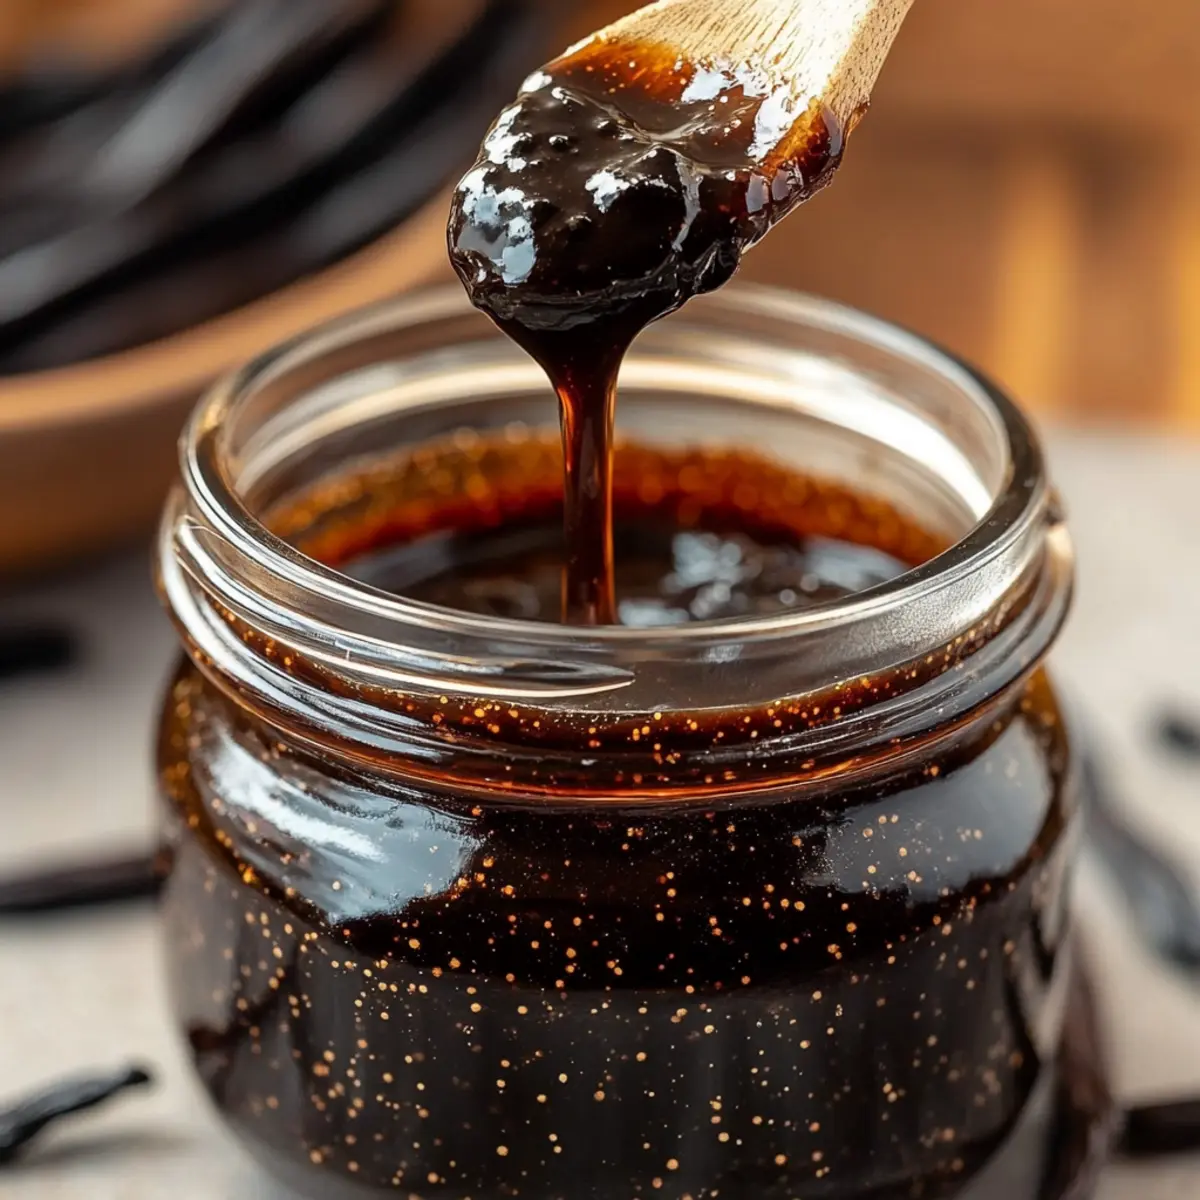
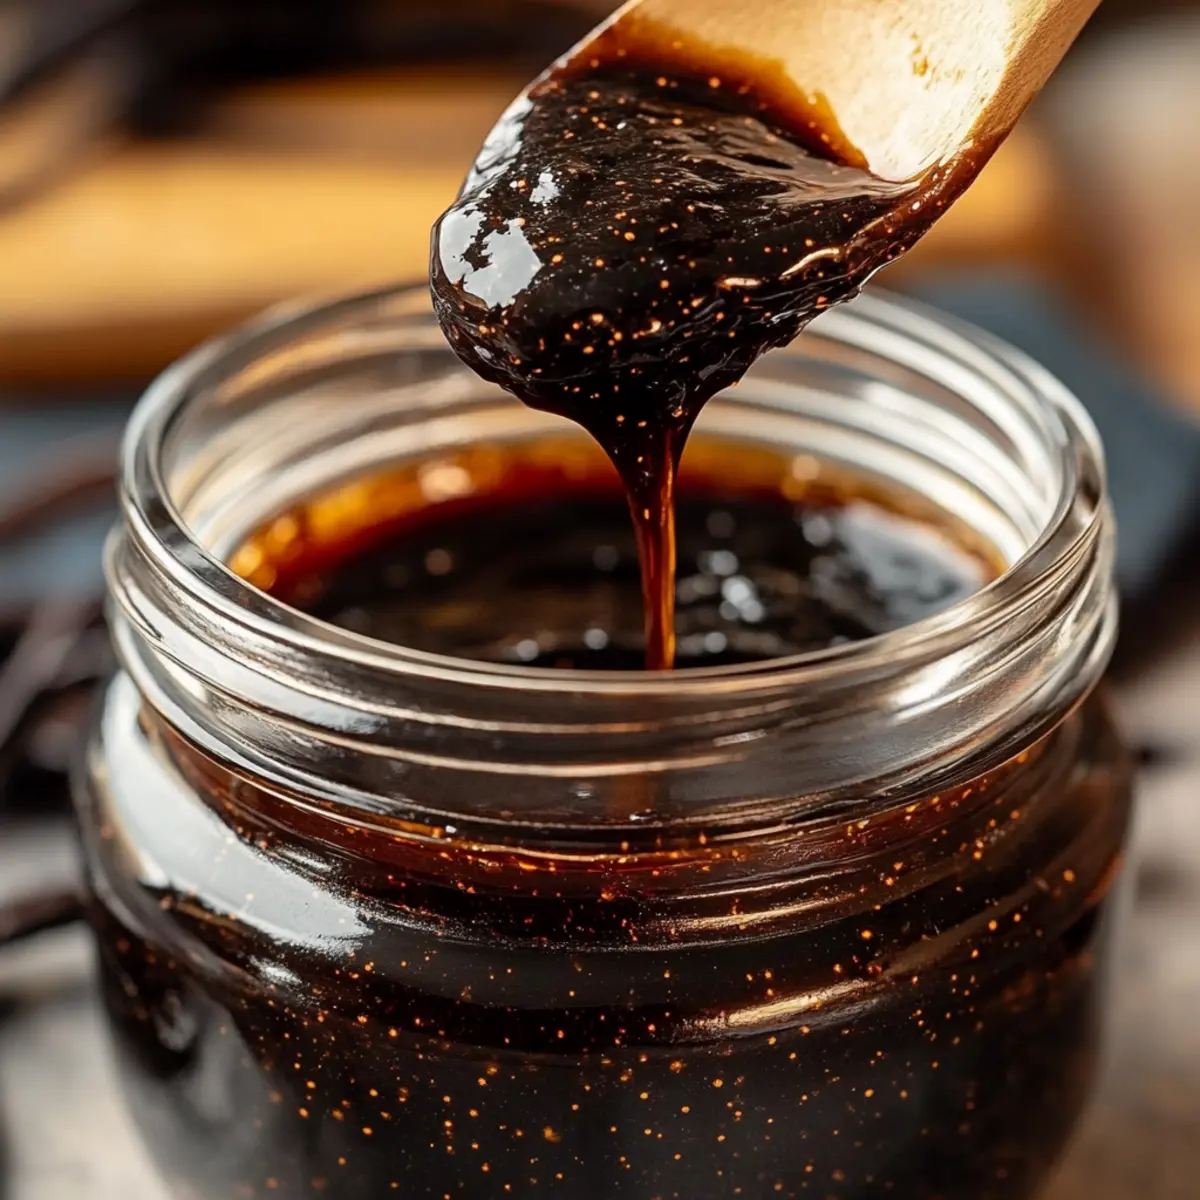
Once the steeping period is complete, you can choose to strain the mixture or leave the vanilla pods in for continuous flavor development. If straining, use a fine-mesh strainer for a smoother paste. The final result of your Delicious Vanilla Paste Recipe should be a thick, dark brown paste with rich specks of vanilla seeds, ready to enhance your baked goods!
What to Serve with Homemade Vanilla Bean Paste
Elevate your desserts beyond your wildest dreams with delightful pairings that complement this rich, aromatic addition.
- Fresh Berries: The bright, tartness of strawberries, raspberries, or blueberries contrasts beautifully with sweet vanilla paste, creating a harmonious balance on your palate.
- Chocolate Cake: A decadent slice of chocolate cake drizzled with homemade vanilla paste intensifies its flavor, taking every bite to a new level of indulgence.
- Whipped Cream: Light and airy whipped cream infused with a touch of vanilla paste provides a luscious frosting that enhances any dessert with an extra layer of flavor.
- Coffee or Espresso: The warmth of freshly brewed coffee or a rich espresso can bring out the floral notes in vanilla, creating an invigorating morning ritual.
- Apple Pie: Homemade apple pie scented with cinnamon and drizzled with vanilla paste makes dessert feel like a warm hug on a chilly evening.
- Pancakes or Waffles: A drizzle of vanilla bean paste over fluffy pancakes or waffles harmonizes the sweetness, transforming your breakfast into a gourmet experience.
- Vanilla Ice Cream: Pairing your homemade vanilla bean paste with a bowl of rich vanilla ice cream offers a double dose of creamy goodness, perfect for any ice cream lover.
- Cheesecake: The creamy texture of cheesecake combined with the deep flavors of vanilla paste makes for an unforgettable dessert that will impress any guest.
- Holiday Drinks: Elevate your festive drinks like eggnog or hot chocolate by adding a spoonful of vanilla paste, turning them into a seasonal celebration in a cup.
Expert Tips for Delicious Vanilla Paste Recipe
-
Bean Quality: Choose high-quality Madagascar or Tahitian vanilla beans; they provide the richest flavor and stunning visual appeal.
-
Avoid Overcooking: When making simple syrup, ensure you do not boil for too long. Overcooking can alter the sweetness, making it less ideal for your delicious vanilla paste.
-
Gently Shake Regularly: Remember to shake the jar every 2-3 days during the steeping process to help evenly extract the flavors from the vanilla beans.
-
Steeping Time Matters: For the best flavor profile, aim for a steeping time of 4-6 weeks. Testing after 2 weeks can help you decide on your preferred intensity.
-
Alcohol-Optional: If you prefer a homemade paste without alcohol, opt for glycerin as a substitute; it creates a similar consistency without compromising on taste.
Make Ahead Options
Creating your own Delicious Vanilla Paste Recipe In 30 Minutes is a breeze, and you can prep several components in advance for maximum convenience. You can split and scrape the vanilla beans up to 24 hours ahead of time; just store the seeds and pods in an airtight jar to keep them fresh. Additionally, the simple syrup can be made and refrigerated for up to 3 days—just ensure it’s completely cooled before storing. When you’re ready to finish your paste, simply combine these prepped ingredients with your chosen alcohol (or glycerin) and honey, then seal and steep as directed. With these make-ahead steps, you’ll have your vanilla paste prepared with minimal effort right when you need it!
Delicious Vanilla Paste Recipe Variations
Feel free to get creative and make this recipe your own with these fun twists!
- Alcohol-Free: Substitute vodka or bourbon with glycerin for a smooth, flavorful paste without any alcohol. Great for all ages!
- Maple Delight: Replace honey with maple syrup for a wonderfully unique flavor that complements baked goods, especially fall desserts.
- Flavor Exploration: Experiment with different alcohols such as rum or flavored spirits like spiced rum or Irish whiskey for exciting new flavor notes.
- Sweeteners Swap: Try using agave syrup instead of simple syrup for a lower-glycemic sweetener that still delivers sweetness without the refined sugar.
- Thicker Consistency: For a richer paste, add an extra ½ teaspoon of xanthan gum to create a luxurious texture that clings beautifully to your desserts.
- Chai Spice Infusion: Add a pinch of ground cinnamon or nutmeg to the mix for a warm aroma that enhances baked treats perfectly. Your cream pies will never be the same!
- Vanilla Mint Fusion: Muddle a few fresh mint leaves in with the vanilla during the steeping process for a refreshing twist, ideal for summer desserts.
- Gift-Ready: Present your homemade vanilla paste in decorative jars, maybe even pairing it with my delightful Toffee Decadent Share for a thoughtful homemade gift!
Storage Tips for Delicious Vanilla Paste
-
Room Temperature: Store your delicious vanilla paste in a cool, dark place at room temperature to maintain its flavor and quality.
-
Fridge: You can refrigerate the paste to extend its life even further; it will keep well for up to 6 months. However, bring it back to room temperature before using for best consistency.
-
Freezer: For long-term storage, freeze portions of your vanilla paste in ice cube trays. Once frozen, transfer to an airtight container, where it can last for up to a year.
-
Reheating: If frozen, allow the paste to thaw naturally at room temperature, or use it directly from the freezer for your baking needs, melting into recipes beautifully.
Delicious Vanilla Paste Recipe In 30 Minutes Recipe FAQs
What type of vanilla beans should I use for the best flavor?
Absolutely! For the finest results, I recommend using Madagascar or Tahitian vanilla beans. Madagascar beans generally offer a rich and creamy vanilla flavor, while Tahitian beans have a more floral and fruity profile. Choosing high-quality beans is essential for creating a delicious vanilla paste that enhances all your baked goods.
How should I store my homemade vanilla paste?
Store your delicious vanilla paste in a cool, dark place at room temperature to maintain its delightful flavor. It lasts indefinitely because of the preservative qualities of the sugar and alcohol. However, if you prefer, you can refrigerate it to extend its life for up to 6 months. Just be sure to bring it back to room temperature before using it for optimum consistency.
Can I freeze my vanilla paste for later use?
Absolutely! Freezing is an excellent way to preserve your delicious vanilla paste. Simply pour the paste into ice cube trays and freeze until solid. Once frozen, transfer the cubes into an airtight container or freezer bag. It can last for up to a year in the freezer! When you’re ready to use it, allow the cubes to thaw at room temperature, or toss them straight into your baking for a delightful kick of flavor.
What should I do if my vanilla paste didn’t thicken as expected?
If your vanilla paste doesn’t thicken, don’t worry—the thickening process can sometimes take longer. If you used xanthan gum and the paste is still too thin, you can add a little more. Mix ½ teaspoon of xanthan gum with a small amount of warm water to dissolve it and then stir this mixture into your vanilla paste. Shake well until fully combined and let it sit for a few days longer to allow the flavors to meld!
Is this vanilla paste suitable for those with allergies?
Yes! This delicious vanilla paste can be customized to fit various dietary requirements. If you or someone you’re baking for has allergies to specific ingredients like gluten, this recipe is a great option because it uses natural ingredients. Just be sure to check the labels of your vanilla beans and any alcohol substitutes you use to ensure they meet your dietary needs.
How long does the steeping process take, and can I adjust it?
The steeping process generally takes 4-6 weeks, and yes, you can absolutely adjust it! Taste your vanilla paste after about 2 weeks to see how you like the flavor. If it’s not strong enough, continue steeping, shaking it every 2-3 days for even extraction. The longer you steep it, the more intense the flavor will become.
Delicious Vanilla Paste Recipe In 30 Minutes for Perfect Baking
Ingredients
Equipment
Method
- Carefully split each vanilla bean lengthwise using a sharp knife, revealing the fragrant seeds inside. Scrape out the seeds and place both seeds and empty pods into a clean, airtight jar.
- In a medium saucepan, combine ½ cup of sugar and ½ cup of water. Bring to a gentle boil, stirring until dissolved, and then let it cool.
- Once the simple syrup is cooled, pour it into the jar with vanilla seeds and pods. Add ¼ cup of vodka or bourbon or substitute with glycerin. If desired, add ½ teaspoon of xanthan gum, let sit for 5 minutes before stirring.
- Seal the jar tightly with a lid and store it in a cool, dark place. Shake the jar every 2-3 days to promote even extraction. Let it steep for at least 4-6 weeks.
- After steeping, strain the mixture or leave the vanilla pods in for continuous flavor development. The final result should be a thick, dark brown paste.
Leave a Reply