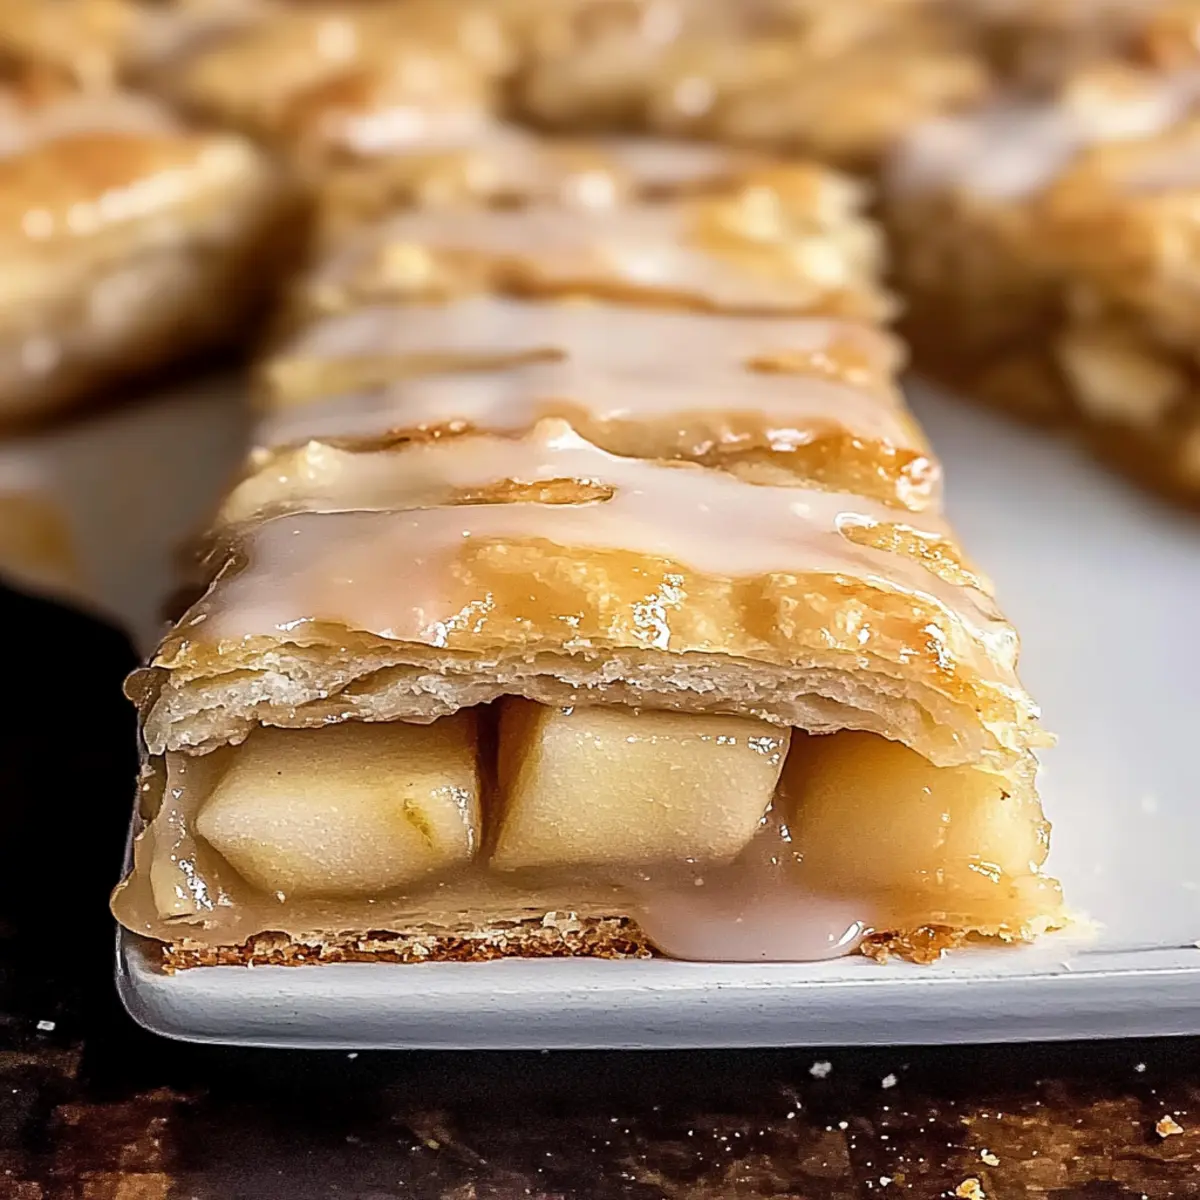
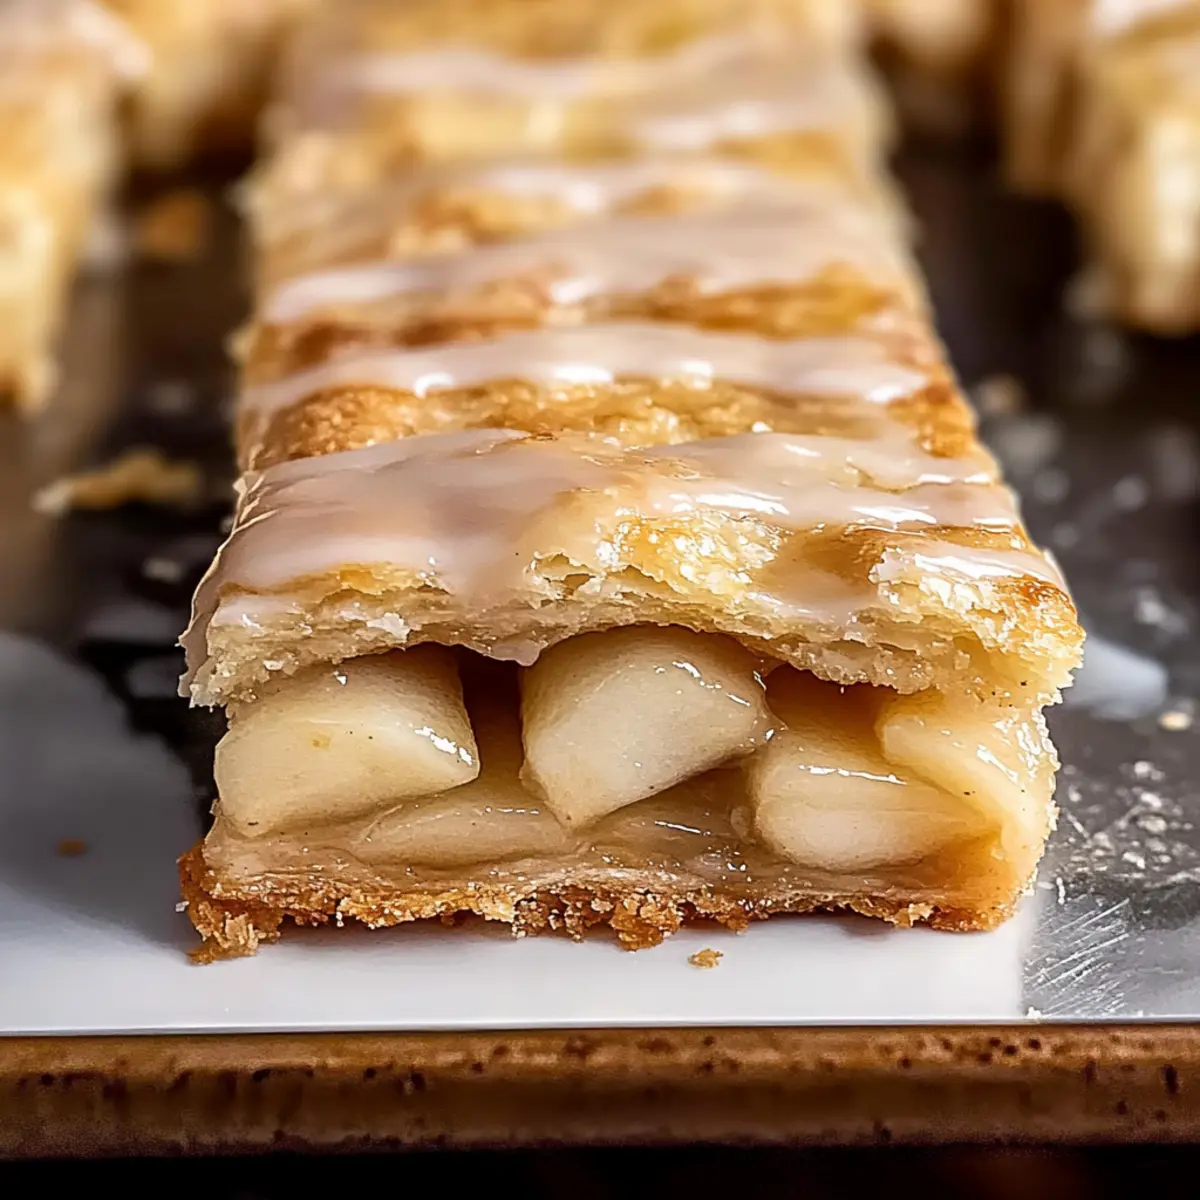
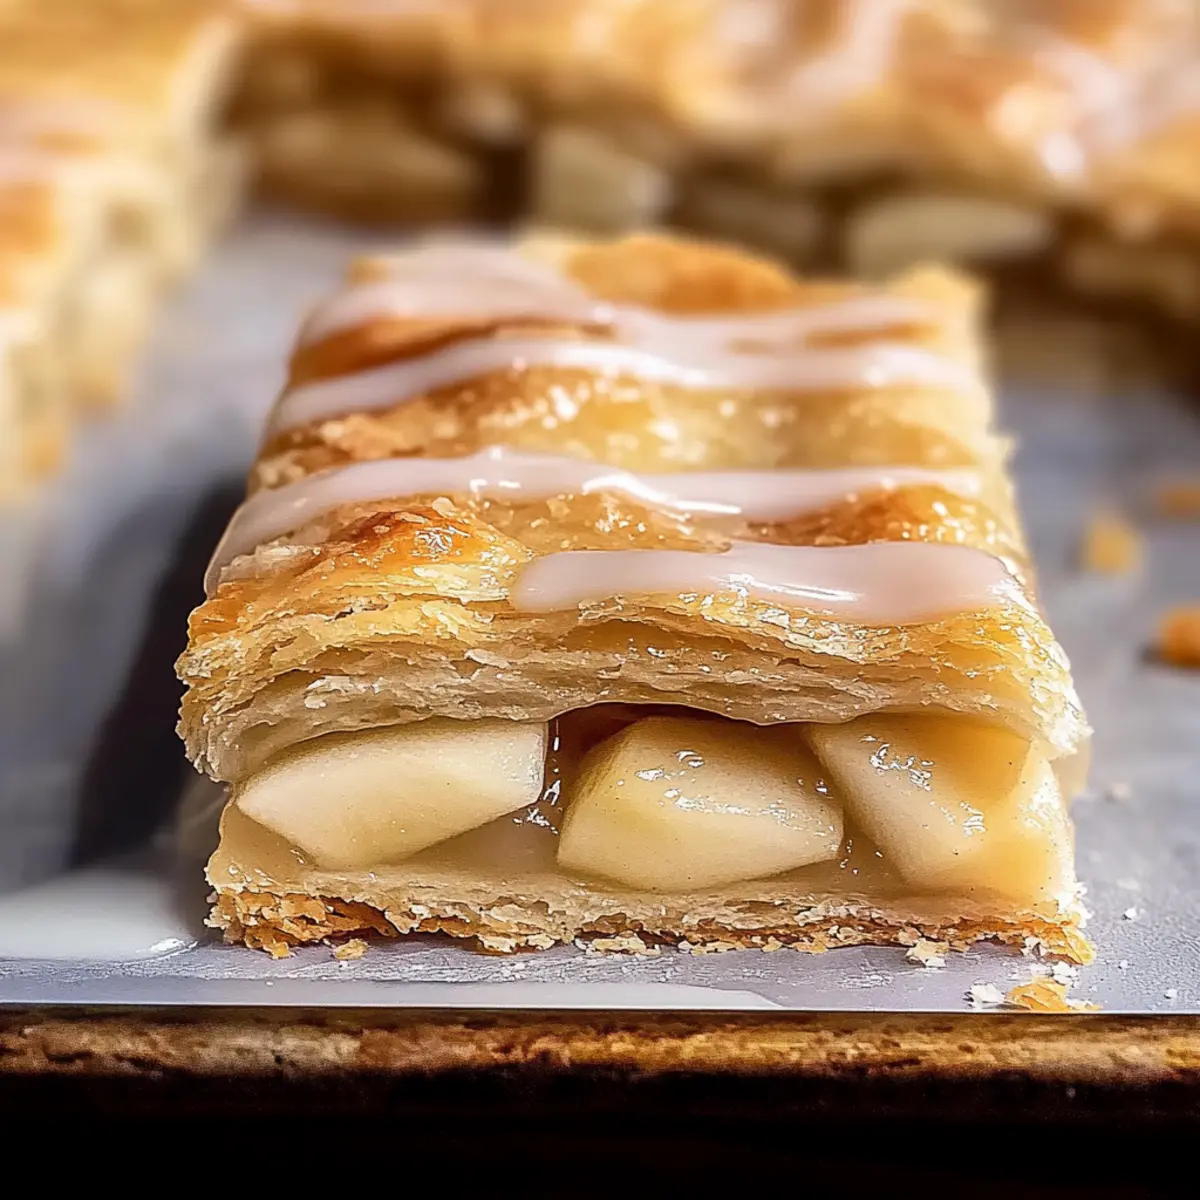
Have you ever wished you could capture the essence of autumn in a dessert? With my Easy Chicago-Style Apple Slices, you’ll get that warm, cozy feeling with every bite. These delightful treats combine a flaky, buttery crust with sweet, cinnamon-spiced apple filling—perfect for those who want a quick and easy recipe that still impresses. Whether you’re hosting a gathering or enjoying a cozy night in with family, this dessert is a crowd-pleaser that requires minimal effort. What’s even better? You can use canned or fresh apples, making it super accessible any time of the year. Are you ready to add a slice of Chicago to your kitchen? Keep reading to create this comforting dessert!
Why are Chicago-Style Apple Slices so special?
Simplicity at its finest: This recipe requires just a few basic ingredients and minimal steps, making it perfect for beginners or busy cooks. Flaky, Buttery Crust: The golden crust perfectly contrasts the tender apple filling, ensuring every bite is a delightful experience. Versatile Options: Use either canned or fresh apples—there’s no need to wait for apple season! Crowd-Pleasing Treat: Whether for a family dinner or a potluck, these slices are sure to garner compliments. Serve with a scoop of ice cream or enjoy them plain for a sweet, comforting treat any time! For more apple-inspired recipes, check out our delicious Apple Crumble Warm or try an easy Mini Apple Pies for a fun twist!
Easy Chicago-Style Apple Slices Ingredients
For the Pastry
- Flour – Provides structure to the pastry; substitute with gluten-free flour for a gluten-free version.
- White Sugar – Sweetens the crust and enhances flavor; you can reduce it for a less sweet option.
- Salt – Balances sweetness and boosts overall flavor; no substitute necessary unless you have dietary restrictions.
- Unsalted Butter (cold) – Essential for a flaky texture; must be kept cold to achieve the best results.
- Ice-Cold Water – Helps bind the dough without developing gluten; use extra cold water for consistency.
For the Filling
- Prepared Apple Pie Filling – This is the heart of the dish; choose homemade filling for better quality, preferably with Granny Smith or Honeycrisp apples.
For the Glaze
- Confectioners’ Sugar – Brings sweetness and a smooth texture to the glaze; can be substituted with a lower-sugar powdered alternative.
- Vanilla Extract – Enhances the flavor of the glaze; try adding nut extracts for an extra kick if desired.
- Whole Milk – Used to adjust the glaze’s consistency; can easily be swapped with a non-dairy milk alternative.
Now that you have your ingredients ready, let’s move on to the delightful process of bringing these Easy Chicago-Style Apple Slices to life!
Step‑by‑Step Instructions for Easy Chicago-Style Apple Slices
Step 1: Prepare the Pastry
In a large bowl, combine flour, sugar, and salt, mixing them well. Grate in the cold butter until you achieve a crumbly texture that resembles small peas. This flaky base is crucial for your Easy Chicago-Style Apple Slices, so handle it gently. Once combined, chill the mixture in the refrigerator while you prepare the next steps.
Step 2: Form the Dough
Create a well in the center of the chilled flour mixture and gradually add ice-cold water. Gently mix until the dough begins to come together, being careful not to overwork it. Once formed, wrap the dough in plastic and refrigerate for at least 30 minutes to allow it to firm up for rolling.
Step 3: Preheat the Oven
While the dough chills, preheat your oven to 400°F (200°C). This ensures that your Easy Chicago-Style Apple Slices will bake perfectly from the moment they enter the oven. Prepare a jelly roll pan by lightly greasing it or lining it with parchment paper for easy clean-up.
Step 4: Roll Out the Dough
After the dough has chilled, divide it in half. Roll out one half on a floured surface to fit your greased jelly roll pan. Make sure the dough is about 1/8-inch thick for a nice, crispy crust that will envelop the sweet apple filling. Once rolled, carefully place it into the prepared pan.
Step 5: Fill with Apple Mixture
Spread the prepared apple pie filling evenly over the dough in the pan. Make sure to cover the surface, allowing each delicious bite of your Easy Chicago-Style Apple Slices to be packed with flavors. If using canned filling, drain excess liquid to prevent a soggy crust.
Step 6: Top with Second Layer of Dough
Roll out the second half of the dough in the same manner as the first. Place it over the apple filling, carefully pinching the edges together to seal. Create several vents in the top layer to allow steam to escape while baking, ensuring a perfectly golden-crispy topping.
Step 7: Bake the Slices
Place the pan in the preheated oven and bake for 40 minutes or until the top is golden brown and flaky. Keep an eye on it, as every oven varies! You want it to shimmer with a warm hue, indicating the crust is perfectly done and the apples inside are bubbling with sweetness.
Step 8: Cool Before Glazing
Once baked, remove the pan from the oven and let your Easy Chicago-Style Apple Slices cool completely on a wire rack. This cooling step is crucial for clean slicing later on. Patience pays off, so give it at least 30 minutes before moving on to the glaze!
Step 9: Make the Glaze
In a medium bowl, beat together confectioners’ sugar, softened butter, vanilla extract, and milk until smooth and creamy. Adjust the milk until you reach your desired consistency for drizzling. This delightful glaze will add an extra touch of sweetness to your cooled apple slices.
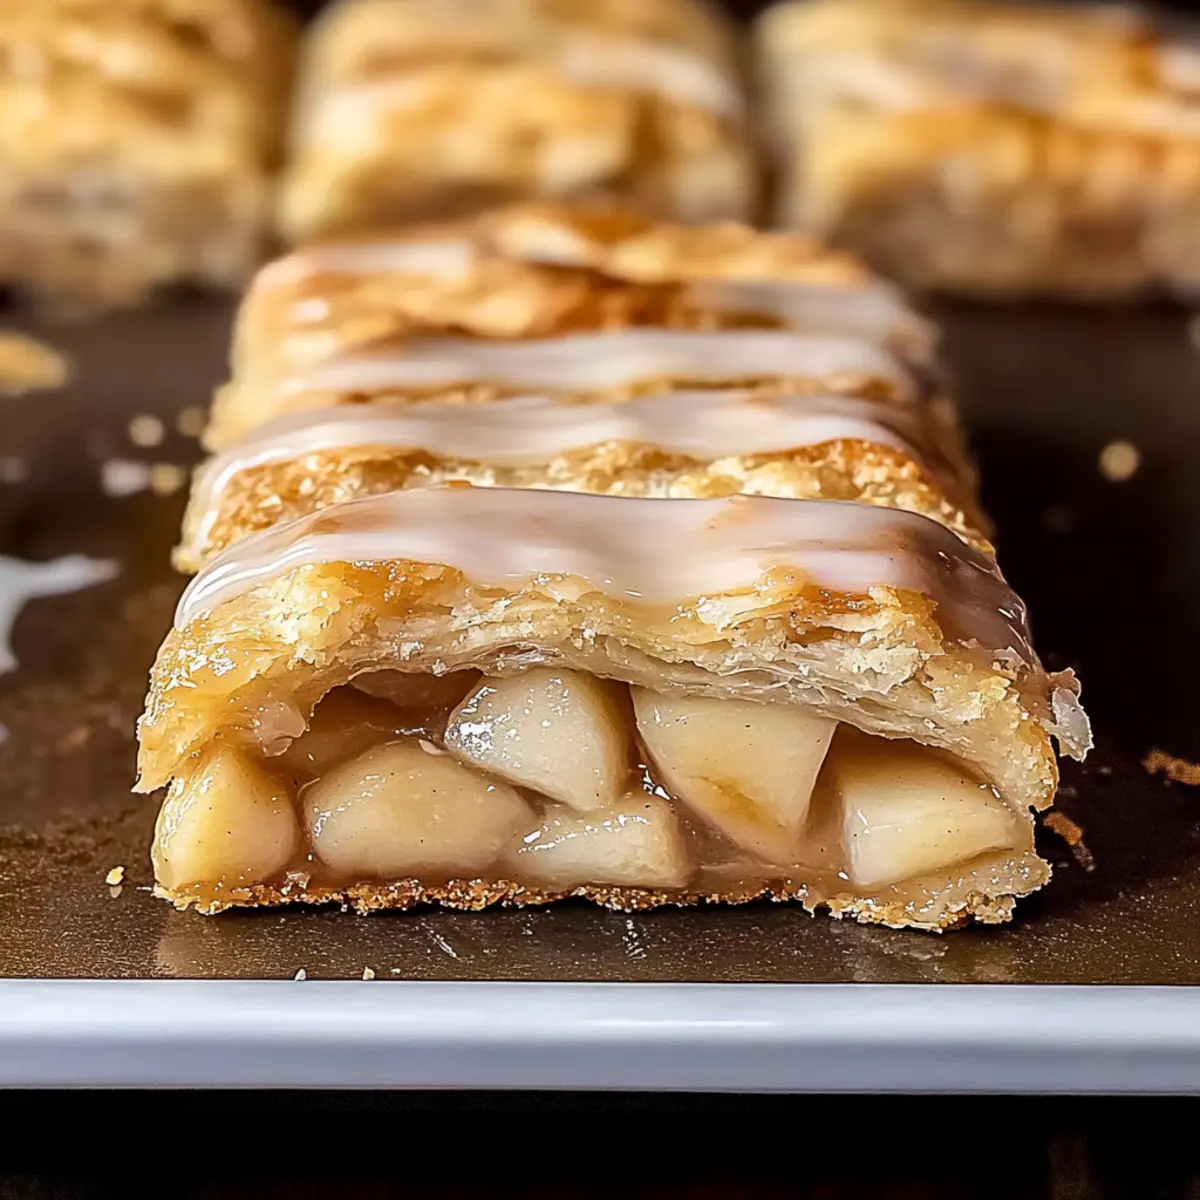
Step 10: Glaze and Serve
Once the slices have cooled, drizzle the creamy glaze over the top. Allow it to set before slicing into perfect, warm squares. Your Easy Chicago-Style Apple Slices are now ready to be enjoyed, sharing every bite with your family or friends for a delightful dessert experience!
How to Store and Freeze Easy Chicago-Style Apple Slices
Room Temperature: Store leftover slices at room temperature, covered, for up to 3 days. This keeps the crust flaky and preserves the flavor of the apples.
Fridge: If you need to keep your Easy Chicago-Style Apple Slices longer, refrigerate them in an airtight container for up to a week. Make sure they are well-wrapped to prevent drying out.
Freezer: For longer storage, freeze the slices in a single layer on a baking sheet, then wrap tightly in plastic and foil. They can stay frozen for up to 3 months. Thaw in the refrigerator before reheating.
Reheating: To enjoy your slices warm, reheat in a 350°F (175°C) oven for about 10-15 minutes until heated through, making sure they retain their crispness.
What to Serve with Easy Chicago-Style Apple Slices
Indulge in delightful pairings that elevate this warm dessert into a complete culinary experience that feels like home.
- Vanilla Ice Cream: The creamy, cooling effect of vanilla ice cream perfectly balances the warm, spiced flavors of the apple slices.
- Whipped Cream: Light and airy, whipped cream adds a touch of sweetness and a luxurious texture that complements the dessert beautifully.
- Caramel Sauce: A drizzle of rich caramel enhances the sweetness of the apples, creating a decadent finish that’s hard to resist.
- Coffee or Tea: The warmth of freshly brewed coffee or herbal tea can enhance the cozy feeling of enjoying your slices, making every bite more enjoyable.
- Cinnamon Sugar Dusting: A light sprinkle over the warm slices intensifies the cinnamon notes and adds a sweet crunch on every bite.
- Sugary Glazed Pecans: Crunchy, sweet nuts bring a delightful texture contrast and a nutty flavor that pairs well with the apple filling.
- Fresh Fruit Salad: A refreshing mix of berries and citrus provides a bright acidity that balances the richness of the apple dessert, keeping it light.
- Warm Apple Cider: Serve alongside a cup of warm cider for a cozy theme; the apple flavors of the cider echo the pie’s filling.
Easy Chicago-Style Apple Slices Variations
Feel free to put your unique spin on these delightful slices and explore different flavor profiles!
- Berry Bliss: Swap the apple filling for a mix of fresh or frozen berries for a tangy twist.
- Spiced Up: Add a teaspoon of nutmeg or allspice to the apple filling for a warm, aromatic flavor boost. Each bite becomes a cozy embrace of spices!
- Peachy Keen: Try using a peach filling instead of apples for a summery variation that’s equally delicious. This makes every slice a delightful surprise!
- Sugar-Free Option: Substitute the confectioners’ sugar with a powdered sugar alternative for a lower-sugar glaze. It’s an easy way to enjoy sweetness without the extra calories!
- Nuts for Nuts: Incorporate chopped pecans or walnuts into the apple filling for added crunch and richness. This adds delightful texture to every bite.
- Cinnamon-Sugar Topping: Before baking, sprinkle a cinnamon-sugar mixture over the top layer for an extra crunchy, sweet crust that’s simply irresistible!
- Non-Dairy Delight: Use almond milk or coconut milk in the glaze instead of whole milk for a dairy-free variation that still tastes incredible!
With these variations, your Easy Chicago-Style Apple Slices can be customized to suit any taste or dietary need. For more apple treats, consider making a warm and comforting Apple Crumble Warm or some adorable Mini Apple Pies! Enjoy the adventure of creating your flavor masterpiece!
Make Ahead Options
These Easy Chicago-Style Apple Slices are perfect for meal prep enthusiasts! You can prepare the pastry dough up to 24 hours in advance by storing it wrapped in plastic wrap in the refrigerator. Additionally, the apple filling can be prepped and refrigerated for up to 3 days—just be sure to drain any excess liquid to prevent a soggy crust. When you’re ready to serve, simply roll out the chilled dough, assemble the slices with the filling, bake them as directed, and allow them to cool before glazing. This approach allows for delicious, homemade dessert results with minimal effort, saving you precious time for your busy weeknights!
Expert Tips for Easy Chicago-Style Apple Slices
- Chill the Dough: Make sure your dough and butter remain cold to ensure a flaky crust. Warm ingredients can lead to a tough pastry.
- Don’t Overwork: Handle the dough gently and avoid overmixing; this retains flakiness and prevents a dense crust.
- Use Quality Filling: Opt for fresh or high-quality canned apples to enhance flavor. Drain any extra liquid to avoid a soggy bottom crust.
- Venting is Key: Cut vents in the top crust to allow steam to escape; this helps maintain the desired texture of your Easy Chicago-Style Apple Slices.
- Cool Before Cutting: Allow your slices to cool for at least 30 minutes after baking for clean cuts and to let the flavors meld beautifully.
Easy Chicago-Style Apple Slices Recipe FAQs
How do I choose the best apples for this recipe?
Absolutely! For the best flavor and texture in your Easy Chicago-Style Apple Slices, I recommend using tart varieties like Granny Smith, Honeycrisp, or Braeburn apples. These apples hold their shape during baking and balance nicely with the sweetness of the glaze. If you’re using canned apples, look for those packed in juice or water, as they will have a fresher flavor.
What’s the best way to store leftovers?
Very! To keep your Easy Chicago-Style Apple Slices fresh, store them at room temperature covered for up to 3 days. If you prefer, you can refrigerate the slices in an airtight container for up to a week. Just ensure they’re properly wrapped to avoid drying out.
Can I freeze these apple slices for later?
Absolutely! To freeze your Easy Chicago-Style Apple Slices, first allow them to cool completely. Then, place them in a single layer on a baking sheet and freeze until solid. Once frozen, wrap each piece tightly in plastic wrap and then in aluminum foil to prevent freezer burn. They can be stored this way for up to 3 months. When you’re ready to enjoy some, simply thaw them in the refrigerator overnight and reheat in the oven at 350°F (175°C) for about 10-15 minutes until warmed through.
What should I do if my crust turns out tough?
Oh no! If your crust is tough, it might be due to overworking the dough. To prevent this, mix the ingredients just until combined and avoid adding too much water. Also, ensure your butter is very cold; warm butter can melt into the flour, leading to a denser texture. Keeping everything chilled helps achieve that delightful flakiness.
Can I make this recipe ahead of time?
Very! You can prepare your Easy Chicago-Style Apple Slices a day in advance. Simply bake them, allow them to cool, and cover them to keep fresh. Just remember to add the glaze just before serving for the best presentation and texture!
Are these apple slices safe for pets?
Always be careful! While apples are safe for most pets, the sugar and glaze in this recipe should be avoided. Make sure to keep these slices as a human treat. If you’ve got a furry friend who’s curious, you can offer them a small piece of plain apple without any sugar or glaze instead!
Delightful Easy Chicago-Style Apple Slices in a Snap
Ingredients
Equipment
Method
- In a large bowl, combine flour, sugar, and salt, then mix well. Grate in the cold butter until crumbly.
- Chill the mixture in the refrigerator while preparing the next steps.
- Create a well in the center of the mixture and add ice-cold water, mixing gently until combined.
- Wrap the dough in plastic and refrigerate for at least 30 minutes.
- Preheat your oven to 400°F (200°C) and prepare a jelly roll pan.
- Divide the dough in half and roll one half to fit your greased jelly roll pan, about 1/8-inch thick.
- Spread the apple pie filling evenly over the dough in the pan.
- Roll out the second half of the dough and place it over the apple filling, sealing the edges.
- Create vents in the top layer to allow steam to escape.
- Bake for 40 minutes or until golden brown and flaky.
- Let cool on a wire rack for at least 30 minutes before glazing.
- In a medium bowl, beat confectioners’ sugar, butter, vanilla extract, and milk until smooth, adjusting milk for consistency.
- Drizzle the glaze over cooled slices and allow it to set before serving.
Leave a Reply