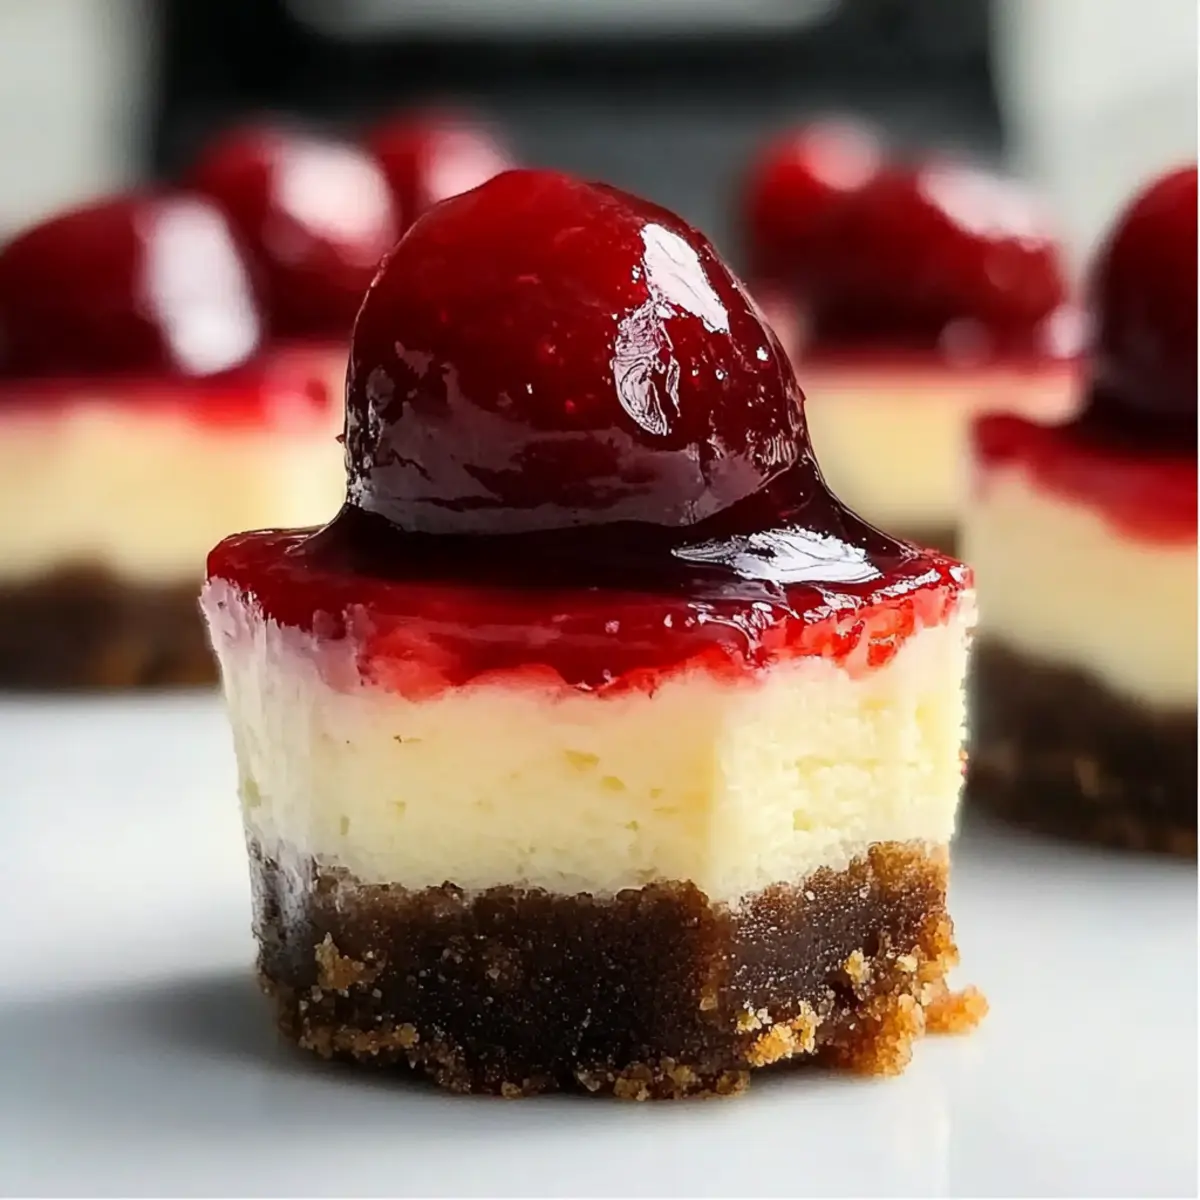
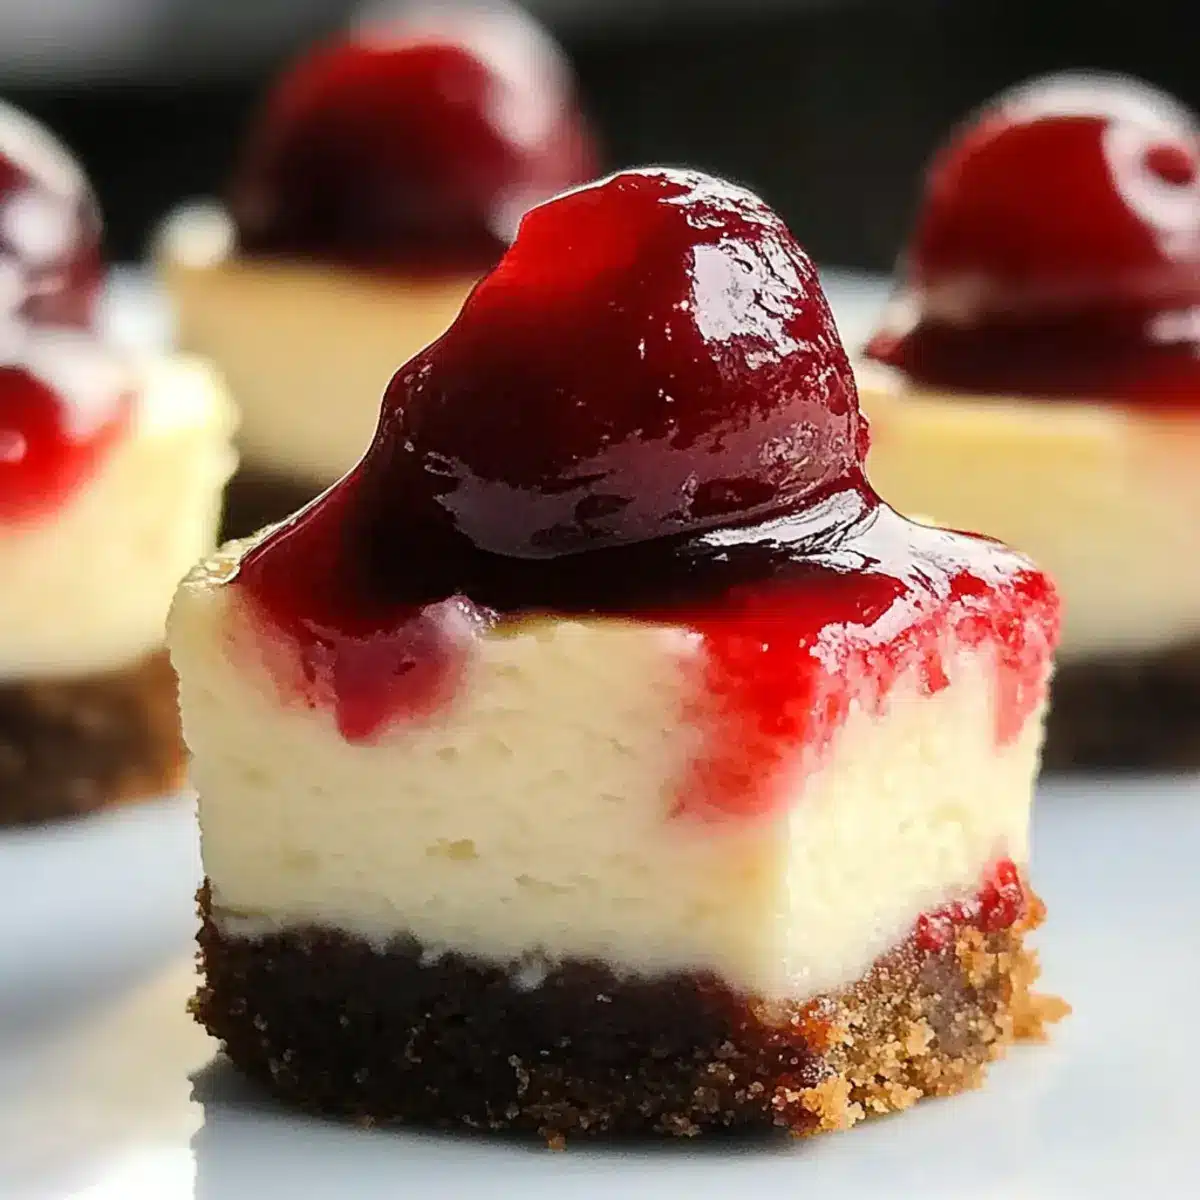
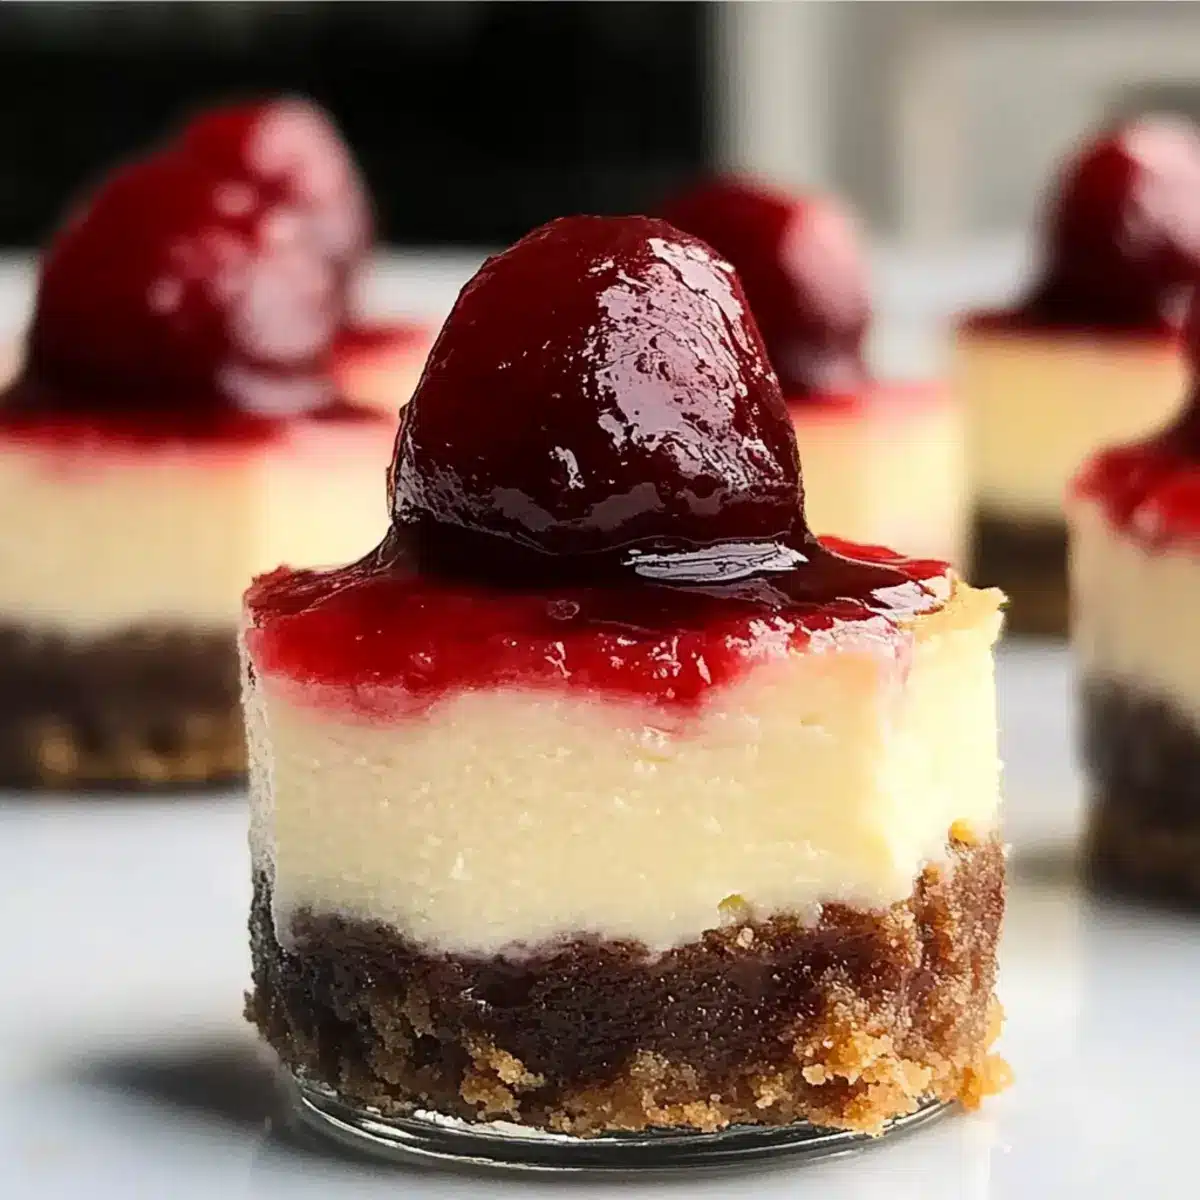
As the sun begins to warm the earth and blossoms fill the air with their sweet perfume, I find myself yearning for a dessert that captures the essence of spring. This No-Bake Mini Cherry Cheesecake for Spring is the answer to that craving! With delightful layers of creamy goodness and a burst of vibrant cherry flavors, these little wonders are not only refreshingly light but also incredibly easy to whip up. Perfect for any gathering or a cozy night in, they require minimal kitchen skills and are sure to impress your guests. Plus, you can make them ahead of time, making entertaining a breeze! Are you ready to dive into a dessert that embodies the spirit of the season? Let’s get started!
Why Is This Cheesecake So Special?
No-Bake Delight: This recipe takes the fuss out of baking, making it accessible for everyone, even novice cooks.
Vibrant Cherry Flavor: The cherry topping provides a sweet and tart explosion that’s a refreshing nod to spring’s bounty.
Perfectly Portable: Serve these mini cheesecakes in easy-to-handle cups—ideal for picnics or gatherings.
Versatile Variations: Swap out cherry for strawberries or blueberries to keep it exciting, as seen in my other recipes like Crisp Mini Cheesecakes.
Light & Creamy Texture: Each bite melts in your mouth with a velvety finish, offering a dessert that feels indulgent yet light.
Make-Ahead Convenience: Prep them a day in advance, ensuring you’re all set for your celebrations! No last-minute stress here!
Mini Cherry Cheesecake Ingredients
For the Crust
• Graham Cracker Crumbs – These provide the perfect base structure with a hint of sweetness; consider using crushed cookies for different flavor profiles.
• Sugar – Balances the richness of the cheesecake; swap with a sugar substitute if you’re watching your sugar intake.
• Unsalted Butter – Binds the crust ingredients together; for a dairy-free option, margarine or coconut oil works wonders.
For the Cheesecake Filling
• Cream Cheese – This is key for that creamy texture; low-fat versions are great for a lighter twist.
• Powdered Sugar – Sweetens the filling effortlessly; try alternative sweeteners for a diabetes-friendly version.
• Vanilla Extract – Adds a delightful depth of flavor; opt for pure vanilla for the best taste.
• Heavy Whipping Cream – Ensures richness and helps stabilize the filling; you can substitute with coconut cream for a dairy-free alternative.
For the Topping
• Cherry Pie Filling – Acts as the flavorful top layer; fresh cherries or other fruits can serve as delicious alternatives.
Explore the flavors of spring with this Mini Cherry Cheesecake for Spring!
Step‑by‑Step Instructions for Mini Cherry Cheesecake For Spring
Step 1: Prepare the Crust
In a mixing bowl, combine 1 cup of graham cracker crumbs with 2 tablespoons of sugar and 5 tablespoons of melted unsalted butter. Stir until evenly moistened. Divide this mixture among 8 small cups or a muffin tin, pressing it firmly into the bottom using the back of a spoon or your fingers. Set it in the refrigerator for about 15 minutes to firm up while you make the filling.
Step 2: Mix the Cheesecake Filling
In a separate bowl, beat 8 ounces of softened cream cheese with 1 cup of powdered sugar and 1 teaspoon of vanilla extract using an electric mixer on medium speed. Continue until the mixture turns smooth and creamy, which should take about 2 to 3 minutes. This no-bake filling adds rich, sweet flavor to your Mini Cherry Cheesecake for Spring, so ensure there are no lumps.
Step 3: Whip the Cream
In another bowl, pour in 1 cup of heavy whipping cream. Using a hand mixer, whip the cream on medium-high speed until stiff peaks form, about 3 to 5 minutes. Be careful not to over-whip the cream; it should be fluffy and light, perfect for folding into the cheesecake mixture. This adds a delightful lightness to your filling.
Step 4: Combine the Mixtures
Gently fold the whipped cream into the cream cheese mixture using a spatula. Do this in three parts, ensuring you maintain the lightness of the whipped cream while fully incorporating it into the cheesecake filling. This step creates the velvety texture characteristic of your Mini Cherry Cheesecake for Spring.
Step 5: Fill the Crusts
Take your chilled crusts out of the fridge and spoon or pipe the cheesecake filling into each cup on top of the crust. Fill just below the rim for a beautiful presentation, and smooth the tops with a spatula or the back of a spoon. Once all cups are filled, return them to the refrigerator for at least 2 hours to allow the filling to set properly.
Step 6: Top with Cherry Filling
After the cheesecakes have chilled and set, remove them from the refrigerator. Spoon a generous layer of cherry pie filling onto the top of each mini cheesecake. This adds a pop of color and flavor that complements the creamy filling beautifully. If desired, you can also garnish with fresh cherries for an extra touch.
Step 7: Serve and Enjoy
Once your Mini Cherry Cheesecake for Spring is beautifully topped, serve immediately or keep them in the fridge until you’re ready to enjoy. These little desserts are perfect for spring gatherings, picnics, or a sweet treat during a cozy night in.
How to Store and Freeze Mini Cherry Cheesecake
Fridge: Store your mini cheesecakes in airtight containers to maintain freshness for up to 3 days. This keeps the flavors vibrant and the texture creamy.
Freezer: For longer storage, place the cheesecake cups in the freezer for up to 2 months. Wrap each cup tightly in plastic wrap before sealing in an airtight container.
Thawing: To enjoy frozen mini cheesecakes, transfer them to the fridge 4–6 hours before serving, allowing them to thaw gradually.
Reheating: There’s no need to reheat these no-bake treats; simply enjoy them chilled straight from the fridge for the best experience!
Expert Tips for Mini Cherry Cheesecake
-
Chill Time Matters: Ensure you chill the cheesecake for at least two hours. This helps it set properly, enhancing flavor and texture.
-
Prevent Soggy Crust: Thoroughly mix melted butter with crumb mixture to avoid a soggy crust. This ensures a firm base for your Mini Cherry Cheesecake.
-
Gentle Whipping: When whipping cream, stop as soon as stiff peaks form. Over-whipping can lead to a grainy texture, affecting the cheesecake’s creaminess.
-
Alternate Toppings: Experiment with toppings! Swap cherry pie filling for fresh fruit or different pie fillings to personalize your Mini Cherry Cheesecake for Spring.
-
Storage Secrets: Store leftovers in airtight containers to maintain freshness. Enjoy them within three days for the best taste and texture.
What to Serve with No-Bake Mini Cherry Cheesecake for Spring?
Indulge in the delightful culinary experience of serving your mini cheesecakes alongside complementary dishes that enhance the vibrant flavors of spring.
-
Fresh Fruit Salad: A medley of seasonal fruits adds a refreshing, juicy touch that balances the rich creaminess of the cheesecake. Try combining strawberries, blueberries, and kiwi for a colorful plate.
-
Lemon Sorbet: The tartness of lemon sorbet serves as a bright palate cleanser, perfectly contrasting the sweetness of the cheesecake. It’s a light, refreshing finish to your meal.
-
Vanilla Ice Cream: A scoop of creamy vanilla ice cream enhances the dessert’s indulgence. The cold creaminess adds a lovely textural contrast to the cheesecake.
-
Mint Tea: Brewed mint tea offers a fragrant and refreshing drink option, ideal for spring afternoons. Its herbal notes elevate the overall experience of enjoying your mini cheesecakes.
-
Oreo Crust Brownies: For a chocolatey twist, serve these fudgy brownies alongside the cheesecakes. Their rich flavor pairs beautifully, catering to both chocolate and fruit lovers.
-
Chocolate-Covered Strawberries: A touch of elegance, these sweet treats complement the cheesecake’s flavors and add a pop of color to your dessert table. Perfect for special occasions!
-
Homemade Whipped Cream: Offer a dollop of freshly whipped cream as a delightful topping. It lightens the cheesecake even further, making each bite decadently fluffy.
-
Sparkling Lemonade: A fizzy, citrus drink offers a festive touch, brightening up the gathering and providing a refreshing sip to accompany the dessert.
With these pairings, your no-bake mini cherry cheesecake for spring will surely shine in every gathering!
Make Ahead Options
These No-Bake Mini Cherry Cheesecakes are perfect for busy home cooks looking to save time! You can prepare the crust and cheesecake filling up to 24 hours in advance. Just store the crusts in an airtight container in the refrigerator to maintain their crunch. The cheesecake filling can be made and kept separately in the fridge until you’re ready to assemble. When you’re ready to serve, simply fill the prepared crusts with the chilled cheesecake mixture, top with cherry pie filling, and enjoy a dessert that’s just as delicious as if you made it all at once. This way, you’ll have more time to relax and mingle with your guests!
Mini Cherry Cheesecake Variations
Feel free to customize this delightful recipe and let your creativity shine! Each variation brings a new twist, ensuring your mini cheesecakes are always fresh and exciting.
-
Dairy-Free: Swap cream cheese and heavy cream for dairy-free alternatives, like cashew cheese and coconut cream, creating a luscious vegan-friendly treat.
-
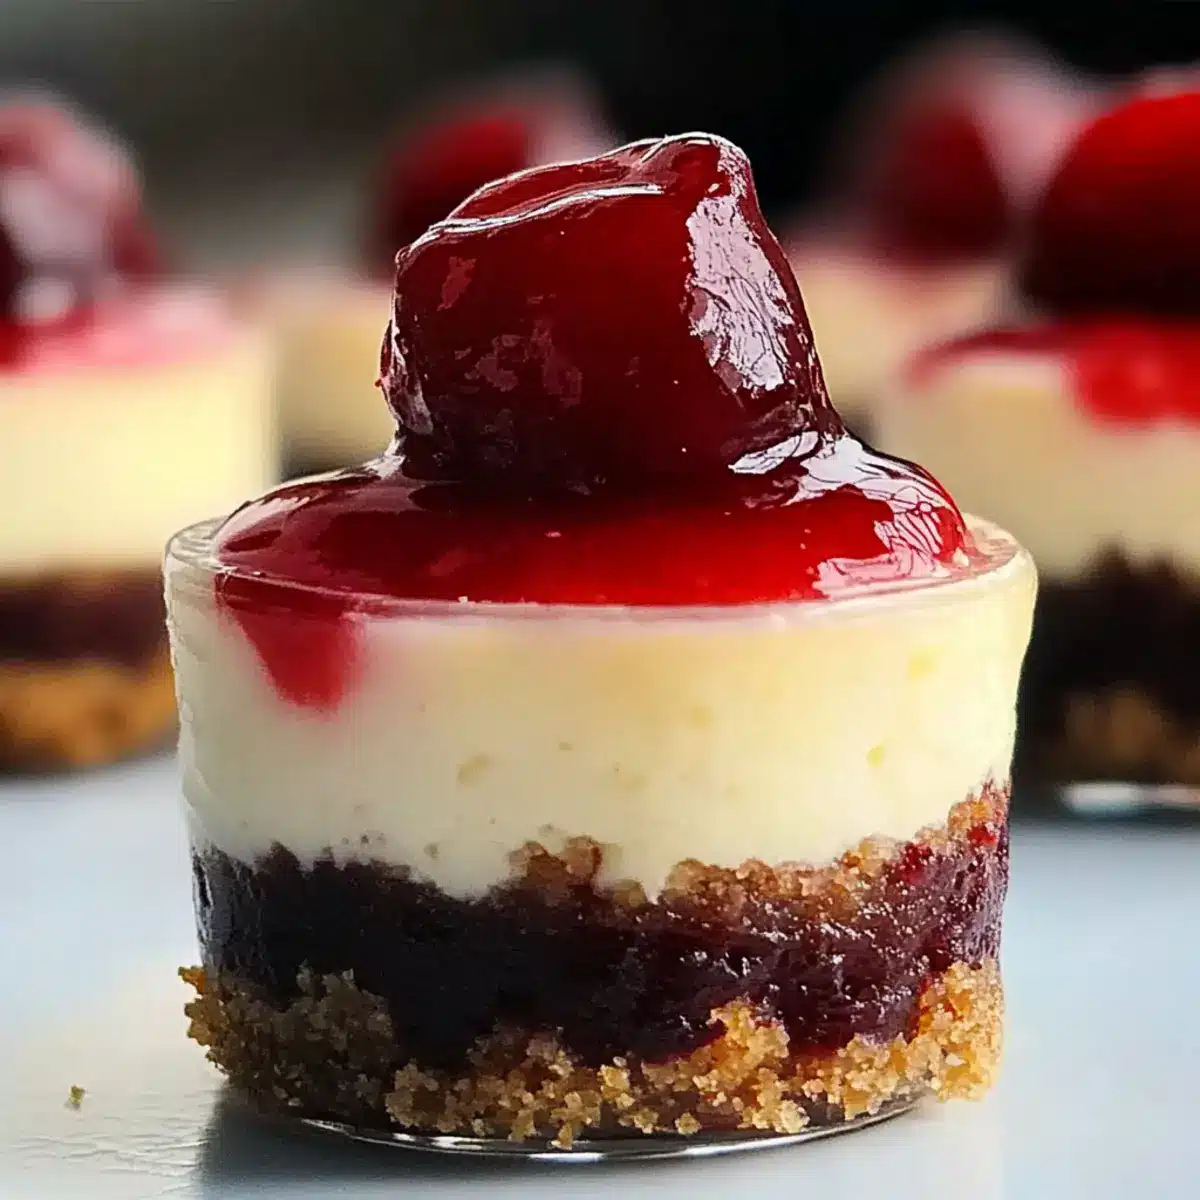
Fruit Topping Swap: Try using blueberry or raspberry pie filling instead of cherries for a different fruity experience; the berries’ sweetness pairs beautifully with the creamy base. Consider mixing flavors for a berry medley twist!
-
Chocolate Lovers: Incorporate chocolate by adding melted chocolate into the cream cheese filling or using chocolate cookie crumbs for your crust. You can even create delightful layers of chocolate cheesecake and cherry topping.
-
Nutty Crust: Experiment with crushed nuts or nut-based cookies instead of graham crackers for an added crunch and richness. Almonds or pecans bring a subtle nutty flavor that complements the cheesecake beautifully.
-
Spiced Variation: Add a pinch of cinnamon or nutmeg to the cheesecake filling for a warm spicy note that surprises and enchants with every bite. This twist creates a wonderfully cozy flavor profile.
-
Low-Sugar Option: Use sugar substitutes like stevia or erythritol in your filling and crust to maintain sweetness while minimizing calories, making this dessert more accessible for those watching their sugar intake.
-
Layering Flavors: For added texture, layer crushed cookies or granola between the cream cheese filling for a delightful crunch. This will confuse your tastebuds in the best way possible!
Don’t forget to check out my scrumptious Cherry Pistachio Cheesecake or the refreshing Crisp Mini Cheesecakes for more ideas on delightful twists!
Mini Cherry Cheesecake for Spring Recipe FAQs
How do I select ripe cherries for the topping?
Absolutely! When choosing cherries, look for ones that are plump, firm, and vivid in color. Avoid those with dark spots or blemishes, as they may be overripe. Fresh cherries typically have a sweet-tart flavor, perfect for complementing your Mini Cherry Cheesecake for Spring!
How should I store my mini cheesecakes?
For the best results, keep your mini cheesecakes in airtight containers in the refrigerator. They will maintain their delightful texture and flavors for up to 3 days. Just ensure they are completely chilled before storing, as this helps prevent condensation from affecting the creamy topping.
Can I freeze the mini cheesecakes and how?
Very! To freeze, wrap each individual cheesecake cup tightly in plastic wrap, then place them in an airtight container. They can be stored in the freezer for up to 2 months. When you’re ready to enjoy them, simply transfer them to the fridge to thaw slowly for about 4–6 hours before serving. This method preserves their delicious texture!
What should I do if my whipped cream doesn’t reach stiff peaks?
Don’t worry; it happens! Start by checking the temperature of your cream; it should be very cold. If you’re still having trouble, try whipping it at a slightly higher speed. If it hasn’t reached stiff peaks after 5 minutes, consider adding a teaspoon of powdered sugar to stabilize it, and continue whipping until you achieve that fluffy consistency.
Are there any dietary considerations I should be aware of?
Definitely! If serving to guests with allergies, be mindful of the ingredients. The recipe includes dairy, so you can substitute cream cheese and heavy cream with dairy-free alternatives like coconut cream to accommodate lactose sensitivities. Additionally, for those watching their sugar intake, feel free to use sugar substitutes in both the crust and filling for a deliciously friendly dessert!
No-Bake Mini Cherry Cheesecake for Spring Perfection
Ingredients
Equipment
Method
- Prepare the Crust: In a mixing bowl, combine graham cracker crumbs, sugar, and melted unsalted butter. Stir until evenly moistened, divide among cups, press into the bottom and refrigerate for about 15 minutes.
- Mix the Cheesecake Filling: Beat softened cream cheese, powdered sugar, and vanilla extract until smooth and creamy, about 2-3 minutes.
- Whip the Cream: In another bowl, whip heavy whipping cream until stiff peaks form, about 3-5 minutes. Avoid over-whipping.
- Combine the Mixtures: Gently fold whipped cream into the cream cheese mixture in three parts to maintain lightness.
- Fill the Crusts: Spoon or pipe cheesecake filling into each crust, fill just below the rim, and smooth the tops. Refrigerate for at least 2 hours.
- Top with Cherry Filling: After chilling, spoon cherry pie filling onto each mini cheesecake and garnish with fresh cherries if desired.
- Serve and Enjoy: Chill until ready to serve. These mini cheesecakes are perfect for gatherings or cozy nights in.
Leave a Reply