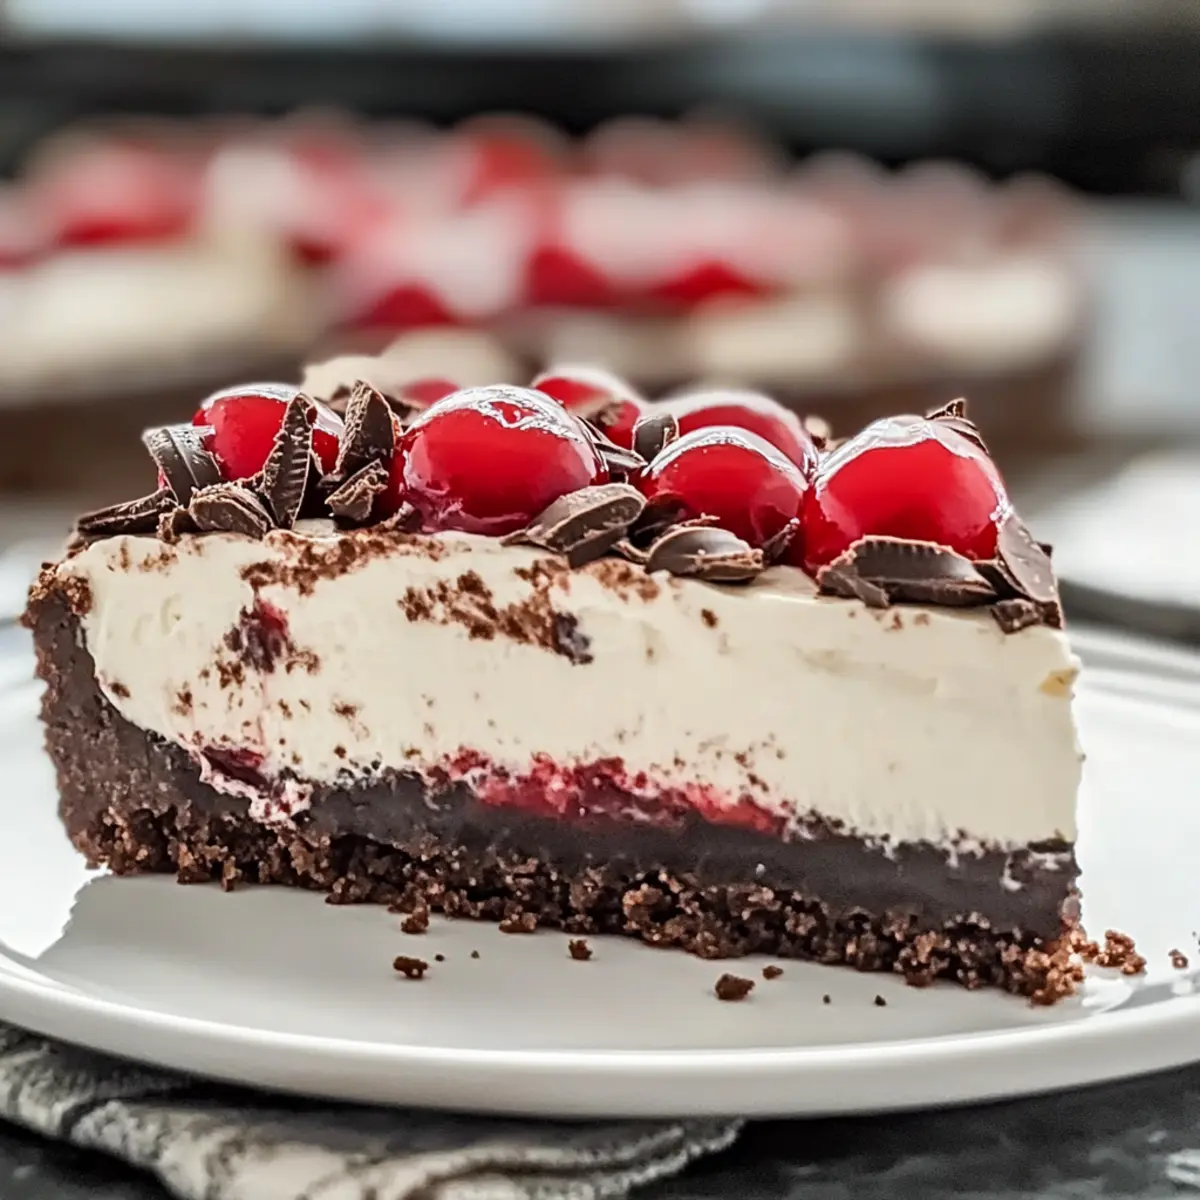
A delightful reminder of childhood gatherings, the No Bake Black Forest Cheesecake whisks me back to sun-drenched afternoons filled with laughter and sweet treats. This scrumptious dessert combines rich chocolate creaminess with the zing of tart cherries, creating an unforgettable experience. The best part? It requires no baking at all! This simple preparation makes it the perfect option when you want to impress guests without the fuss of traditional baking. Plus, it can be made ahead of time, letting you focus on what really matters—enjoying quality moments with loved ones. Ready to dive into a slice of this creamy chocolate indulgence? Let’s get started!
Why is No Bake Black Forest Cheesecake a Must-Try?
Incredibly Simple: With no baking required, you’ll enjoy an effortless preparation process that’s perfect for busy weeknights or last-minute gatherings.
Decadent Flavor: The luscious blend of creamy chocolate and tart cherries creates a rich, unforgettable taste that’s sure to delight dessert lovers.
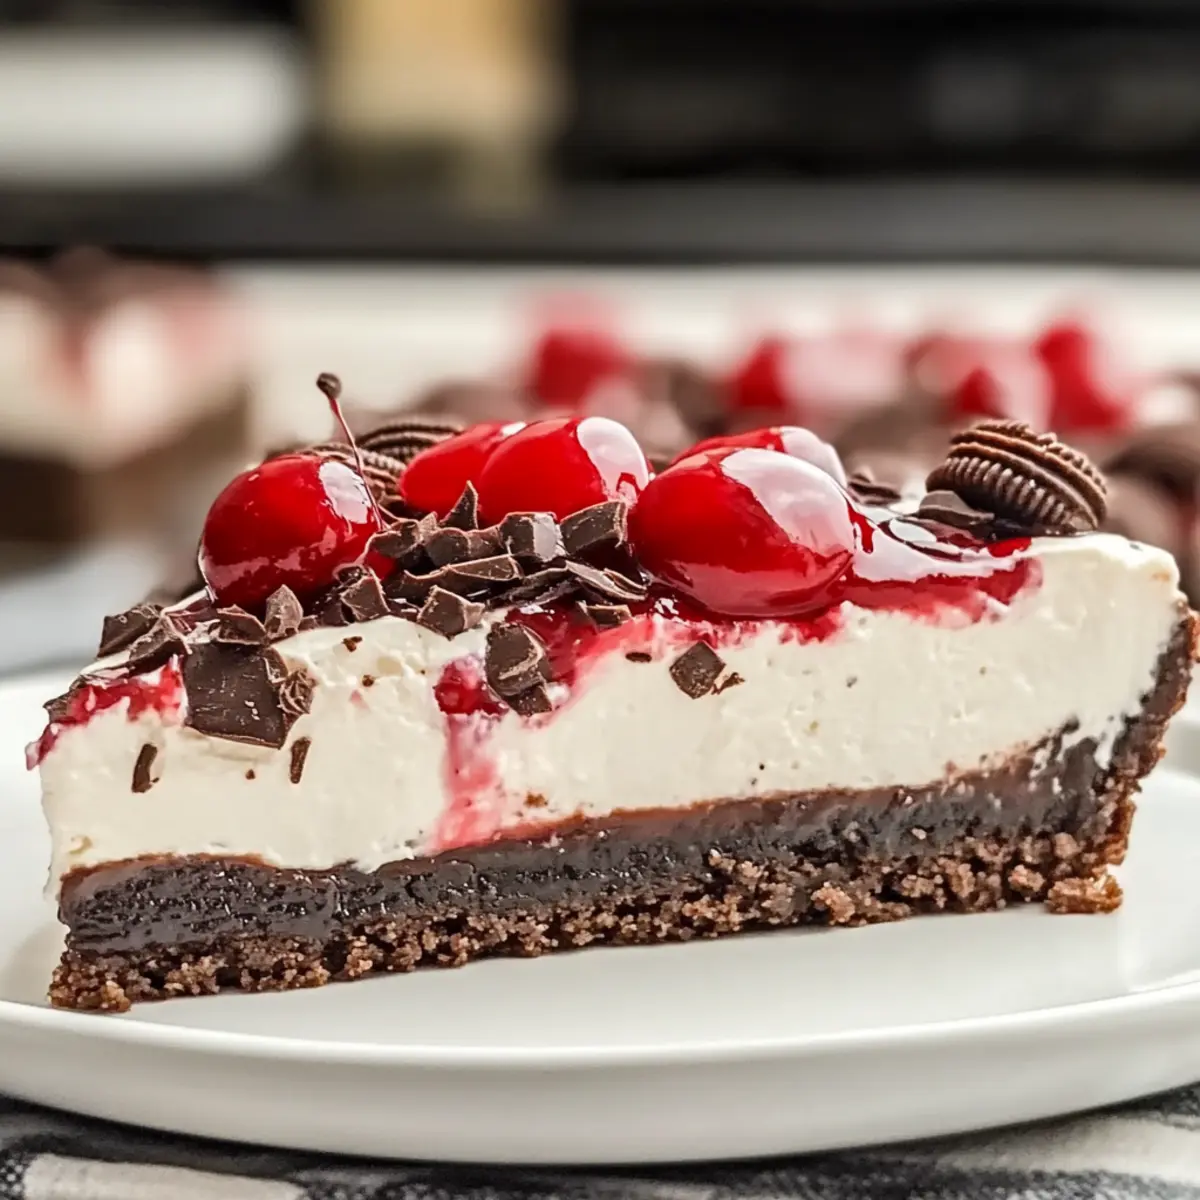
Visually Stunning: The striking appearance, complete with chocolate drizzle and cherry topping, makes this cheesecake the centerpiece of any table.
Make Ahead Magic: Easily prepare in advance, allowing you to spend more time with loved ones and less time in the kitchen.
Endless Appeal: Ideal for family dinners, parties, or simply indulging after a long day, this dessert is a guaranteed crowd-pleaser! If you’re a fan of delicious, easy desserts, don’t miss out on my Cherry Pistachio Cheesecake or Sugar Cookie Cheesecake for more delightful treats!
No Bake Black Forest Cheesecake Ingredients
Discover the essential ingredients that make this No Bake Black Forest Cheesecake a delightful treat!
-
For the Crust
• Pre-made Oreo pie crust – Provides a crunchy chocolate base that’s quick and delicious. -
For the Filling
• Cream cheese (12 ounces, room temperature) – Vital for that creamy texture; make sure it’s soft to blend easily.
• Granulated sugar (¾ cup) – Sweetens the filling for the perfect balance with tart cherries.
• Full-fat sour cream (½ cup) – Brings a tangy flavor and creaminess; plain Greek yogurt can be a lighter alternative.
• Vanilla extract (1 teaspoon) – Adds warmth and enhances the overall flavor profile.
• Semi-sweet baking bar (3 ounces, chopped) – Offers a rich chocolate essence; melt it before mixing in.
• Whipped topping (8 ounces, thawed) – Lightens the filling, adding volume and fluffiness.
• Canned cherry pie filling (1 cup) – Ideal for tartness and color; fresh cherries can also be a delicious option. -
For the Ganache Topping
• Semi-sweet chocolate baking bar (4 ounces, broken into pieces) – Deepens the chocolate flavor in your drizzle.
• Vegetable shortening (1 tablespoon) – Ensures a smooth consistency for the ganache. -
For Garnish (Optional)
• Chocolate curls – A fancy addition for elegance and extra chocolatey goodness on top.
Enjoy creating your No Bake Black Forest Cheesecake with these easy-to-find ingredients, and get ready to impress your guests with this delightful dessert!
Step‑by‑Step Instructions for No Bake Black Forest Cheesecake
Step 1: Cream the Cheese
Begin by placing the room-temperature cream cheese in a large mixing bowl. Using an electric mixer, beat it on medium speed for about 2-3 minutes until it’s smooth and creamy, stopping to scrape down the sides as needed. This step is crucial for achieving a lump-free filling in your No Bake Black Forest Cheesecake.
Step 2: Mix in Sugar and Sour Cream
Gradually add the granulated sugar and full-fat sour cream to the creamed cheese. Continue mixing on medium speed until everything is well combined and smooth, approximately 2 minutes. Pour in the vanilla extract and mix well, ensuring that all the ingredients are evenly blended into the luscious filling.
Step 3: Melt the Chocolate
In a microwave-safe bowl, combine the chopped semi-sweet baking bar. Microwave in 20-second intervals, stirring frequently until the chocolate is fully melted and smooth. Allow it to cool slightly before adding it to the cream cheese mixture to prevent curdling, making sure the dessert maintains that rich chocolate flavor.
Step 4: Combine Mixtures
Fold the melted chocolate gently into the cream cheese mixture using a spatula until it is fully incorporated. Then, add the thawed whipped topping, folding it in carefully until no streaks remain. This will create a light and airy filling for your No Bake Black Forest Cheesecake that is both rich and fluffy.
Step 5: Layer the Cheesecake
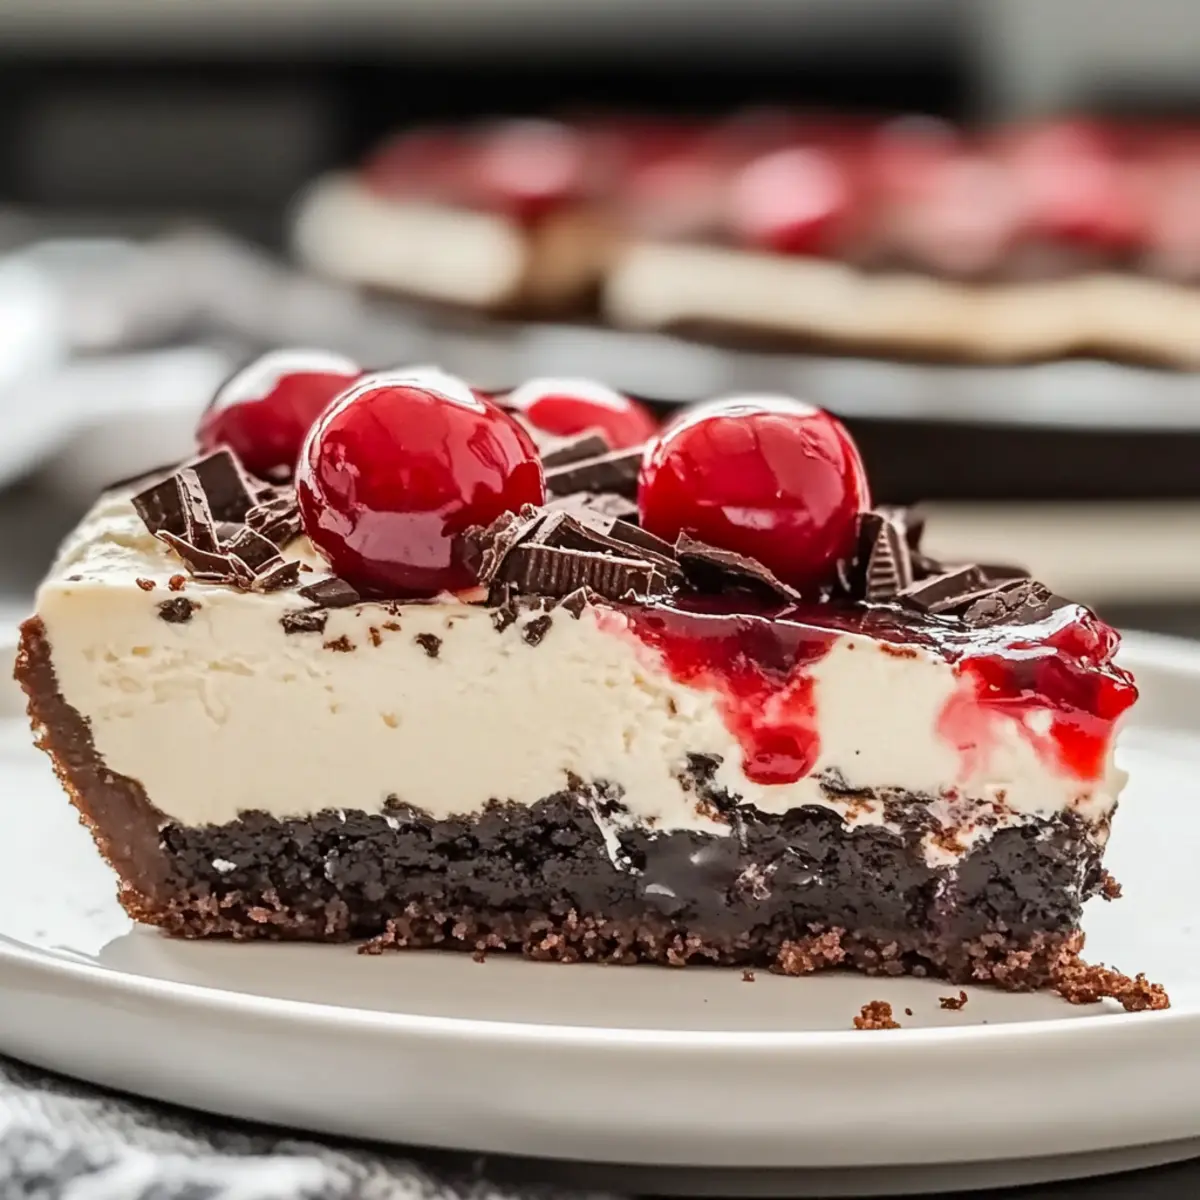
Pour half of the creamy filling into the Oreo pie crust, smoothing it out evenly. Next, spoon half of the cherry pie filling over the cheesecake layer. Carefully add the remaining filling to finish layering, and top it off with the last of the cherry filling, ensuring a beautiful presentation with this delightful dessert.
Step 6: Chill the Cheesecake
Cover the cheesecake with plastic wrap or aluminum foil and refrigerate it for at least 4 hours, or preferably overnight. This chilling time allows the cheesecake to set properly. When done, it will have a firm texture that is perfect for slicing and serving.
Step 7: Garnish and Serve
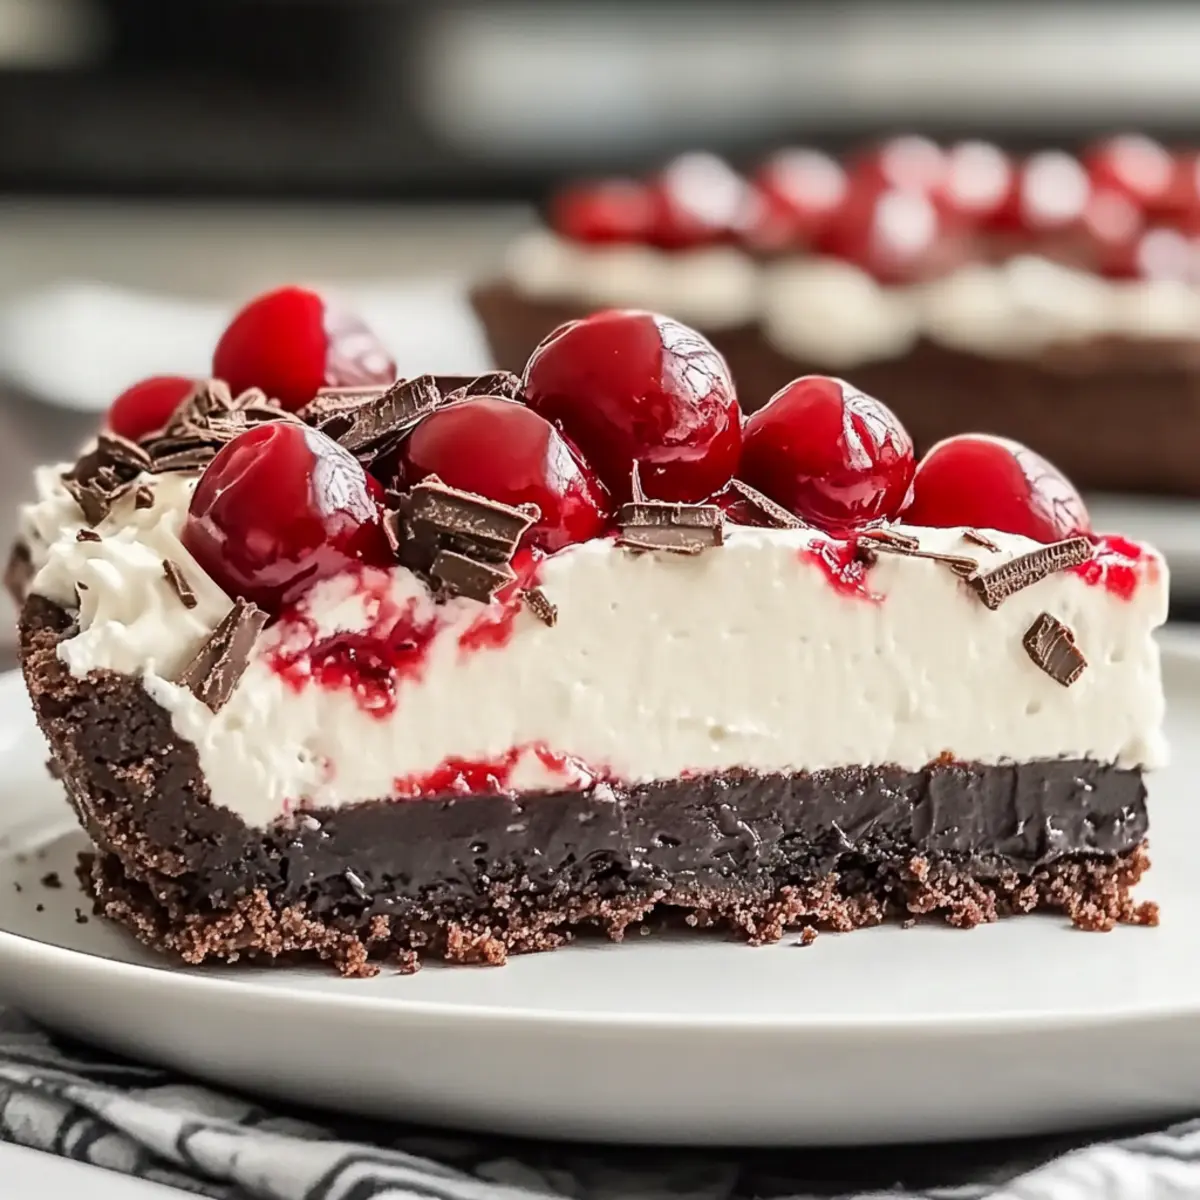
For the ganache, melt the remaining semi-sweet chocolate with vegetable shortening in a microwave-safe bowl, stirring until smooth. Drizzle this over the chilled cheesecake for an elegant touch. Optionally, add chocolate curls as a garnish before slicing. Your No Bake Black Forest Cheesecake is now ready to impress!
Storage Tips for No Bake Black Forest Cheesecake
Fridge: Store in an airtight container, and your No Bake Black Forest Cheesecake will stay fresh for up to 5 days. This way, you can enjoy each slice with its delightful flavors intact!
Freezer: If you want to make it ahead, freeze the uncut cheesecake for up to 2 months. Wrap it tightly in plastic wrap and then aluminum foil to prevent freezer burn; simply thaw in the fridge when ready to serve.
Reheating: There’s no need to reheat this cheesecake! Just slice and enjoy it cold, fully appreciating the creamy texture and the burst of cherry flavor.
Make-Ahead: Prepare this dessert the day before your gathering. Allowing it to chill overnight enhances its flavors and gives it a perfect set for serving.
What to Serve with No Bake Black Forest Cheesecake
Ready to create the perfect meal around this delightful dessert? Pairing dishes with your creamy chocolate indulgence elevates your dining experience to new heights.
- Whipped Cream: A dollop of freshly whipped cream adds a light and airy touch, enhancing the cheesecake’s richness.
- Fresh Mint Leaves: This vibrant garnish brings a refreshing contrast, perfectly balancing the sweetness of the cheesecake.
- Coffee or Espresso: The bold flavors of coffee complement the chocolate while enhancing the overall dessert experience—ideal for coffee lovers!
- Chocolate-Dipped Strawberries: Adding a fruity twist, these treats will delight your guests and mirror the cheesecake’s flavors beautifully.
- Cherry Compote: A side of homemade cherry compote enriches the cherry flavor of the cheesecake, making each bite even more scrumptious.
- Pistachio Crumble: Adding a crunchy pistachio topping introduces enjoyable texture and a nutty flavor that pairs beautifully with chocolate.
Make your celebration complete with these fun and flavorful pairings, showcasing balance and delight alongside your No Bake Black Forest Cheesecake!
Expert Tips for No Bake Black Forest Cheesecake
-
Room Temperature Cheese: Ensure your cream cheese is at room temperature. Cold cream cheese can lead to a lumpy filling that’s hard to blend smoothly.
-
Careful Chocolate Melting: When melting chocolate, do it in small 20-second increments, stirring often. This prevents burning and ensures a silky-smooth incorporation into the mixture.
-
Chill Time: Allow your cheesecake to chill for at least 4 hours, but overnight is ideal. This will give the No Bake Black Forest Cheesecake a firmer texture, making slicing much easier.
-
Layering Technique: When adding fillings, layer gently to maintain clarity between the chocolate filling and cherries; this helps to create that stunning presentation.
-
Garnish Wisely: For added elegance, consider using chocolate curls or spare cherry garnish. They not only improve appearance but also enhance the overall chocolate and fruit experience.
No Bake Black Forest Cheesecake Variations
Customizing your No Bake Black Forest Cheesecake opens up a world of flavors and textures that will make this dessert uniquely yours!
-
Gluten-Free Crust: Choose a gluten-free graham cracker or nut-based crust to cater to dietary needs without sacrificing taste.
-
Low-Fat Option: Substitute low-fat cream cheese and Greek yogurt for a lighter cheesecake that still holds creamy richness.
-
Fruit Alternatives: Switch out cherry filling for alternative fruit toppings like raspberry, blueberry, or even a luscious layer of fresh strawberries.
-
Nutty Crunch: Mix in crushed walnuts or pecans into the crust for an added crunch that pairs beautifully with the creamy filling.
-
Chocolate Lovers: Add extra melted chocolate into the filling for an even richer chocolate experience, or top with chocolate ganache for that ultimate indulgence.
-
Zesty Twist: Incorporate a hint of orange or lemon zest into the cream cheese mixture to brighten the flavors and add a refreshing zing.
-
Vegan Version: Use vegan cream cheese and whipped topping, alongside a plant-based crust, for a delicious dessert that everyone can enjoy.
As you explore these variations, consider trying a slice of my Cherry Pistachio Cheesecake for a delightful twist or indulge yourself with a White Chocolate Raspberry Cheesecake for a fresh flavor profile. Each option ensures there’s something special for everyone!
Make Ahead Options
These No Bake Black Forest Cheesecake are perfect for meal prep! You can prepare the cheesecake filling up to 24 hours in advance, keeping the components separate to maintain freshness. Simply whip together the cream cheese mixture and layer it in the Oreo crust, covering it tightly with plastic wrap or foil before refrigerating. To optimize flavor and texture, wait to add the cherry pie filling until just before serving. When you’re ready to indulge, just drizzle the ganache on top and garnish with chocolate curls for that perfect finishing touch. This way, you’ll have a stunning and delicious dessert, ready with minimal last-minute effort!
No Bake Black Forest Cheesecake Recipe FAQs
How do I select the best cherries for my No Bake Black Forest Cheesecake?
Absolutely! If you’re using fresh cherries, opt for ones that are firm and vibrant in color. Look for cherries without dark spots or blemishes, as this indicates freshness. Fresh cherries are best when in season, typically during the summer months, but if you can’t find them, canned cherry pie filling works beautifully and adds great flavor.
How should I store my No Bake Black Forest Cheesecake?
Very simply! Store any leftovers in an airtight container in your refrigerator for up to 5 days. This keeps it fresh and ready for you to enjoy a slice whenever the craving hits!
Can I freeze my No Bake Black Forest Cheesecake?
Absolutely! If you’d like to enjoy it later, you can freeze the uncut cheesecake for up to 2 months. Just wrap it tightly in plastic wrap followed by aluminum foil to prevent freezer burn. When you’re ready to serve, simply thaw it in the refrigerator for several hours or overnight.
What should I do if my cheesecake isn’t setting properly?
No worries! If you notice that your cheesecake isn’t as firm as you’d like after chilling, this is usually due to insufficient chilling time, or the cream cheese wasn’t at room temperature when mixing. Make sure to chill it for at least 4 hours, but overnight is even better. If it still doesn’t set, consider adding a bit of gelatin to future recipes for an extra firm texture.
Is there a lower-fat alternative for the ingredients in this recipe?
Most definitely! For a lighter version of your No Bake Black Forest Cheesecake, you can use low-fat or fat-free cream cheese, Greek yogurt instead of sour cream, and light whipped topping. These substitutions will yield a less indulgent yet still delicious dessert that doesn’t skimp on flavor! Just remember that the texture may differ slightly.
Can I make this cheesecake a day in advance?
Yes! In fact, making your No Bake Black Forest Cheesecake a day ahead is highly recommended. This gives it ample time to chill and ensures the flavors meld beautifully, making it an ideal choice for gatherings. Plus, it saves you kitchen time on the day of your event!
No Bake Black Forest Cheesecake: The Ultimate Chocolate Dream
Ingredients
Equipment
Method
- Begin by placing the room-temperature cream cheese in a large mixing bowl. Using an electric mixer, beat it on medium speed for about 2-3 minutes until it's smooth and creamy.
- Gradually add the granulated sugar and full-fat sour cream to the creamed cheese. Mix until well combined and smooth, about 2 minutes. Pour in the vanilla extract and mix well.
- In a microwave-safe bowl, combine the chopped semi-sweet baking bar and microwave in 20-second intervals, stirring frequently until fully melted. Allow to cool slightly.
- Fold the melted chocolate into the cream cheese mixture using a spatula until fully incorporated. Then add the thawed whipped topping, folding it in carefully.
- Pour half of the creamy filling into the Oreo pie crust and smooth it out. Spoon half of the cherry pie filling over the cheesecake layer. Add the remaining filling and top with the last of the cherry filling.
- Cover the cheesecake and refrigerate for at least 4 hours or overnight to allow it to set properly.
- For the ganache, melt the remaining semi-sweet chocolate with vegetable shortening, stirring until smooth. Drizzle over the chilled cheesecake and optionally add chocolate curls before serving.
Leave a Reply