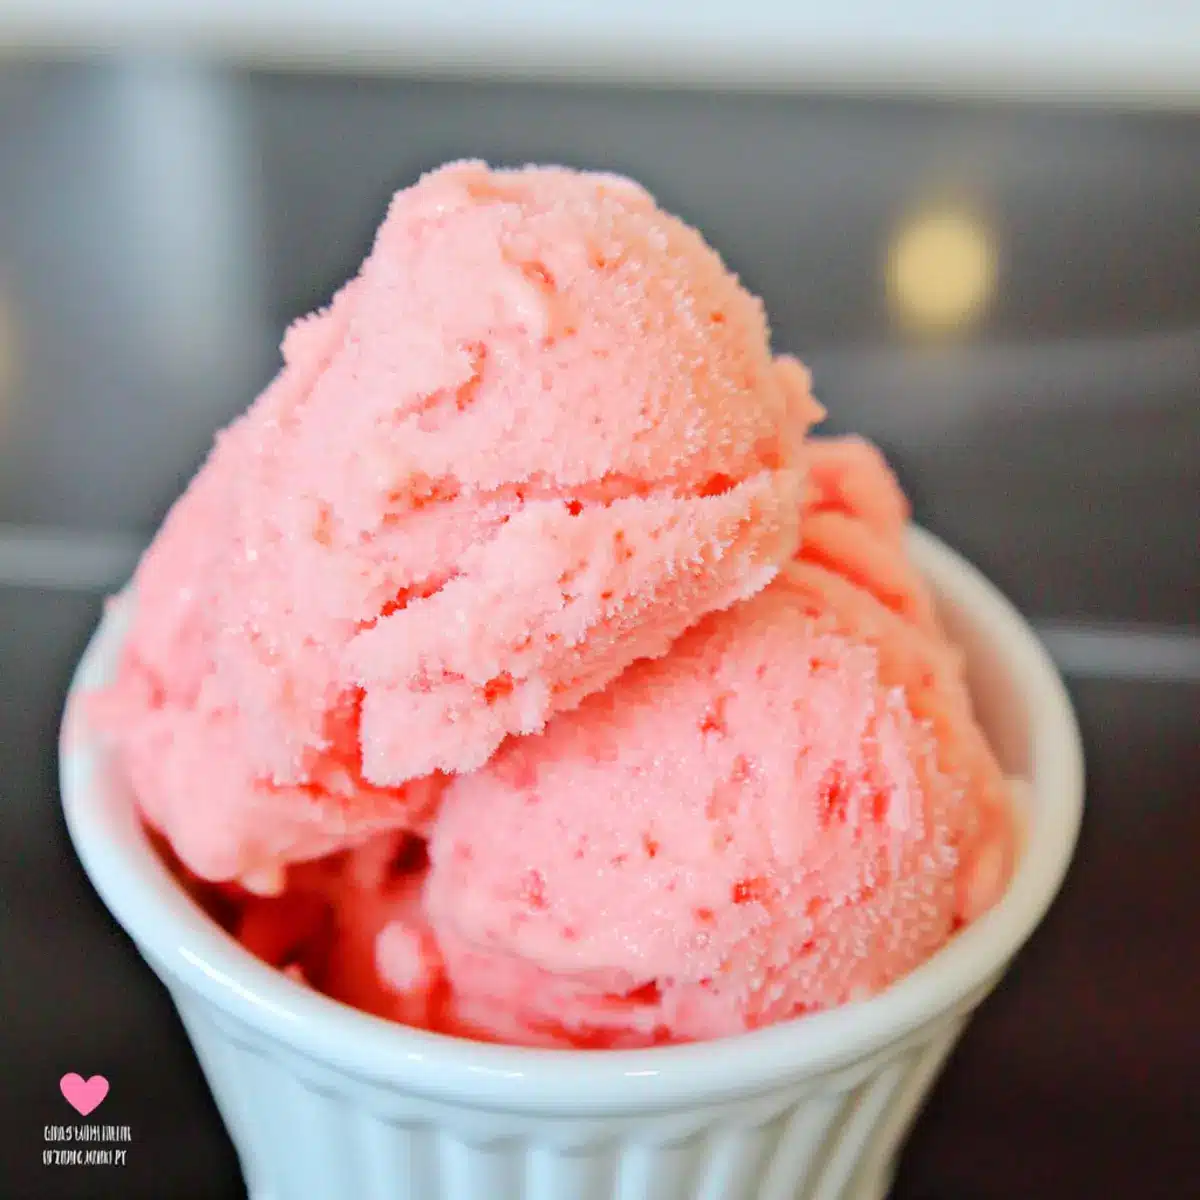
The first bite of this Easy No-Churn Watermelon Ice Cream is a summer day in a bowl—refreshingly sweet with a creamy twist! With ripe watermelon shining as the star ingredient and a touch of Greek yogurt adding a rich texture, this homemade dessert is not just healthy but incredibly simple to make. Forget about ice cream makers; this fuss-free recipe comes together quickly, making it an instant crowd-pleaser for your next gathering. Plus, it’s a delightful way to beat the heat while enjoying a wholesome treat that even kids will love. Curious about how to whip up this refreshing indulgence in no time? Let’s dive right in!
Why is this ice cream so special?
Simplicity: With no ice cream maker required, this recipe is a breeze! Just blend, freeze, and enjoy.
Healthy Treat: Made with ripe watermelon and Greek yogurt, this ice cream is not only delicious but also packed with nutrients.
Customizable: Feel free to get creative! Add bananas for creaminess or mix in your favorite fruits for a unique twist.
Crowd-Pleaser: Perfect for parties, kids adore it, and adults will love the refreshing taste on hot days.
Time-Saving: Whip it up in minutes and off it goes to the freezer—easy and efficient! Ready to impress? This ice cream will make your summer gatherings even sweeter!
No Churn Watermelon Ice Cream Ingredients
• Easy-to-find ingredients for sweet indulgence!
For the Ice Cream Base
- Ripe Seedless Watermelon – The primary ingredient that delivers natural sweetness and hydration; choose one that feels heavy and has a sweet aroma.
- Honey – A natural sweetener to amplify the flavor; swap for agave syrup or maple syrup for a vegan-friendly option.
- Greek Yogurt – This creamy addition provides richness and protein; feel free to use dairy-free yogurt if you’re looking for a vegan version.
- Lemon Juice – The zesty kick that brightens the flavor; fresh lemon juice is best for maximum zing, but bottled will work in a pinch.
- Water – Added only as needed to ensure the watermelon blends smoothly; use sparingly to achieve the perfect creamy consistency.
- Banana (Optional) – Adds an extra layer of creaminess and sweetness; opt for ripe bananas for the best flavor without added wateriness.
Enjoy making your no churn watermelon ice cream, a delightful and healthy summer treat!
Step‑by‑Step Instructions for No Churn Watermelon Ice Cream
Step 1: Prepare Watermelon
Start by cutting a ripe seedless watermelon into quarters, removing the rind and seeds. Then, place the fruit in a blender and puree it until completely smooth, which should take about 1-2 minutes. The vibrant pink color and fresh scent will be a delightful reminder of summer as you create the base for your no churn watermelon ice cream.
Step 2: Mix Ingredients
In a large mixing bowl, combine the smooth watermelon puree with honey, Greek yogurt, and freshly squeezed lemon juice. Using a whisk, blend the mixture thoroughly until all ingredients are well incorporated, which should take around 3-5 minutes. The result will be a thick, creamy mixture infused with a zesty kick—perfectly balanced for your ice cream.
Step 3: Strain Mixture
To achieve a silky texture for your no churn watermelon ice cream, pour the combined mixture through a fine sieve into a freezable container. Use a spatula to press the mix down, ensuring that only the smooth liquid is collected while discarding any pulp. This step helps create that smooth, creamy texture that everyone will love.
Step 4: Initial Freezing
Once strained, cover the container with a lid or plastic wrap and place it in the freezer for about 1 hour. After this initial freezing time, take it out and cut the icy mixture into cubes. This will make blending much easier in the next step, ensuring you end up with a luscious, creamy dessert at the end.
Step 5: Blend Frozen Cubes
Transfer the frozen cubes back to the blender and pulse gently until smooth, about 2-3 minutes. The mixture should resemble soft serve ice cream. For a finer texture, you can repeat this blending process every 30 minutes for a total of 2 hours, scraping down the sides as needed, until you’ve achieved the perfect creamy consistency for your no churn watermelon ice cream.
Step 6: Final Freeze
After blending, pour the whipped ice cream back into the container and smooth the top with a spatula. Cover it tightly with plastic wrap or a lid and return it to the freezer for an additional hour. This final freeze will firm up your no churn watermelon ice cream, making it ready for scooping and serving when you’re ready to enjoy this delightful summer treat.
Make Ahead Options
Get ahead of the game with this Easy No-Churn Watermelon Ice Cream! You can prepare the watermelon puree up to 24 hours in advance by blending the ripe watermelon and storing it in an airtight container in the refrigerator. Simply whisk it together with the other ingredients right before you’re ready to freeze. For even more convenience, you can strain the mixture and freeze it for the initial hour, then cut into cubes and keep sealed in the freezer for up to 3 days. When it’s time to finish, blend the frozen cubes until smooth and refreeze for just another hour. This way, you’ll have a refreshing, homemade treat ready with minimal effort when the craving strikes!
What to Serve with Easy No-Churn Watermelon Ice Cream
Elevate your summertime dessert experience by complementing this refreshing treat with delightful pairings that will tantalize your taste buds.
- Minted Fruit Salad: Combines juicy melons and berries with a refreshing mint twist that enhances the ice cream’s fruity flavors.
- Coconut Whipped Cream: A luscious, airy topping that adds a tropical vibe, creating a delightful contrast with the creamy watermelon base.
- Lime Sorbet: This tangy and refreshing sorbet is a perfect palate cleanser and matches the watermelon with its bright citrus flavor.
- Chocolate Drizzle: Drizzle warm chocolate over scoops of ice cream for a sweet, indulgent touch that perfectly balances the fruity freshness.
- Lemon-Lime Soda: Serve it as a fizzy drink alongside your ice cream, creating a perfect watermelon float that enhances the summer vibes.
- Graham Cracker Crumbs: Sprinkle these crunchy crumbs for a delightful texture contrast that adds a fun element to each scoop.
- Chilled White Wine: A light, crisp Sauvignon Blanc pairs excellently, enhancing the sweetness of the watermelon for a sophisticated treat.
- Pineapple Chips: These crispy bites bring a sweet and chewy texture alongside the creamy ice cream, making every bite delectable.
- Dark Chocolate Covered Almonds: A nutty, crunchy contrast adds depth to your dessert experience, perfectly matching the watermelon’s flavor.
- Berry Parfait Layers: Create a layered dessert with fresh berries and yogurt alongside the ice cream for an impressive and delicious presentation.
Expert Tips for No Churn Watermelon Ice Cream
-
Choose Ripe Watermelons: Gently squeeze the watermelon; a ripe one will feel heavy for its size and have a sweet aroma, ensuring maximum flavor in your ice cream.
-
Avoid Over-Blending: While blending, pulse the mixture until smooth without going too far; this helps maintain the desired texture of your no churn watermelon ice cream.
-
Strain Well: Straining out pulp is crucial for a silky finish; don’t skip this step to achieve that creamy texture everyone loves!
-
Mind the Freezing: If your ice cream is too hard after the final freeze, let it sit at room temperature for a few minutes before scooping to soften it.
-
Store Properly: Keep the ice cream in a sealed container to avoid ice crystals forming, which can spoil the light, fluffy texture you’ve worked hard to create.
No Churn Watermelon Ice Cream Variations
Feel free to customize your no churn watermelon ice cream to suit your taste buds and dietary needs! Let your creativity run wild as you experiment with these delightful variations.
-
Banana Boost: Add a ripe banana to enhance creaminess while sweetening naturally. This combination creates an extra silky texture, blending seamlessly with watermelon.
-
Vegan Delight: Substitute Greek yogurt with coconut or almond yogurt for a vegan-friendly version. The result will still be creamy but with a unique flavor twist!
-
Berry Bliss: Mix in fresh berries like strawberries or blueberries for a burst of flavor. This twist not only adds vibrant color but also a refreshing tartness to your ice cream.
-
Minty Fresh: Incorporate fresh mint leaves into the blending process for a delightful twist. The cooling flavor kick enhances the summery sensation of the ice cream.
-
Chocolate Chips: Add dark chocolate chips or chunks for a yummy twist reminiscent of watermelon seeds. This unexpected combo will excite your taste buds!
-
Spicy Kick: Sprinkle in a pinch of cayenne or chili powder for a surprising heat that balances the sweetness. It’s a bold move that adventurous eaters will love!
-
Crunchy Textures: Fold in crushed nuts, like pistachios or almonds, for added crunch and healthy fats. The combination of creamy and crunchy is truly irresistible.
-
Tropical Fusion: Blend in pineapple or mango chunks for a tropical paradise in a bowl. This sunny mix transports you to a beach holiday, perfect for summertime enjoyment!
For more delightful summer treats, consider trying out Orange Creamsicle Mini or refreshing Tomato Soup to complement your ice cream experience!
How to Store and Freeze No Churn Watermelon Ice Cream
Fridge: Store leftover watermelon ice cream in the fridge for up to 3 days, but keep in mind it may lose its creamy texture.
Freezer: For longer storage, keep the no churn watermelon ice cream in an airtight container in the freezer for up to 1 week to maintain its luscious consistency.
Reheating: When ready to serve, allow the ice cream to sit at room temperature for about 5 minutes to soften slightly, making it easier to scoop.
Wrap Carefully: If you’re planning to store it longer, wrap the container tightly with plastic wrap before sealing to prevent ice crystals from forming on the surface.

No Churn Watermelon Ice Cream Recipe FAQs
What type of watermelon should I use?
Absolutely! For the best flavor, choose a ripe seedless watermelon. Look for one that feels heavy for its size and has a sweet aroma. A few small dark spots on the skin can indicate sweetness, while you should avoid watermelons with large bruises or a hollow sound when tapped, as these might be overripe.
How do I store leftover watermelon ice cream?
Very! To keep your no churn watermelon ice cream fresh, store it in an airtight container in the freezer for up to 1 week. To maintain its creamy texture and prevent ice crystals from forming, ensure the lid is tightly sealed. If you have some left after a week, I recommend enjoying it sooner rather than later, as it might lose some quality!
Can I freeze this watermelon ice cream for longer?
Definitely! If you want to extend the life of your no churn watermelon ice cream, you can keep it in the freezer for up to 3 months. Just make sure to wrap the container tightly with plastic wrap before sealing it to avoid freezer burn. When you’re ready to indulge, let it sit at room temperature for about 10 minutes to soften for easy scooping.
What should I do if my ice cream turns out too hard?
No worries! If your no churn watermelon ice cream is too hard, simply let it sit at room temperature for about 5-10 minutes before scooping. This will help soften it just enough to make it easier to serve. Additionally, if this happens, you can also blend it again before serving to reach that sweet, soft-serve consistency.
Is this recipe suitable for vegan diets?
Absolutely! You can easily adapt this no churn watermelon ice cream to be vegan. Just substitute the Greek yogurt with your favorite dairy-free yogurt and switch out honey for agave syrup or maple syrup. This way, you can still enjoy a delicious, creamy treat without any dairy!
No Churn Watermelon Ice Cream That Whips You to Summer Bliss
Ingredients
Equipment
Method
- Cut a ripe seedless watermelon into quarters, removing the rind and seeds. Puree the fruit in a blender until smooth, about 1-2 minutes.
- In a large mixing bowl, combine the watermelon puree, honey, Greek yogurt, and lemon juice. Whisk until well incorporated, 3-5 minutes.
- Strain the mixture through a fine sieve into a freezable container, pressing down with a spatula to remove pulp.
- Cover and freeze for about 1 hour. Then, cut the icy mixture into cubes.
- Blend the frozen cubes until smooth, about 2-3 minutes. For finer texture, blend every 30 minutes for 2 hours, scraping sides as needed.
- Pour the whipped ice cream into the container, smooth the top, and freeze for an additional hour.
Leave a Reply