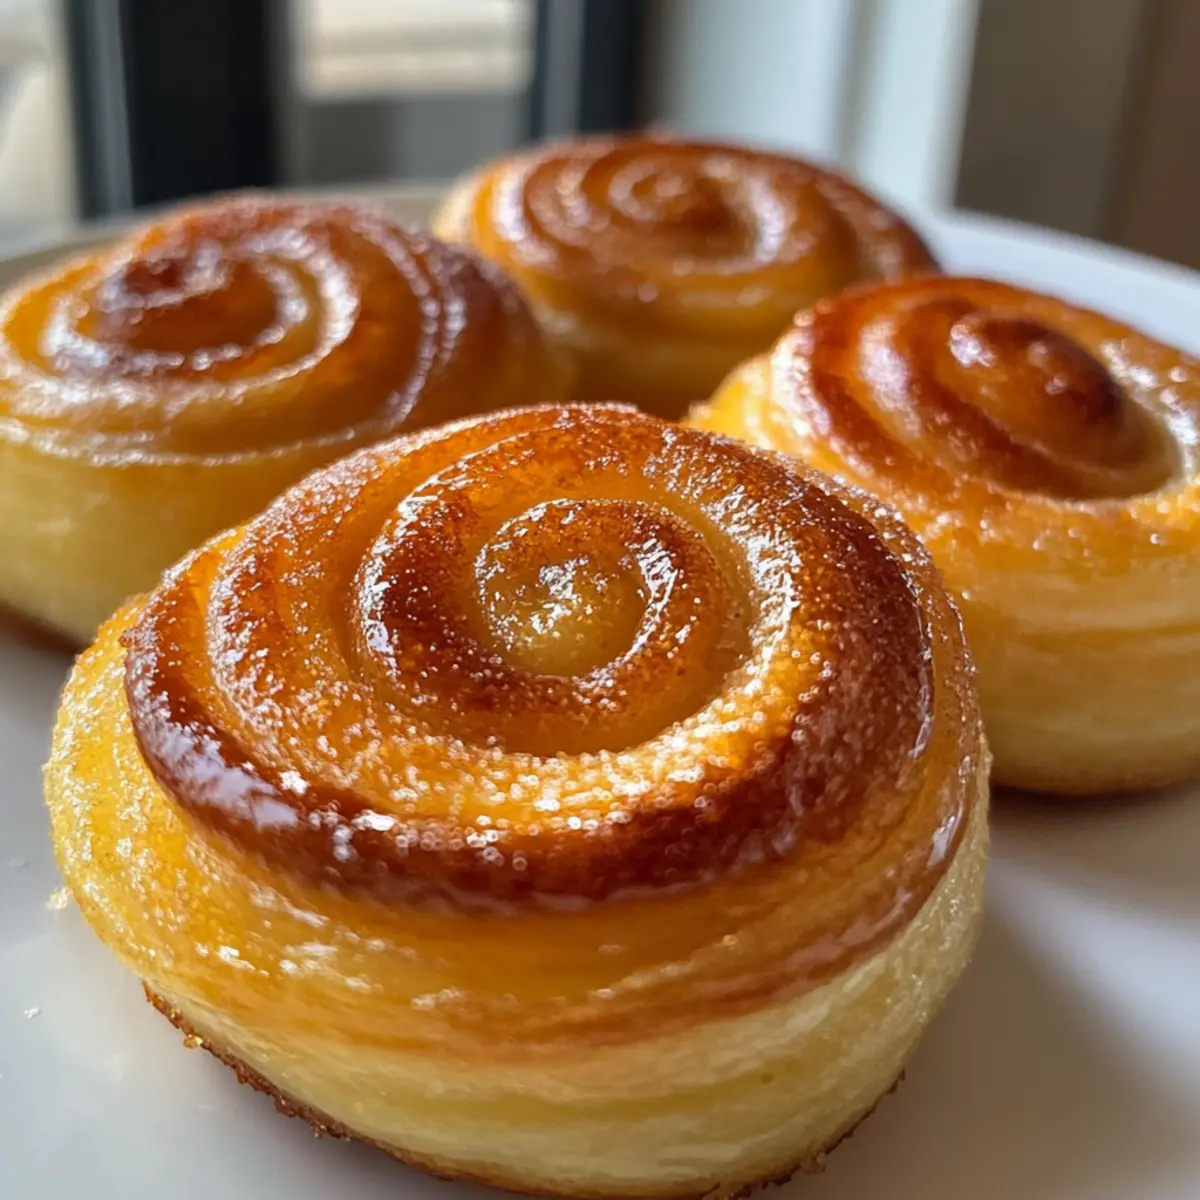
As I entered my kitchen, a delightful aroma whisked me back to my childhood—warm, buttery pastries spiraling into fluffy sweetness. This whimsical treat, the Soft and Buttery Sugar Snails, is like a warm hug rolled up in dough, perfect for those brunch gatherings that need a touch of magic. What I adore about this recipe is its simplicity; it offers an effortless alternative to cinnamon rolls, allowing even the busiest cooks to whip up something extraordinary without fuss. Plus, these adaptable pastries can carry your favorite flavors, whether you’re in the mood for a hint of vanilla or a sprinkle of cinnamon. Ready to elevate your breakfast game or find a charming dessert to impress your guests? Let’s dive into the world of sugar snails!
Why Are Sugar Snails So Irresistible?
Soft, Flaky Layers: Each bite of these Sugar Snails reveals a delightful softness, creating an addictive texture that melts in your mouth.
Simple Process: No need to be a pastry chef! This recipe simplifies the baking process while delivering impressive results that will wow everyone at your brunch.
Endless Flavor Variations: Feeling adventurous? You can easily customize these pastries with flavors like vanilla, cinnamon, or even zesty lemon—your taste buds will thank you!
Perfect for Any Occasion: Whether it’s a cozy family breakfast or an afternoon tea party, these treats steal the spotlight, making every gathering feel extra special.
Make-Ahead Friendly: Bake fresh in the morning or prepare the night before—these sugar snails are as convenient as they are delicious! For more easy prep ideas, check out our make-ahead brunch recipes.
Buttery Sugar Snail Ingredients
These delightful pastries are waiting for you!
-
For the Dough
-
All-purpose flour – Provides the necessary structure while keeping the dough soft and pliable.
-
Yeast (active dry or instant) – This ingredient is crucial for making your sugar snails rise beautifully; ensure it’s fresh for the best outcome.
-
Milk – Whole milk brings richness, but you can substitute 2% if needed. Warm it slightly to help the yeast activate.
-
Unsalted butter – Softened is best for spreading; it controls the salt content and adds richness to the dough.
-
Egg – This ingredient adds richness and acts as a binder for the dough.
-
Salt – Enhances overall flavor and helps balance the sweetness of the sugar.
-
For the Sugar Filling
-
Granulated sugar – The star of the show, key for the sweet caramelization that makes these sugar snails irresistible!
Feel free to experiment with variations to create your unique twist on these buttery sugar snails. Enjoy your baking adventure!
Step‑by‑Step Instructions for Buttery Sugar Snails
Step 1: Prepare the dough
Warm the milk in a small saucepan over low heat until just warm to the touch, about 110°F (43°C). Remove from heat and stir in the yeast and a teaspoon of sugar; let it sit for 5-10 minutes until it becomes foamy. This vital step activates the yeast, setting the stage for your soft and buttery sugar snails.
Step 2: Combine ingredients
In a large mixing bowl, combine the foamy yeast mixture with the remaining sugar, egg, melted butter, salt, and flour. Mix everything together until a soft dough begins to form. You may find it helpful to use a wooden spoon or a stand mixer fitted with a dough hook to achieve a well-blended mixture that feels slightly tacky but not sticky.
Step 3: Knead
Transfer the dough onto a floured work surface and knead it by hand for about 8-10 minutes, or until smooth and elastic. If using a stand mixer, knead on medium speed for the same amount of time. The dough should be soft but should spring back when lightly pressed—this indicates it’s ready for its first rise.
Step 4: First rise
Place the kneaded dough in a greased bowl, turning it once to coat with oil. Cover it with a clean kitchen towel or plastic wrap and let it rise in a warm spot, such as near a preheated oven, for 1 to 1.5 hours, until it has doubled in size. This step is essential for creating the fluffy layers in your buttery sugar snails.
Step 5: Roll out
Once risen, gently punch down the dough to release air bubbles. Turn it out onto a floured surface and roll it into a large rectangle, approximately 12×16 inches. Make sure the dough is evenly thick to ensure that every part of your sugar snails bakes evenly and transforms into that melt-in-your-mouth texture we all love.
Step 6: Add filling
Spread a generous layer of softened butter evenly over the entire surface of the rolled-out dough. Sprinkle granulated sugar liberally over the butter, allowing it to coat the dough’s surface. Feel free to customize this moment with additional flavorings like cinnamon or lemon zest for a delightful twist on your sugar snails.
Step 7: Shape the snails
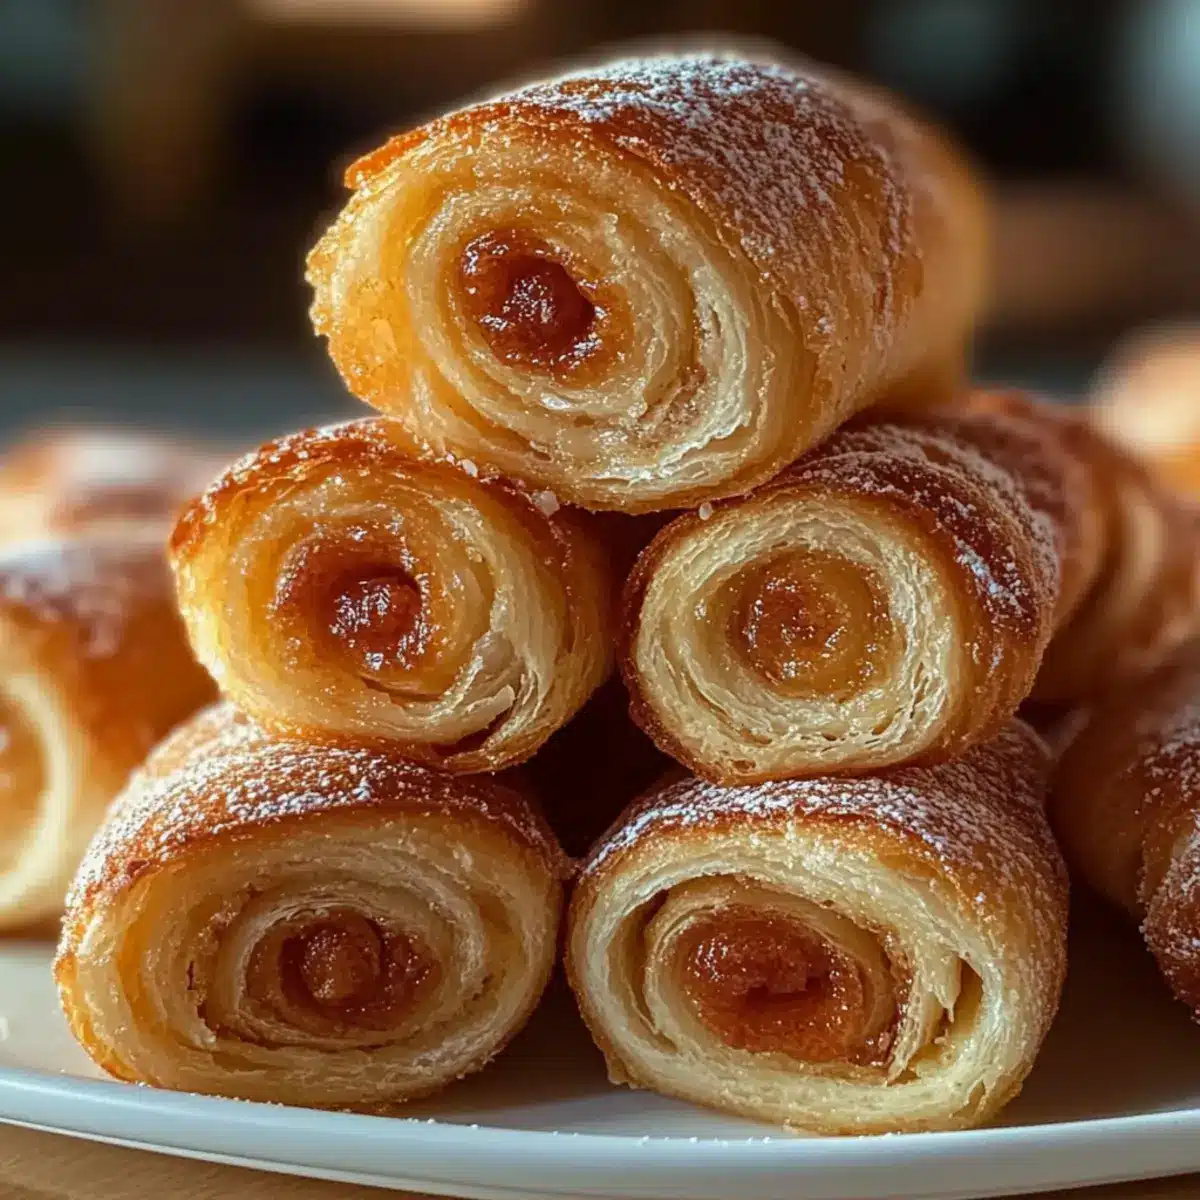
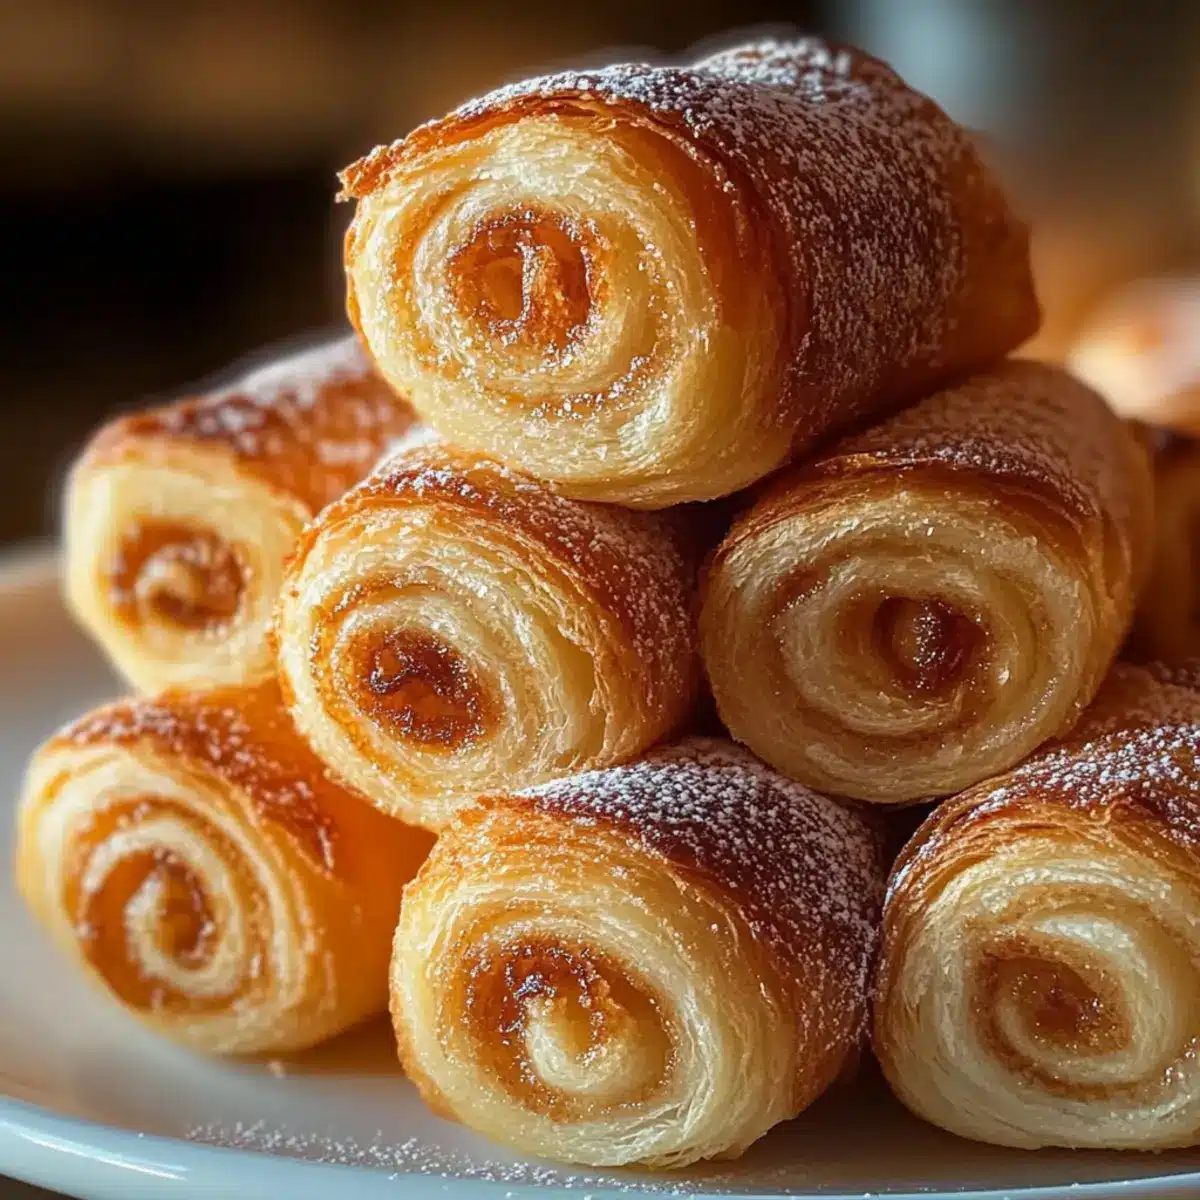
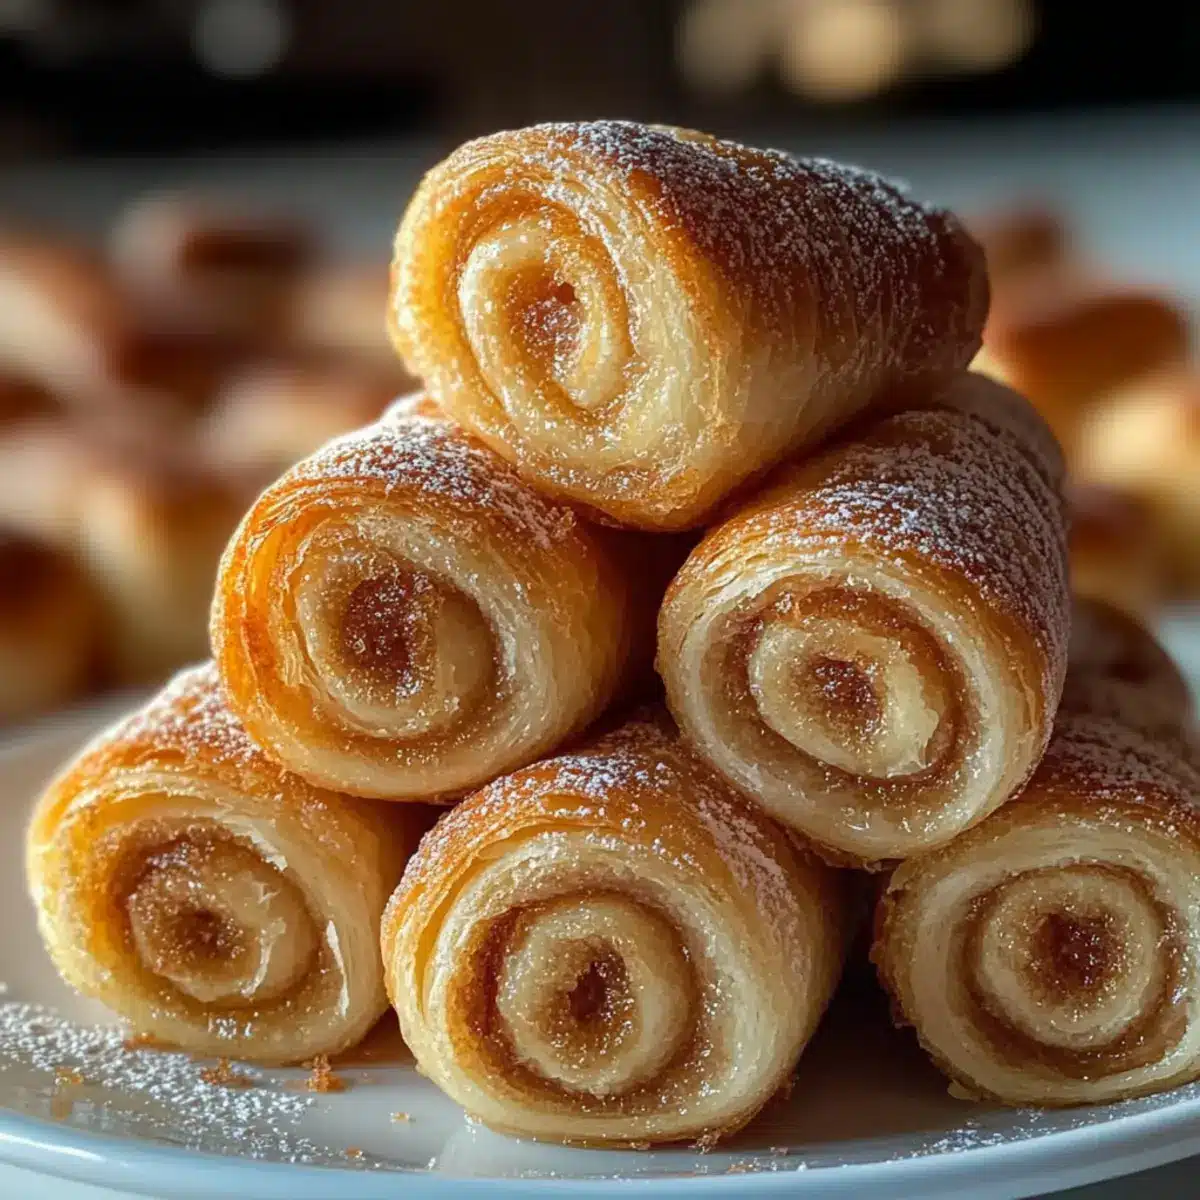
Starting from one long edge, tightly roll the dough into a log, ensuring that the filling remains inside. Once rolled, slice the log into even pieces, about 1 to 1.5 inches thick. Each slice will reveal the beautiful swirls of sugar and butter, perfectly embodying the charm of your buttery sugar snails.
Step 8: Second rise
Arrange the sliced snails in a greased baking dish, placing them close together but not touching. Cover them gently with a kitchen towel and let them rise again in a warm area for 30-45 minutes. They should become puffy and almost double in size, ready for the oven and their golden transformation.
Step 9: Bake
Preheat your oven to 350°F (175°C) while the snails complete their second rise. Once ready, place the baking dish in the oven and bake for 20-25 minutes until the sugar snails are golden brown on top and fragrant. Keep an eye on them toward the end for that perfect, enticing hue that signals readiness.
Step 10: Cool
After baking, remove the sugar snails from the oven and let them rest in the pan for about 10 minutes. Allowing them to cool slightly will ensure that the sugar sets into a glossy, irresistible finish. These buttery delights are now ready to share warmth and joy with your loved ones!
Buttery Sugar Snails Variations & Substitutions
Feel free to get creative and customize your Sugar Snails with these delightful variations!
-
Vanilla Sugar Snails: Add vanilla bean paste or extract to the butter filling for a cozy flavor twist. Rich notes of vanilla turn these sweet bites into an indulgent dream.
-
Cinnamon Sugar Snails: Sprinkle cinnamon into the sugar mixture for a classic version that warms the soul. This timeless flavor is like a warm blanket, perfect for chilly mornings.
-
Lemon Sugar Snails: Incorporate fresh lemon zest into the butter for a bright and zesty kick. The citrus adds a refreshing contrast, elevating your pastries to a whole new level.
-
Nutty Sugar Snails: Mix in chopped nuts like almonds or pecans over the sugar before rolling up the dough. The added crunch brings an unexpected texture that complements the softness perfectly.
-
Chocolate Chip Sugar Snails: Toss in some mini chocolate chips along with the sugar for a sweet, gooey surprise at every bite. This decadent twist is a chocolate lover’s fantasy come to life!
-
Spicy Sugar Snails: For those who love a kick, add a pinch of cayenne pepper to the sugar mixture. This unexpected heat balances the sweetness and adds intrigue to your snacks.
-
Glazed Sugar Snails: Drizzle a simple glaze made from powdered sugar and milk over the warm snails for a sweeter finish. This easy addition makes them look as good as they taste.
-
Dairy-Free Sugar Snails: Substitute the milk with almond or coconut milk and use vegan butter for a delightful dairy-free treat that everyone can enjoy. You won’t miss the dairy in this delicious twist!
Explore these variations and make these Sugar Snails uniquely yours. For more inspiration, check out our scrumptious flavored pastry ideas. Enjoy your baking adventure!
What to Serve with Soft and Buttery Sugar Snails
The delightful aroma of fresh-baked pastries fills the air, beckoning you to create a comforting meal that everyone will love.
- Fresh Fruit Salad: A vibrant medley of fruits adds brightness and a refreshing crunch, balancing the richness of the snails.
- Scrambled Eggs: Fluffy, seasoned eggs provide a savory contrast, making for a hearty brunch spread that satisfies all.
- Crispy Bacon: The smoky, salty goodness of crispy bacon harmonizes beautifully with the sweet pastries, creating a perfect flavor pairing.
- Vanilla Yogurt: Creamy yogurt drizzled with honey complements the light sweetness of the snails, enhancing your brunch experience.
- Iced Coffee or Tea: Refreshing drinks like iced coffee or fragrant tea offer a delightful sip to accompany your pastries, elevating the entire meal.
- Light Syrup Drizzle: A touch of maple or berry syrup adds a sweet finish, transforming each bite into a delightful indulgence.
- Lemonade: The zesty brightness of lemonade brightens the palate and complements the buttery richness, making every bite feel like sunshine.
- Chocolate Croissants: For a baked goods lover, pairing with chocolate croissants adds an extra layer of decadence to your brunch presentation.
- Cinnamon Butter Spread: A dollop of cinnamon butter brings warmth and a cozy sweetness, enhancing the already delightful flavor of the snails.
Storage Tips for Sugar Snails
Room Temperature: Keep your Sugar Snails in an airtight container at room temperature for up to 2 days to maintain their delightful texture.
Fridge: If you need to store them longer, refrigerate for up to 5 days. Just be sure to wrap them tightly to prevent them from drying out.
Freezer: For longer storage, freeze your sugar snails for up to 2 months. Place them in a freezer-safe container or wrap individually in plastic wrap.
Reheating: To enjoy these sweet treats again, simply thaw and warm them in the oven at 350°F (175°C) for about 10 minutes, ensuring they stay soft and buttery.
Make Ahead Options
These Soft and Buttery Sugar Snails are perfect for meal prep, allowing busy home cooks to save time during hectic mornings! You can prepare the dough and shape the sugar snails up to 24 hours in advance. Simply follow the instructions to form the snails, then cover them tightly and refrigerate overnight. When you’re ready to bake, let them sit at room temperature for about 30 minutes to rise slightly before popping them in the oven. For even longer storage, these delightful pastries can be frozen once shaped; just bake them directly from frozen for a few extra minutes. With these make-ahead options, you can enjoy warm, fresh Sugar Snails on demand, perfect for those brunch gatherings or a cozy treat!
Expert Tips for Buttery Sugar Snails
-
Measure Flour Accurately: Use the spoon and level method to avoid dry dough; too much flour can lead to dense pastries.
-
Fresh Yeast is Key: Always check the expiration date of your yeast—it ensures that your sugar snails rise beautifully and achieve that melt-in-your-mouth texture.
-
Room Temperature Ingredients: Make sure your butter and egg are at room temperature for better integration into the dough, enhancing the richness of each bite.
-
Don’t Rush the Rise: Allow enough time for both rises; this is essential for developing that soft and fluffy texture that makes these pastries irresistible.
-
Customize Wisely: For flavored variations, start with small amounts of spices or zest, then adjust based on your taste preferences for the perfect buttery sugar snails.
Buttery Sugar Snails Recipe FAQs
How can I select the best yeast for my sugar snails?
Absolutely! Freshness is key when it comes to yeast. Look for packets with the latest expiration date. Instant yeast can be directly added to dry ingredients, while active dry yeast should be mixed with warm milk (about 110°F) to activate. If it doesn’t foam within 5-10 minutes, your yeast may be expired, and I recommend starting over for best results.
What’s the best way to store my sugar snails?
To keep your buttery sugar snails fresh, store them in an airtight container at room temperature for up to 2 days. If you’d like them to last longer, refrigerate them for up to 5 days. Just wrap them tightly to prevent drying out. Want to stock up for later? You can freeze them for up to 2 months; simply place them in a freezer-safe container or wrap them individually in plastic wrap.
Can I freeze the sugar snails after baking? How should I do it?
Absolutely! After baking and cooling, place your sugar snails in a single layer in a freezer-safe container or wrap them in plastic wrap. For best results, allow them to cool completely before freezing. When you’re ready to enjoy them again, thaw overnight in the refrigerator and warm in a preheated oven at 350°F for about 10 minutes to restore their delightful freshness.
What should I do if my sugar snails don’t rise as expected?
If your sugar snails don’t rise properly, it could be due to inactive yeast, insufficient warm rising conditions, or not allowing enough time. Ensure your yeast is fresh and allow both rises ample time—about 1 to 1.5 hours for the first rise and 30-45 minutes for the second. If they do not puff up, try placing them in a warmer spot—near a preheating oven is perfect!
Can these sugar snails be made allergen-friendly?
Very! You can substitute gluten-free all-purpose flour for the regular flour if you have a gluten sensitivity. For dairy allergies, use a vegan butter alternative and nut milk. Keep in mind that the texture may vary slightly, but they can still be an enjoyable treat for everyone! Always check labels to ensure all specific ingredients meet your dietary needs.
Buttery Sugar Snails that Melt in Your Mouth Every Time
Ingredients
Equipment
Method
- Warm the milk in a small saucepan and stir in the yeast and a teaspoon of sugar. Let it sit for 5-10 minutes until foamy.
- Combine the foamy yeast mixture with the remaining sugar, egg, melted butter, salt, and flour in a large mixing bowl.
- Knead the dough by hand for 8-10 minutes or use a stand mixer. The dough should be soft and elastic.
- Place the kneaded dough in a greased bowl, cover, and let rise in a warm spot for 1 to 1.5 hours until doubled.
- Punch down the dough, roll it into a large rectangle of about 12x16 inches.
- Spread softened butter over the dough and sprinkle granulated sugar on top. Customize with any additional flavorings.
- Roll the dough tightly from one long edge into a log and slice it into 1 to 1.5-inch thick pieces.
- Arrange the slices in a greased baking dish, cover, and let them rise for 30-45 minutes.
- Preheat the oven to 350°F (175°C). Bake for 20-25 minutes until golden brown.
- Remove from the oven and let cool in the pan for about 10 minutes before serving.
Leave a Reply