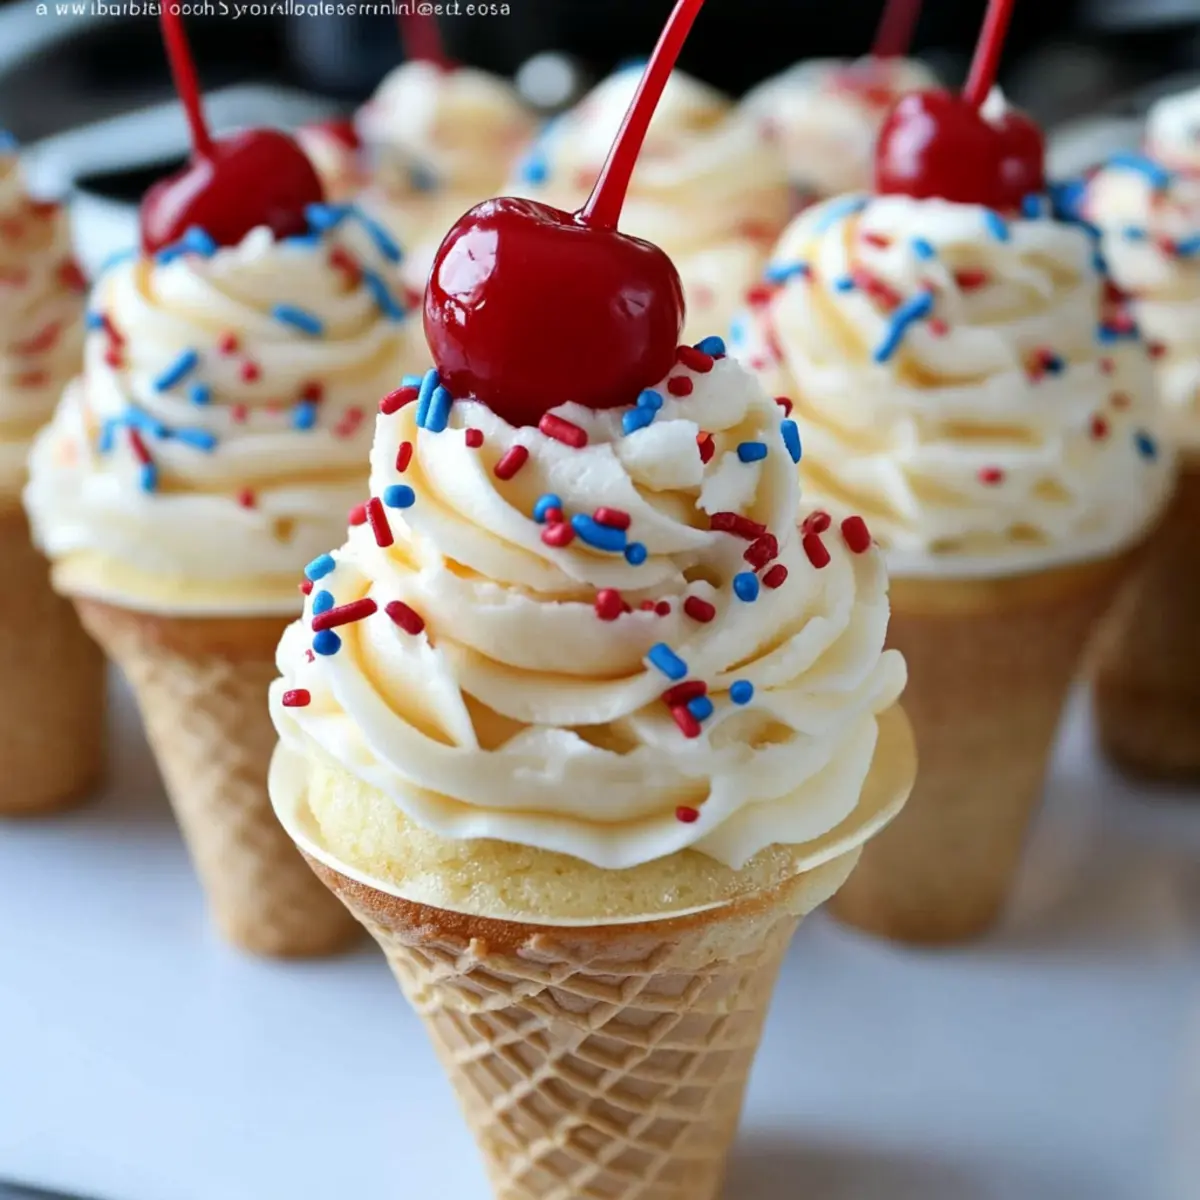
As I bit into one of these delightful Ice Cream Cone Cupcakes, I was instantly whisked back to carefree summer days filled with laughter and sunshine. These whimsical treats are not just a nostalgic nod to ice cream cones; they offer an irresistibly fun twist on dessert that’s both quick to prepare and a guaranteed hit at any gathering. Ideal for birthday parties or casual backyard barbecues, the fluffy cake nestled in a crispy cone is a delightful surprise for kids and adults alike. Each cupcake is topped with creamy buttercream frosting, making it the perfect summer treat that’s as simple as it is satisfying. Ready to impress your friends and family with this easy baking classic? Let’s dive into this deliciously fun recipe!
Why are Ice Cream Cone Cupcakes a must-try?
Whimsy: These cupcakes bring a playful twist to traditional desserts, sparking joy at any gathering.
Simplicity: Made with easy-to-follow steps, even novice bakers can whip these up with minimal fuss.
Kid-Friendly: Children love the fun presentation and can even help decorate, making it a delightful family activity.
Versatile: Feel free to experiment with various cake flavors like chocolate or funfetti!
Perfect for Parties: Whether it’s a birthday or summer barbecue, these cupcakes will steal the show and impress guests of all ages!
Don’t forget to check out my White Chocolate Cupcakes or Covered Pretzel Cupcakes for more delicious options to sweeten your celebrations.
Ice Cream Cone Cupcake Ingredients
For the Cupcakes
• Box Cake Mix – Provides the base for fluffy cupcakes; feel free to choose any flavor that excites your palate!
• Cake Ice Cream Cones – The delightful edible holders; opt for standard or gluten-free cones depending on your preference.
For the Frosting
• Softened Butter – Essential for creamy frosting; margarine can be used for a dairy-free option.
• Powdered Sugar – Sweetens and thickens the frosting; it ensures the perfect texture for piping.
• Milk – Adds moisture; consider using non-dairy options like almond or oat milk to suit your dietary needs.
• Vanilla Extract – Elevates the frosting flavor; almond extract can be used for a unique twist.
For Topping
• Maraschino Cherries – Adds a classic sweet touch on top; fresh berries can be a lighter and healthier alternative.
• Sprinkles – Provide a burst of color and fun; choose your favorites to match your party theme!
These Ice Cream Cone Cupcakes are not just easy to make; they’re a joyful celebration of summer treats that everyone will adore!
Step‑by‑Step Instructions for Ice Cream Cone Cupcakes
Step 1: Preheat the Oven
Begin by preheating your oven to 350°F (175°C). This step is crucial as it ensures even baking for your Ice Cream Cone Cupcakes. While the oven is heating, gather your ingredients and equipment: a mixing bowl, measuring cups, and a muffin pan to hold the cones.
Step 2: Prepare the Cake Batter
In a mixing bowl, prepare the cake batter according to the instructions on the box cake mix. Mix until smooth, ensuring no lumps remain. This fluffy batter is the heart of your Ice Cream Cone Cupcakes. If you’re feeling adventurous, you can substitute the box mix with your favorite homemade recipe for a personalized touch!
Step 3: Fill the Ice Cream Cones
Next, take your cupcake cones and fill each one about halfway with the prepared cake batter. It’s essential to leave room for the batter to rise without overflowing. As you fill, ensure an even distribution to give each cupcake a uniform shape.
Step 4: Bake the Cupcakes
Place the filled ice cream cones upright in your muffin pan to provide stability during baking. Bake them in the preheated oven for 21–24 minutes, or until a toothpick inserted in the center comes out clean. Keep an eye on them; they should be golden and spring back slightly when touched.
Step 5: Cool the Cupcakes
Once baked, carefully remove the muffin pan from the oven and allow the Ice Cream Cone Cupcakes to cool completely in the pan for about 10 minutes. After that, transfer them to a wire rack to cool down fully. Skipping this step may cause the frosting to melt when later applied.
Step 6: Make the Buttercream Frosting
While your cupcakes cool, prepare the frosting. In a mixing bowl, beat the softened butter and vanilla extract until light and fluffy, about 2-3 minutes. This whipped base will give your buttercream the perfect creamy texture, ideal for topping your Ice Cream Cone Cupcakes.
Step 7: Add Powdered Sugar and Milk
Gradually add powdered sugar to the butter mixture, mixing until combined. Then, add milk to adjust the frosting’s consistency according to your preference; mix until it’s smooth and ready for piping. The frosting should be thick enough to hold its shape when piped onto the cupcakes.
Step 8: Frost the Cupcakes
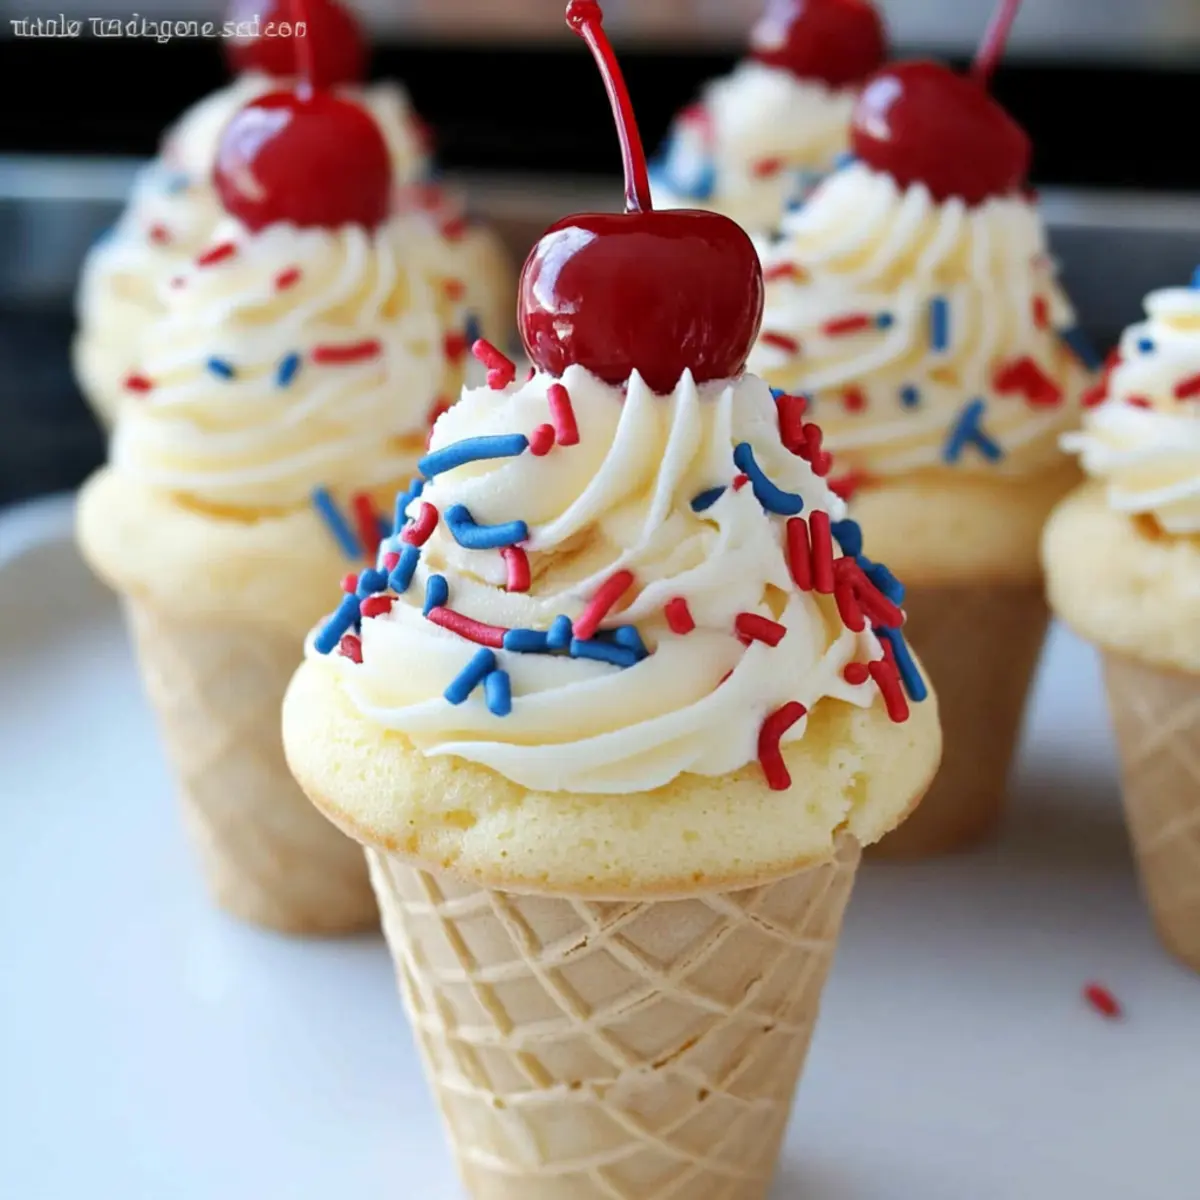
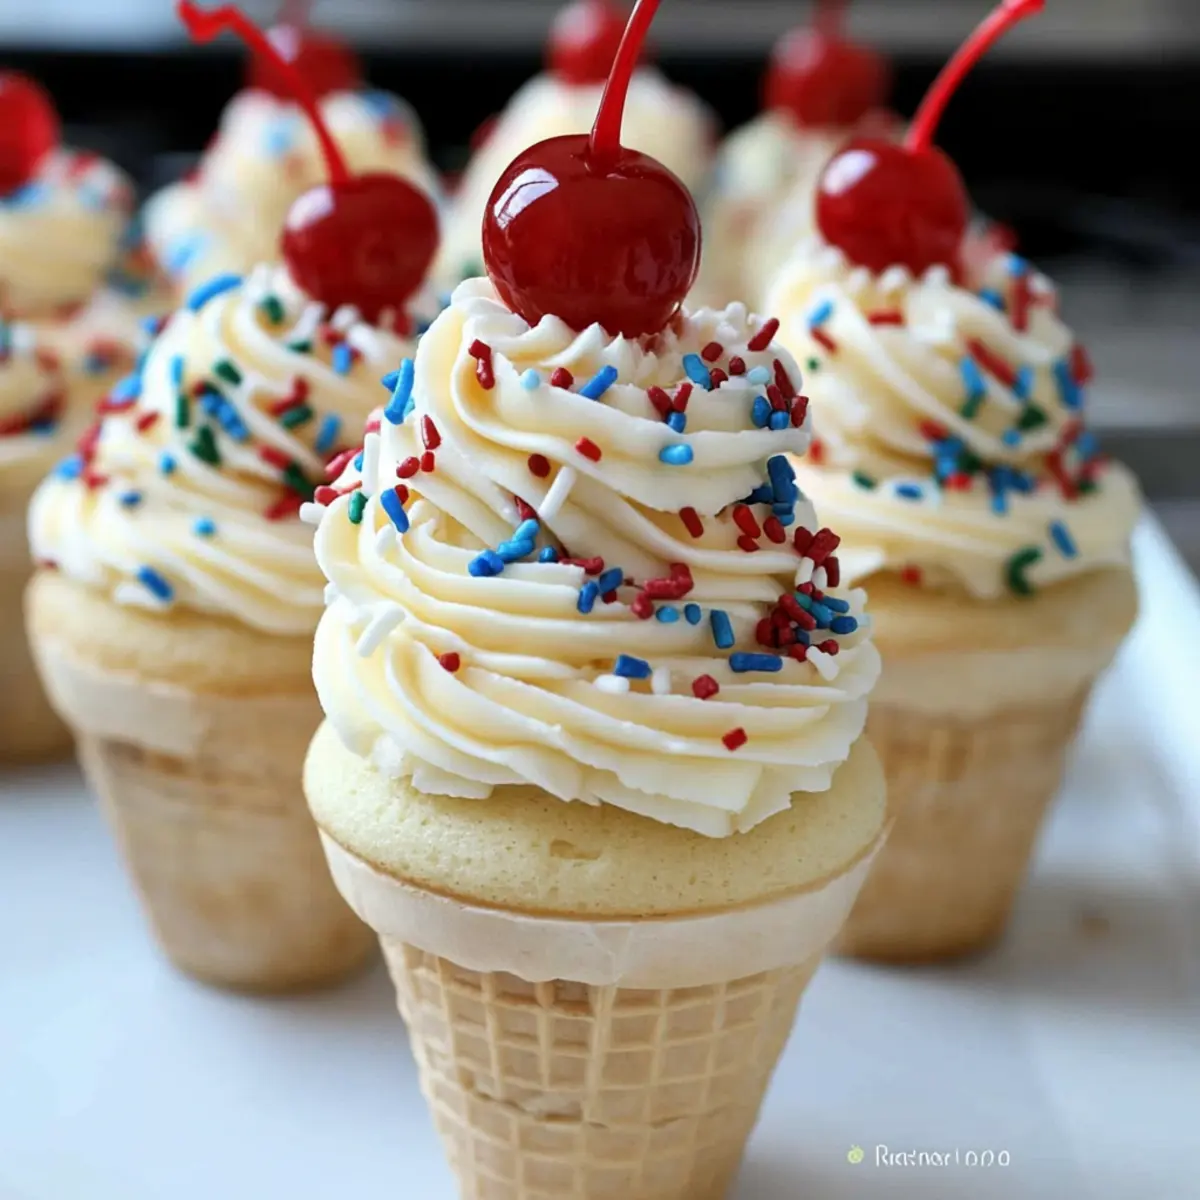
To create the delightful soft-serve look, transfer your buttercream frosting into a piping bag fitted with a star tip. Pipe the frosting onto each cupcake, starting at the base and swirling upwards. The goal is to make it resemble a delicious scoop of ice cream on top of each cone.
Step 9: Add Toppings
To finish, add a sprinkle of colorful sprinkles on top of the frosting for a fun touch, and place a maraschino cherry atop each cupcake if desired. This final decoration elevates your Ice Cream Cone Cupcakes, making them not only delicious but visually stunning for any summer gathering!
What to Serve with Ice Cream Cone Cupcakes
These adorable treats are the highlight of any gathering, so let’s explore some fantastic pairings to elevate your summer celebration!
-
Fresh Fruit Salad: A light and colorful addition that balances sweetness with fresh flavors, perfect for a summer picnic.
-
Sparkling Lemonade: The bubbly citrusy drink complements the rich frosting while keeping the vibe refreshingly upbeat at any party.
-
Chocolate Dipped Pretzels: These salty-sweet snacks provide a delightful crunch, adding texture variety to your dessert spread.
-
Mini Hot Dogs: A fun savory option that contrasts beautifully with the sweetness of the cupcakes, making it a perfect casual meal.
-
Root Beer Floats: This classic pairing not only enhances nostalgia but also pairs wonderfully with the cake-like texture of the cupcakes.
-
Ice Cream Sundaes: Complement the cupcakes with an ice cream bar, elevating the fun factor and giving guests a delightful DIY dessert option.
Remember, whatever you choose to serve alongside your Ice Cream Cone Cupcakes, the key is to create a joyful and vibrant atmosphere that everyone will cherish!
How to Store and Freeze Ice Cream Cone Cupcakes
Room Temperature: Keep uneaten Ice Cream Cone Cupcakes in a cool, dry place for up to 2 days in an airtight container to maintain freshness.
Fridge: If you prefer, you can refrigerate them for up to 3 days, but the cone may lose some crispness due to moisture.
Freezer: For longer storage, freeze unfrosted cupcakes in an airtight container for up to 3 months. Allow to thaw completely before decorating.
Reheating: If you want to serve warm, enjoy the cupcakes straight from the fridge, or let them come to room temperature after freezing before serving.
Ice Cream Cone Cupcakes Variations & Substitutions
Feel free to get creative and make these Ice Cream Cone Cupcakes your own with these delightful twists!
-
Cake Flavor: Try different cake mix options like chocolate, red velvet, or funfetti for a variety of flavors in every bite. Each will bring a new taste experience that delights both kids and adults.
-
Dairy-Free Frosting: Substitute softened butter with coconut oil or margarine for a delicious dairy-free frosting. The creamy texture remains intact, providing a perfect topping for your cupcakes without the dairy.
-
Frosting Swap: Replace buttercream with whipped cream or Greek yogurt for a lighter frosting. This swap offers a refreshing take that pairs beautifully with the fluffy cupcake base on warm summer days.
-
Fresh Fruit Topping: Instead of maraschino cherries, opt for fresh berries like strawberries or blueberries to create a more natural and vibrant topping. The tartness of berries adds a refreshing contrast to the sweet cupcakes.
-
Themed Sprinkles: Use themed sprinkles to match any occasion, like red, white, and blue for July 4th or pastel colors for Easter. Sprinkle joy and creativity into every gathering!
-
Chocolate Drizzle: Drizzle melted chocolate over the frosting for an indulgent touch. It adds a rich, decadent layer and takes these cupcakes to the next level of deliciousness.
-
Stuffed Cupcakes: Before frosting, add a surprise filling by scooping out a small portion from the top of each cupcake and filling it with chocolate ganache or fruit preserves for an unexpected burst of flavor.
-
Spicy Kick: For an adventurous twist, sprinkle a pinch of cayenne pepper or chili powder into the cake batter for a subtle heat that contrasts beautifully with the sweetness.
And if you want to explore more delicious options, check out my recipe for Creamy Tomato Soup to pair perfectly with your cupcakes or try the delightful flavors of the Orange Creamsicle Mini Cheesecakes for a sweet treat!
Tips for the Best Ice Cream Cone Cupcakes
Stabilize Cones: Ensure your ice cream cones are securely placed in the muffin pan to prevent tipping during baking.
Cool Completely: Always let the cupcakes cool fully before adding frosting; warm cupcakes will melt the frosting, ruining the look.
Use a Star Tip: For a delightful soft serve appearance, use a star piping tip when frosting your Ice Cream Cone Cupcakes.
Mind the Fill: Don’t overfill the cones; filling them halfway allows room for rising and prevents overflow.
Experiment with Toppings: Mix up the toppings based on themes or holidays—think red, white, and blue sprinkles for summer celebrations!
Make Ahead Options
These Ice Cream Cone Cupcakes are fantastic for busy home cooks looking to save time! You can bake the cupcakes in their cones up to 3 days in advance; simply allow them to cool completely before placing them in an airtight container to maintain freshness. While the unfrosted cupcakes can be refrigerated, keep in mind that frosting should be prepared just before serving for the best texture and taste. When it’s time to impress your guests, whip up the buttercream frosting quickly and pipe it onto the cupcakes. They’ll taste just as delightful as if you made them fresh!

Ice Cream Cone Cupcakes Recipe FAQs
What kind of cake mix should I use for Ice Cream Cone Cupcakes?
Absolutely! You can use any flavor of boxed cake mix that excites you, whether it’s vanilla, chocolate, or funfetti. If you’d like a more personalized touch, feel free to bake with your favorite homemade cake batter—it’s a great way to experiment with flavors!
How should I store leftover Ice Cream Cone Cupcakes?
To keep your Ice Cream Cone Cupcakes fresh, store any uneaten treats in an airtight container at room temperature for up to 2 days. If you prefer, you can also refrigerate them for up to 3 days, but be aware that the cones may lose some crispness.
Can I freeze Ice Cream Cone Cupcakes?
Yes! If you want to save some for later, freeze the unfrosted cupcakes by placing them in an airtight container. They can be stored in the freezer for up to 3 months. When you’re ready to enjoy, simply let them thaw at room temperature before frosting and serving.
What if my cupcakes overflowed during baking?
If your cupcakes overflowed, don’t worry! This can happen if the cones are overfilled. For next time, make sure to fill them only halfway with batter. If they do overflow, once cooled, simply trim the tops gently with a knife to create a flat surface for frosting.
Are Ice Cream Cone Cupcakes safe for kids with allergies?
When making Ice Cream Cone Cupcakes, be mindful of any allergies your guests may have. You can substitute the butter with margarine for a dairy-free option, and always check the labels on cake mixes, cones, and sprinkles to ensure they meet dietary needs. If you’re unsure, consider using fresh fruits as toppings instead of cherries or sprinkles for a healthier alternative.
How can I ensure my cupcakes rise perfectly?
The secret to perfectly risen cupcakes lies in both batter preparation and cone filling. Be sure to mix your cake batter until smooth, leaving lumps behind, and always fill your cones only halfway to allow space for rising. Also, double-check your oven’s temperature with a thermometer to ensure accuracy while baking!
Ice Cream Cone Cupcakes: The Sweetest Summer Delight
Ingredients
Equipment
Method
- Preheat your oven to 350°F (175°C). Gather your ingredients and equipment.
- Prepare the cake batter according to the box instructions until smooth.
- Fill each ice cream cone halfway with the prepared cake batter.
- Bake the filled cones for 21–24 minutes until a toothpick comes out clean.
- Cool the cupcakes in the pan for 10 minutes, then transfer to a wire rack.
- Beat softened butter and vanilla extract until light and fluffy.
- Gradually add powdered sugar and mix in milk until smooth for frosting.
- Pipe the frosting onto each cupcake to resemble a soft serve.
- Add colorful sprinkles and place a cherry on each cupcake if desired.
Leave a Reply