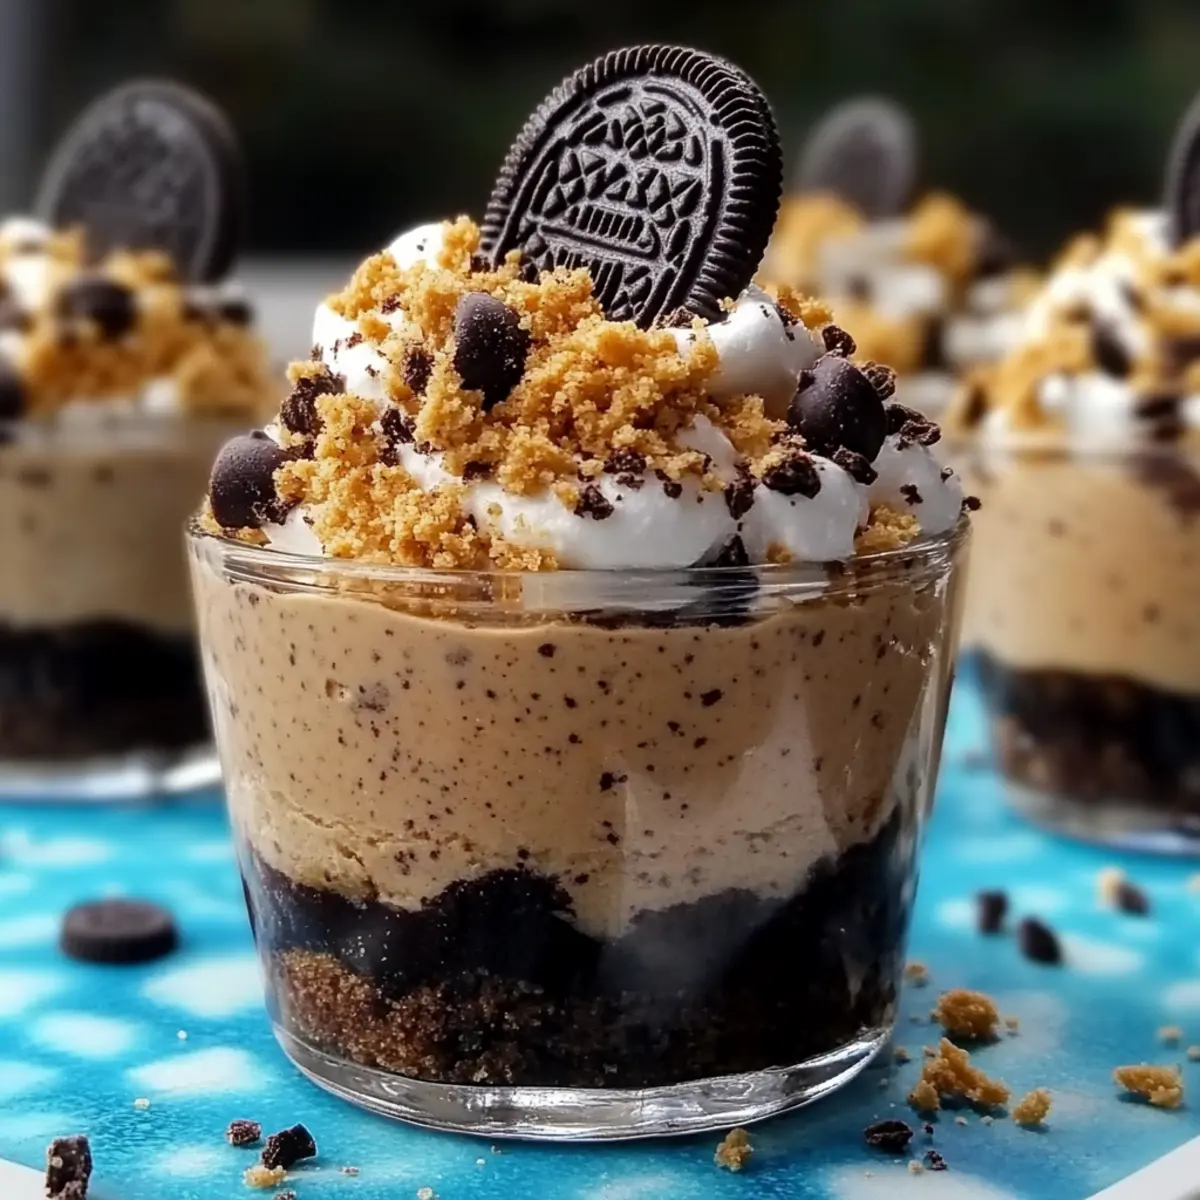
As the autumn chill sets in and leaves begin to fall, I can’t help but feel a rush of excitement for Halloween treats. Enter my No-Bake Graveyard Dirt Cake Cups—this whimsical dessert is a sweet way to celebrate the spooky season without turning on the oven! Perfect for gatherings or a fun night in, these cups feature delightful layers of creamy peanut butter mousse and rich chocolate pudding, all resting on a crunchy base of crushed chocolate cookies. Not only is this no-bake dessert a crowd-pleaser, but it’s also incredibly easy to whip up, making it ideal for busy home chefs eager to impress without the fuss. So, why not embrace a little frightful fun in the kitchen? Get ready to dig into these spectacular graveyard delights!
Why Choose Graveyard Dirt Cake Cups?
Irresistible Fun: These whimsical dessert cups are a hit at any Halloween gathering, enticing both kids and adults with their spooky presentation.
No-Bake Simplicity: Perfect for those busy evenings, this recipe requires no baking—just mix and layer!
Creamy Layers: The combination of creamy peanut butter mousse and rich chocolate pudding creates a heavenly treat for chocolate lovers.
Customizable Delight: Add gummy worms or candy pumpkins for a festive twist, making each cup unique and personalized.
Make-Ahead Convenience: Prep these delicious cups in advance and store them for up to three days, perfect for stress-free entertaining!
For more rich and delightful desserts, consider trying my Cheesecake Fudge Snap for another easy-to-make treat.
Graveyard Dirt Cake Cups Ingredients
For the Cookie Base
• Chocolate Sandwich Cookies – Provides the cake’s crushed base; can substitute with chocolate graham crackers for a different flavor.
For the Peanut Butter Mousse
• Cream Cheese – Adds creaminess and tang; substitute with mascarpone or Greek yogurt for a lighter option.
• Powdered Sugar – Sweetens the cream cheese mixture; for less sweetness, reduce the amount.
• Peanut Butter – Enhances flavor with nuttiness; can be swapped with cookie butter, almond butter, or Nutella for diverse flavors.
• Whipped Topping – Lightens the peanut butter mousse; use homemade whipped cream if desired but ensure it’s stable.
For the Chocolate Mousse
• Instant Chocolate Pudding Mix – Creates a rich chocolate mousse texture; do not substitute with fresh pudding as it alters the consistency.
• Cold Milk – Needed for thickening the pudding mix; almond milk or another non-dairy milk can be utilized as an alternative.
For the Decor
• Chocolate Syrup – For drizzling on top; optionally omitted for a less sweet finish.
• Mini Oreos or Decorative Candy – Used for decorating as tombstones; any small candy can serve this purpose for customization.
Step‑by‑Step Instructions for Graveyard Dirt Cake Cups
Step 1: Crush Cookies
Begin by pulsing the chocolate sandwich cookies in a food processor until they resemble fine crumbs, resembling dirt. This process should take about 1-2 minutes. Once crushed, transfer the crumbs to a bowl and set them aside; you’ll need them to create the crunchy base of your Graveyard Dirt Cake Cups.
Step 2: Make Peanut Butter Mousse
In a medium bowl, combine the cream cheese, powdered sugar, and peanut butter. With an electric mixer, beat the mixture on medium speed until it is smooth and creamy, approximately 3-4 minutes. Gently fold in half of the whipped topping until fully blended, creating a light and airy mousse, ready to layer in your dessert cups.
Step 3: Prepare Chocolate Mousse
In a separate bowl, whisk together the instant chocolate pudding mix and cold milk until the mixture thickens, which should take about 2 minutes. Once thickened, fold in the remaining whipped topping, ensuring a rich and creamy chocolate mousse without lumps. This mousse will add a delicious layer to your Graveyard Dirt Cake Cups.
Step 4: Layer Ingredients
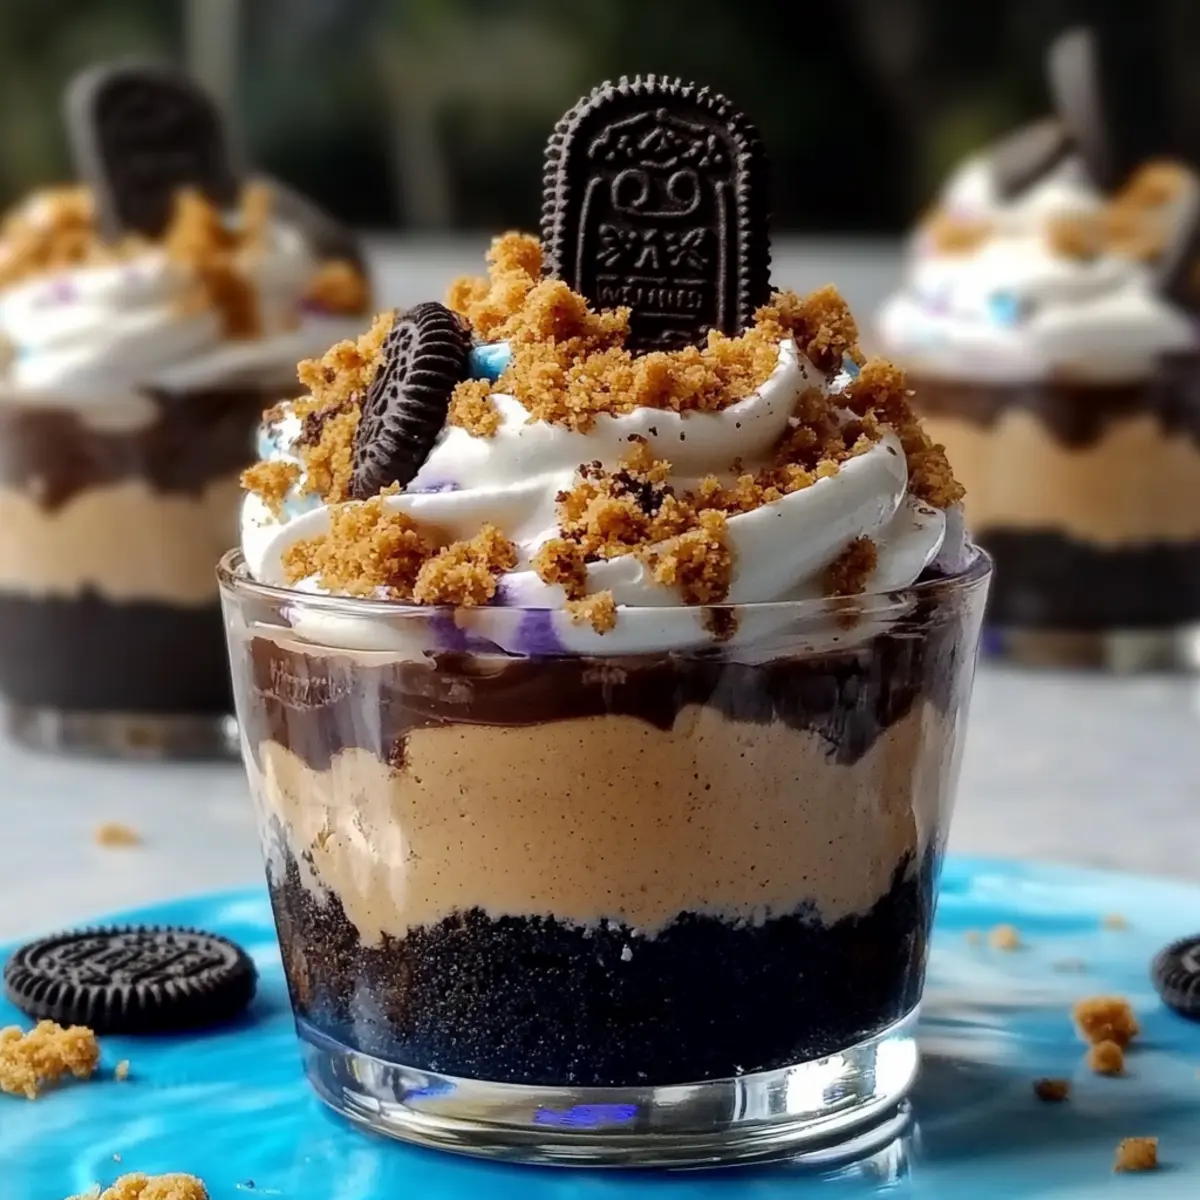
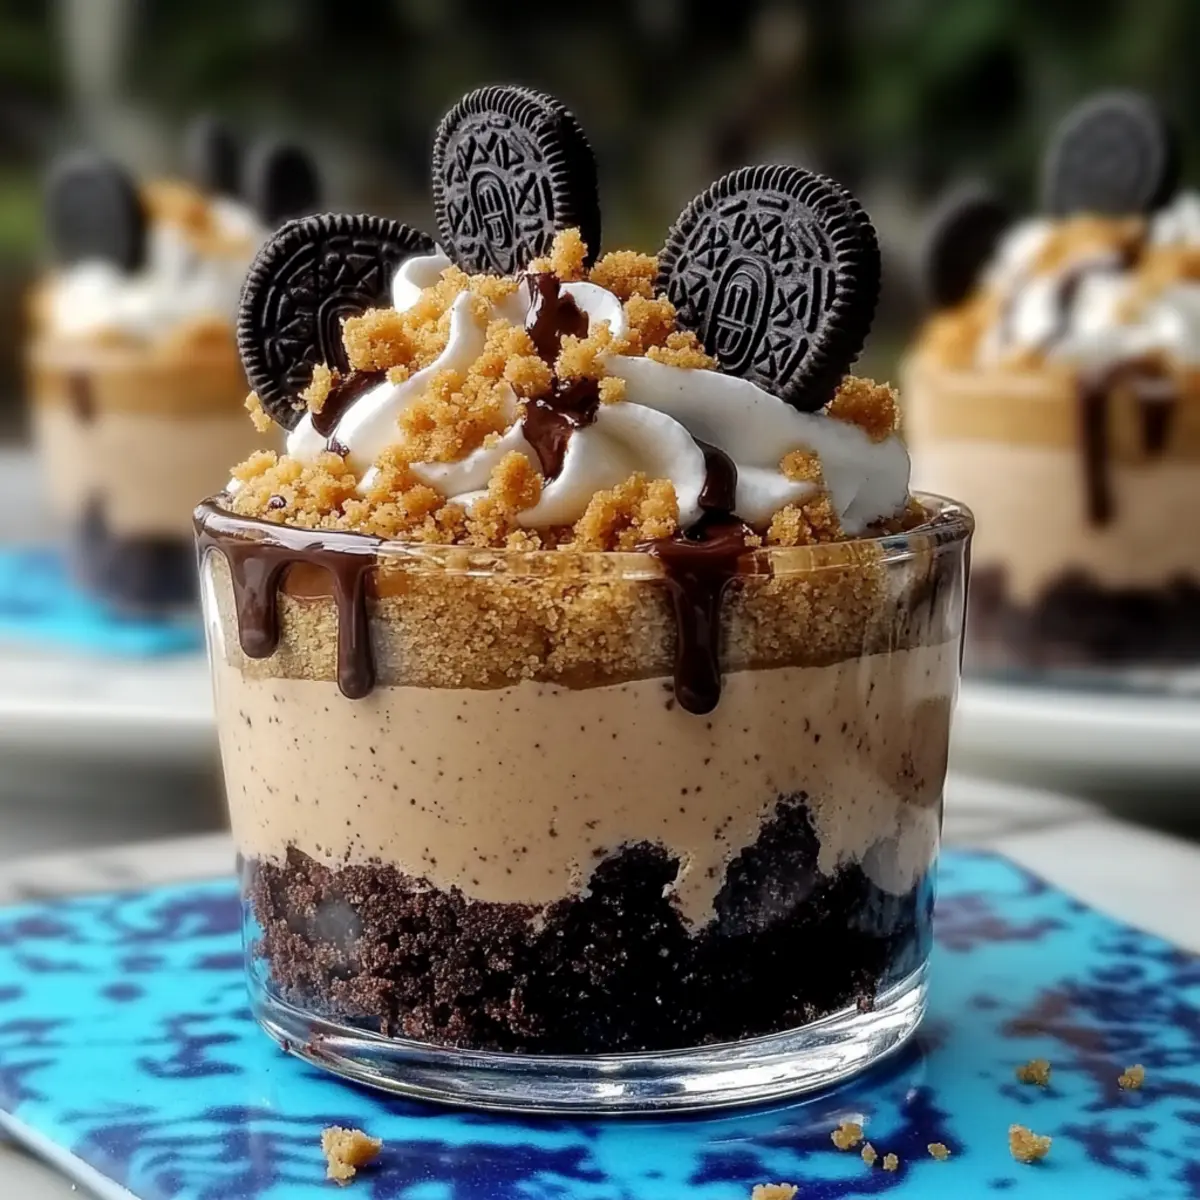
Take small cups or dessert glasses and begin layering the ingredients. Start with a spoonful of crushed cookies as the base, followed by a layer of peanut butter mousse. Add another layer of cookies and then top it off with the chocolate mousse. Repeat the layers until the cups are filled, creating a visually appealing dessert that’s as delightful as it is delicious.
Step 5: Finalize and Chill
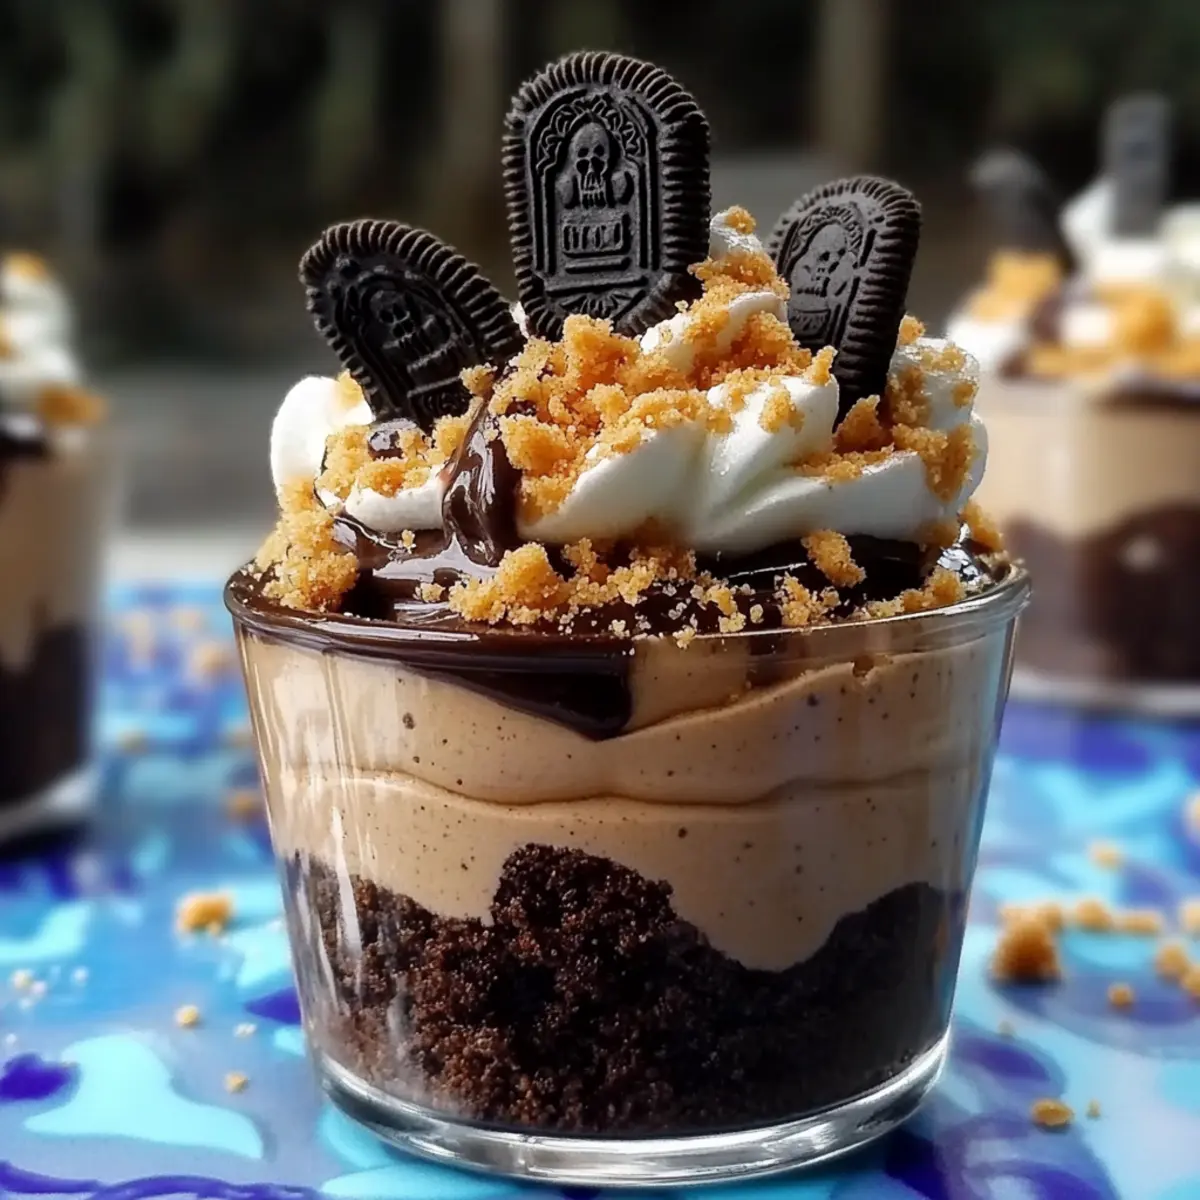
After assembling your Graveyard Dirt Cake Cups, drizzle with chocolate syrup for an extra touch of sweetness. For a festive flair, place mini Oreos or decorative candy on top like edible tombstones. Once completed, refrigerate the cups for at least 1 hour to allow the flavors to meld and the textures to set perfectly before serving.
Storage Tips for Graveyard Dirt Cake Cups
Fridge: Store the assembled dessert cups covered loosely with plastic wrap in the refrigerator for up to 3 days. This keeps them fresh and tasty for your Halloween celebrations!
Airtight Containers: If you’ve already layered the cups, transferring them to airtight containers helps prevent them from absorbing any fridge odors while extending their freshness.
Serving Advice: Before serving, give the cups a quick chill if they’ve been out of the fridge, allowing the flavors to remain vibrant and delightful for your guests.
Avoid Freezing: Freezing is not recommended, as it can adversely affect the texture of the mousse and cookie layers in the Graveyard Dirt Cake Cups, resulting in a less enjoyable treat.
Variations & Substitutions for Graveyard Dirt Cake Cups
Feel free to embrace your creativity and bring your personal touch to these delightful dessert cups!
-
Nut-Free: Swap peanut butter with sunflower seed butter or omit nut products altogether to keep it safe for those with allergies.
-
Flavor Boost: Add a splash of vanilla extract or almond extract to the cream cheese mixture for an extra depth of flavor that harmonizes beautifully with the other ingredients.
-
Dairy-Free: Use coconut cream in place of whipped topping and a dairy-free yogurt instead of cream cheese for a lactose-sensitive treat.
-
Healthier Base: Substitute chocolate sandwich cookies with crushed oats and cocoa powder mixed with a bit of honey for a healthier, no-bake base.
-
Extra Crunch: Mix in some chopped nuts or crushed pretzels between the layers for added crunch and texture, giving each bite a delightful surprise.
-
Mini Cheesecakes: Transform this recipe into a cheesecake style by folding crushed cookies into a cream cheese mixture and baking them in cupcake liners for a fun twist!
-
Spooky Decorations: Instead of mini Oreos, use chocolate-covered almonds or Halloween-themed sprinkles for a touch of color and festive flair.
For more spooky dessert inspiration, try these festive ideas: prepare my Autumn Pumpkin Cake for a seasonal treat, or indulge in my delectable Crisp Mini Cheesecakes to keep the creativity flowing in your kitchen!
Expert Tips for Graveyard Dirt Cake Cups
-
Chill Time Matters: Allow the dessert cups to chill for at least 1 hour before serving; this will enhance flavor and improve texture as layers meld together beautifully.
-
Cookie Crumble Consistency: Ensure the chocolate sandwich cookies are finely crushed for easier layering; larger pieces can disrupt the dessert’s delightful layers.
-
Stabilize Whipped Cream: If using homemade whipped cream for the mousse, add a bit of gelatin to ensure it holds up well and maintains a beautiful texture in your Graveyard Dirt Cake Cups.
-
Avoid Freezing: Freezing can alter the texture of the mousse and cookies, leading to a less enjoyable treat. Stick to refrigeration for the best results.
-
Creative Customization: Feel free to experiment with different nut butters for the mousse or add festive candies for decoration, making each cup uniquely yours!
Make Ahead Options
These Graveyard Dirt Cake Cups are perfect for meal prep, allowing you to enjoy a creamy and delightful dessert with minimal fuss! You can prepare the cookie base and mousse layers up to 24 hours in advance. To do this, crush the chocolate sandwich cookies and mix the peanut butter mousse and chocolate mousse as instructed. Layer the cups but hold off on adding the chocolate syrup and decorations. Once layered, cover the cups tightly with plastic wrap and refrigerate for up to 3 days. Just before serving, finish with a drizzle of chocolate syrup and your choice of decorative candies to ensure they look as enticing as they taste. This way, you’ll have a stress-free, festive treat ready for Halloween gatherings!
What to Serve with Graveyard Dirt Cake Cups
As you prepare these delightful dessert cups, consider pairing them with complementary dishes that enhance your Halloween gathering experience.
- Spooky Fruit Skewers: Colorful and fresh, these fruit skewers add a fun contrast to the rich dessert, incorporating seasonal fruits like oranges and apples.
- Mini Pumpkin Quiches: Savory and satisfying, these fluffy quiches will balance the sweetness of the Graveyard Dirt Cake Cups, making for an enjoyable bite.
- Creepy Crawly Cheese Platter: A mix of cheeses and crackers shaped like creepy creatures can serve as a playful appetizer, delighting your guests before dessert.
- Witch’s Brew Punch: Serve a refreshing punch made with green sherbet and lemon-lime soda; it’s a fizzy delight that pairs well with chocolatey treats.
- Gummy Worm Jello Cups: These colorful jello cups, complete with gummy worms, echo the theme and provide a fun, wiggly texture that kids will love.
- Chocolate-Covered Pretzels: The salty crunch of these treats will contrast nicely with the creamy layers of the dessert, enhancing the overall flavor experience.
- Mummy Dogs: Wrap hot dogs in crescent roll dough to create mummy-themed snacks, adding a playful savory option that suits the festive atmosphere.
- Haunted Graveyard Veggie Tray: A selection of fresh vegetables arranged to resemble a graveyard, complete with a dip, will provide a crunchy, healthy balance to the sweet treats.
- Pumpkin Spice Latte: This warm drink offers comforting spices and richness that pair beautifully with the flavors of the Graveyard Dirt Cake Cups.
- Ghostly Cupcakes: Top off your Halloween feast with spooky cupcakes adorned with ghostly frosting to keep the festive spirit alive!
Graveyard Dirt Cake Cups Recipe FAQs
How do I choose the right chocolate sandwich cookies?
Absolutely! Look for chocolate sandwich cookies that are fresh and intact—no broken ones! I recommend selecting a brand that has a rich chocolate flavor, as this enhances the overall taste of your Graveyard Dirt Cake Cups. If you want a different flavor profile, chocolate graham crackers can make a delightful substitution.
How should I store my Graveyard Dirt Cake Cups?
For optimal freshness, cover the assembled dessert cups loosely with plastic wrap and refrigerate them for up to 3 days. This method keeps the layers intact and delicious. If you notice any dark spots or an unusual odor, it’s best to discard them for food safety.
Can I freeze Graveyard Dirt Cake Cups?
I’d advise against freezing these cups, as the mousse and cookie layers may not hold their texture well once thawed. Instead, keep them stored in the fridge, where they’ll stay fresh and tasty. If you do find yourself needing to freeze, remove the topping, freeze the base separately, and layer the mousse again once thawed.
What should I do if my mousse doesn’t thicken properly?
No worries! If your chocolate mousse isn’t thickening as expected, there are a few troubleshooting steps you can take. First, ensure you’re using the correct amount of milk as per the pudding mix instructions. If you’re still seeing a runny consistency, try adding a bit more whipped topping to see if it thickens. Alternatively, letting it sit for a few minutes can help it firm up as well.
Are Graveyard Dirt Cake Cups kid-friendly?
Very! These delightful cups are vegetarian and safe for children, making them a fun Halloween treat. However, if any of your guests have nut allergies, I recommend swapping out peanut butter for sunflower seed butter or simply omitting it. This way, everyone can enjoy the spooky goodness without worry.
Can I make these cups in advance?
Absolutely! In fact, these Graveyard Dirt Cake Cups are perfect for making a day in advance. Just layer and store in the refrigerator; the flavors will meld, creating a tastier treat when it’s time to serve. Happy haunting!
Graveyard Dirt Cake Cups for a Spooktacular Halloween Treat
Ingredients
Equipment
Method
- Begin by pulsing the chocolate sandwich cookies in a food processor until they resemble fine crumbs, approximately 1-2 minutes.
- In a medium bowl, combine the cream cheese, powdered sugar, and peanut butter. Beat on medium speed until smooth and creamy, about 3-4 minutes. Fold in half of the whipped topping.
- In a separate bowl, whisk together the instant chocolate pudding mix and cold milk until thickened, about 2 minutes. Fold in the remaining whipped topping.
- Layer the ingredients in small cups. Start with crushed cookies, followed by peanut butter mousse, more cookies, and topped with chocolate mousse.
- Drizzle with chocolate syrup and add mini Oreos or decorative candy on top. Refrigerate for at least 1 hour before serving.
Leave a Reply