As I rummaged through my pantry, I stumbled upon a half-full jar of creamy peanut butter and a pack of rolled oats that seemed to be whispering for a delicious creation. This sparked my inspiration for No-Bake Chocolate Peanut Butter Oat Bars—a delightful blend that marries rich chocolate with the wholesome goodness of oats. Not only are these bars a breeze to whip up, taking minimal time and effort, but they are also the perfect guilt-free snack for busy days or as a crowd-pleaser at gatherings. Imagine indulging in a chewy, satisfying treat that fuels your energy while keeping those fast-food temptations at bay. Want to learn how to create this healthy, no-bake delight? Let’s dive into the recipe!
Why Make No-Bake Chocolate Oat Bars?
Quick and Easy: These bars come together in mere minutes, making them a lifesaver for busy days or last-minute snack preparation.
Health-Conscious Indulgence: Packed with wholesome ingredients like oats and natural peanut butter, they satisfy your sweet tooth without the guilt.
Versatile Flavor Options: Feel free to customize! Substitute almond butter or switch up the sweetener for a personalized twist.
Perfect for Meal Prep: Keep these bars in your fridge for a quick grab-and-go snack, ideal for post-workout fuel or lunchbox surprises.
Family Favorite: With their delightful chewy texture and rich chocolate flavor, these bars are sure to please kids and adults alike! Try serving them alongside your favorite dishes like Beef Stir Fry for a balanced meal.
No-Bake Chocolate Peanut Butter Oat Bars Ingredients
For the Base
- Rolled oats – A chewy foundation; use gluten-free oats to keep this recipe gluten-free.
- Natural peanut butter – Creamy goodness packed with healthy fats; almond butter works as a savvy nut-free alternative.
- Honey (or maple syrup) – Acts as a natural sweetener and binds everything together; try agave syrup for a vegan-friendly option.
- Cocoa powder – Adds deep chocolate flavor; substitute with carob powder for a caffeine-free treat.
For the Topping
- Dark chocolate chips – Sweetens the deal with a delightful crunch; opt for dairy-free chips for a vegan option.
These no-bake chocolate peanut butter oat bars will not only satisfy your sweet cravings but will also keep you away from fast food, offering a deliciously healthy snack!
Step‑by‑Step Instructions for No-Bake Chocolate Peanut Butter Oat Bars
Step 1: Prepare the oat mixture
In a large mixing bowl, combine rolled oats, natural peanut butter, honey or maple syrup, and cocoa powder. Use a sturdy spatula to mix these ingredients together until fully combined. The mixture should be thick and sticky, allowing it to hold together well when pressed into your pan. This step takes about 5 minutes.
Step 2: Melt the chocolate
In a microwave-safe bowl, microwave the dark chocolate chips in 20-second intervals, stirring after each until completely smooth. Alternatively, use a double boiler over low heat to melt the chocolate gently, ensuring it does not burn. This process should take around 2-3 minutes. Aim for a glossy texture that will complement your No-Bake Chocolate Peanut Butter Oat Bars perfectly.
Step 3: Combine chocolate and oat mixture
Once your dark chocolate is smooth, pour it directly into the oat mixture. Stir gently but thoroughly, ensuring the chocolate is evenly distributed throughout the oats. The mixture should become a rich chocolatey color, forming a cohesive batter that is both delicious and ready to be shaped into bars.
Step 4: Set in a pan
Line an 8×8-inch baking dish with parchment paper, allowing some overhang for easy removal later. Transfer the oat mixture into the dish, using your hands or the spatula to press it down firmly and evenly into all corners. Ensure the top is smooth and level, as this will make cutting the bars easier once set.
Step 5: Chill to firm up
Cover the dish with plastic wrap and place it in the refrigerator. Chill your mixture for at least 1-2 hours or until it is firm to the touch. This chilling step is crucial for helping your No-Bake Chocolate Peanut Butter Oat Bars hold their shape and achieve the perfect chewy texture.
Step 6: Cut and serve
After chilling, remove the mixture from the refrigerator and use the parchment paper to lift it out of the baking dish. Place it on a cutting board and slice into bars of your desired size. Feel free to enjoy your creations immediately or store them in an airtight container in the fridge for a quick snack whenever cravings strike!
How to Store and Freeze No-Bake Chocolate Peanut Butter Oat Bars
Fridge: Store your No-Bake Chocolate Peanut Butter Oat Bars in an airtight container in the fridge for up to 1 week. This keeps them fresh and chewy for snacking anytime.
Freezer: For longer storage, freeze the bars by wrapping individual pieces in plastic wrap and placing them in a freezer-safe bag. They’ll last up to 3 months!
Thawing: When you’re ready to enjoy, simply remove a bar from the freezer and let it thaw in the fridge for about 30 minutes, or leave it at room temperature for 10-15 minutes.
Reheating (optional): If you prefer a warm treat, pop a bar in the microwave for 10-15 seconds—just until it’s warm and gooey, but not overheating!
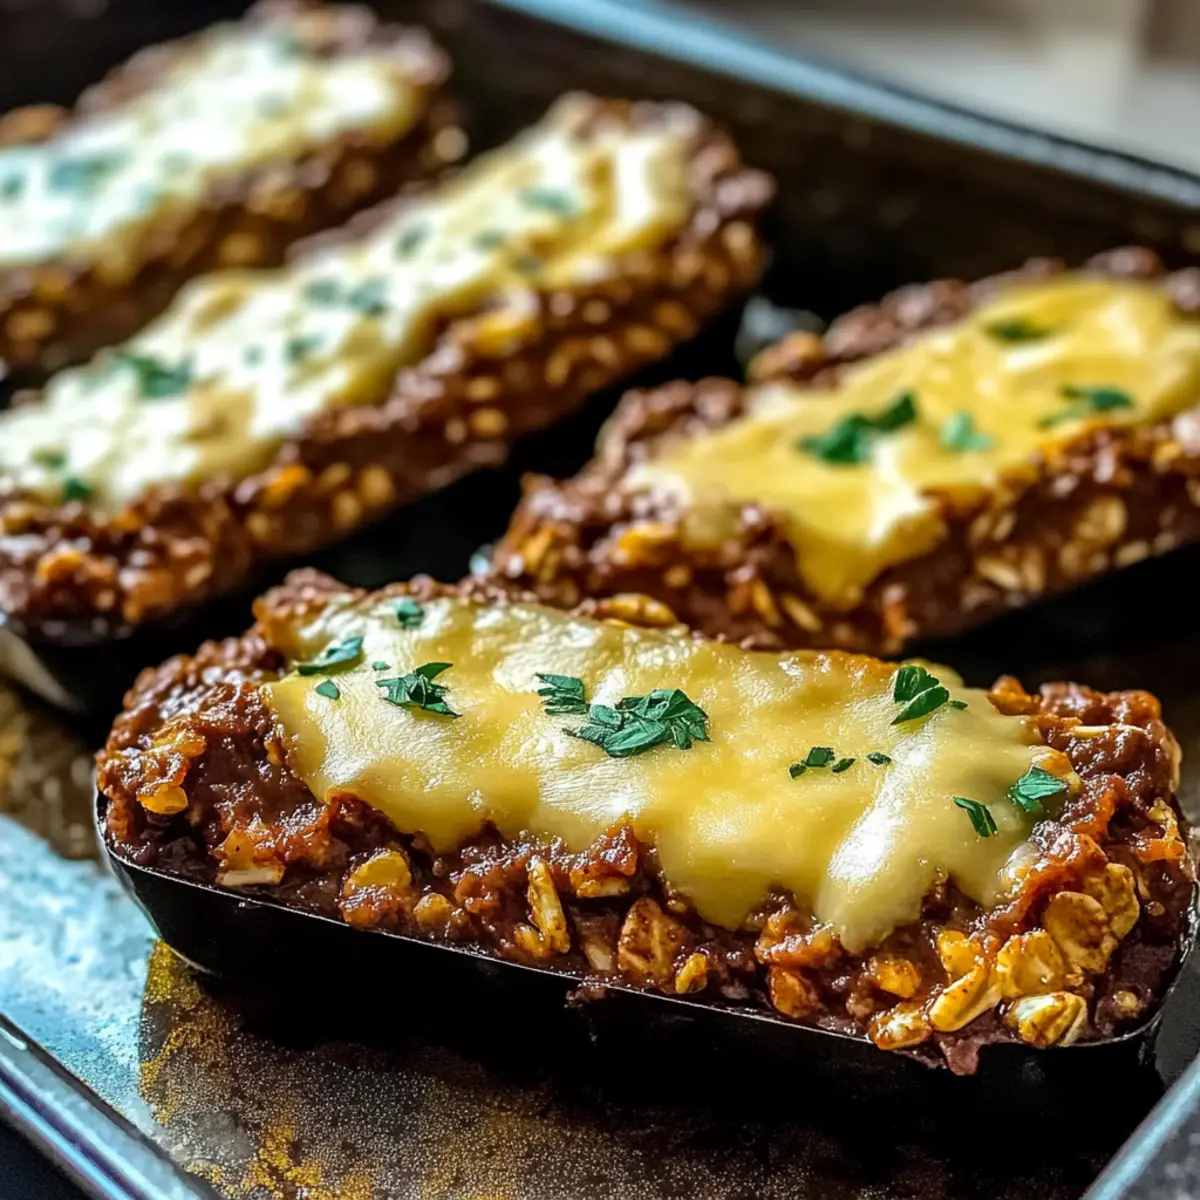
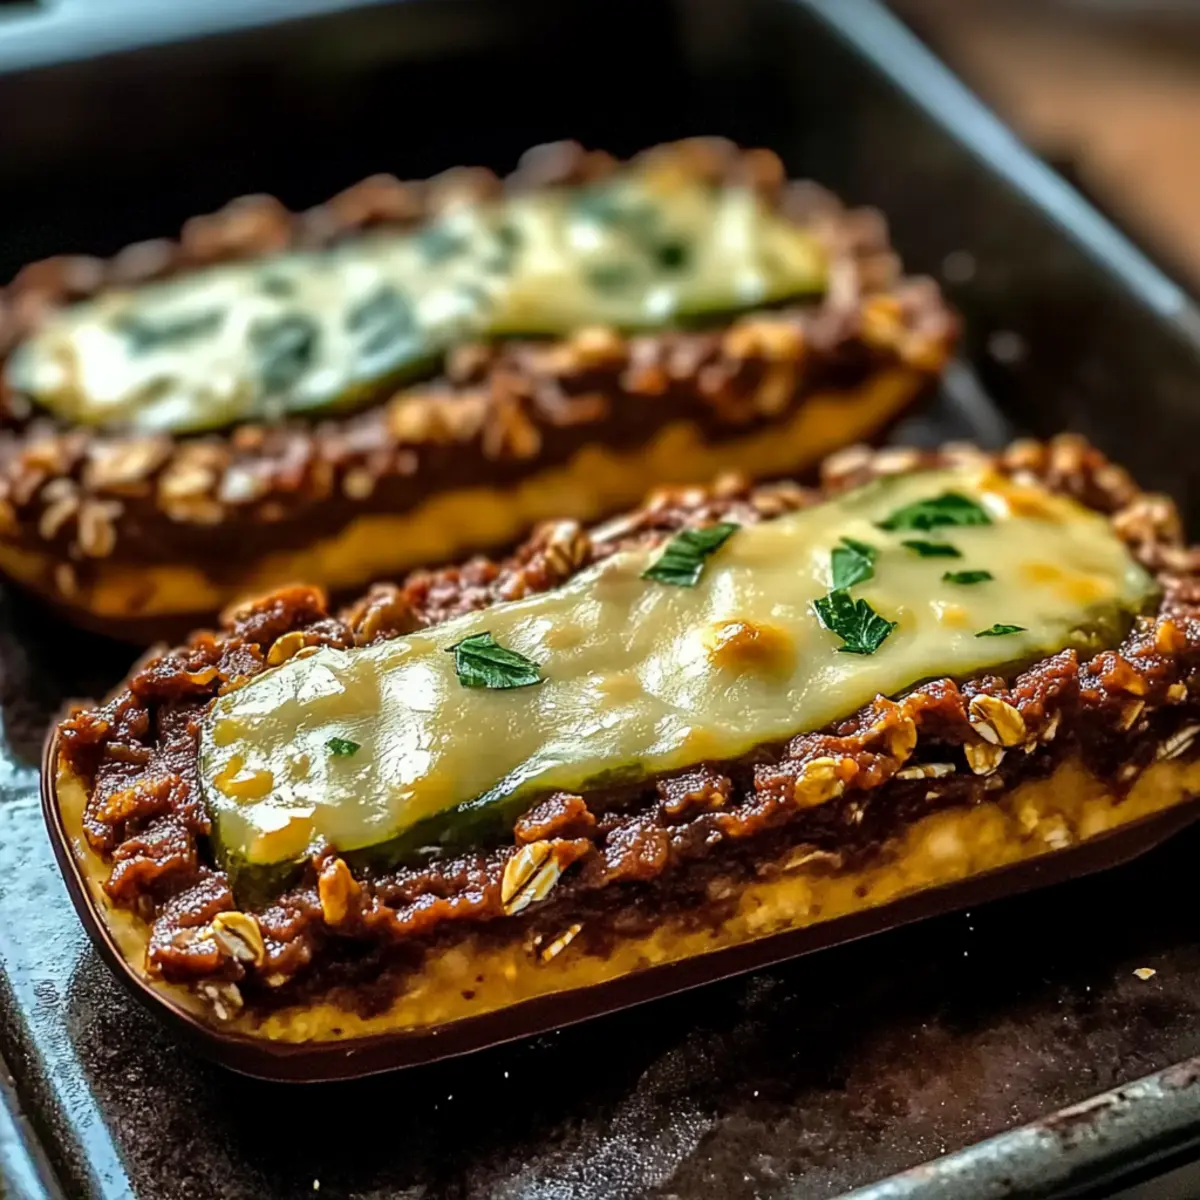
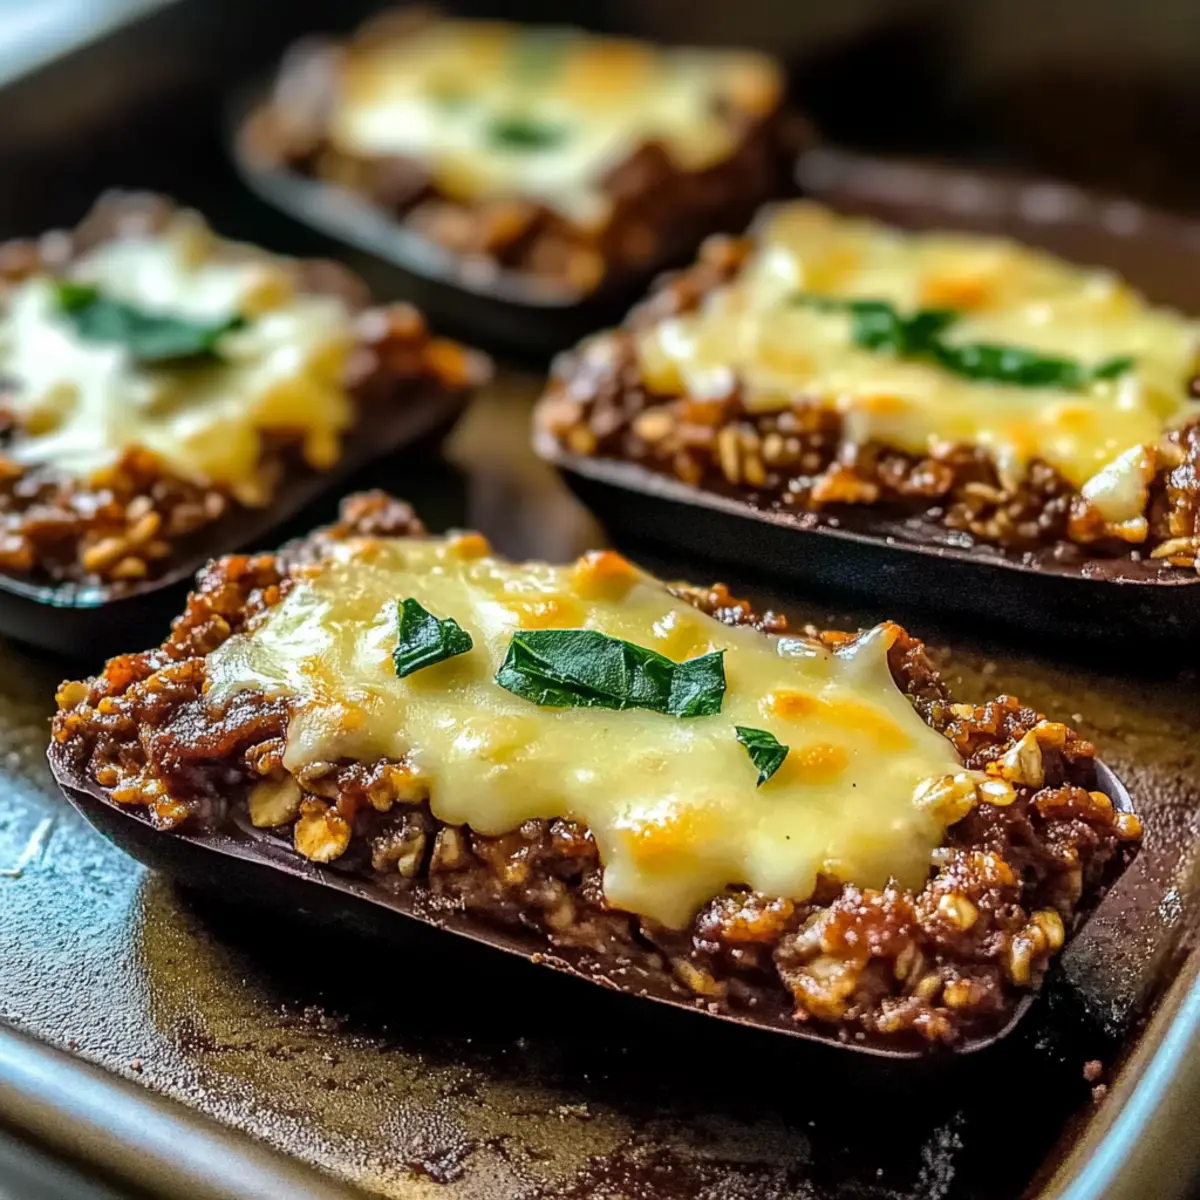
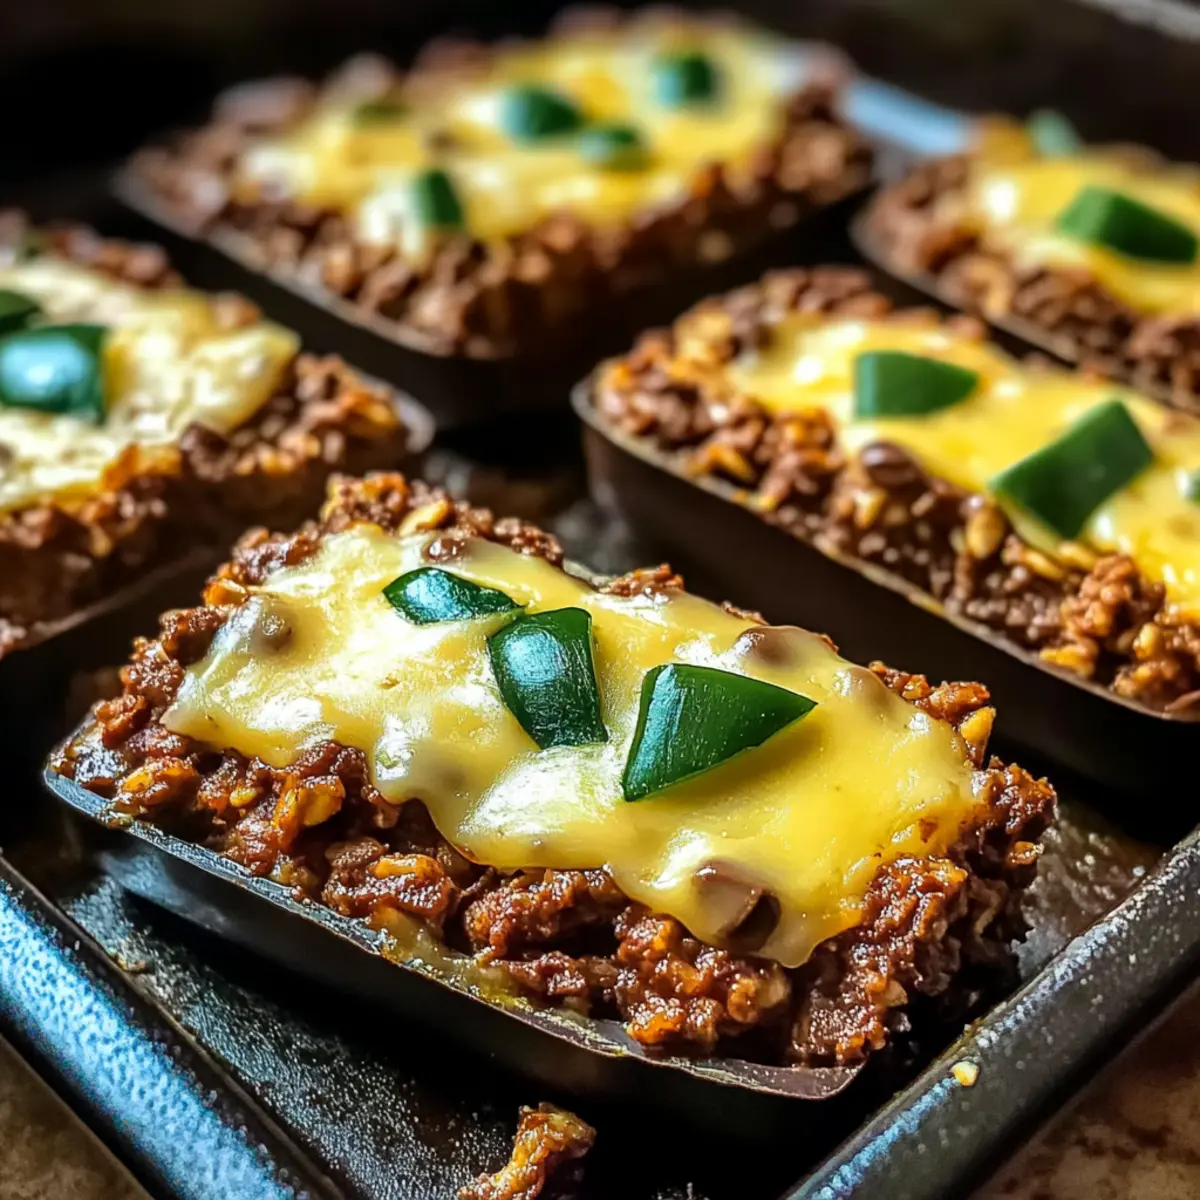
Ground Beef Zucchini Boats Variations
Feel free to experiment with these delightful variations to make the recipe your own!
-
Turkey Swap: Use ground turkey instead of beef for a lighter option that’s equally delicious and guilt-free. The flavor will remain savory and satisfying!
-
Add Herbs: Sprinkle fresh herbs like basil or parsley over the top for a burst of freshness. This adds a delightful aroma and elevates the presentation!
-
Cheese Variations: Swap out mozzarella for cheddar or feta cheese for a unique flavor twist. Each cheese brings a different character to your zucchini boats!
-
Spicy Kick: Mix in diced jalapeños or red pepper flakes for an extra spicy touch. This is perfect for those who enjoy a bit of heat in their meal!
-
Vegetarian Version: Replace the ground beef with a mix of sautéed mushrooms, bell peppers, and lentils for a hearty and delicious vegetarian option. This version is packed with flavor and nutrition.
-
Grain-Free: Instead of using rice or grains, spoon in some cauliflower rice. It’s a fantastic low-carb alternative that keeps everything light and delicious!
-
Baking Touch: Top them off with a sprinkle of panko breadcrumbs before baking for an extra crunchy texture. This contrast to the soft zucchini creates a delightful bite!
-
Serve with a Sauce: Drizzle with a tangy balsamic reduction or a creamy avocado sauce to elevate the flavor. These sauces add a gourmet touch to your dish!
Don’t forget, if you’re looking for serving ideas, these zucchini boats pair wonderfully with classic sides like a fresh salad or even a comforting dish like Beef Bourguignon Savory. Enjoy making these delicious creations!
Expert Tips for No-Bake Chocolate Peanut Butter Oat Bars
-
Well-Mixed Peanut Butter: Ensure your peanut butter is thoroughly stirred before adding it to the mixture. This helps it blend smoothly for a consistent taste and texture.
-
Chill Time Matters: Don’t skip the chilling step! It’s essential for the bars to firm up; they’ll be too soft and crumbly if not chilled long enough.
-
Customize Wisely: Feel free to mix in your favorite add-ins like nuts or dried fruits, but keep the ratio balanced. Too many extras can compromise the bars’ structure.
-
Mind the Chocolate: Avoid over-melting the chocolate; stopping just shy of fully melted ensures a smooth texture without burning.
-
Storage Savvy: Store your No-Bake Chocolate Peanut Butter Oat Bars in an airtight container in the fridge. This keeps them fresh and ready for snacking throughout the week!
Make Ahead Options
These No-Bake Chocolate Peanut Butter Oat Bars are perfect for meal prep! You can prepare the oat mixture and press it into your baking dish up to 24 hours in advance, storing it covered in the refrigerator. This helps the flavors meld while ensuring the bars stay fresh and flavorful. Just remember to let them chill in the fridge for at least 1-2 hours after assembly; this step is vital for achieving that perfect chewy texture. When you’re ready to serve, simply remove, cut into bars, and enjoy a guilt-free snack that tastes just as delicious as when freshly made, saving you time on busy days!
What to Serve with No-Bake Chocolate Peanut Butter Oat Bars
These delicious bars are the perfect centerpiece for a satisfying snack spread or a wholesome dessert!
-
Fresh Berries: Juicy strawberries or blueberries provide a refreshing contrast, brightening the rich taste of the bars. Their natural sweetness complements the chocolate perfectly.
-
Greek Yogurt: A dollop of creamy Greek yogurt adds a protein-packed touch, enhancing the meal’s health factor while offering a smooth texture. It’s an ideal pairing with a drizzle of honey on top!
-
Nuts and Seeds: A mix of crunchy almonds or sunflower seeds adds delightful texture and an extra boost of nutrition. Toss them in a small bowl for a delightful snack alongside your bars.
-
Banana Slices: The creaminess of fresh banana slices pairs well with the chocolatey goodness, adding a light and nutritious element to your snack plate. Kids and adults alike will enjoy this combo!
-
Dark Chocolate Squares: Elevate the experience with a few squares of high-quality dark chocolate. The rich, intense flavors will complement the oat bars without overwhelming them.
-
Almond Milk or Nut-based Drinks: Serve these bars with a chilled glass of almond milk for an indulgent yet healthy treat. The nutty flavor enhances the overall experience of your sweet creation!
No-Bake Chocolate Peanut Butter Oat Bars Recipe FAQs
How do I choose ripe ingredients for this recipe?
Absolutely! For the best flavor and texture, look for natural peanut butter that is creamy and smooth, ideally with minimal added ingredients. Your rolled oats should be fresh and dry, with no signs of moisture. When it comes to cocoa powder and chocolate chips, ensure they are stored in a cool and dry place for optimal taste!
How should I store these No-Bake Chocolate Peanut Butter Oat Bars?
To keep your bars fresh, store them in an airtight container in the fridge for up to 1 week. This helps maintain their chewy texture and rich taste. If you’re making a big batch, consider separating layers with parchment paper to avoid sticking.
Can I freeze the No-Bake Chocolate Peanut Butter Oat Bars?
Yes, you can definitely freeze these bars! Wrap individual pieces in plastic wrap and place them in a freezer-safe bag. They can last up to 3 months in the freezer. When you’re ready to enjoy, simply thaw in the fridge for about 30 minutes or at room temperature for 10-15 minutes.
What should I do if my bars are too crumbly?
If your No-Bake Chocolate Peanut Butter Oat Bars seem crumbly, it could be due to not enough binding ingredients. Simply mix in a bit more peanut butter or honey to help everything stick together better. You might also try pressing the mixture down more firmly in the pan, ensuring it’s packed tightly before chilling.
Are there any dietary considerations for this recipe?
Very! These bars can easily be adjusted for various dietary needs. Use gluten-free rolled oats for a gluten-free treat, almond butter for a nut-free option, or maple syrup for a vegan-friendly sweetener. Always make sure to check ingredient labels for allergens, especially if serving to guests with dietary restrictions.
How long should I chill the bars before cutting?
It’s essential to chill your No-Bake Chocolate Peanut Butter Oat Bars for at least 1-2 hours until firm. This allows the ingredients to set properly, creating a chewy and delightful texture. If you’re short on time, placing them in the freezer for about 30 minutes can speed up the process, but ensure they are removed in time to avoid freezing solid!
Savory Ground Beef Zucchini Boats for a Wholesome Dinner
Ingredients
Equipment
Method
- In a large mixing bowl, combine rolled oats, natural peanut butter, honey or maple syrup, and cocoa powder. Mix together until fully combined.
- Microwave dark chocolate chips in 20-second intervals, stirring after each until smooth.
- Pour the melted chocolate into the oat mixture and stir gently until evenly mixed.
- Line an 8x8-inch baking dish with parchment paper. Transfer the mixture into the dish and press down firmly.
- Cover the dish and chill in the refrigerator for at least 1-2 hours or until firm.
- Remove from refrigerator, slice into bars, and enjoy!
Leave a Reply