
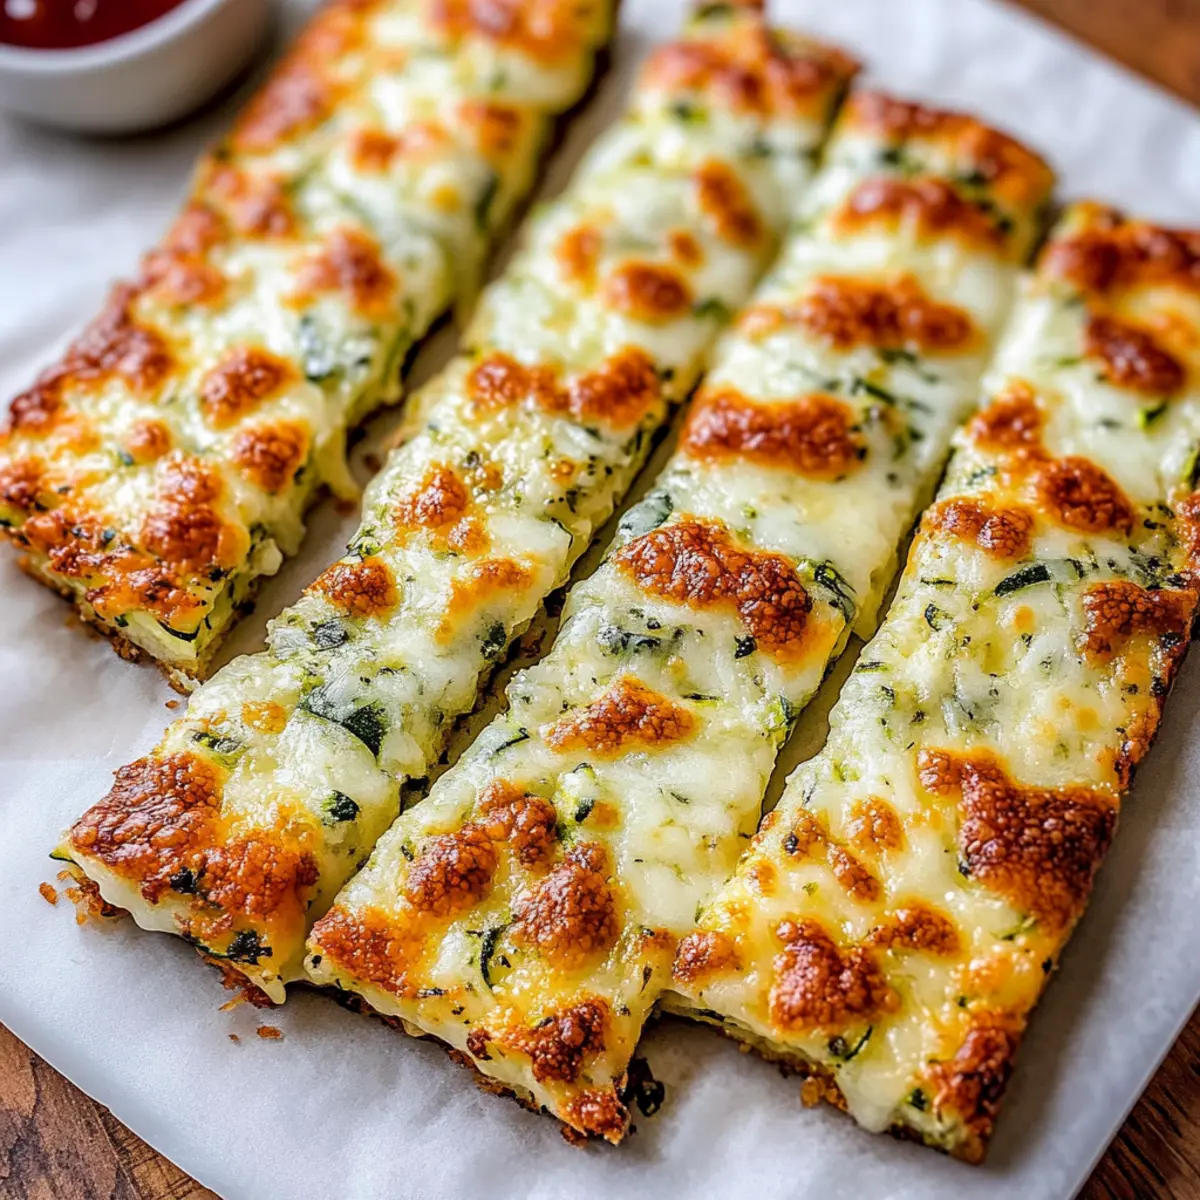
Sliding a gooey, cheesy breadstick into a warm marinara sauce is one of life’s little joys—even more so when it’s packed with veggies! These Cheesy Zucchini Breadsticks are my go-to for satisfying that snack attack without the guilt. With their crispy edges and pillowy center, they’re a delightful low-carb twist that fits perfectly into your busy life. Ideal as a healthy appetizer, snack, or even a side dish, these breadsticks come together effortlessly and can be prepped ahead of time, making your cooking experience smoother. Plus, they’re a fantastic way to sneak in some veggies for those who might be avoiding greens! Ready to indulge without the carbs? Let’s dive into this delicious recipe that will have you coming back for more!
Why Are These Breadsticks So Irresistible?
Cheesy, ooey-gooey goodness: These Cheesy Zucchini Breadsticks bring comfort food to new heights with a cheesy flavor explosion that will have you craving more. Easy to make: With a straightforward prep process, you can whip these up in no time—perfect for busy evenings or last-minute gatherings. Veggie-packed delight: Sneak in those nutritious zucchinis without compromising on taste. Versatile options: Customize with your favorite toppings or spices, from pizza-inspired flavors to a spicy kick. Whether as an appetizer or a late-night snack, these breadsticks are sure to please every crowd! Looking for more ways to enjoy veggies? Check out Cheesy Christmas Tree and Chicken Zucchini Casserole for delectable ideas!
Cheesy Zucchini Breadsticks Ingredients
• Dive into the delightful world of these Cheesy Zucchini Breadsticks with the following fresh and flavorful ingredients!
For the Base
- Zucchini – Provides structure and moisture; for similar results, summer squash can be used.
- Large Eggs – Binds the mixture together; flax eggs work perfectly as a vegan alternative.
- Shredded Mozzarella Cheese – Contributes to that cheesy flavor and stretchy texture; opt for low-moisture mozzarella for best results.
- Grated Parmesan Cheese – Adds a salty, nutty flavor; substitute with nutritional yeast for a dairy-free option.
- Garlic Powder – Imparts that classic garlic flavor; fresh minced garlic can elevate the taste even more.
- Italian Seasoning – Blends herbs like basil and oregano for balanced flavor.
- Salt & Black Pepper – Season the zucchini base; adjust according to taste and dietary needs.
For the Topping
- Additional Mozzarella Cheese – Sprinkle on top before the final bake to make it extra cheesy and delicious!
Perfect for snacking or appetizers, these Cheesy Zucchini Breadsticks bring joy to your table!
Step‑by‑Step Instructions for Cheesy Zucchini Breadsticks
Step 1: Prepare Zucchini
Preheat your oven to 425°F (220°C) to ensure a perfectly crisp finish. While the oven heats, shred the zucchini using a box grater or food processor. Once done, place the shredded zucchini in a clean kitchen towel and squeeze out as much moisture as possible, as this will help prevent soggy Cheesy Zucchini Breadsticks.
Step 2: Mix Base
In a large mixing bowl, combine the well-drained shredded zucchini with ½ cup of shredded mozzarella, grated Parmesan, large eggs, garlic powder, Italian seasoning, salt, and pepper. Use a spatula or wooden spoon to thoroughly mix all the ingredients until everything is evenly coated and well combined, creating a fragrant and cheesy base for your breadsticks.
Step 3: Shape and Bake Crust
Spread the zucchini mixture onto a parchment-lined baking sheet, forming a thin rectangle about ½ inch thick. Ensure an even layer for consistent cooking. Place the baking sheet in the preheated oven and bake for 20-25 minutes, or until the edges turn golden brown and the center feels firm to the touch, creating a sturdy crust.
Step 4: Add Cheese Topping
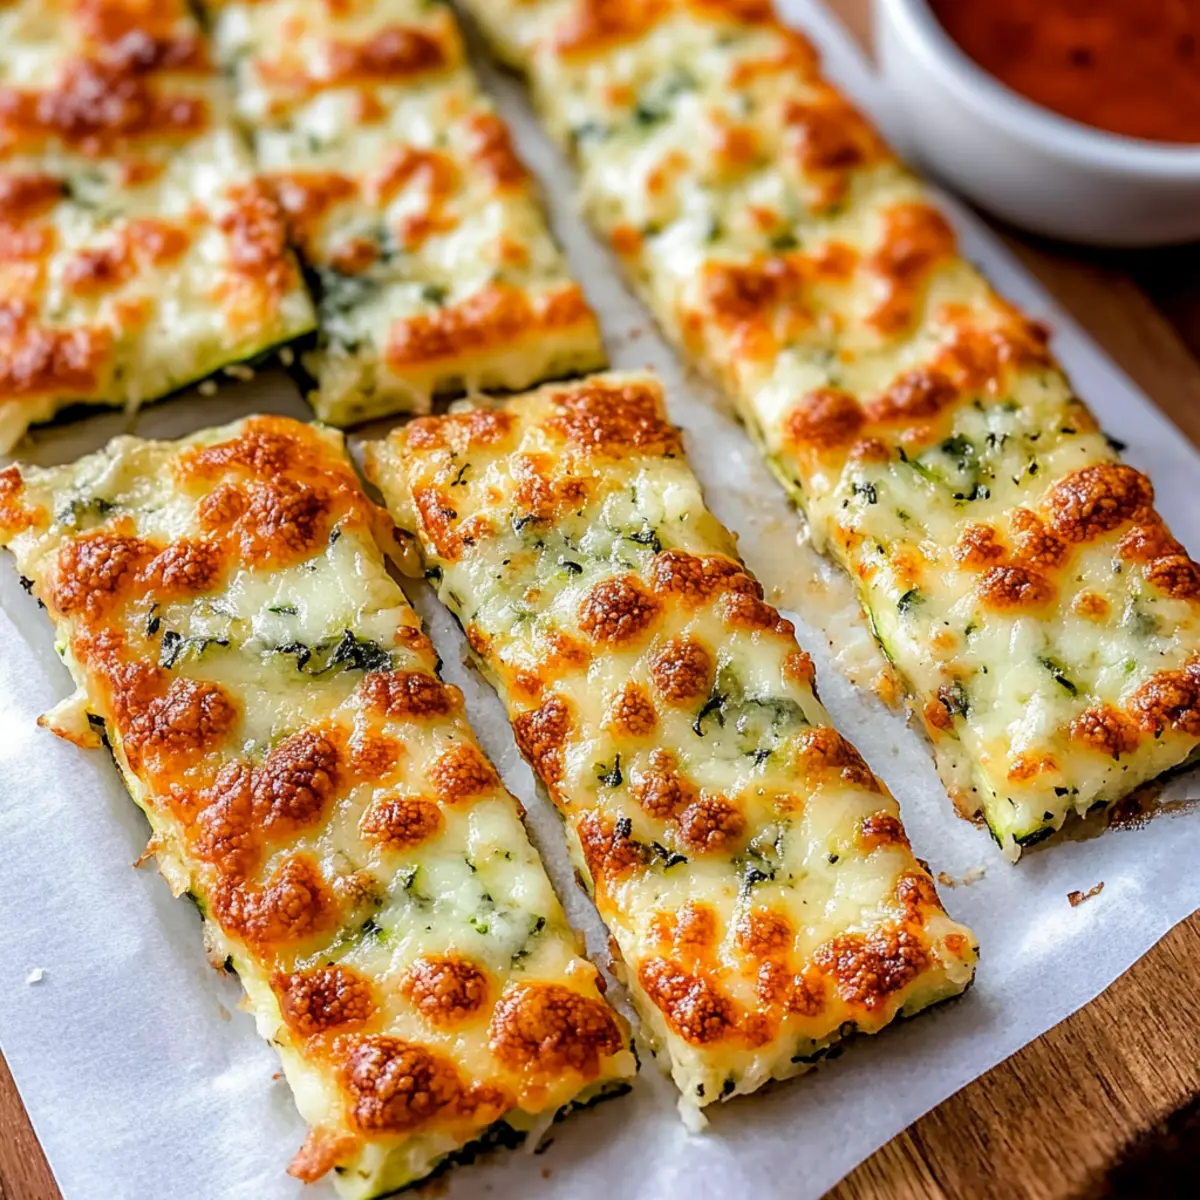
Once the crust is set and golden, remove it from the oven and sprinkle the remaining shredded mozzarella evenly over the top. Return the baking sheet to the oven and bake for an additional 5-7 minutes, watching closely until the cheese melts, bubbles, and turns a beautiful golden color, creating an irresistible topping for your Cheesy Zucchini Breadsticks.
Step 5: Slice and Serve
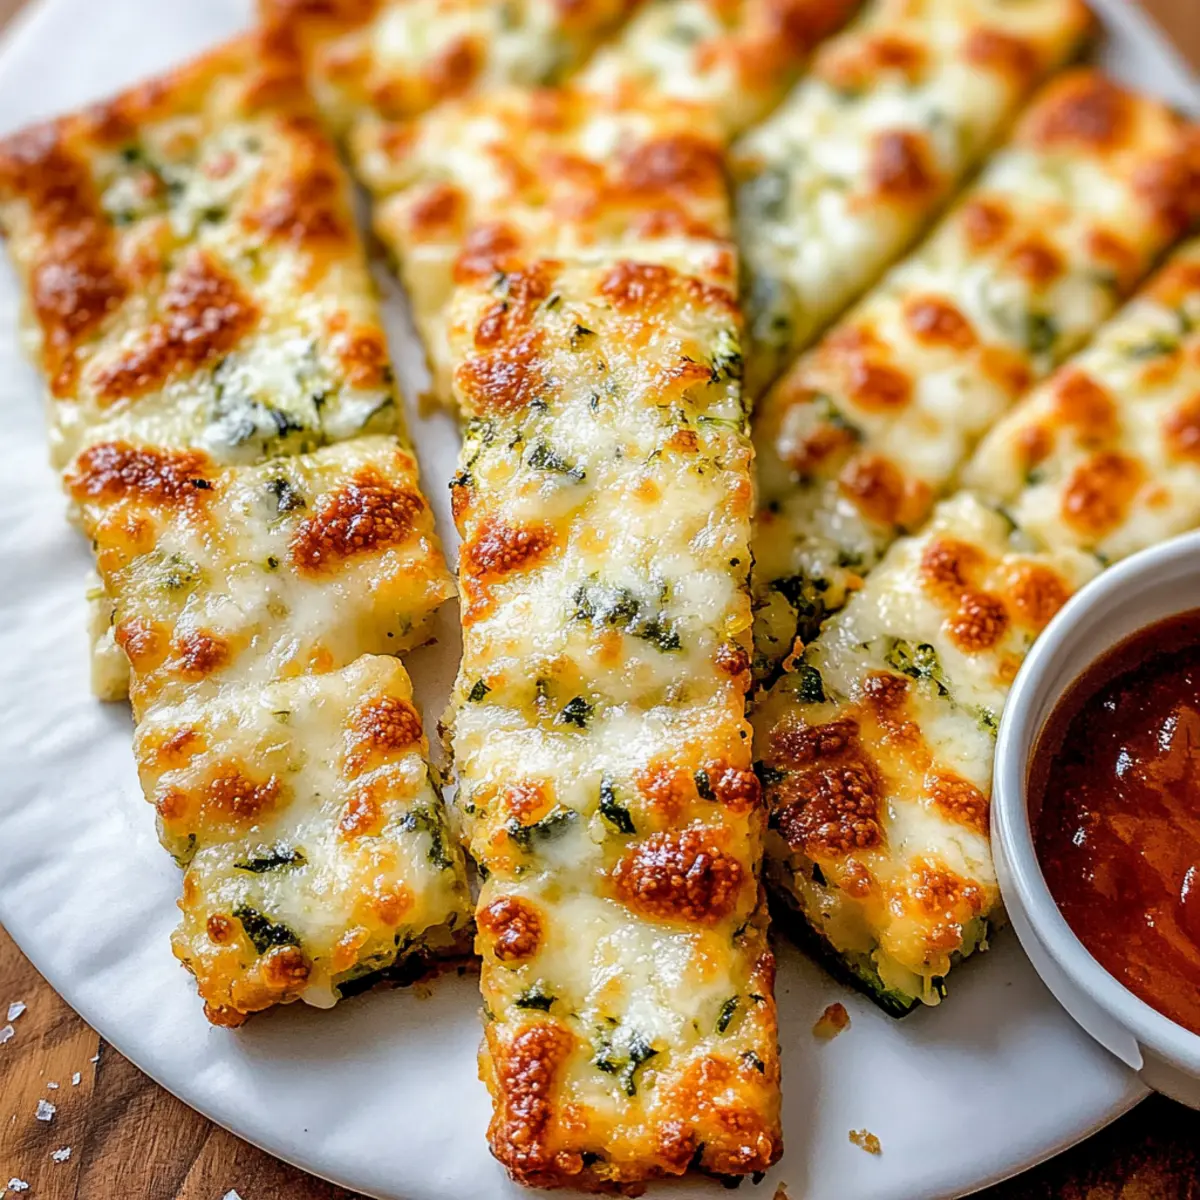
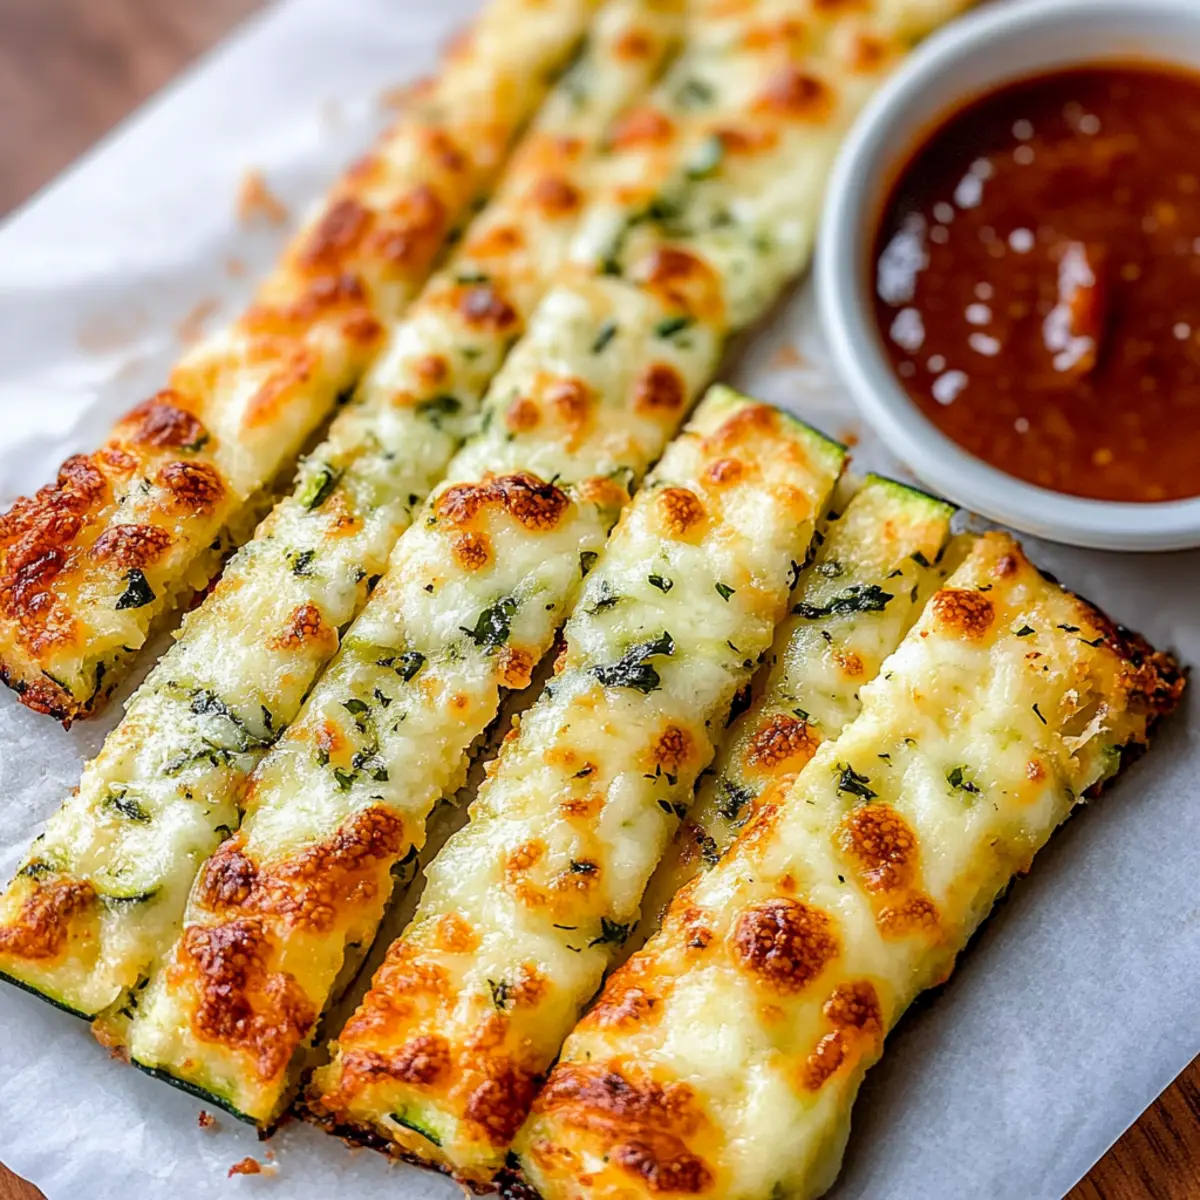
After removing the Cheesy Zucchini Breadsticks from the oven, let them cool for about 5 minutes to allow the cheese to set slightly. Carefully slice the baked mixture into stick-sized portions while warm, and serve them alongside a bowl of marinara or ranch dressing for dipping, making for a delicious, veggie-packed snack.
Expert Tips for Cheesy Zucchini Breadsticks
- Proper Moisture Removal: Squeeze out as much liquid from the zucchini as possible. This is key to achieving crispy Cheesy Zucchini Breadsticks instead of a soggy mess.
- Evenly Spread Mixture: When shaping your crust, ensure it’s spread evenly on the baking sheet. A consistent thickness promotes even cooking and texture.
- Make-Ready Option: Prepare the zucchini base ahead of time and store it in the fridge. Just add cheese and bake when you’re ready for a quick treat!
- Experiment with Toppings: Feel free to mix in your favorite herbs or spices. A sprinkle of red pepper flakes can add a nice kick to your Cheesy Zucchini Breadsticks.
- Storage and Reheating: Store any leftovers in an airtight container in the fridge for up to 3 days. Reheat in the oven for that crispiness you love!
Make Ahead Options
These Cheesy Zucchini Breadsticks are perfect for busy home cooks looking to save time! You can prepare the zucchini base up to 24 hours in advance. Simply shred the zucchini, squeeze out the moisture, and mix it with the other ingredients as described in the recipe. Store this mixture in an airtight container in the refrigerator. When you’re ready to enjoy your Cheesy Zucchini Breadsticks, spread the mixture on a baking sheet and bake it as instructed. For longer storage, you can freeze the baked crust (without cheese) for up to 2 months. Just reheat the crust, add the remaining cheese, and bake until bubbly for delicious results with minimal effort!
Storage Tips for Cheesy Zucchini Breadsticks
Fridge: Store leftovers in an airtight container for up to 3 days, ensuring they stay fresh and tasty.
Freezer: For longer storage, freeze the baked crust (without toppings) for up to 2 months. Wrap tightly in plastic wrap or foil to prevent freezer burn.
Reheating: To enjoy them again, reheat in the oven at 350°F (175°C) for 10-15 minutes, adding cheese during the last few minutes for that gooey goodness to return!
Make-Ahead: Prepare the zucchini base in advance and refrigerate it; add cheese before baking for quick and convenient Cheesy Zucchini Breadsticks whenever you need a snack!
Cheesy Zucchini Breadsticks Variations
Feel free to get creative and personalize these Cheesy Zucchini Breadsticks to match your family’s tastes!
-
Spicy Kick: Add red pepper flakes or diced jalapeños for a zesty kick that’ll tantalize your taste buds.
-
Pizza-Style: Spread marinara over the crust before adding cheese and sprinkle with pepperoni for a comforting pizza twist.
-
Herb-Lover’s: Mix in finely chopped fresh basil or parsley for a fragrant flavor boost that brightens every bite.
-
Different Cheese Blend: Substitute shredded provolone or cheddar for a delightful spin on the classic cheesy goodness you love.
-
Nutty Flavor: Try adding a tablespoon of ground almonds or almond flour for a richer texture while enhancing the nuttiness.
-
Cauliflower Option: For a lower-carb choice, swap half the zucchini with riced cauliflower. This lightens the dish while keeping it delicious!
-
Add Veggies: Mix in finely diced bell peppers, spinach, or mushrooms to incorporate more nutrition and flavor into each stick.
-
Garlic Lovers: Elevate the garlic flavor by using roasted garlic instead of garlic powder for a sweet, fragrant depth that’s simply irresistible.
These variations not only give you an excuse to experiment but also allow you to cater to every family’s preference! If you’re looking for more fun ways to spice up your vegetable dishes, don’t miss out on making Cheesy Christmas Lasagna or Chicken Zucchini Casserole!
What to Serve with Cheesy Zucchini Breadsticks
Elevate your snack time with delightful accompaniments that perfectly complement the flavors of these cheesy, veggie-packed sticks.
- Marinara Sauce: The classic pairing brings out the savory flavors, with its tangy sweetness contrasting beautifully with the richness of the breadsticks.
- Garlic Herb Dip: A creamy, herb-infused dip provides a luscious contrast that enhances each cheesy bite, making every taste a celebration.
- Fresh Garden Salad: Crisp greens tossed with dressing add a refreshing crunch and balance the warm, cheesy texture of the breadsticks.
- Roasted Vegetables: Seasoned and caramelized, they add a heartiness that aligns with the zucchini’s natural sweetness—perfect for a nutritious feast.
- Spicy Buffalo Sauce: For those craving heat, this fiery option creates a bold, adventurous twist, pairing perfectly with the cheesy goodness.
- Greek Yogurt Ranch: Light yet full of flavor, this tangy dip compliments well and provides a protein boost, keeping things light and refreshing.
- Sparkling Water with Lemon: A bubbly drink cuts through the richness while adding a citrusy zing, making your meal feel even more festive.
- Chocolate-Dipped Strawberries: For dessert, these sweet treats create a satisfying end to your meal, providing a luscious contrast to the savory breadsticks.
Cheesy Zucchini Breadsticks Recipe FAQs
How do I select ripe zucchini?
Absolutely! Look for small to medium-sized zucchini that are firm, free of soft spots, and have a vibrant green color. Avoid those with dark spots all over them, which indicate overripeness. Fresh zucchini will result in a tastier breadstick.
How should I store leftover Cheesy Zucchini Breadsticks?
You can store leftovers in an airtight container in the fridge for up to 3 days. Just make sure they’re completely cool before sealing to retain their texture. If you want to keep them longer, freezing is a great option!
Can I freeze Cheesy Zucchini Breadsticks?
Yes, indeed! To freeze, first bake the crust (without toppings) and let it cool completely. Then, wrap your baked crust tightly in plastic wrap or foil and place it in an airtight container or freezer bag. They’ll last for up to 2 months. When you’re ready to enjoy, just reheat in the oven, adding cheese during the last few minutes!
What if my zucchini breadsticks turn out soggy?
Very! The most common reason for soggy breadsticks is excess moisture from the zucchini. Ensure you squeeze out as much water as possible before mixing. Also, spreading the mixture evenly on the baking sheet helps in achieving that perfect crispy texture. If you’re struggling, try baking them a bit longer but keep an eye to prevent burning.
Are Cheesy Zucchini Breadsticks suitable for people with gluten allergies?
Absolutely! This recipe is inherently gluten-free, thanks to the use of zucchini, eggs, and cheese. Just be sure to double-check that the cheese and any optional toppings you choose do not contain gluten if sensitivity is a concern. They’re a tasty gluten-free option that everyone can enjoy!
Cheesy Zucchini Breadsticks: Irresistibly Cheesy & Easy to Make
Ingredients
Equipment
Method
- Preheat your oven to 425°F (220°C). Shred the zucchini and squeeze out excess moisture.
- In a mixing bowl, combine the zucchini, ½ cup mozzarella, parmesan, eggs, garlic powder, seasoning, salt, and pepper. Mix well.
- Spread the mixture onto a parchment-lined baking sheet in a rectangle about ½ inch thick. Bake for 20-25 minutes until golden brown.
- Remove from the oven and sprinkle remaining mozzarella on top. Bake again for 5-7 minutes until cheese melts and is bubbly.
- Let cool for 5 minutes, slice into sticks, and serve with marinara or ranch for dipping.
Leave a Reply