
The sizzling sound of that first slice through a freshly baked loaf is a moment I cherish, and today, I’m excited to share my homemade Italian Herb and Cheese Bread recipe with you! This artisan-style bread brings together a wonderful harmony of aromatic herbs and gooey cheese, making it an irresistible side for any meal or a standout centerpiece for gatherings. The best part? Not only is it easy to whip up, but it also offers a delightful, preservative-free alternative to store-bought bread. With this recipe, you can customize your ingredients to reflect your taste or dietary needs, ensuring everyone at the table will love it. Ready to embark on a bakery adventure in your own kitchen? Let’s get those herbs and cheeses ready!
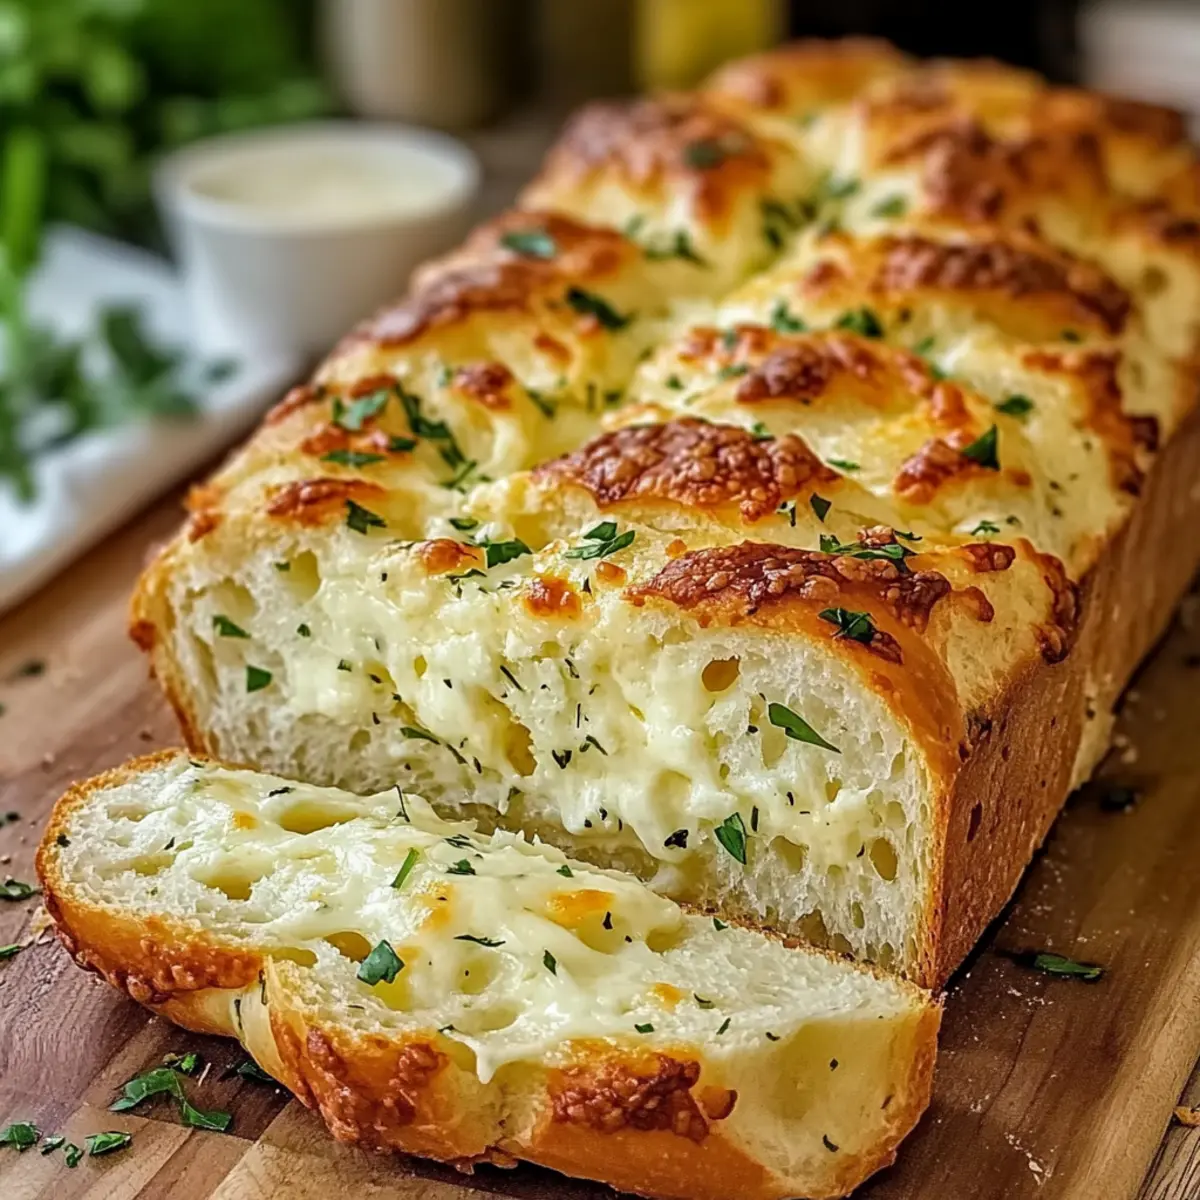
Why is This Bread So Irresistible?
Simplicity: This recipe requires no advanced baking skills, making it accessible for everyone to enjoy homemade goodness.
Customizable: Mix and match your favorite cheeses and herbs, allowing for endless variations to suit your taste. Try different combinations like Cheesecake Fudge Snap or sun-dried tomatoes for added flavor.
Aromatic Experience: The delightful aroma of baking herbs fills your kitchen, creating an inviting atmosphere that captures attention and makes mouths water.
Perfect Pairing: Enjoy it alongside soups like minestrone or use it for gourmet sandwiches—this bread shines as both a side and a star!
Healthy Alternative: Avoid preservatives and enjoy a fresher, healthier option that you can feel good about serving to friends and family.
Crowd Favorite: Whether at a family dinner or a cozy gathering, this Italian Herb and Cheese Bread never fails to impress.
Italian Herb and Cheese Bread Ingredients
• Here’s what you need to bring this delicious bread to life:
For the Dough
- Active Dry Yeast – Essential for leavening; activates the dough during rising.
- Warm Water – Hydrates yeast for activation; must be around 110°F (43°C).
- Sugar – Feeds the yeast, aiding fermentation and adds subtle sweetness.
- All-Purpose Flour – Provides structure and texture; the main ingredient. For gluten-free, use a suitable flour blend.
- Salt – Enhances flavor and controls yeast activity; avoid excess salt which may inhibit rising.
- Italian Seasoning – Adds fragrant herbs to the dough, enhancing the bread’s flavor profile.
For the Cheese Topping
- Mozzarella Cheese – Adds creaminess and stretches for a delicious texture.
- Parmesan Cheese – Provides a savory, nutty flavor; complements mozzarella.
For Garnish
- Fresh Parsley – Adds freshness and color; can be substituted with other fresh herbs.
- Garlic Powder – Optional for added flavor; can replace with fresh minced garlic.
Now that you’ve gathered your ingredients, you’re one step closer to baking a loaf of Italian Herb and Cheese Bread that everyone will love!
Step‑by‑Step Instructions for Italian Herb and Cheese Bread
Step 1: Activate Yeast
In a small bowl, combine 1 packet of active dry yeast, 1 cup of warm water (around 110°F or 43°C), and 1 teaspoon of sugar. Stir gently and let the mixture sit for 5 to 10 minutes until it becomes frothy, indicating the yeast is activated and ready to work its magic in your Italian Herb and Cheese Bread dough.
Step 2: Mix Dry Ingredients
In a large mixing bowl, whisk together 3 cups of all-purpose flour, 1 teaspoon of salt, and 2 teaspoons of Italian seasoning. This combination of dry ingredients will form the backbone of your bread, providing both structure and flavor. Make sure they are well combined for an even distribution of the herbs throughout the dough.
Step 3: Combine Wet and Dry
Once the yeast mixture is frothy, pour it into the bowl with the dry ingredients. Mix with a wooden spoon or your hands until the mixture forms a shaggy dough. The flour should be fully incorporated, and the dough may feel slightly sticky. This step is crucial for developing the base flavor of your Italian Herb and Cheese Bread.
Step 4: First Rise
Transfer the shaggy dough to a greased bowl, ensuring it’s coated lightly with oil to prevent sticking. Cover the bowl with a damp cloth and place it in a warm area. Allow the dough to rise for about 1 hour or until it has doubled in size, which should be visibly evident as it expands and puffs up.
Step 5: Prepare Topping Mix
While the dough is rising, prepare the delicious cheese topping. In a small bowl, combine 1 cup of shredded mozzarella cheese, ½ cup of grated Parmesan cheese, ¼ cup of freshly chopped parsley, and 1 teaspoon of garlic powder. This flavorful mix will transform your bread into a cheesy delight when baked on top.
Step 6: Shape Loaves
After the dough has risen, punch it down gently to release the air. Divide the dough into two equal portions and shape each into a loaf. Place the loaves on a lined baking sheet, and cover them with a clean cloth to rise again for 30 to 45 minutes. They should puff up nicely, becoming airy and ready for baking.
Step 7: Preheat Oven
While your loaves are rising, preheat your oven to 375°F (190°C). This temperature is perfect for creating a crusty exterior while keeping the inside soft and chewy. Preheating ensures that your Italian Herb and Cheese Bread will start baking immediately, promoting the ideal texture and flavor.
Step 8: Apply Toppings
Once the loaves have risen, brush the tops with olive oil to encourage browning and enhance flavor. Generously sprinkle the cheese topping mix over each loaf, ensuring even coverage for a cheesy, herb-infused delight. The combination of cheese and herbs will create a tantalizing aroma as they bake.
Step 9: Bake
Place the baking sheet in the preheated oven and bake the loaves for 25 to 30 minutes. They are done when they turn a golden brown color and sound hollow when tapped on the bottom. This crusty exterior will complement the soft, cheesy interior, making it the perfect Italian Herb and Cheese Bread.
Step 10: Cool and Slice
Once baked, allow the loaves to cool slightly on a wire rack for about 10 minutes. This resting period lets the bread set and makes slicing easier. After cooling, slice into warm pieces and serve as a delightful addition to your meals or as a stand-alone treat!

Italian Herb and Cheese Bread Variations
Feel free to add your personal touch to this delightful bread with these fun twists and swaps!
-
Cheese Swap: Use Gouda or cheddar to explore unique textures and flavors. Each cheese brings its own character, creating a bread that’s uniquely yours!
-
Herb Variety: Try fresh rosemary or thyme in place of Italian seasoning for a fragrant twist. Imagine the aromatic experience filling your kitchen with warmth!
-
Sun-Dried Tomatoes: Add chopped sun-dried tomatoes for a burst of flavor. They provide a deliciously tangy and slightly sweet balance to the cheesy goodness.
-
Olives On Top: Incorporate sliced black or green olives into your topping mix for an added salty kick. The combination of olives and cheese is pure perfection!
-
Spice It Up: Mix in red pepper flakes for a little heat. This fiery addition can elevate your bread from comforting to exciting with just a sprinkle!
-
Garlic Lovers: Use fresh minced garlic instead of garlic powder for a bold punch. The fragrance of fresh garlic during baking will be irresistible!
-
Grainy Texture: Swap out some all-purpose flour for whole wheat flour. This will add a nutty flavor and offer a wholesome twist to your Italian Herb and Cheese Bread.
-
Serve with Dips: Enjoy this bread warm with hummus or tzatziki as a lively appetizer. Pairing the homemade bread with a delicious dip adds an elegant touch to any meal, just like the Crisp Mini Cheesecakes you’d save for dessert!
What to Serve with Italian Herb and Cheese Bread
Create a delightful dining experience with the perfect accompaniments for your freshly baked creation.
-
Creamy Tomato Soup: The rich and tangy flavors of this classic soup pair beautifully, enhancing the warm, cheesy aroma of the bread.
-
Garden Salad: A crisp, fresh salad with vibrant veggies adds a refreshing crunch and balances the hearty bread.
-
Garlic Butter Shrimp: Juicy shrimp sautéed in garlic butter complement the bread’s herbaceous notes, creating a delightful medley of flavors.
-
Herbed Olive Oil: Serve a small dish of infused olive oil with herbs for dipping. The earthy flavors elevate the bread experience.
-
Ratatouille: This traditional vegetable dish with Mediterranean spices harmonizes beautifully with the bread’s Italian herbs for a wholesome meal.
-
Red Wine: A fruity red, like Chianti, enhances the deep flavors of the herbs and cheeses, making it a delightful pairing for gatherings.
-
Fruit Tart: A light and sweet ending, filled with seasonal fruits, brings a lovely contrast to the savory bread.
-
Mediterranean Hummus: A creamy, flavorful hummus makes for a delightful spread that perfectly complements the warm, cheesy slices.
-
Pesto Sauce: The bold basil flavors of homemade or store-bought pesto create a delicious spread that adds an extra layer of flavor to your bread.
-
Tzatziki: The cool, creamy yogurt dip pairs exceptionally well, adding a refreshing tang to the savory notes of the bread.
How to Store and Freeze Italian Herb and Cheese Bread
Room Temperature: Store the bread in an airtight bag at room temperature for up to 2 days to maintain its freshness and softness.
Fridge: If you prefer, you can refrigerate the bread wrapped in plastic for 3-5 days, but this may affect its texture.
Freezer: For longer storage, wrap the bread tightly in foil or plastic wrap and freeze for up to 3 months. Slice before freezing for easy thawing.
Reheating: To enjoy a warm slice, thaw at room temperature, then reheat in the oven at 350°F (175°C) for about 10 minutes, ensuring it retains its delightful crust and texture.
Expert Tips for Italian Herb and Cheese Bread
- Check Yeast Activity: Always activate your yeast until it’s frothy; if it doesn’t foam, use fresh yeast for your Italian Herb and Cheese Bread.
- Keep Dough Covered: Cover the dough with a damp cloth during rising to keep it moist and prevent dryness, which can hinder the rise.
- Experiment with Flavors: Don’t hesitate to mix different herbs and cheeses; this bread is versatile, so consider adding your favorites!
- Avoid Oversalting: Be careful with your salt quantity. Too much can inhibit yeast activity and affect the bread’s rise.
- Adjust Herbs for Freshness: If using fresh herbs, remember to increase the amount—use three times more than dried to ensure robust flavor.
Make Ahead Options
These Italian Herb and Cheese Bread loaves are perfect for busy home cooks looking to save time during the week! You can prepare the dough up to 24 hours in advance; simply follow the recipe through the first rise, then punch it down and refrigerate the dough in a covered bowl. The next day, take it out, let it come to room temperature for about 30 minutes, then shape your loaves and allow them to rise again. For the cheese topping, you can mix the ingredients in advance and store them in the fridge. Just before baking, brush the loaves with olive oil, add the topping, and pop them in the oven for fresh, homemade Italian Herb and Cheese Bread with minimal effort!
Italian Herb and Cheese Bread Recipe FAQs
What should I look for when selecting herbs for my bread?
Absolutely! When choosing fresh herbs, look for bright green leaves that are fragrant and free from dark spots or wilting. For dried herbs, ensure they are aromatic and stored in a cool, dark place to maintain their flavor. Fresh herbs will provide a bolder taste—use three times as much fresh as you would dried for the best results!
How can I store my Italian Herb and Cheese Bread to keep it fresh?
To enjoy your bread at its best, store it at room temperature in an airtight bag for up to 2 days. If you want to keep it longer, wrap it tightly in foil or plastic wrap, and freeze it for up to 3 months. Slicing the bread before freezing makes it easier to thaw and enjoy a slice whenever you crave that homemade taste!
Can I freeze my Italian Herb and Cheese Bread, and how should I do it?
Of course! To freeze your bread, first slice it to allow for easy thawing. Wrap the slices tightly in plastic wrap or aluminum foil, then place them inside a freezer-safe bag. Label the bag with the date, and it’ll keep well for up to 3 months! When you’re ready to enjoy, simply thaw at room temperature and reheat in the oven at 350°F (175°C) for about 10 minutes.
What can I do if my bread doesn’t rise properly?
Very! If your dough isn’t rising as expected, it may be due to inactive yeast or cold dough. Make sure your water is at the right temperature (around 110°F or 43°C) to activate the yeast properly. If this happens, gently warm the dough in a slightly warm oven or let it rise in a warmer location, covered with a damp cloth to retain moisture. If the yeast doesn’t froth during activation, gently scrap the batch and start with fresh yeast!
Is this recipe safe for people with allergies?
Certainly! This Italian Herb and Cheese Bread is vegetarian, but be mindful of cheese allergies, especially to dairy. For a dairy-free option, substitute with vegan cheeses that melt well. Always check labels for potential allergens with any prepackaged ingredients, including yeast and flour, to ensure they fit your dietary needs.
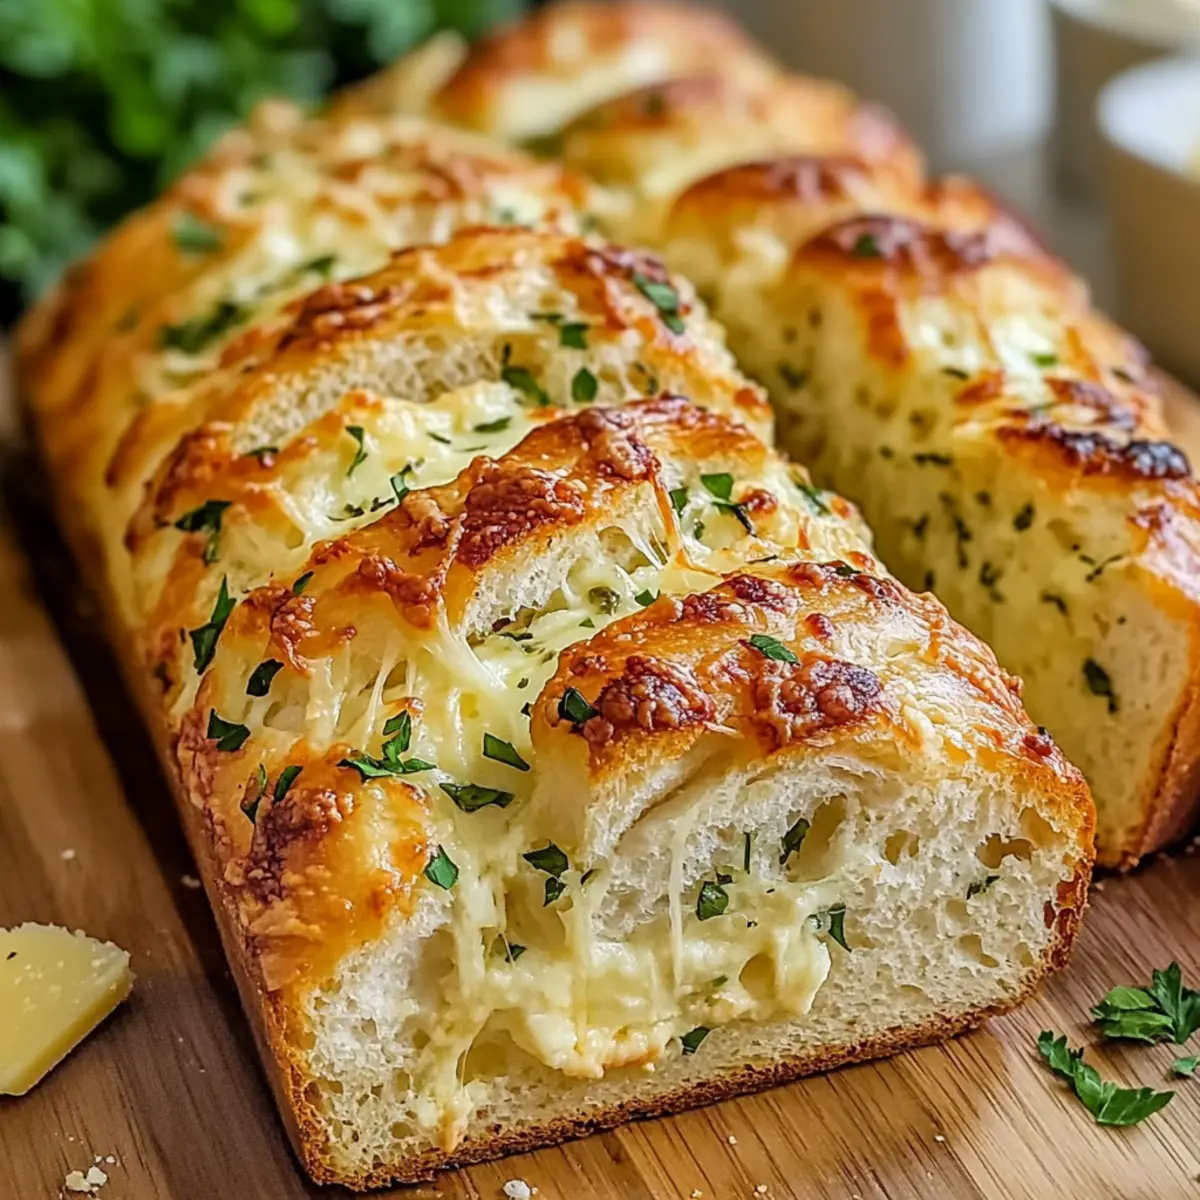
Italian Herb and Cheese Bread: Bake Your Best Loaf Yet
Ingredients
Equipment
Method
- In a small bowl, combine 1 packet of active dry yeast, 1 cup of warm water, and 1 teaspoon of sugar. Stir gently and let the mixture sit for 5 to 10 minutes until it becomes frothy.
- In a large mixing bowl, whisk together 3 cups of all-purpose flour, 1 teaspoon of salt, and 2 teaspoons of Italian seasoning.
- Once the yeast mixture is frothy, pour it into the bowl with the dry ingredients. Mix until it forms a shaggy dough.
- Transfer the dough to a greased bowl, cover with a damp cloth, and allow to rise for about 1 hour.
- Prepare the cheese topping by combining 1 cup of mozzarella, ½ cup of parmesan, ¼ cup of parsley, and 1 teaspoon of garlic powder.
- After the dough has risen, punch it down gently and divide into two equal portions. Shape each into a loaf.
- Preheat your oven to 375°F (190°C).
- Once the loaves have risen, brush with olive oil and sprinkle the cheese topping evenly.
- Bake for 25 to 30 minutes or until golden brown and hollow when tapped.
- Allow the loaves to cool on a wire rack for about 10 minutes before slicing.
Leave a Reply