
The aroma of freshly brewed coffee wafting through the kitchen is an invitation to indulge in something truly special. That’s exactly how I felt the first time I baked this Moist Coffee Chocolate Cake. Combining the rich depth of dark chocolate with a hint of coffee creates a delightful dessert perfect for any occasion. Not only does it impress with its luxurious texture, thanks to the sour cream, but it’s also surprisingly simple to whip up — making it an ideal choice for both novice and seasoned home chefs. Whether you’re looking for a sweet treat to elevate a cozy evening or a showstopper for your next celebration, this recipe checks all the boxes. Are you ready to discover your new favorite dessert?
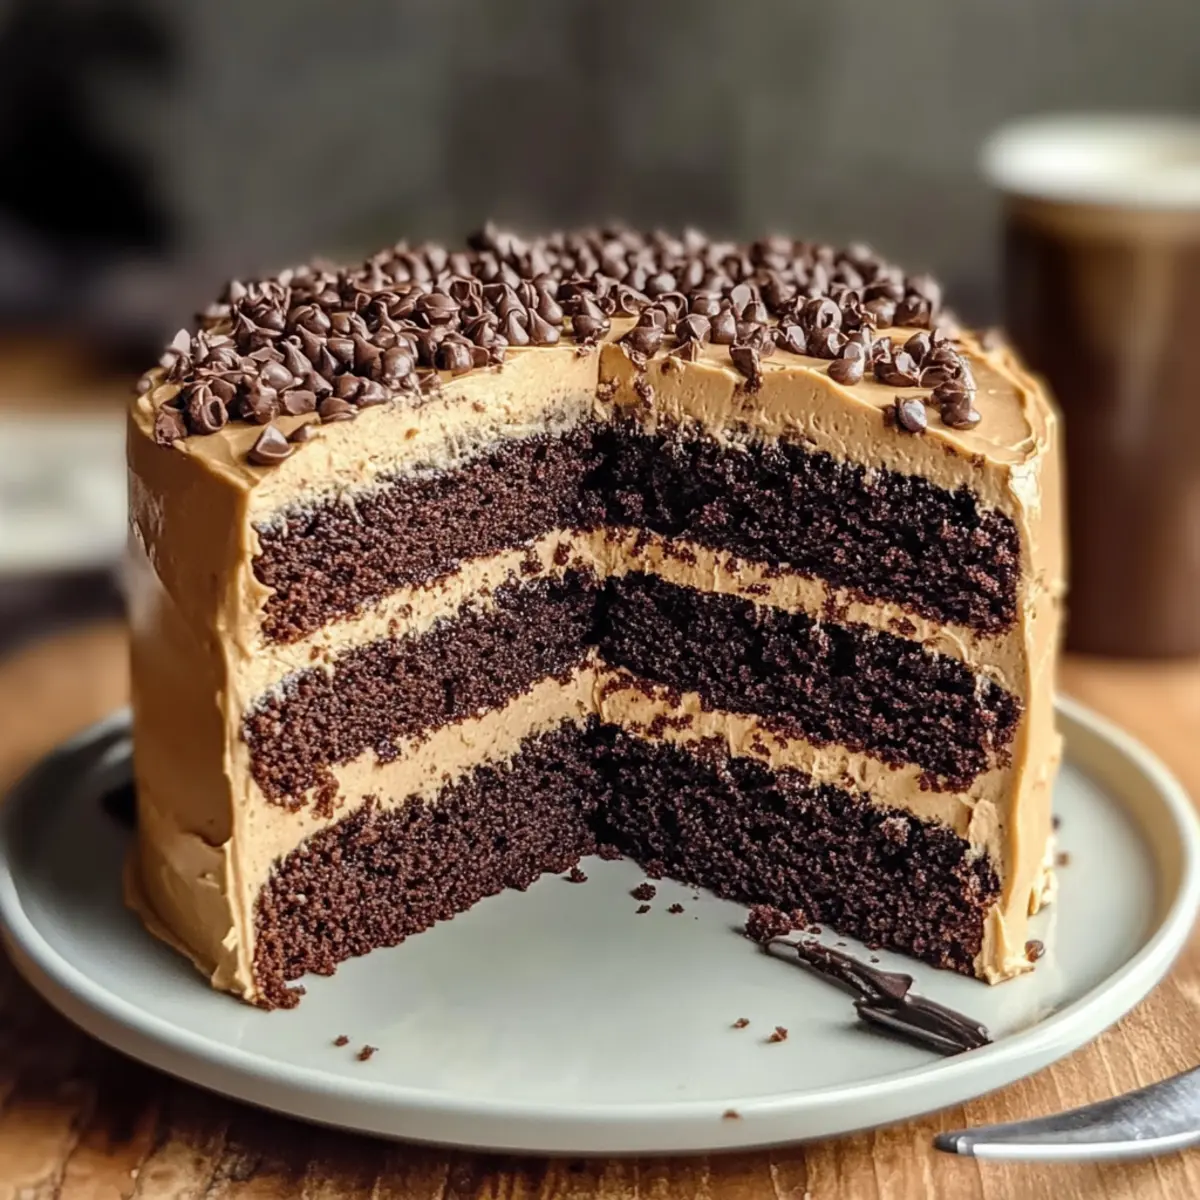
Why is this Coffee Chocolate Cake special?
Indulgent Flavors: Experience the harmonious blend of rich chocolate and invigorating coffee, creating an unforgettable taste sensation that will leave your guests asking for seconds.
Easy to Make: Enjoy a straightforward baking process, perfect for both novice and experienced cooks, making home baking feel effortless.
Impressive Layers: Delight in the beautiful presentation with creamy buttercream frosting that adds a touch of elegance to your table.
Customizable Options: Play with variations like adding chocolate chips or swapping different frostings, ensuring each cake can be uniquely yours!
Perfect for Any Occasion: Serve this cake at gatherings or cozy nights in, making it a versatile dessert that pleases every palate. Treat yourself after a long week and enjoy with a cup of your favorite brew! For more sweet inspirations, check out my delicious Chocolate Raspberry Cheesecake or Vegan Chocolate Chip recipes.
Coffee Chocolate Cake Ingredients
For the Cake
• All-Purpose Flour – Provides structure and stability to the layers of this Coffee Chocolate Cake.
• Cornstarch – Softens the cake texture, ensuring a tender crumb, ideal for a moist dessert.
• Unsweetened Cocoa Powder – Adds rich chocolate flavor; for a deeper taste, use dark cocoa.
• Baking Powder & Baking Soda – These leavening agents help the cake rise beautifully.
• Salt – Enhances the overall flavor balance; a must for any sweet recipe.
• Brewed Coffee – Infuses a rich coffee flavor; consider using espresso for a stronger kick.
• Vegetable Oil – Adds moisture and richness, keeping the cake beautifully tender.
• Sour Cream – Contributes to moisture and a slight tang; can substitute with Greek yogurt.
• Eggs – Bind ingredients together and provide structure; best to use large eggs at room temperature.
• Vanilla Extract – Adds depth of flavor; pure vanilla enhances the aroma of the cake.
For the Buttercream Frosting
• Unsalted Butter – The main component for a creamy and stable frosting.
• Powdered Sugar – Sweetens and thickens the buttercream; sifting before use prevents lumps.
• Cooled Brewed Coffee – Infuses the frosting with an extra burst of flavor to complement the cake.
• Vanilla Extract – Adds richness to the buttercream, making it even more delightful.
This collection of ingredients sets the stage for a luscious Coffee Chocolate Cake that will undoubtedly become a staple in your dessert repertoire.
Step‑by‑Step Instructions for Coffee Chocolate Cake
Step 1: Preheat and Prepare
Begin by preheating your oven to 350°F (175°C). While waiting, prepare three round baking pans by greasing them and lining the bottoms with parchment paper. This ensures your Coffee Chocolate Cake layers come out smoothly without sticking, allowing for easy assembly and presentation later.
Step 2: Whisk Dry Ingredients
In a large mixing bowl, whisk together the all-purpose flour, cornstarch, cocoa powder, baking powder, baking soda, and salt until well combined. This process will aerate the dry ingredients and evenly distribute the leavening agents. Set this mixture aside as you move on to the wet ingredients.
Step 3: Combine Wet Ingredients
In another bowl, pour in the brewed coffee, vegetable oil, sour cream, eggs, and vanilla extract. Mix these ingredients with a whisk until the mixture is smooth and well-incorporated. The combination of these wet ingredients adds moisture and richness to your Coffee Chocolate Cake.
Step 4: Mix Dry and Wet Ingredients
Gradually add the dry ingredient mixture to the wet ingredients, folding them together gently. Stir until just combined, being careful not to overmix, as this can lead to a dense cake. A few lumps are perfectly fine and will ensure a tender crumb in your finished layers.
Step 5: Bake the Cake
Divide the cake batter evenly between the prepared pans. Bake in the preheated oven for about 30 minutes, or until a toothpick inserted into the center comes out clean. Watch for a slightly domed top; this is a sign that your Coffee Chocolate Cake layers are perfectly baked.
Step 6: Cool the Cakes
After baking, remove the pans from the oven and let them cool for 10 minutes on a wire rack. Gently run a knife around the edges to loosen the cakes, then turn them out onto the rack to cool completely. Ensure they are fully cooled before proceeding to frosting.
Step 7: Prepare the Buttercream
While the cakes are cooling, make the creamy buttercream frosting. In a mixing bowl, beat the room-temperature unsalted butter until creamy and smooth. Gradually add sifted powdered sugar, mixing on low speed to avoid a sugar cloud, then combine in the cooled brewed coffee and vanilla extract until fluffy.
Step 8: Assemble the Cake
Once the cake layers are completely cool, it’s time to assemble your Coffee Chocolate Cake. Place one layer on a serving platter, spread a generous layer of buttercream on top, then repeat with the second layer. Finally, add the last layer and frost the top and sides, creating a thick, decadent finish.
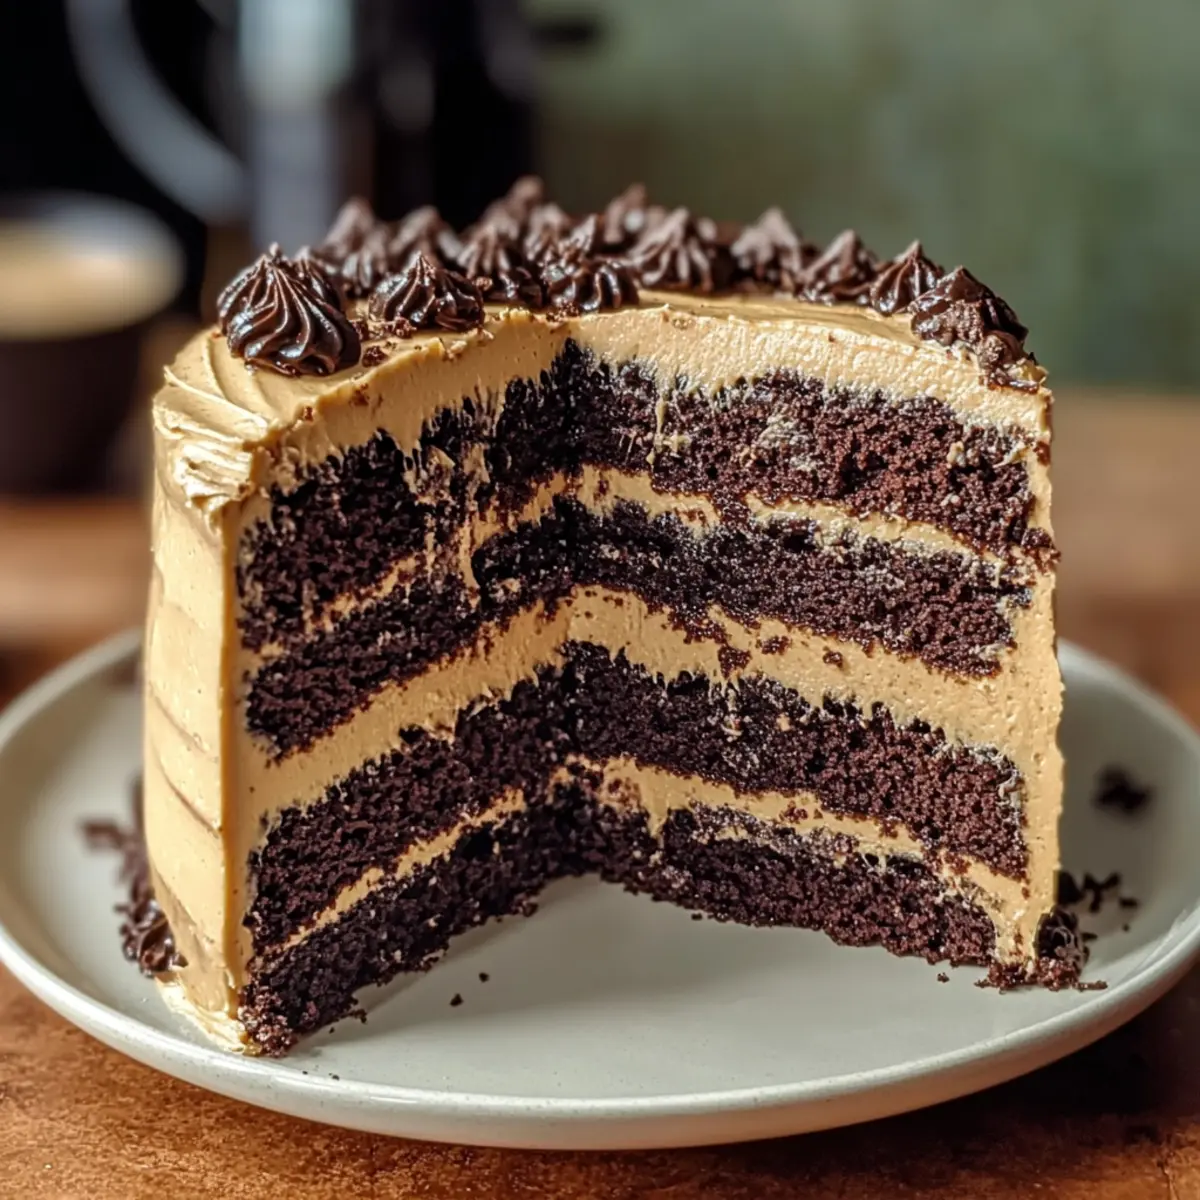
Expert Tips for Coffee Chocolate Cake
- Mixing Method: Avoid overmixing the batter; mix until just combined to achieve a tender Coffee Chocolate Cake. A few lumps are fine!
- Cool Completely: Allow your cakes to cool fully before frosting to prevent the buttercream from melting and sliding off.
- Parchment Paper: Use parchment paper to line your cake pans. This guarantees easy removal, keeping your layers intact for beautiful presentation.
- Coffee Intensity: For a bolder coffee flavor, consider adding instant espresso powder to the batter or the frosting for a delightful kick.
- Room Temperature Ingredients: Ensure all wet ingredients, especially eggs and butter, are at room temperature for optimum blending and texture.
What to Serve with Moist Coffee Chocolate Cake
Treat yourself to a well-rounded meal that elevates your Coffee Chocolate Cake into a delightful experience for your taste buds.
- Rich Vanilla Ice Cream: The creamy, smooth texture beautifully complements the moist cake, balancing its rich flavors with a refreshing chill.
- Fresh Berries: A handful of juicy raspberries or strawberries adds a tart contrast that brightens the decadent chocolate and coffee notes.
- Espresso Martini: Sip on this coffee-flavored cocktail for a delightful adult twist that enhances the cake’s deep coffee flavor. Perfect for a cozy night!
- Whipped Cream: A dollop of lightly sweetened whipped cream provides a cloud-like finish that pairs wonderfully with each slice.
- Caramel Sauce: Drizzling warm caramel over your cake introduces a deliciously sweet element, enhancing the overall indulgence of your dessert.
- Chocolate Sauce: For the ultimate chocolate lover, a drizzle of dark chocolate sauce on top takes your slice of cake to a whole new level of decadence.
- Hazelnut Coffee: Serve a cup of nutty hazelnut coffee alongside for a delightful pairing, enhancing the cake’s flavor profile while keeping you cozy.
- Mocha Affogato: Pouring a shot of hot espresso over a scoop of vanilla ice cream creates a luxurious dessert that feels like a warm embrace.
- Chilled Mint Tea: This refreshing drink provides a cooling contrast, cleansing the palate beautifully after each rich bite of cake.
Coffee Chocolate Cake Variations
Feel free to unleash your creativity and tailor this recipe to your taste buds—delicious possibilities await!
- Decaf Swap: Use decaffeinated coffee to enjoy this treat without the caffeine kick, perfect for evening indulgence.
- Nutty Delight: Fold in ¾ cup of chopped walnuts or pecans into the batter for delightful crunch and flavor. The added texture complements the cake beautifully.
- Fruity Twist: Incorporate 1 cup of fresh raspberries or cherries for a fruity contrast that brightens up the rich chocolate and coffee. These juicy bursts take each bite to the next level.
- Spicy Kick: Add a pinch of cayenne pepper to the batter for a surprising spicy twist that enhances the depth of flavors. Just a small amount will add an exciting warmth!
- Alternate Frosting: Swap the buttercream for a silky chocolate ganache or a dreamy cream cheese frosting for a unique finish. Both options will create a truly decadent exterior. Consider using a classic Chocolate Raspberry Cheesecake frosting for a special twist!
- Vegan Version: Substitute eggs with flax eggs (1 tablespoon flaxseed meal + 2.5 tablespoons water per egg) and use your favorite plant-based milk for a vegan-friendly delight. This way, everyone can enjoy your delicious creation!
- Chocolate Chips: Mix in a cup of semi-sweet chocolate chips for an extra chocolatey explosion in every bite. It’s like finding little surprises throughout the cake!
- Mocha Frosting: Enhance the buttercream by adding 2 tablespoons of cocoa powder and a splash of espresso, turning your frosting into a caffeinated hug of flavor on top of your cake.
With these variations, every Coffee Chocolate Cake can become a personal masterpiece that caters to your cravings or those of family and friends! Whether you’re enjoying a solitary slice with tea or serving it up at a gathering, this flexible recipe is bound to please.
How to Store and Freeze Coffee Chocolate Cake
Fridge: Keep the cake in an airtight container in the refrigerator for up to 5 days. This will help maintain its moist texture and rich flavor.
Freezer: For longer storage, wrap layers individually in plastic wrap and place them in a freezer-safe bag. The Coffee Chocolate Cake can be frozen for up to 3 months, preserving its deliciousness for later enjoyment.
Thawing: When ready to eat, thaw the cake overnight in the fridge or at room temperature for a couple of hours before serving, ensuring it remains moist and tasty.
Reheating: If you prefer a warm slice, reheat individual pieces in the microwave for 10-15 seconds, but be cautious not to overheat, as this can dry out the cake.
Make Ahead Options
These delightful Coffee Chocolate Cake layers are perfect for meal prep enthusiasts! You can prepare the cake layers up to 2 days in advance; simply bake, cool completely, and then wrap each layer tightly in plastic wrap before refrigerating. Additionally, the creamy buttercream frosting can be made up to 3 days ahead and stored in an airtight container in the refrigerator. When it’s time to serve, allow the frosting to come to room temperature and re-whip it slightly to restore its fluffiness. Assembling the cake takes mere minutes — simply layer the frosting between the cake layers and frost the top! Your Coffee Chocolate Cake will be just as delicious and save you precious time on busy weeknights or special occasions.
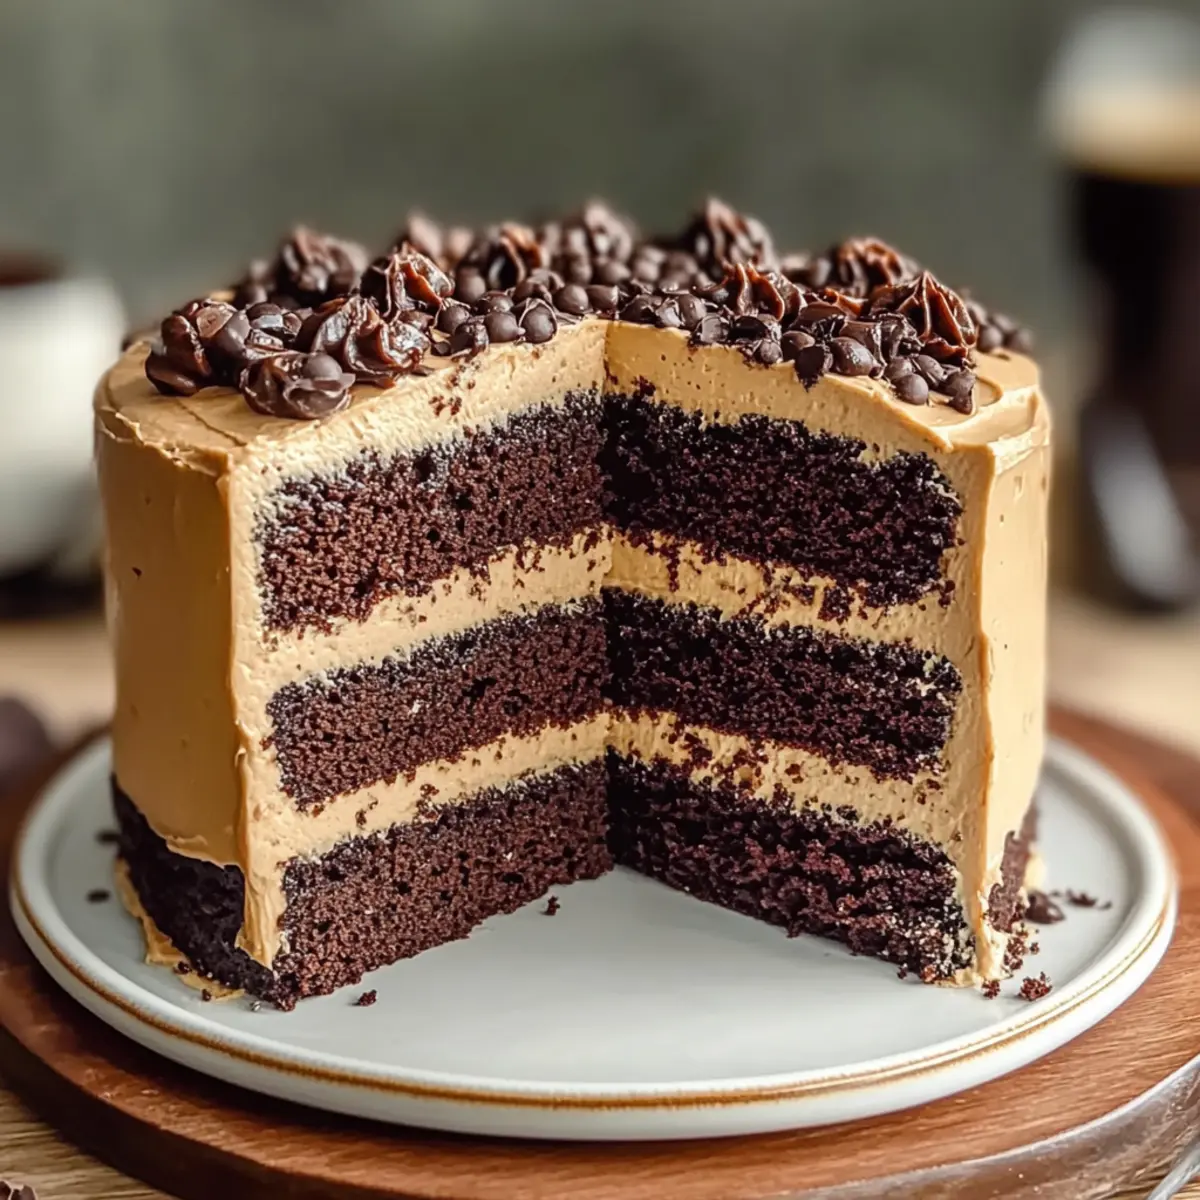
Coffee Chocolate Cake Recipe FAQs
What type of coffee is best for this recipe?
Absolutely! For a bolder flavor, I recommend using freshly brewed espresso, as it enhances the richness of the chocolate. If you prefer a milder taste, regular brewed coffee works wonderfully as well.
How do I know if my cake is done baking?
Very! A toothpick inserted into the center should come out clean or with a few moist crumbs (but no wet batter). Additionally, the cake should spring back when gently pressed. If it’s still wet, bake for a few more minutes and check again.
What are the best storage methods for my Coffee Chocolate Cake?
Certainly! Store the cake in an airtight container in the refrigerator for up to 5 days to maintain its moistness. If you want to keep it longer, wrap each layer individually in plastic wrap and place them in a freezer-safe bag. It can be frozen for up to 3 months; simply thaw overnight in the fridge before serving.
Can I substitute any ingredients for dietary restrictions?
Absolutely! If you’re looking to reduce fat, use Greek yogurt instead of sour cream. To make it dairy-free, substitute the unsalted butter with a plant-based alternative and use non-dairy milk for the buttercream. For gluten-free needs, gluten-free all-purpose flour works as an alternative to regular flour.
What should I do if my cake layers domed up while baking?
No worries! If your cake layers rise too much and form a dome, simply trim the tops once they’ve cooled for an even stacking. To prevent doming next time, ensure your oven temperature is accurate, and avoid overmixing the batter, which can incorporate too much air.
How do I properly freeze the cake?
Certainly! To freeze your Coffee Chocolate Cake, first, allow the baked layers to cool completely. Then, wrap each layer individually with plastic wrap, ensuring there are no air pockets. Place them in a freezer-safe bag or container, and they can be stored for up to 3 months. When ready to enjoy, just thaw in the refrigerator overnight before serving.
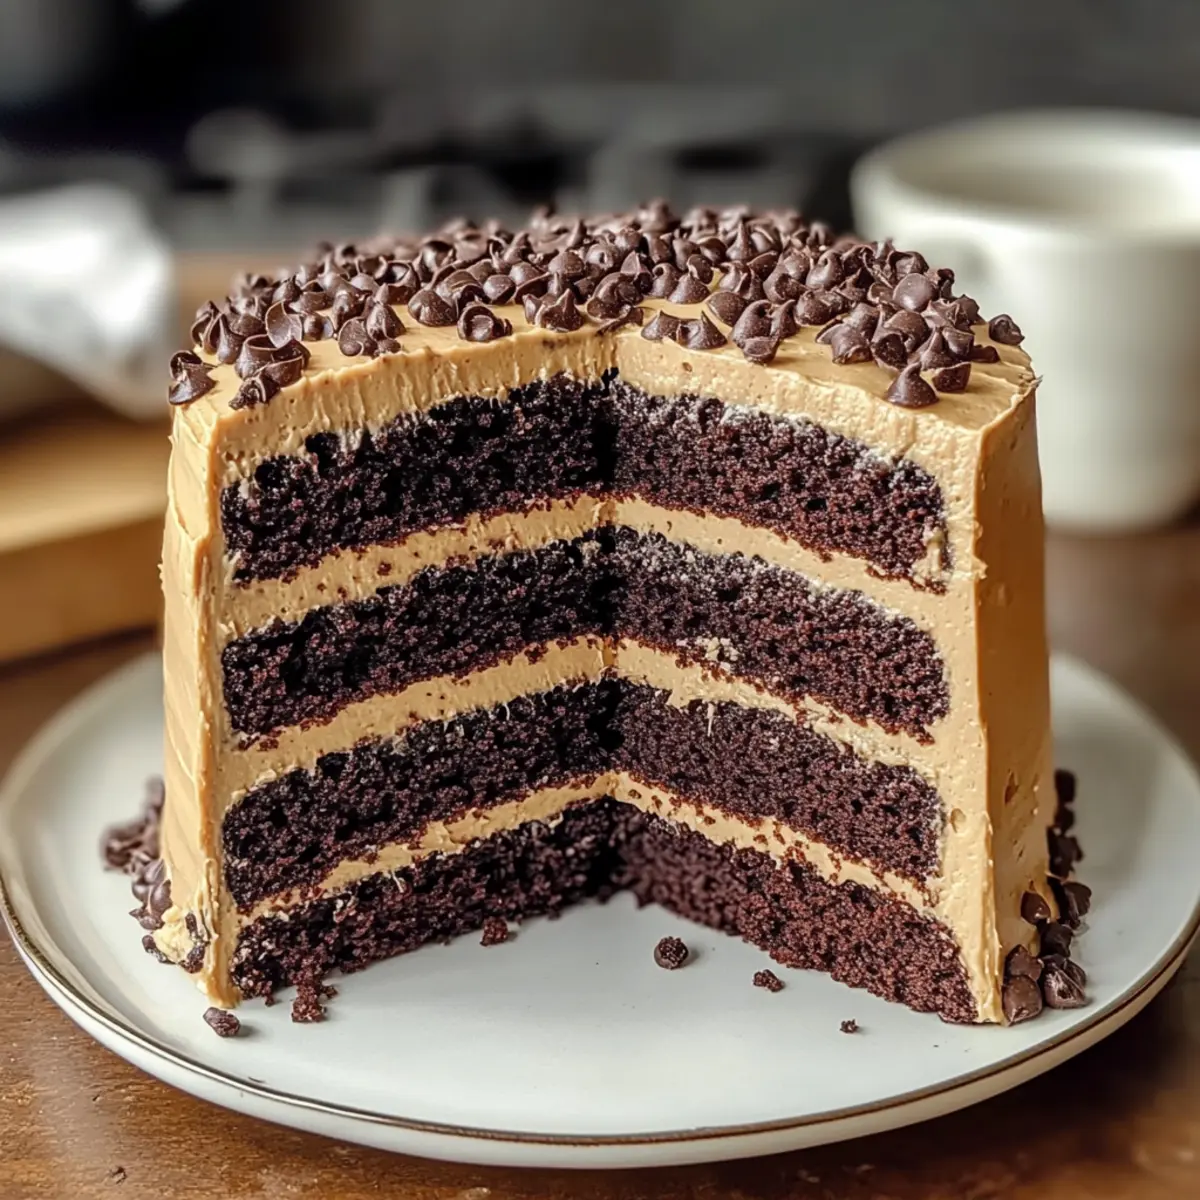
Decadent Coffee Chocolate Cake for Ultimate Indulgence
Ingredients
Equipment
Method
- Preheat your oven to 350°F (175°C) and prepare three round baking pans by greasing and lining with parchment paper.
- In a large mixing bowl, whisk together flour, cornstarch, cocoa powder, baking powder, baking soda, and salt until well combined.
- In another bowl, combine brewed coffee, vegetable oil, sour cream, eggs, and vanilla extract; mix until smooth.
- Gradually add dry ingredients to wet ingredients, folding together gently until just combined.
- Divide batter evenly between prepared pans and bake for about 30 minutes, until a toothpick inserted comes out clean.
- Let cakes cool in pans for 10 minutes, then turn out onto a wire rack to cool completely.
- Beat room-temperature unsalted butter until creamy, then gradually mix in sifted powdered sugar, cooled coffee, and vanilla until fluffy.
- Assemble the cake by layering with buttercream in between and frosting the top and sides.
Leave a Reply