
As I rummaged through my pantry during a late-night cravings crisis, I stumbled upon a heavenly combination: chocolate and peanut butter. This delightful find inspired me to whip up some irresistible Chocolate Peanut Butter Truffles, a no-bake treat that transforms a simple snack into a gourmet experience. With just four ingredients, these truffles are not only incredibly easy to make, but they also serve as the perfect crowd-pleaser for any gathering or a luxurious indulgence for yourself. Each bite offers a creamy peanut butter center encased in a glossy chocolate shell, making these truffles a delightful treat any time. What’s not to love about a dessert that brings joy without hours in the kitchen? Ready to learn how to create these chocolaty bites of joy?
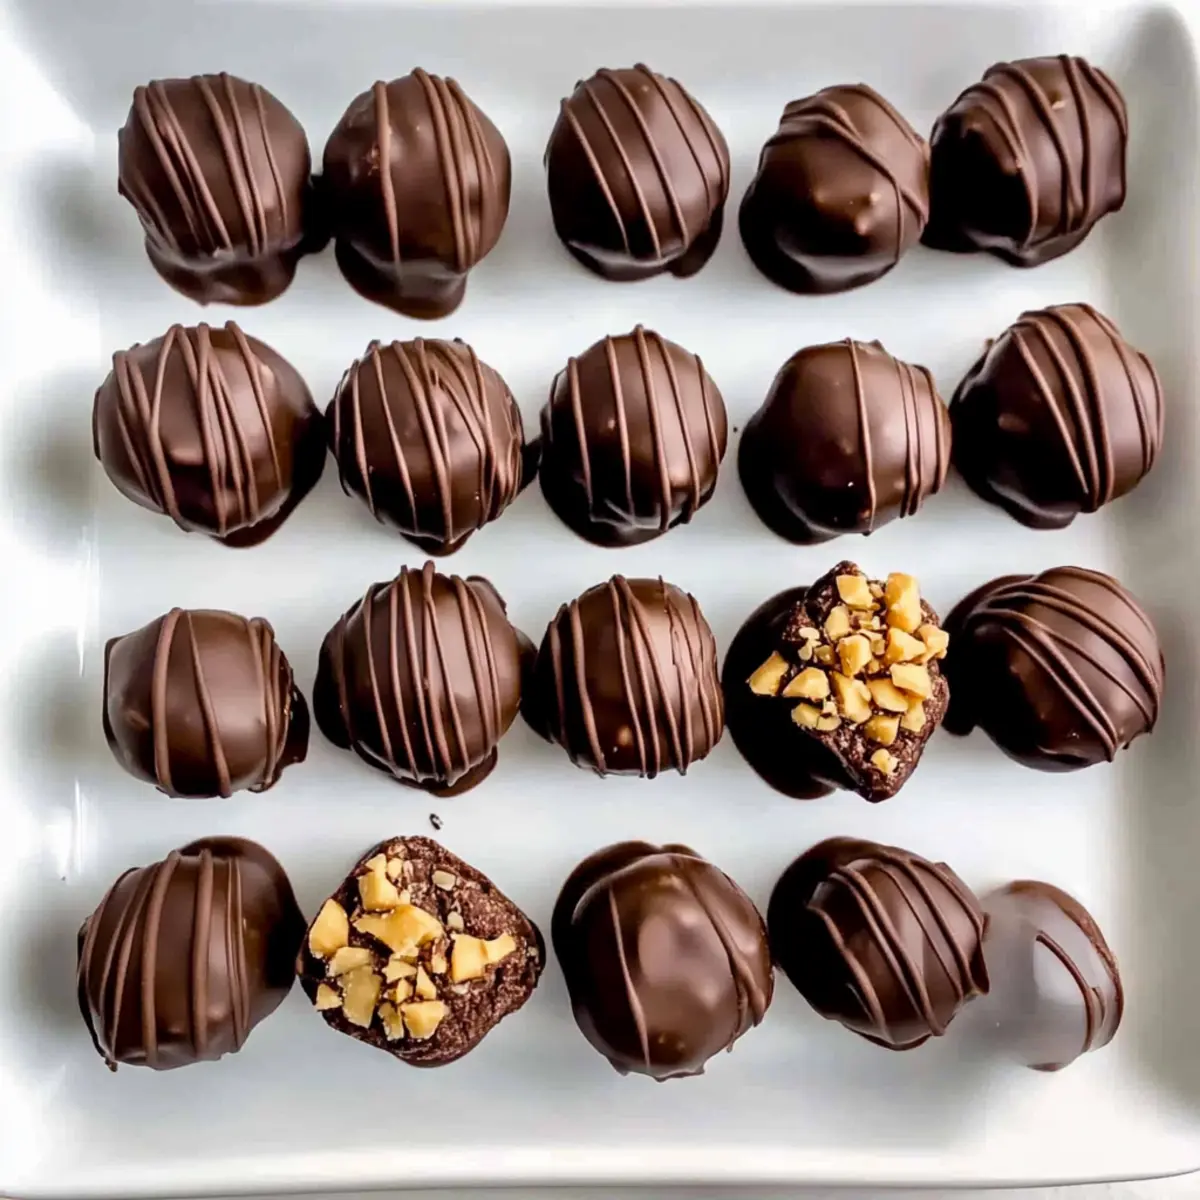
Why are these truffles so irresistible?
Simplicity at its core: With just four pantry staples, crafting these truffles is a breeze, making them perfect for even the most novice cooks. Decadent Flavor: Each truffle features a rich, velvety peanut butter center enveloped in a perfectly smooth chocolate coating, delivering a burst of indulgent taste in every bite. Time-Saving Delight: Being a no-bake recipe, you can whip these up in no time—ideal for spontaneous cravings or last-minute gatherings. Versatile Appeal: Whether served during festive occasions or as a sweet treat for yourself, they are sure to impress everyone. Perfect for sharing or simply enjoying while binge-watching your favorite shows! If you love this combination, don’t miss my other recipes like White Chocolate Peppermint Mousse Cupcakes for more delightful desserts!
Chocolate Peanut Butter Truffles Ingredients
• For those craving a quick and simple treat!
For the Truffle Filling
- Creamy Peanut Butter – Use a brand that spreads smoothly for a delightful texture in your truffles.
- Salted Butter – This enhances the flavor; using it at room temperature helps achieve a perfect blend.
- Powdered Sugar – Essential for sweetness and to help form cohesive balls; sift it if any clumps are present.
For the Chocolate Coating
- Chocolate Melting Wafers – Ensure you choose high-quality wafers for a glossy finish; they eliminate the hassle of tempering chocolate.
Step‑by‑Step Instructions for Chocolate Peanut Butter Truffles
Step 1: Mix Base
In a large mixing bowl, combine 1 cup of creamy peanut butter with ½ cup of softened salted butter. Using a hand mixer or wooden spoon, blend the mixture until it’s perfectly smooth and lump-free, which should take about 2-3 minutes. Aim for a creamy texture that is easily spreadable, indicating your base is ready for the next step.
Step 2: Add Sweetness
Gradually mix in 2 cups of powdered sugar, adding it half a cup at a time to prevent a sugary cloud. Continue to beat the mixture until fully incorporated; this process may take 3-4 minutes. You should achieve a dough-like consistency that holds together well, ensuring it can be easily rolled into truffles.
Step 3: Shape Truffles
Once well mixed, scoop about one tablespoon of the peanut butter mixture using a small cookie scoop or your hands. Roll the mixture into smooth balls and place them on a parchment-lined baking sheet, ensuring they are evenly spaced. This step usually yields about 20-25 truffles, depending on your scoop size.
Step 4: Freeze
Transfer the baking sheet of peanut butter balls to the freezer and let them chill for 30 minutes. This solidifying process will make the truffles easier to coat in chocolate later and should leave them firm to the touch, yet still soft on the inside when they’re ready.
Step 5: Melt Chocolate
While the truffles are chilling, prepare the chocolate coating. In a microwave-safe bowl, add 2 cups of chocolate melting wafers and heat in 30-second intervals, stirring in between, until smooth and glossy – about 1-2 minutes total. Be careful not to overheat, as this can scorch the chocolate.
Step 6: Coat Balls
Once the chocolate is melted, remove the truffles from the freezer in batches. Dip each one into the melted chocolate, ensuring it’s fully coated, then gently shake off any excess chocolate. Place the coated truffles back onto the parchment-lined sheet, setting them up for the final drizzle or decoration.
Step 7: Decorate (optional)
If desired, while the chocolate coating is still wet, sprinkle crushed peanuts or colorful sprinkles over the top of each truffle for added flair and texture. This step adds a delightful visual aspect and elevates your homemade Chocolate Peanut Butter Truffles to the next level of indulgence.
Step 8: Set & Serve
Allow the chocolate coating to harden completely at room temperature or refrigerate for about 15-20 minutes for quicker setting. Once set, your decadent Chocolate Peanut Butter Truffles are ready to be enjoyed. Store any leftover truffles in an airtight container in the refrigerator for up to 7 days, though I doubt they’ll last long!
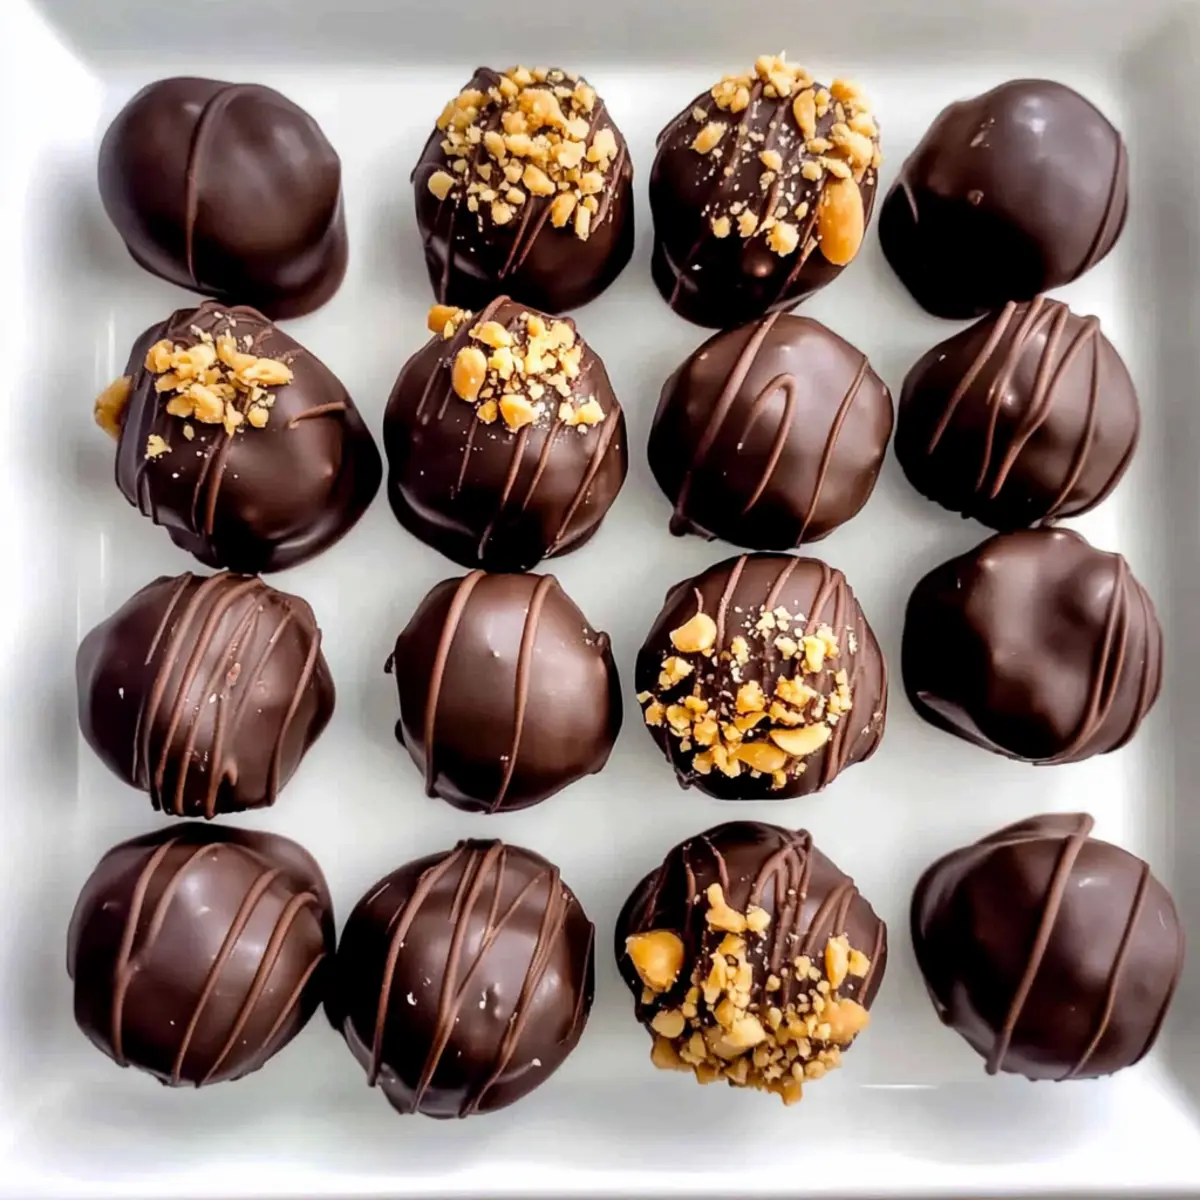
How to Store and Freeze Chocolate Peanut Butter Truffles
Fridge: Keep truffles stored in an airtight container in the refrigerator for up to 7 days to maintain their freshness and prevent them from drying out.
Freezer: For longer storage, freeze truffles in a single layer on a baking sheet until firm, then transfer them to a freezer-safe container. They can last up to 2 months.
Thawing: To enjoy, simply transfer the desired number of truffles to the refrigerator for several hours or let them sit at room temperature for about 30 minutes before serving.
Reheating: There’s no need for reheating; serve chilled directly from the fridge or at room temperature for the best texture of your delicious chocolate peanut butter truffles.
Make Ahead Options
These Chocolate Peanut Butter Truffles are a fantastic option for meal prep enthusiasts looking to save time during busy weeks. You can prepare the peanut butter filling and shape it into balls up to 24 hours in advance—simply refrigerate the uncoated truffles in an airtight container until you’re ready to coat them. When you’re all set to finish, just remove the truffles from the fridge, dip them in melted chocolate, and they’ll still be as delectable as if made fresh! This prep-ahead strategy not only maintains their quality but also ensures you have an indulgent dessert ready to impress, making your life a little sweeter!
Chocolate Peanut Butter Truffles Variations
Feel free to make these delightful truffles your own with these tasty twists and swaps!
- Nut Butter Swap: Try almond or cashew butter for a different flavor profile. Each nut brings its own unique creaminess and taste.
- Dairy-Free Delight: Use coconut oil instead of butter and dairy-free chocolate for a vegan-friendly treat. This option ensures everyone can enjoy them!
- Flavor Boost: Add a teaspoon of vanilla extract to the filling for extra depth of flavor. It’s the little things that can take your truffles to the next level.
- Crunch Factor: Mix in crushed graham crackers or finely chopped nuts into the filling for added texture and a delightful surprise in every bite. It’s a fun twist that elevates the truffles!
- Sweet & Salty: Top your chocolate coating with a sprinkle of flaky sea salt to enhance the rich flavors and create a more balanced sweetness. This combination is sure to please your taste buds!
- Colorful Coating: Consider rolling the truffles in finely chopped nuts, shredded coconut, or colorful sprinkles instead of coating them in chocolate for a fun, festive touch. Perfect for special occasions!
- Spicy Kick: Add a pinch of cayenne or chili powder to the chocolate for a surprising kick that complements the sweetness beautifully. This is for the adventurous souls who enjoy a bit of heat!
- Chocolate Variations: Experiment with different types of chocolate melting wafers—think dark chocolate or even white chocolate for a creative spin. Each will give your truffles a unique taste.
Let your imagination run wild! And if you ever need inspiration, consider pairing these truffles with my White Chocolate Raspberry Cheesecake for a stunning dessert showcase!
What to Serve with Chocolate Peanut Butter Truffles
Indulging in these rich treats is just the beginning; complement them with delightful sides for a complete experience.
- Fresh Berries: The tartness of strawberries or raspberries balances the sweetness, offering a refreshing contrast that enhances the richness of the truffles.
- Vanilla Ice Cream: A scoop of creamy, vanilla ice cream provides a cool, comforting backdrop to the decadent flavor of the truffles, creating a delightful melting moment.
- Coffee or Espresso: The bold flavors of coffee perfectly cut through the richness, creating a balance that makes each truffle feel even more indulgent.
- Chocolate Fondue: Dip fresh fruits or pretzels into smooth melted chocolate alongside your truffles for an interactive and decadent dessert experience. You could also drizzle the leftover melted chocolate over the truffles for extra flair!
- Almond Biscotti: These crunchy treats add a satisfying texture and subtle nutty flavor that pairs beautifully with the creamy filling of the truffles.
- Mint-Infused Water: A refreshing drink like mint water cleanses the palate between bites, making the truffles feel even more decadent and inviting.
- Cheesecake Squares: A slice of rich and creamy cheesecake complements the truffle’s textures while providing a delicious variety of flavors on your dessert platter.
- Decadent Red Wine: Rich, fruity red wine can elevate the chocolate flavor, creating a perfect pairing with the truffles for a sophisticated after-dinner treat.
- Nutty Trail Mix: A side of crunchy, nutty trail mix adds a different texture and flavor profile, enhancing the overall experience while enjoying the truffles.
Expert Tips for Chocolate Peanut Butter Truffles
- Room Temperature Matters: Ensure ingredients like peanut butter and butter are at room temperature for smoother mixing. Cold ingredients can create a lumpy filling.
- Consistent Sizing: Use a small cookie scoop to form uniform balls. This ensures even coating and a perfect bite every time with your chocolate peanut butter truffles.
- Avoid Crumbly Mixture: If your mixture feels crumbly after adding powdered sugar, keep mixing until it holds together nicely. This helps in shaping perfect truffles.
- Perfect Chocolate Coating: Be cautious not to overheat chocolate when melting. Stir every 30 seconds to achieve a smooth consistency without scorching.
- Decorate Wisely: Add toppings like crushed peanuts or sprinkles while the chocolate is still wet to create a beautiful and tempting finish on each truffle.
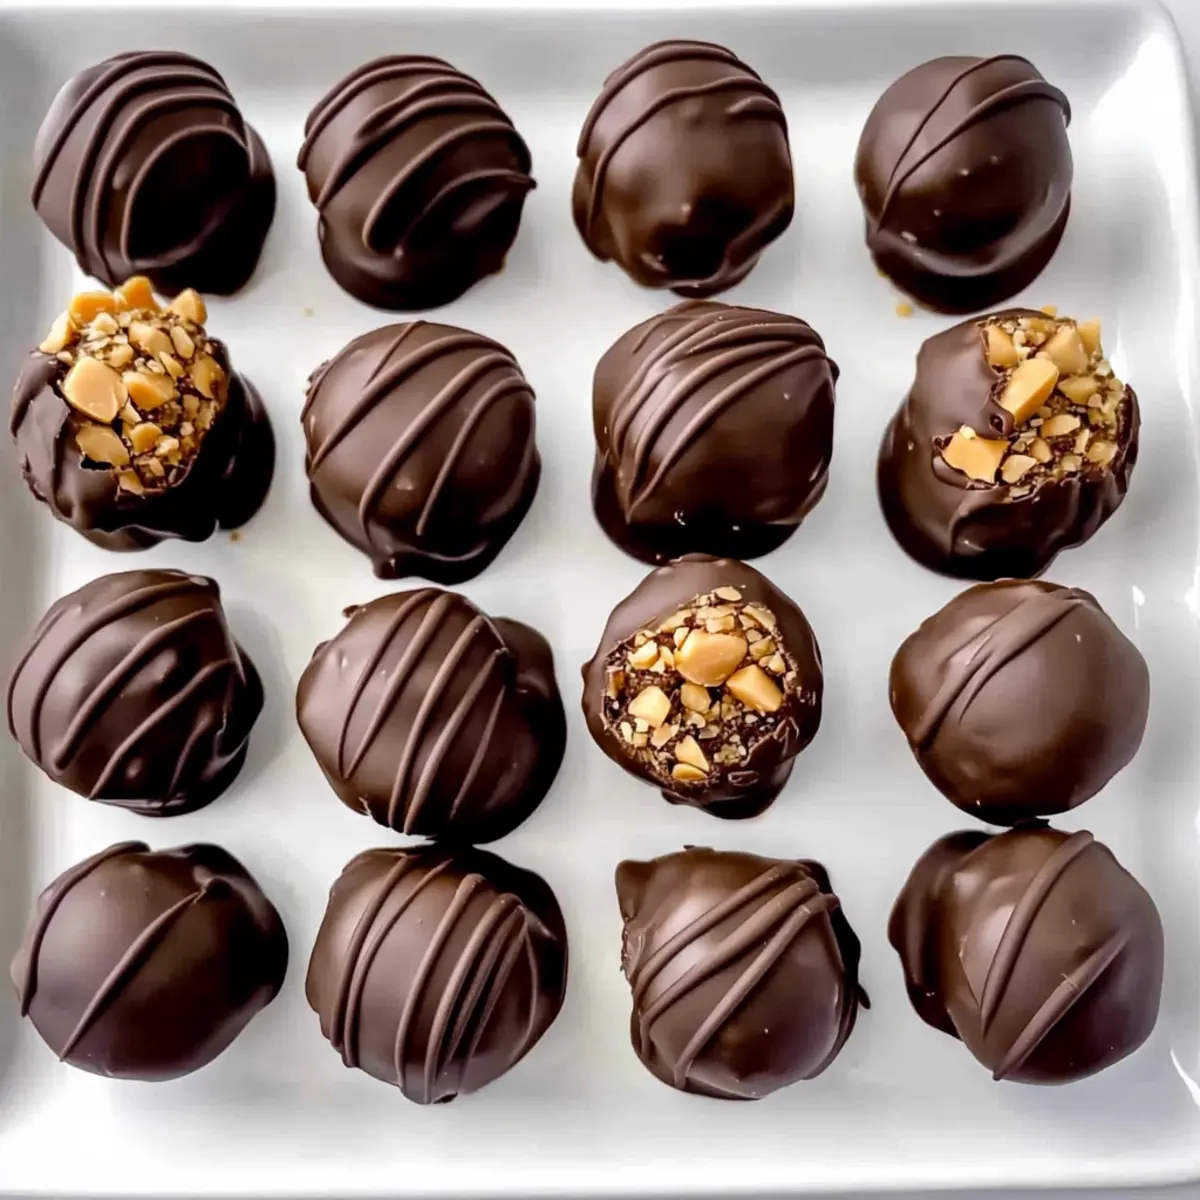
Chocolate Peanut Butter Truffles Recipe FAQs
What type of peanut butter is best for these truffles?
I recommend using a creamy, smooth peanut butter without any added sugars or oils for the best texture. Brands that are more natural tend to work best in creating that melt-in-your-mouth experience. Room temperature peanut butter will mix more easily, giving you a lump-free filling.
How do I store leftover truffles?
To keep your truffles fresh, store them in an airtight container in the refrigerator for up to 7 days. Ensure they are completely cooled and set before sealing to prevent moisture build-up. For quick access, you might want to place a piece of parchment paper between layers to keep them from sticking.
Can I freeze Chocolate Peanut Butter Truffles?
Absolutely! For freezing, place the shaped truffles in a single layer on a baking sheet and freeze until firm, which usually takes about 1-2 hours. Once solid, transfer them to a freezer-safe container, separating layers with parchment paper, and they can last up to 2 months.
What should I do if the truffle mixture seems too crumbly?
If your mixture is crumbly after adding the powdered sugar, don’t fret! Just keep mixing, either with a hand mixer or by hand, until it becomes cohesive and moldable. You might find it helpful to warm your hands a bit before rolling to help the mixture stick together.
Are there any dietary considerations for these truffles?
Yes! Always check labels for allergies, especially if you’re serving to others. These truffles contain peanuts and dairy. For nut allergies, you can substitute with sunflower seed butter. If you’re avoiding gluten, rest assured that this recipe is inherently gluten-free as long as your chocolate melting wafers are certified gluten-free. Remember to always verify labels to ensure safety for all dietary needs!
Can I use regular chocolate instead of melting wafers?
While you can use regular chocolate, I wouldn’t recommend it without proper tempering, as it can result in a dull finish and affect the truffle’s texture. Melting wafers provide a smooth, glossy coating that’s easier to work with and ensures that your truffles look as great as they taste!
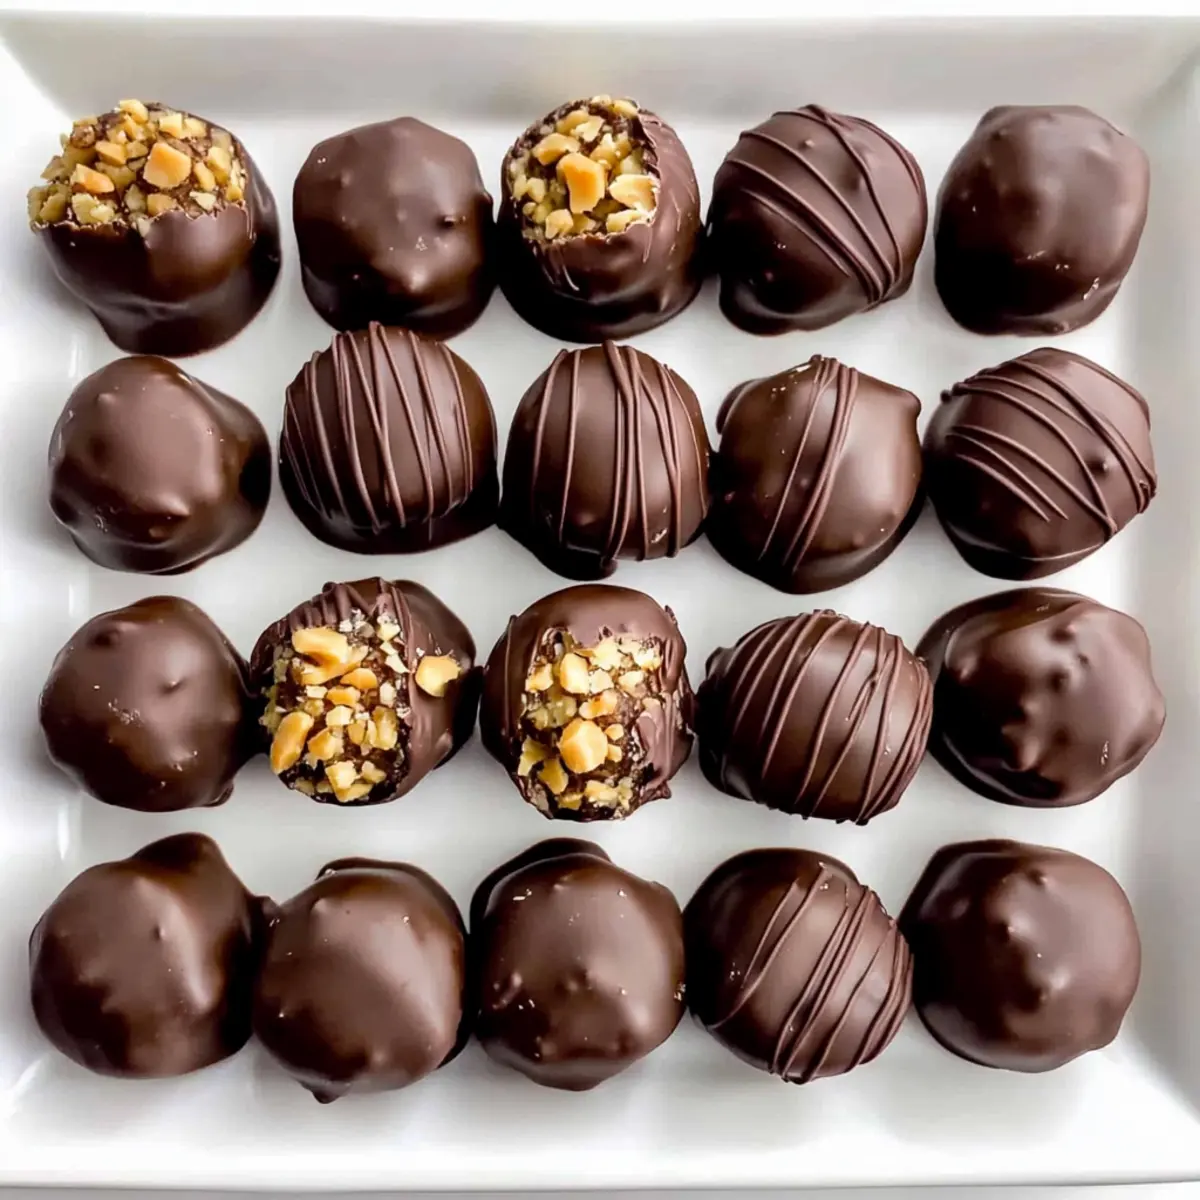
Melt-in-Your-Mouth Chocolate Peanut Butter Truffles Recipe
Ingredients
Equipment
Method
- In a large mixing bowl, combine 1 cup of creamy peanut butter with ½ cup of softened salted butter. Blend until smooth and lump-free.
- Gradually mix in 2 cups of powdered sugar, adding it half a cup at a time. Continue to beat until fully incorporated, achieving a dough-like consistency.
- Scoop about one tablespoon of the peanut butter mixture and roll it into a ball. Place on a parchment-lined baking sheet.
- Transfer the baking sheet to the freezer and let truffles chill for 30 minutes.
- In a microwave-safe bowl, add 2 cups of chocolate melting wafers and heat in 30-second intervals until smooth and glossy.
- Dip each truffle into the melted chocolate, ensuring it's fully coated. Shake off excess chocolate and place back on the parchment sheet.
- If desired, sprinkle crushed peanuts or colorful sprinkles on top while the coating is still wet.
- Allow the chocolate coating to harden completely at room temperature or refrigerate for 15-20 minutes before serving.
Leave a Reply