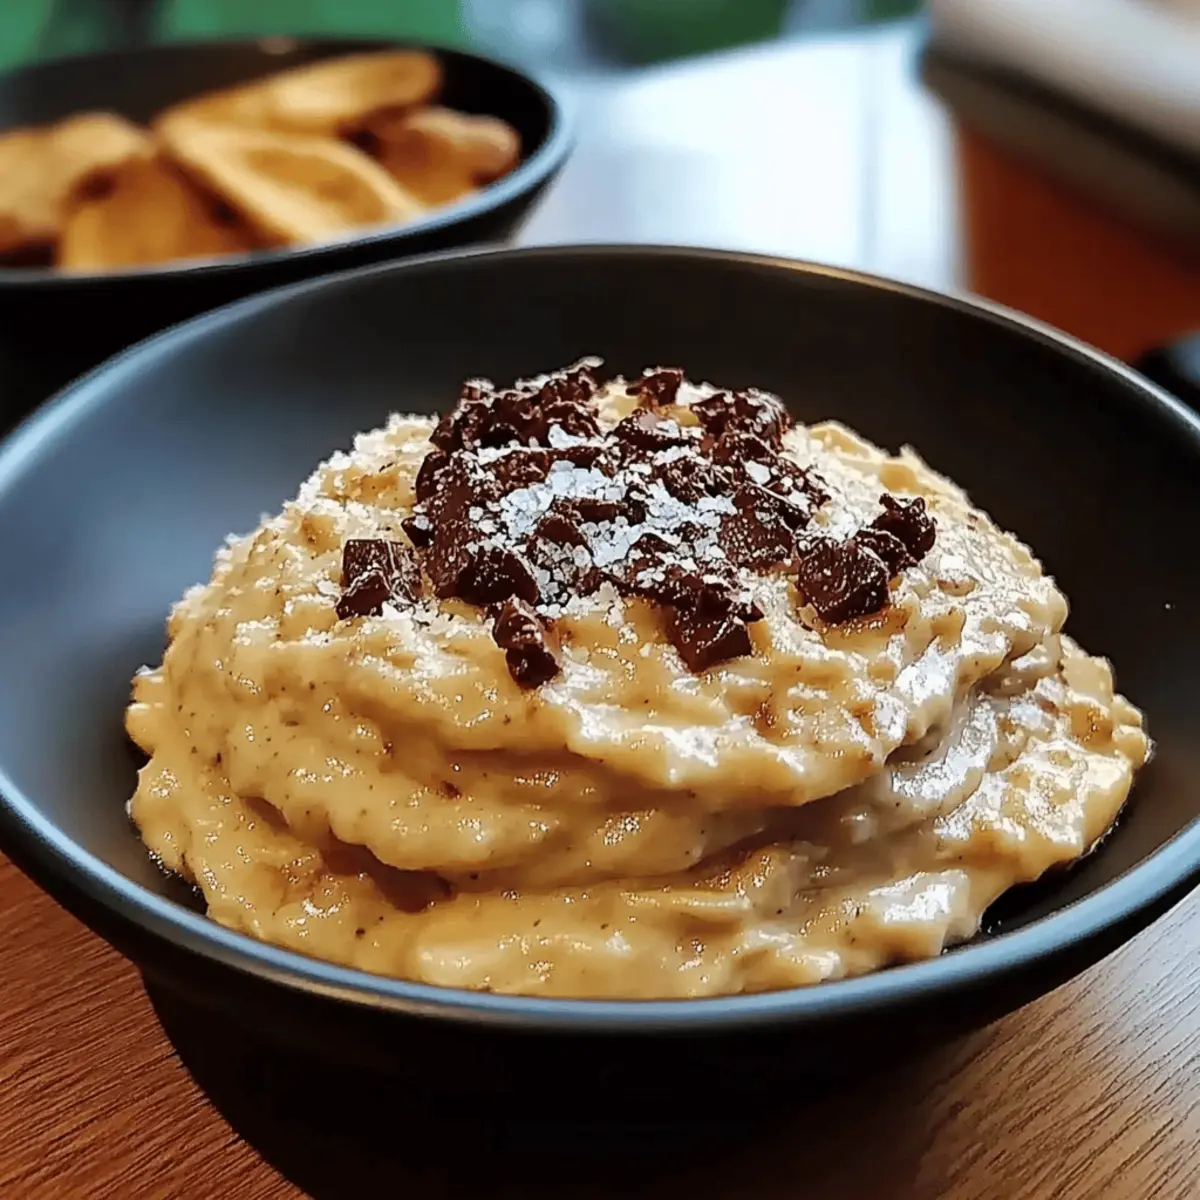
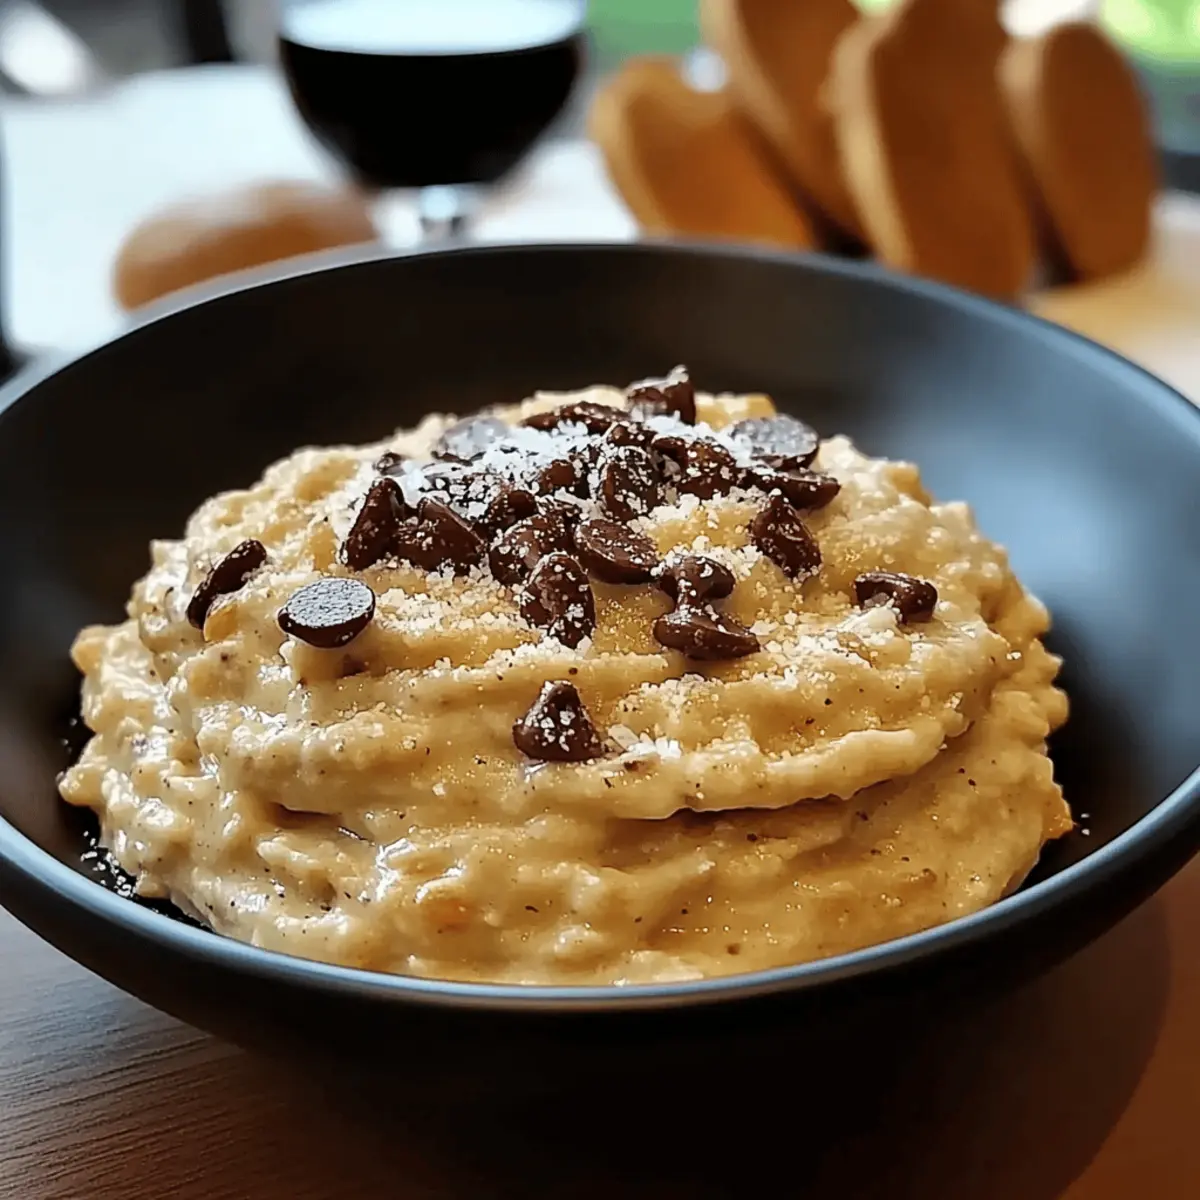
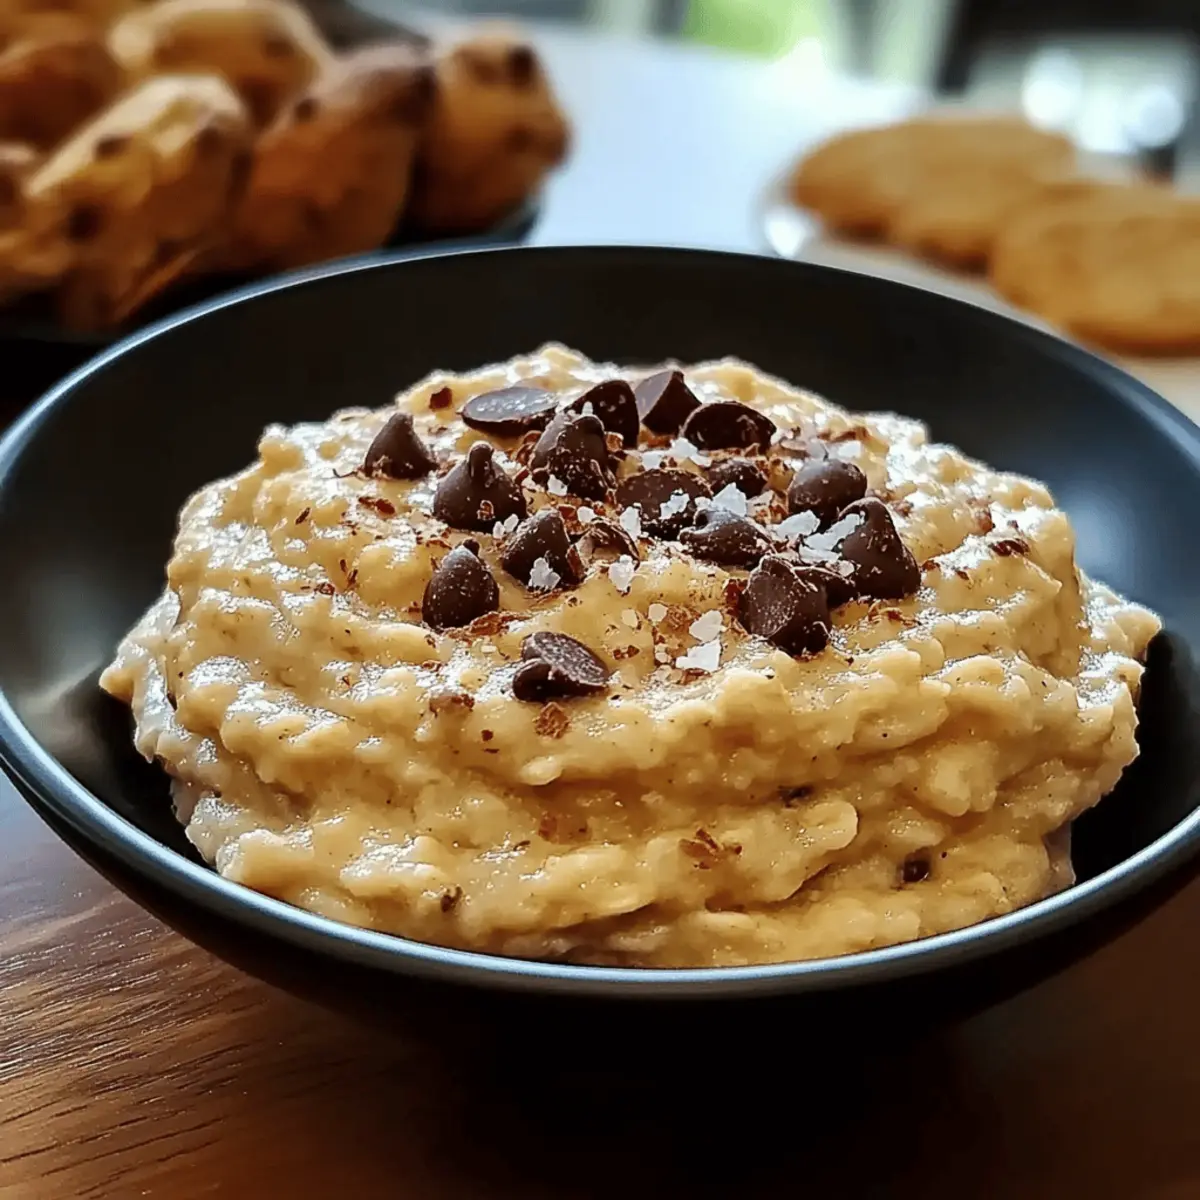
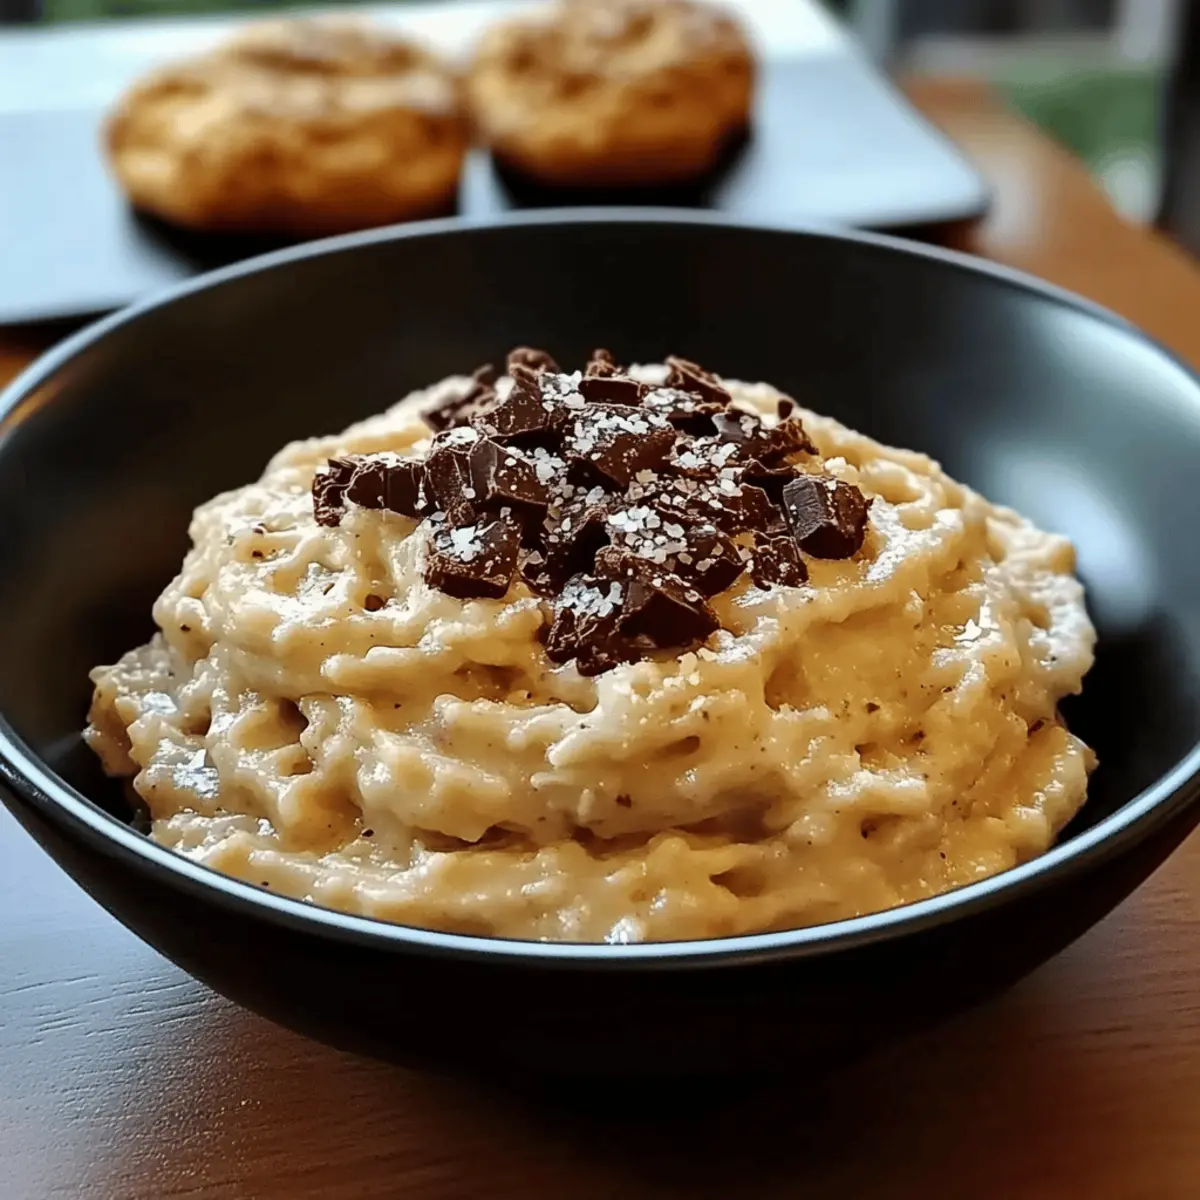
There’s something incredibly satisfying about whipping up a treat that requires zero baking—trust me, it’s a game changer! My Easy No-Bake Chocolate Oatmeal Cookies are the perfect solution for those busy days when you crave something sweet without turning on the oven. In just under 15 minutes, you can enjoy a delightful blend of chewy oats and rich chocolate, all while sticking to a gluten-free lifestyle. Not only are these cookies quick to make, but they’re also a wholesome snack option packed with energy and goodness. Just imagine biting into one, savoring the rich flavor and satisfying texture, all without guilt. Ready to discover a foolproof recipe that you can easily customize with your favorite add-ins? Let’s get started!

Why Choose No-Bake Cookies?
Simplicity Guaranteed: With just a few simple steps, these cookies come together in under 15 minutes—perfect for busy days!
Decadent Chocolate Bliss: The luscious chocolate flavor combined with chewy oats creates a treat that satisfies even the strongest sweet tooth.
Endless Customization: Mix in your favorite nuts or dried fruits, or swap out peanut butter for a nut-free alternative—adapt this recipe to your taste!
Wholesome Goodness: Packed with fiber and protein, these cookies make for an energizing snack without the guilt, just like my popular Banana Bread.
Ideal for Everyone: Gluten-free, easy to make, and perfect for all dietary preferences, these cookies are sure to please family and friends alike.
No-Bake Chocolate Oatmeal Cookies Ingredients
For the Cookies
• Rolled Oats – Provides structure and chewiness; opt for gluten-free oats if needed.
• Natural Peanut Butter – Acts as a binder while enriching flavor; try almond or sunflower seed butter for a nut-free twist.
• Cocoa Powder – Adds rich chocolate flavor; Dutch-processed cocoa offers a smoother taste.
• Maple Syrup – Sweetens naturally; agave syrup or honey are great alternatives.
• Vanilla Extract – Enhances overall flavor; feel free to omit if you don’t have it.
• Chocolate Chips – Brings melty goodness; use dairy-free chocolate chips for vegan options.
Optional Add-Ins
• Chopped Nuts – Incorporate walnuts or pecans for an added crunch.
• Dried Fruits – Replace chocolate chips with raisins or cranberries for a fruity kick.
• Sea Salt – A sprinkle elevates flavor and brings balance to sweetness.
Enjoy whipping up these delectable no-bake chocolate oatmeal cookies—your taste buds will thank you!
Step‑by‑Step Instructions for Easy No-Bake Chocolate Oatmeal Cookies
Step 1: Combine Dry Ingredients
In a large mixing bowl, start by adding 2 cups of rolled oats, ½ cup of cocoa powder, and ½ cup of chocolate chips. Use a whisk to combine these dry ingredients thoroughly, ensuring there are no clumps. The oats should give a hearty texture, while the cocoa will impart that luscious chocolate color.
Step 2: Mix Wet Ingredients
In a separate bowl, combine ½ cup of natural peanut butter, ½ cup of maple syrup, and 1 teaspoon of vanilla extract. Use a spatula to mix these ingredients until you achieve a smooth, creamy consistency. This mixture acts as the binding agent for the chocolate oatmeal cookies, so make sure it is well-combined
Step 3: Combine Mixtures
Pour the wet mixture into the dry ingredients bowl. Gently fold the ingredients together using a spatula until they are fully integrated and no dry oats remain visible. The dough should be thick and sticky, resembling a rich cookie dough. Make sure to incorporate all the dry ingredients to achieve that perfect cookie texture.
Step 4: Form Cookie Mounds
Using a tablespoon or a small cookie scoop, drop rounded mounds of the cookie dough onto a baking sheet lined with parchment paper. Ensure they are spaced at least 2 inches apart, as they may spread slightly. This process gives you the classic shape of no-bake chocolate oatmeal cookies and makes for an easy cleanup.
Step 5: Chill to Set
Place the tray of cookie mounds into the refrigerator and chill for about 30 minutes. This allows the cookies to firm up and helps them hold their shape. You’ll know they’re ready once they are set but still soft in the center, creating that perfect chewy texture.
Step 6: Serve and Store
Once the cookies have chilled and set, serve them straight from the refrigerator for a cool treat or store them in an airtight container. Enjoy your Easy No-Bake Chocolate Oatmeal Cookies for a quick snack or dessert any time! They can be kept in the fridge for up to a week for a delicious grab-and-go option.

No-Bake Chocolate Oatmeal Cookies Variations
Feel free to let your creativity shine by customizing these delightful cookies with your favorite ingredients!
- Fruity Twist: Swap chocolate chips for dried fruits like raisins or cranberries for a chewy, fruity burst in every bite.
- Nutty Delight: Add chopped nuts such as walnuts or pecans to introduce crunch and additional flavor. The nuts add richness while balancing the sweetness of the chocolate.
- Protein Boost: Mix in a scoop of your favorite protein powder to create an energizing snack. This makes these cookies even more filling and nutrient-packed!
- Spicy Kick: Incorporate a sprinkle of cinnamon or a pinch of cayenne pepper for an unexpected twist. It will elevate the flavors and make each bite interesting!
- Coconut Crunch: Fold in shredded coconut for a tropical touch. The coconut adds texture and a hint of sweetness that complements the chocolate perfectly.
- Sugar-Free Option: Replace maple syrup with a sugar-free sweetener like stevia or monk fruit to enjoy a guilt-free version. This maintains the sweetness while catering to low-sugar diets.
- Low-Carb Choice: For a low-carb alternative, swap rolled oats with almond flour, giving a new twist to this classic treat without sacrificing flavor.
- Dessert Parfait: Layer these cookies with yogurt and fresh fruit for a delicious parfait. This offers a fun way to enjoy them beyond snacking!
Feel inspired? You can also try adding some of these variations to my famous Banana Bread recipe to discover even more wonderful combinations!
What to Serve with Easy No-Bake Chocolate Oatmeal Cookies?
These cookies are a delightful treat on their own, yet pairing them with the right accompaniments can elevate your snack game to new heights.
-
Almond Milk: The creamy richness of almond milk contrasts beautifully with the chewy texture of the cookies, creating a balanced flavor profile.
-
Fresh Berries: Juicy strawberries or raspberries add a burst of freshness that cuts through the sweetness, making each bite more refreshing.
-
Ice Cream: A scoop of vanilla or chocolate ice cream makes for an indulgent dessert, creating a charming combination of creamy and chewy textures.
-
Coffee or Espresso: The warmth and slight bitterness of coffee complement the rich chocolate, enhancing, rather than overpowering, the cookie’s flavors.
-
Chopped Nuts: Sprinkle some crunchy walnuts or pecans on top for an extra crunch and nutty flavor that pairs perfectly with the chewy oats.
-
Caramel Sauce: Drizzling warm caramel over the top creates a decadent contrast, enhancing the sweetness without overwhelming the chocolatey goodness.
-
Peanut Butter Dip: Serve a side of creamy peanut butter for a delightful, rich experience that plays off the cookie’s ingredients beautifully.
-
** Coconut Flakes:** Toasted coconut adds a tropical flair and a chewy texture, enhancing the cookies while adding an enticing aroma.
-
Hot Chocolate: For a cozy treat, enjoy these cookies with a cup of hot chocolate; the two chocolatey treats together will satisfy any sweet tooth.
Make Ahead Options
These Easy No-Bake Chocolate Oatmeal Cookies are perfect for meal prep enthusiasts! You can prepare the cookie dough up to 24 hours in advance by following the instructions through Step 3. Simply cover the mixing bowl with plastic wrap and store it in the refrigerator. The oats will stay fresh, and the flavors will meld beautifully. When you’re ready to enjoy these cookies, simply scoop out the dough and drop rounded mounds onto parchment paper. Chill for about 30 minutes to set the cookies before serving. This way, you’ll have delicious, homemade treats with minimal effort on those busy weeknights!
How to Store and Freeze No-Bake Chocolate Oatmeal Cookies
Fridge: Store these cookies in an airtight container for up to a week; they remain delightfully chewy and satisfying, perfect for snacking anytime!
Freezer: For longer storage, freeze the cookies in a single layer on a baking sheet. Once frozen, transfer them to a freezer-safe bag; they’ll keep for up to 3 months.
Thawing: When ready to enjoy, simply thaw at room temperature for a bit or pop them in the fridge overnight—no need for any fuss!
Reheating: If you prefer them a little soft, place them in the microwave for about 10-15 seconds. Remember, these no-bake chocolate oatmeal cookies are best enjoyed chilled!
Expert Tips for No-Bake Chocolate Oatmeal Cookies
-
Get Creamy Peanut Butter: Ensure you use creamy peanut butter for better binding, as chunky or dry varieties may lead to crumbly cookies.
-
Avoid Over-Mixing: Gently fold the ingredients together. Over-mixing can lead to tough cookies, detracting from the ideal chewy texture.
-
Adjust Cookie Size: If you prefer larger cookies, keep in mind they may require additional chilling time—try doubling the recipe for a crowd.
-
Chill Thoroughly: Allow the cookies to chill for at least 30 minutes. This helps them set properly, ensuring they hold their shape perfectly when served.
-
Explore Add-Ins: Don’t be afraid to get creative! Swap chocolate chips with nuts or dried fruits while keeping the focus on the easy no-bake aspect of this recipe.

No-Bake Chocolate Oatmeal Cookies Recipe FAQs
How do I choose the right oats for this recipe?
For the best results, opt for rolled oats—they give the cookies their structure and chewy texture. If you need a gluten-free option, make sure to select oats labeled as gluten-free to avoid cross-contamination.
How long can I store no-bake chocolate oatmeal cookies?
These cookies can be stored in an airtight container in the refrigerator for up to a week. They maintain their chewy texture and delicious flavor, making them a perfect grab-and-go snack!
Can I freeze the cookies for later?
Absolutely! To freeze, lay the cookies in a single layer on a baking sheet and place them in the freezer for about 1 hour until firm. Then transfer them to a freezer-safe bag or container, where they can be stored for up to 3 months. Just remember to thaw them in the fridge overnight or at room temperature before enjoying!
What if my cookies are too crumbly?
If you find your cookies are turning out crumbly, it might be due to using dry peanut butter or not enough binding ingredients. Make sure to use creamy peanut butter and be mindful of the ratios. You can also gently warm the peanut butter slightly before mixing it into the dough, as this will make it easier to combine and help with the binding.
Are these cookies safe for kids with nut allergies?
Yes, if you swap out the peanut butter for sunflower seed butter or almond butter, these cookies can be made nut-free. Always double-check with the allergy guidelines of your household to ensure they are safe for your little ones!
Can I modify the sweetness of the cookies?
Of course! If you prefer a less sweet cookie, simply reduce the amount of maple syrup. You might trim it down by a couple of tablespoons and taste the mixture before chilling, adjusting as necessary to suit your own palate!

Creamy Bacon Carbonara Pasta in Just 30 Minutes
Ingredients
Equipment
Method
- Combine dry ingredients in a large mixing bowl, whisking together rolled oats, cocoa powder, and chocolate chips.
- In a separate bowl, mix wet ingredients: natural peanut butter, maple syrup, and vanilla extract until creamy.
- Pour the wet mixture into the dry ingredients and fold until fully integrated.
- Drop rounded mounds of dough onto a baking sheet lined with parchment paper, spaced at least 2 inches apart.
- Chill the cookie mounds in the refrigerator for about 30 minutes until set.
- Serve the cookies straight from the refrigerator or store in an airtight container.

Leave a Reply