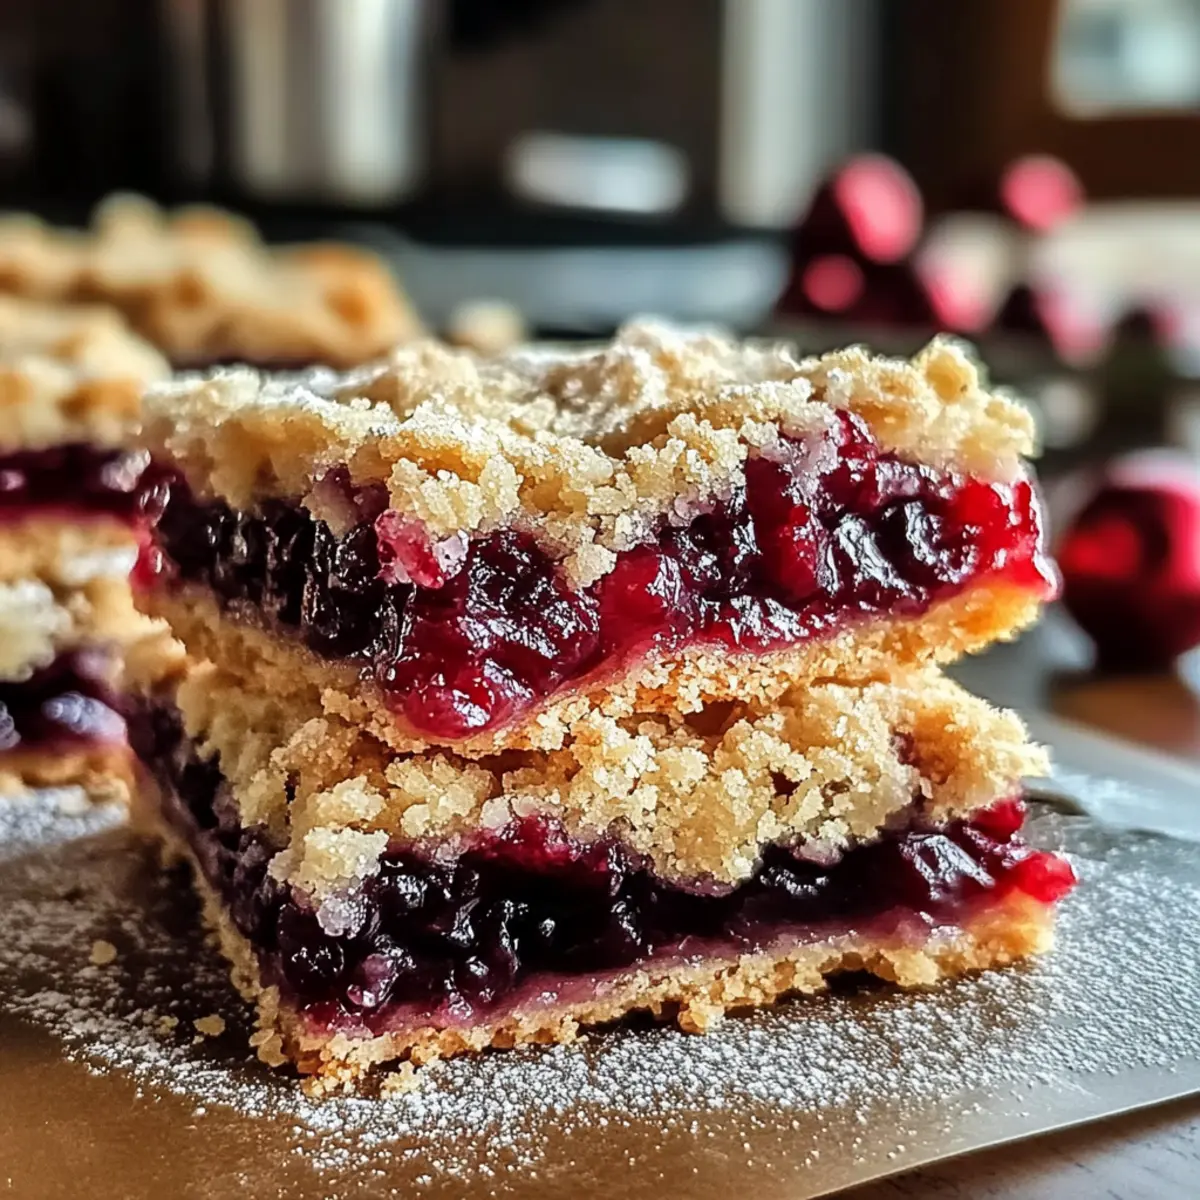
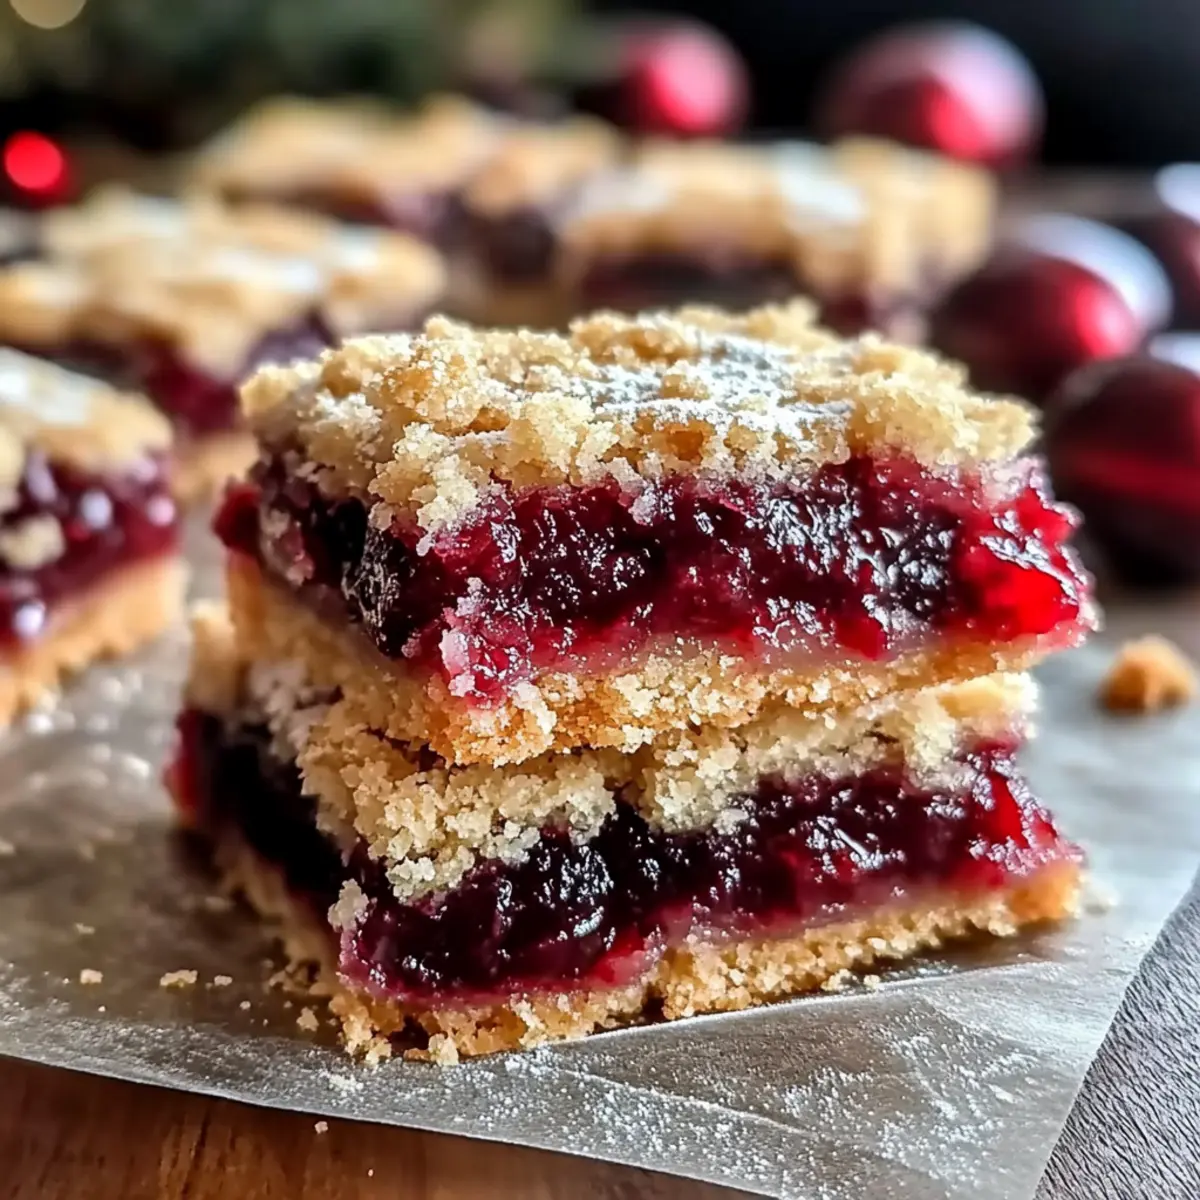
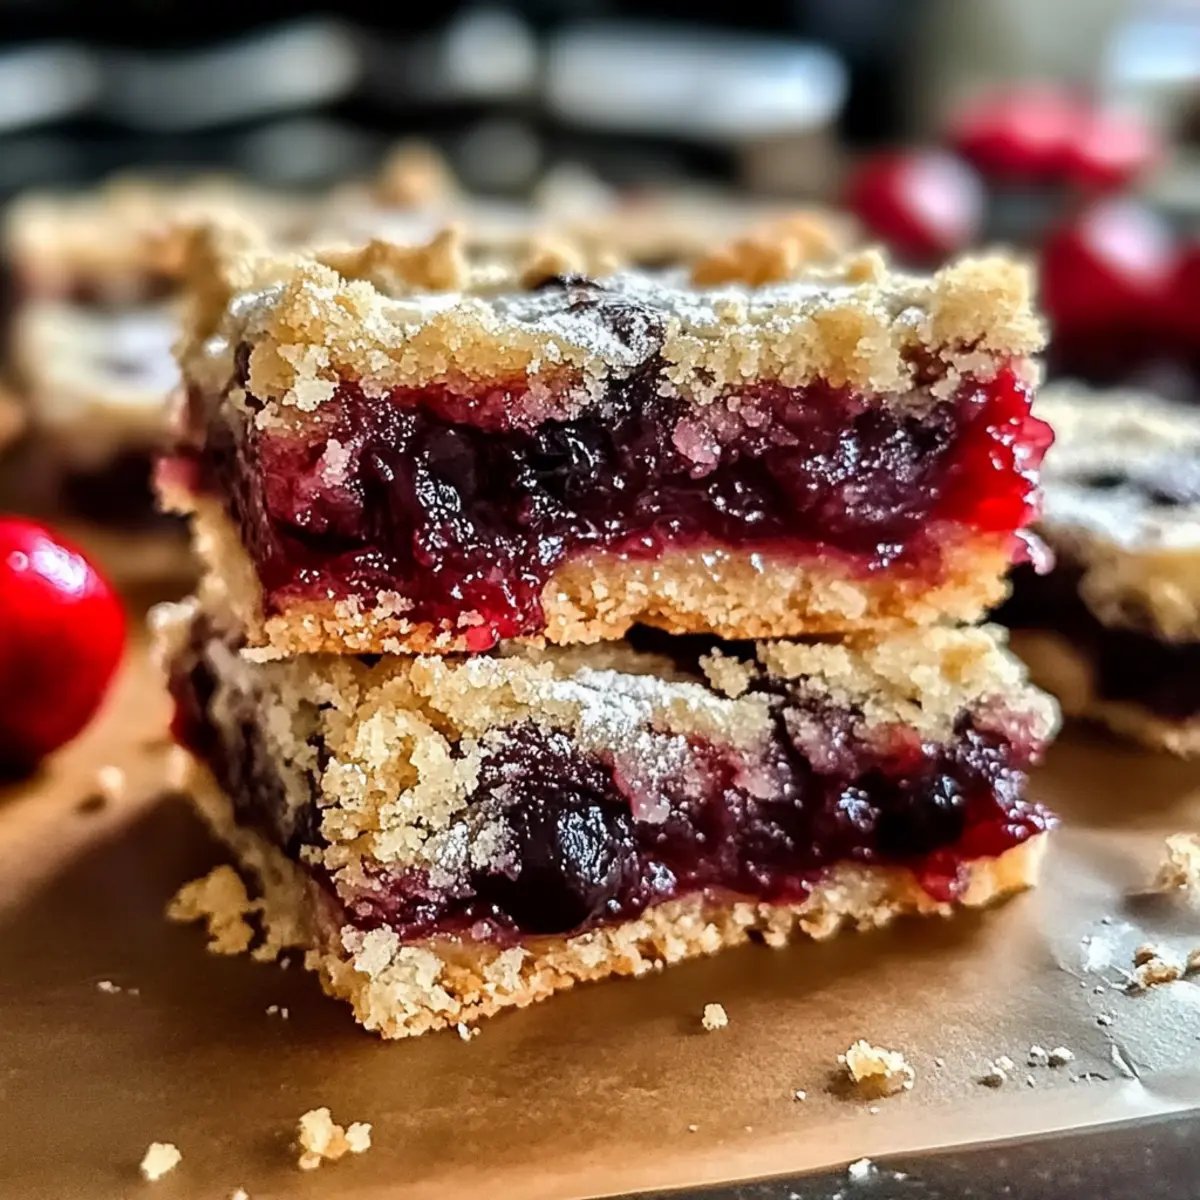
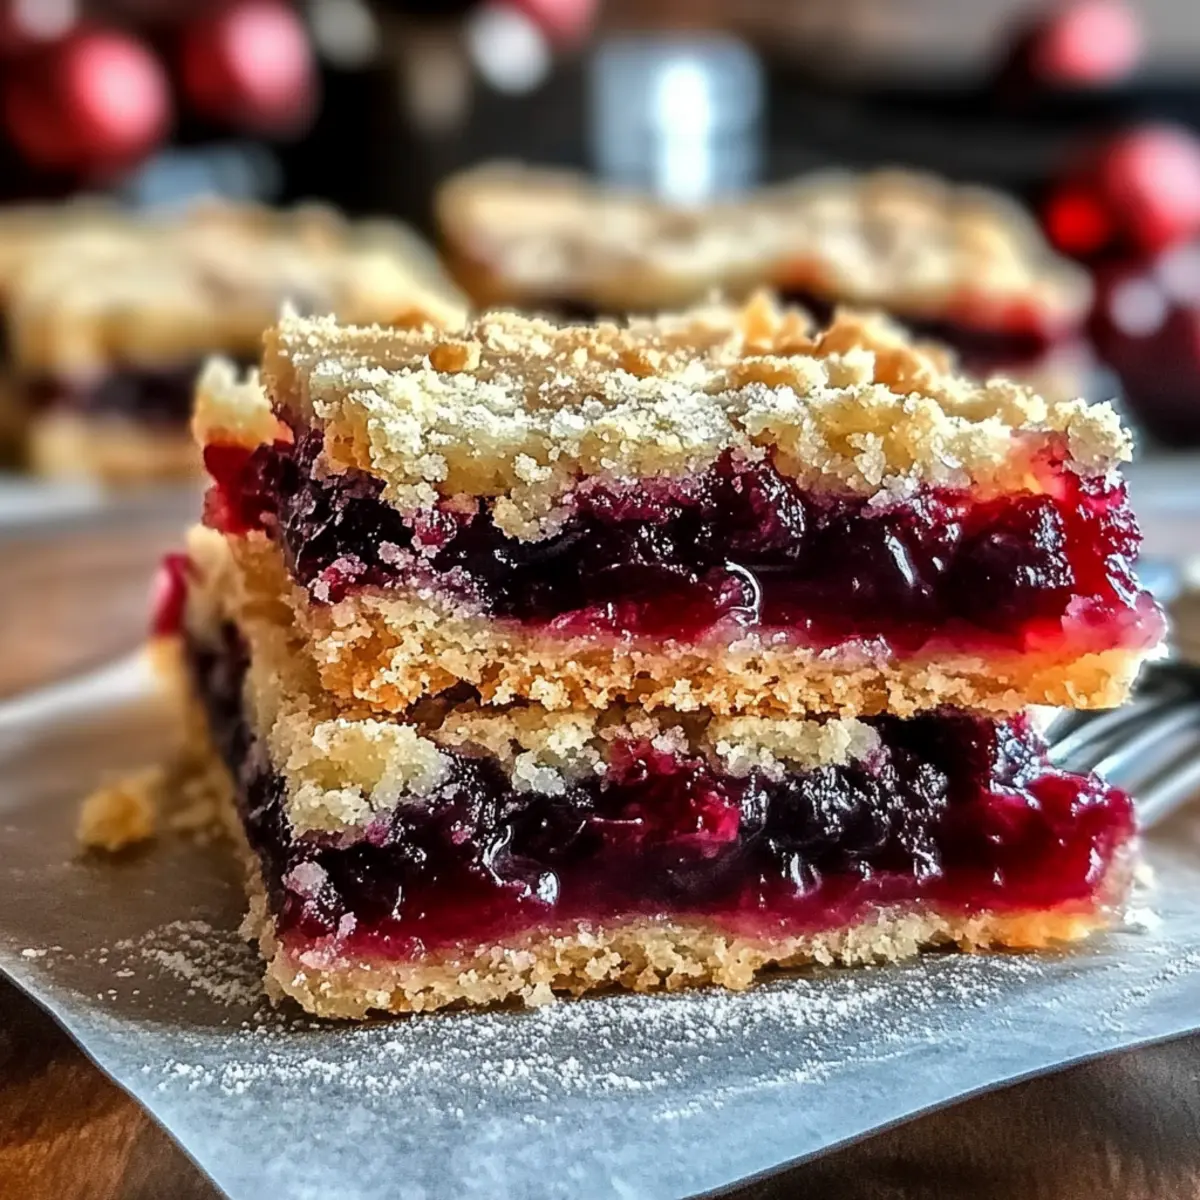
The sound of the oven timer chiming brings back memories of laughter-filled holiday gatherings, where every bite of dessert seems to tell a story. These Easy Festive Christmas Cherry Bars invite you into that warm and nostalgic world, effortlessly combining sweet and tart flavors within a tender, buttery base. What I love most about this recipe is its accessibility; whether you opt for fresh or frozen cherries, it’s a quick win that delights both novice and seasoned bakers alike. Since they are also easily adaptable to gluten-free diets, everyone can savor this festive treat around the table. Imagine these vibrant bars gracing your dessert spread, begging to be devoured alongside warm mugs of cocoa. Are you ready to create some delicious memories this holiday season?
Why Are Christmas Cherry Bars a Must-Make?
Easily Adaptable: This recipe is incredibly flexible, allowing you to use fresh or frozen cherries, and even offers gluten-free options so everyone can indulge.
Quick and Simple: With straightforward steps, you can whip these up in no time—perfect for busy holiday schedules!
Deliciously Festive: The vibrant colors and sweet-tart cherry filling make these bars a striking addition to any dessert table.
Impress Your Guests: Just like my Cheesy Christmas Tree or Christmas Deviled Eggs, these bars are sure to be a crowd favorite!
Irresistible Texture: The tender, shortbread-like base paired with a luscious cherry topping creates a comforting and satisfying dessert experience.
Be prepared for compliments as this sweet treat shines during your holiday festivities—everyone will be reaching for seconds!
Christmas Cherry Bars Ingredients
• Get ready to bake this festive delight!
For the Base
- Butter – Provides richness and tenderness to the base; unsalted margarine can substitute for dairy-free options.
- Granulated Sugar – Adds sweetness and ensures a tender crust; try coconut sugar for a lower glycemic option.
- All-Purpose Flour – Creates the structure for the bars; use a gluten-free all-purpose baking blend for a gluten-free adaptation.
- Salt – Enhances flavor; no substitutions necessary.
For the Cherry Filling
- Canned Cherry Pie Filling – Delivers just the right amount of sweetness and tartness; for a homemade touch, use fresh or frozen cherries cooked with sugar and cornstarch.
For the Glaze (Optional)
- Powdered Sugar – Adds sweetness for the optional glaze; you can use a sugar-free powdered sugar alternative for a healthier twist.
With these simple ingredients on hand, you’re all set to create delicious Christmas Cherry Bars that will bring joy to your festive gatherings!
Step‑by‑Step Instructions for Christmas Cherry Bars
Step 1: Preheat the Oven
Begin by preheating your oven to 350°F (175°C). This temperature is ideal for creating a golden crust on your Christmas Cherry Bars. While the oven warms up, gather your ingredients and baking supplies, including a 9×9-inch square baking dish, and get ready to start crafting your sweet treat.
Step 2: Prepare the Baking Dish
Grease the baking dish with butter or cooking spray, and then line the bottom with parchment paper to ensure easy removal of the bars. This step will help your Christmas Cherry Bars lift out without sticking, making serving easier and cleaner once they’re baked and cooled.
Step 3: Blend the Ingredients
In a large mixing bowl, cream together the softened butter and granulated sugar until the mixture becomes light and fluffy, which should take about 3-5 minutes. Then, gradually add the all-purpose flour and salt, mixing until just combined to form a soft dough. Be careful not to overmix, to maintain the tender texture of the base.
Step 4: Form the Base
Take half of the dough and evenly press it into the bottom of your prepared baking dish. Use your fingers or the back of a measuring cup for an even layer. The base should sit snugly, providing a sturdy foundation for the vibrant cherry filling that will add a burst of flavor to your Christmas Cherry Bars.
Step 5: Add the Cherry Filling
Spread the canned cherry pie filling evenly over the pressed dough, ensuring you leave a small border at the edges to avoid overflowing during baking. This layer of sweet-tart cherries will soak into the base as it bakes, infusing the bars with irresistible flavor and moisture.
Step 6: Top with Dough Crumbles
Crumble the remaining half of the dough over the cherry filling, creating an uneven layer that allows the cherries to peek through as they bake. Make sure to distribute the crumbles evenly across the filling. This topping will bake into a deliciously golden crust, complementing the rich cherry flavor in your Christmas Cherry Bars.
Step 7: Bake the Bars
Place your baking dish in the preheated oven and bake for 40 minutes. Keep an eye on the top; it should turn a light golden brown and the edges may begin to firm up. This is the perfect time for those delightful smells to fill your kitchen, signaling that your Christmas Cherry Bars are nearly ready!
Step 8: Cool & Cut
Once baked, remove the dish from the oven and allow the bars to cool completely in the pan on a wire rack. This cooling period is crucial—waiting ensures the bars hold their shape and are easier to cut. After cooling, use a sharp knife to slice them into squares, revealing the beautiful layers of dough and cherry filling ready to be enjoyed.
Expert Tips for Christmas Cherry Bars
-
Avoid Overmixing: Mix the dough just until combined to keep your Christmas Cherry Bars tender. Overmixing can lead to a tough base.
-
Leave a Border: Be sure to leave a small border when spreading the cherry filling. This prevents overflow and keeps your bars looking neat.
-
Cool Completely: Allow the bars to cool completely before cutting. Chilling them in the fridge after cooling will help achieve clean, beautiful slices.
-
Experiment with Flavors: Don’t hesitate to try different fruit fillings or add extracts. This adaptability keeps your Christmas Cherry Bars exciting and versatile.
-
Storage Tips: Store leftovers in an airtight container at room temperature for a few days or freeze uncut bars for long-lasting enjoyment.
What to Serve with Christmas Cherry Bars
Indulging in these festive bars is just the beginning; let’s transform your dessert into a delightful meal experience!
-
Vanilla Ice Cream: A scoop of creamy vanilla ice cream adds a rich contrast to the sweet-tart flavors, elevating each bite into a heavenly treat. The cold ice cream perfectly balances the warm cherry filling.
-
Whipped Cream: Light and fluffy, a dollop of freshly whipped cream enhances the sweetness of the cherry bars, creating a luxurious finish. This simple addition brings a touch of elegance to your holiday dessert spread.
-
Chocolate Drizzle: A warm chocolate drizzle over each square offers a decadent twist and pairs beautifully with the cherries. It adds an indulgent layer of flavor that will have guests coming back for more.
-
Festive Fruit Salad: A vibrant fruit salad featuring seasonal berries and citrus brings freshness and a burst of color to your plate. It nicely complements the sweetness of the bars while adding a healthy, refreshing element.
-
Gingerbread Latte: Warm up with a cozy gingerbread latte, whose spiced flavors harmonize with the holiday spirit and enhance your dessert experience. The rich, aromatic drink is the perfect companion for these cherry bars.
-
Pear Crisp: A warm pear crisp adds a comforting, rustic touch alongside the cherry bars. The soft, baked pear with a crispy topping creates a delightful combination of textures.
-
Mulled Wine: Sip on a glass of mulled wine infused with spices while enjoying your Christmas Cherry Bars. This warm beverage offers festive cheer and a lovely counterbalance to the sweetness of the dessert.
With these delightful pairings, your Christmas Cherry Bars will shine even brighter this holiday season!
Christmas Cherry Bars Variations & Substitutions
Feel free to explore your creativity and make this festive recipe truly your own!
- Dairy-Free: Substitute unsalted margarine for butter to keep the base rich without dairy.
- Gluten-Free: Use a gluten-free all-purpose baking blend instead of regular flour for a satisfying alternative everyone can enjoy.
- Fresh vs. Frozen: Opt for fresh cherries when in season or use frozen ones, thawed and drained, to whip up this treat year-round.
- Flavor Twist: Mix in a splash of almond extract to the cherry filling for a delightful, nutty flavor enhancement that pairs beautifully with the fruit.
- Alternative Toppings: Top your bars with a drizzle of chocolate ganache for a new level of indulgence. It’s a hit for chocolate lovers!
- Different Fruits: Swap the cherry filling for other fruits like raspberries or blueberries for a fun twist in flavor and color, making each batch uniquely delightful.
- Add Crumb Topping: For extra texture, incorporate chopped nuts like almonds or pecans into the crumbles that top your bars.
- Fruity Glaze: Add a simple glaze using powdered sugar and a splash of cherry juice to elevate your bars and add a glossy finish that’s just irresistible.
As you mix and match these variations, think about pairing your Christmas Cherry Bars with a scoop of vanilla ice cream or a comforting cup of mulled wine for the ultimate holiday dessert experience! If you’re looking to impress further, consider trying my Cheesy Christmas Lasagna to round out your festive spread or whip up some delightful Christmas Tree Sandwiches for a whimsical appetizer!
How to Store and Freeze Christmas Cherry Bars
Room Temperature: Keep the Christmas Cherry Bars in an airtight container at room temperature for up to 3-4 days to maintain their delicious texture and flavor.
Fridge: For longer preservation, store in the refrigerator where they can last up to a week while remaining delightful and fresh.
Freezer: You can freeze uncut bars for up to 3 months. Wrap them tightly in plastic wrap and foil for optimal freshness. When ready to serve, thaw overnight in the refrigerator.
Reheating: If you enjoy your bars warm, reheat individual squares in the microwave for 10-15 seconds, making them a cozy treat to savor.
Make Ahead Options
These Easy Festive Christmas Cherry Bars are perfect for meal prep, allowing you to enjoy delicious homemade treats without the last-minute rush! You can prepare the base dough and refrigerate it for up to 24 hours before baking. Just wrap the dough tightly in plastic wrap to maintain its freshness. Additionally, the cherry filling can be prepped and stored in an airtight container in the fridge for about 3 days. When you’re ready to bake, simply press the chilled dough into the pan, layer the cherry filling, and top with the crumbled dough before baking as directed. This way, you’ll have warm, delightful cherry bars that fit perfectly into your busy holiday schedule without sacrificing flavor!
Christmas Cherry Bars Recipe FAQs
How do I select the best cherries for my Christmas Cherry Bars?
When choosing cherries for your bars, look for firm, plump fruits without any dark spots or bruising. If you’re using canned cherry pie filling, opt for brands with natural ingredients. Fresh cherries should be bright and shiny; frozen cherries should be free of ice crystals.
What’s the best way to store unopened Christmas Cherry Bars?
Store your Christmas Cherry Bars in an airtight container at room temperature for up to 3-4 days. If you wish to keep them longer, refrigerate them, where they can last up to one week, maintaining their delightful texture and taste.
Can I freeze my uncut Christmas Cherry Bars?
Absolutely! To freeze uncut bars, wrap them tightly in plastic wrap and foil to prevent freezer burn. They can stay fresh for up to 3 months. When ready to enjoy, simply thaw overnight in the refrigerator before serving—this keeps them soft and delicious.
What should I do if my bars are too crumbly?
If your bars turn out too crumbly, it’s likely due to overmixing the dough or not pressing it firmly enough into the pan. Ensure you mix just until combined and press the dough down firmly in the baking dish. Chilling the bars for a short period after they cool can also help them hold together better when you cut them.
Are there any dietary considerations for my Christmas Cherry Bars?
Yes! For those with gluten sensitivities, use a gluten-free all-purpose flour blend for the base and ensure the cherry filling is gluten-free. Always check labels, especially with canned fillings, as some may contain gluten or allergens. If serving to pets, keep these bars away from them due to ingredients like sugar and butter, which can cause health issues.
Can I substitute the cherry filling with other fruits?
Very! Experimenting with different fruit fillings can expand the deliciousness of your Christmas Cherry Bars. Try using fresh or frozen raspberries, blueberries, or even a mix of fruits. Just make sure to adjust the sugar content slightly based on the tartness of the fruit for the best results!
Delicious Christmas Cherry Bars for Sweet Holiday Cheer
Ingredients
Equipment
Method
- Preheat your oven to 350°F (175°C). Gather ingredients and supplies.
- Grease the baking dish with butter or spray, and line the bottom with parchment paper.
- Cream together butter and sugar until light and fluffy, about 3-5 minutes. Mix in flour and salt until just combined.
- Press half of the dough evenly into the bottom of the baking dish.
- Spread cherry pie filling evenly over the pressed dough, leaving a small border.
- Crumble the remaining dough over the cherry filling evenly.
- Bake for 40 minutes until golden brown on top. Allow to cool.
- Once cooled, cut into squares and serve.
Leave a Reply