
As the aroma of thyme wafted through my kitchen, I knew I had stumbled upon the ultimate comfort food: Easy Sheet-Pan Chicken Potpie. This heartwarming twist on the beloved classic embraces simplicity while offering all the indulgent flavors we crave. Thanks to its quick prep and effortless clean-up, it’s perfect for those busy weeknights when you want to gather the family around a cozy dinner without the fuss. Imagine creamy chicken and vegetables enveloped in a flaky, golden crust, ready to delight everyone at the table. Plus, serving it right from the sheet pan means everyone can dig in family-style, making mealtime a joyous occasion. Curious to learn how to make this scrumptious dish that warms the heart and satisfies all taste buds? Let’s dive in!
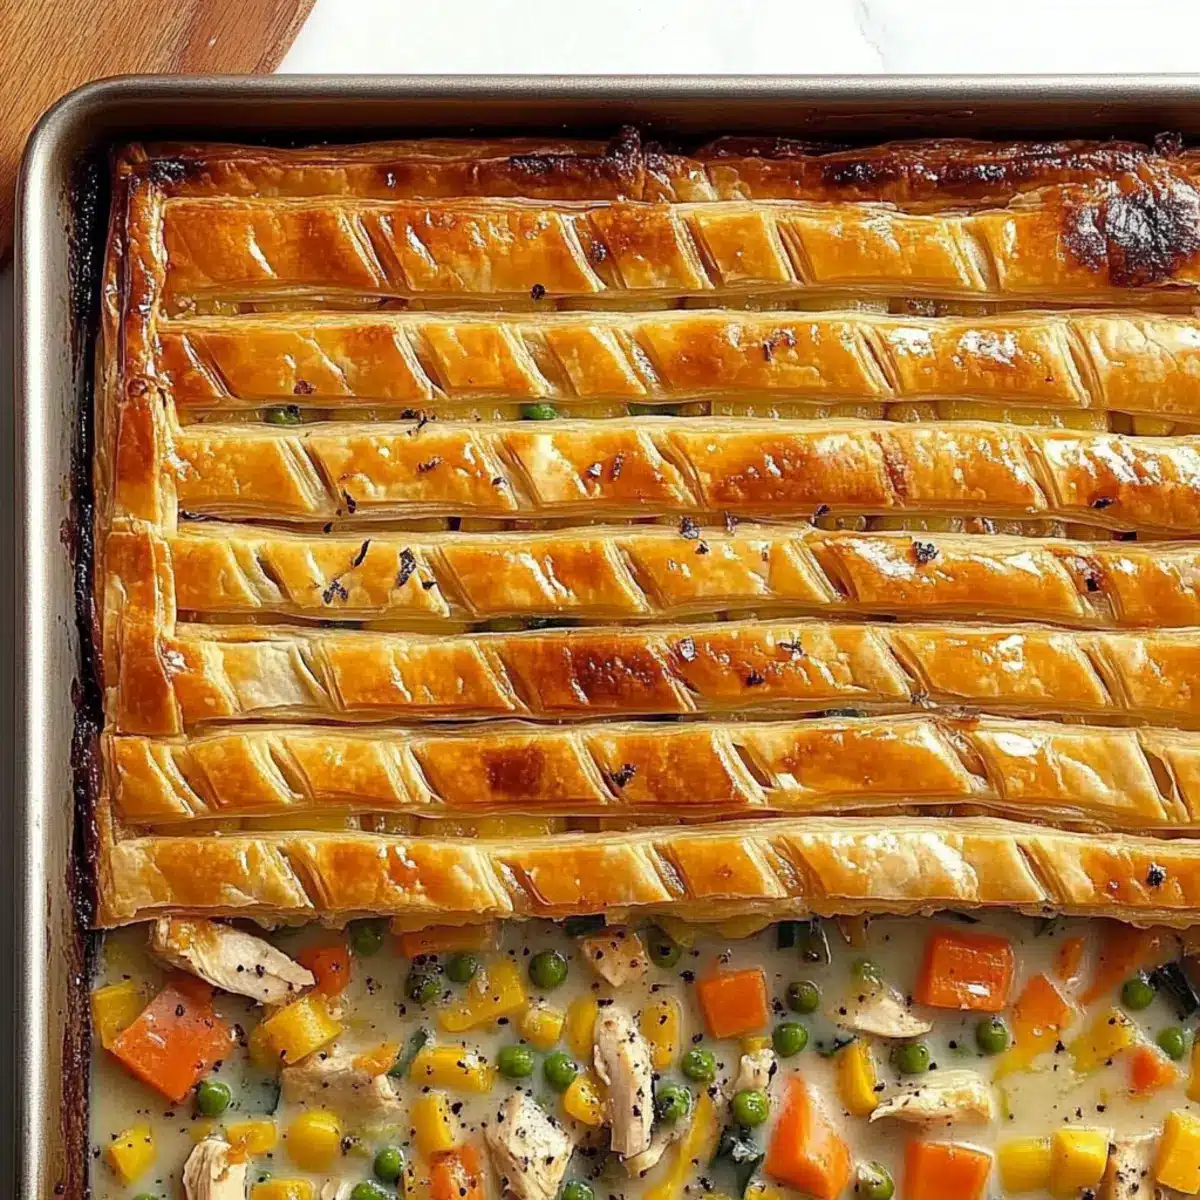
Why is this Sheet-Pan Chicken Potpie amazing?
Comforting and Hearty: This dish reimagines a classic favorite, delivering a warm and satisfying meal that’s perfect for gathering your loved ones around the table.
Effortless Cleanup: With everything cooked on one sheet pan, you save time on both prep and cleaning up—ideal for busy evenings.
Family-Friendly: It’s a meal that appeals to all ages, combining creamy chicken and colorful veggies that will have everyone asking for seconds!
Versatile: Customize it with seasonal veggies or herbs you already have on hand; it’s a dish that adapts to your kitchen.
Quick Preparation: Ready in under an hour, this potpie is an easy go-to for weeknight dinners.
Why not pair this delicious potpie with a fresh green salad for a complete meal or explore other comforting recipes like Honey BBQ Chicken to mix things up? Enjoy!
Sheet-Pan Chicken Potpie Ingredients
-
For the Filling
• Unsalted Butter – Adds richness and flavor; substitute with olive oil for a dairy-free option.
• Chopped Onion – Provides sweetness and depth; can be swapped with shallots for a milder flavor.
• Chopped Celery – Adds crunch and freshness; optional, can substitute with leeks for a more refined taste.
• Minced Garlic – Enhances flavor; use garlic powder (1/4 teaspoon) as a substitute if necessary.
• All-Purpose Flour – Used for thickening the filling; for gluten-free, use a gluten-free flour blend instead.
• Reduced-Sodium Chicken Broth – Builds the soup base; vegetable broth can be used for a vegetarian version.
• Heavy Whipping Cream – Adds creaminess; substitute with half-and-half for a lighter option.
• Minced Fresh Thyme – Infuses herby flavor; dried thyme can be used (1 teaspoon).
• Salt & Pepper – For seasoning; adjust to taste based on dietary needs.
• Shredded Rotisserie Chicken – Provides protein and convenience; any cooked chicken can work for this sheet-pan chicken potpie.
• Frozen Mixed Vegetables – Offers color and nutrition; fresh peas and carrots can be used instead. -
For the Crust
• Frozen Puff Pastry – Gives the potpie a flaky crust, with homemade pastry an option if desired.
• All-Purpose Flour (for dusting) – Prevents sticking when rolling out pastry.
• Beaten Egg – Adds a glossy finish to the crust; can be replaced with milk for brushing.
Get ready to savor every comforting bite of this sheet-pan chicken potpie, as you explore the joy of cooking with trusted family-loved recipes that bring everyone together!
Step‑by‑Step Instructions for Sheet-Pan Chicken Potpie
Step 1: Preheat and Prepare
Begin by preheating your oven to 400°F (200°C). While the oven heats up, take an 18×13-inch rimmed baking sheet and generously coat it with cooking spray to prevent sticking. This simple preparation sets the stage for your delicious Sheet-Pan Chicken Potpie.
Step 2: Sauté the Aromatics
In a large skillet over medium heat, melt 3 tablespoons of unsalted butter. Once melted, add the chopped onion and celery, sautéing them until they soften and become translucent, about 5-6 minutes. Stir in the minced garlic and cook for an additional 30-60 seconds until fragrant, creating a warm aroma that fills your kitchen.
Step 3: Create the Sauce
Whisk in 1/4 cup of all-purpose flour to the sautéed vegetables and cook for 1-2 minutes until the flour is lightly browned. Gradually add 2 cups of reduced-sodium chicken broth and 1 cup of heavy whipping cream, stirring constantly until the mixture is smooth and begins to thicken. This creamy sauce will be the comforting base for your Sheet-Pan Chicken Potpie.
Step 4: Season and Simmer
Season the sauce with 1 teaspoon of minced fresh thyme, salt, and pepper to taste. Bring the mixture to a gentle boil, then reduce the heat and allow it to simmer for about 10 minutes, stirring occasionally until slightly thickened. Once thickened, fold in 2 cups of shredded rotisserie chicken and 2 cups of frozen mixed vegetables, combining everything evenly.
Step 5: Assemble the Filling
Spread the creamy chicken and vegetable mixture evenly across the prepared baking sheet. This allows for even cooking and ensures everyone gets a hearty portion in this delightful Sheet-Pan Chicken Potpie. Utilizing the sheet pan also makes serving a breeze.
Step 6: Prepare the Puff Pastry
Roll out a sheet of frozen puff pastry on a lightly floured surface into a square measuring approximately 13×13 inches. Cut the pastry into strips or coordinates that will neatly layer over the filling. This flaky crust will create that signature potpie experience everyone loves.
Step 7: Layer and Brush
Carefully layer the pastry strips over the chicken filling, making sure to cover it sufficiently for a golden finish. Brush the top of the pastry with a beaten egg to give it a rich, glossy color as it bakes. This step is crucial for that beautiful, flaky texture you’ll be craving.
Step 8: Bake to Perfection
Place the baking sheet in the preheated oven and bake for 35-40 minutes, or until the puff pastry turns a glorious golden brown and the filling is bubbling. Keep an eye on it during the last few minutes to ensure a perfect golden hue without over-browning.
Step 9: Cool and Serve
Once baked, remove your Sheet-Pan Chicken Potpie from the oven and let it cool for about 10 minutes. This brief cooling time allows the filling to settle slightly, making it easier to serve. Slice straight from the pan and enjoy the comforting, heartwarming flavors with your loved ones!
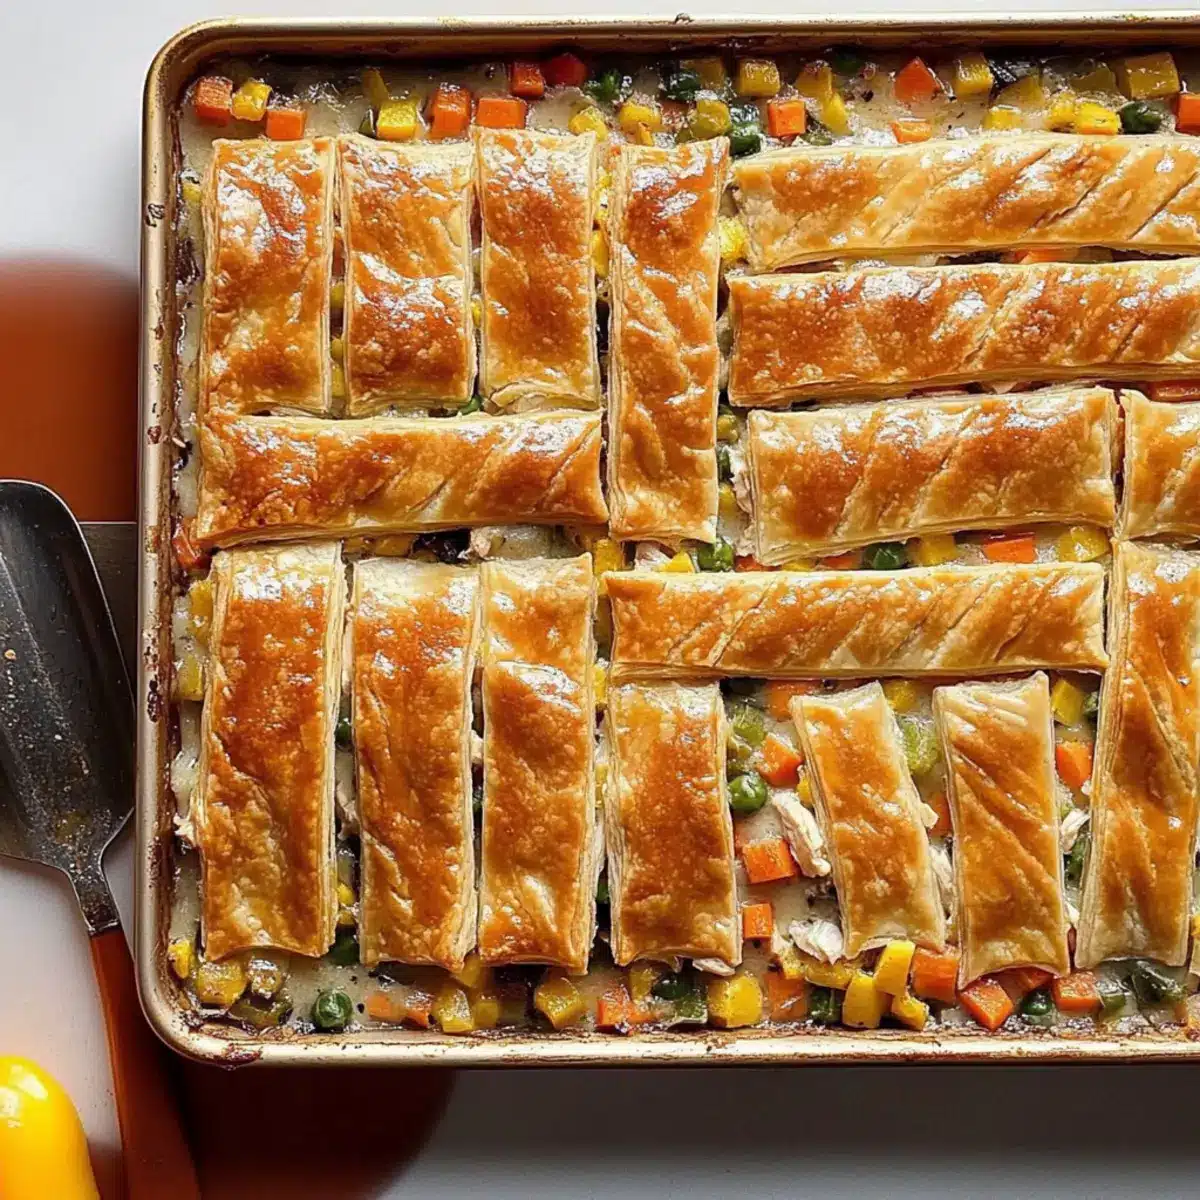
Make Ahead Options
These Easy Sheet-Pan Chicken Potpie components are perfect for meal prep, saving you valuable time on busy weeknights! You can prepare the creamy chicken filling up to 3 days in advance; simply store it in an airtight container in the refrigerator. To maintain the quality and prevent the puff pastry from becoming soggy, wait to roll out and layer the pastry until just before baking. When you’re ready to enjoy, spread the prepared filling onto the baking sheet, layer the pastry on top, brush with beaten egg, and bake as directed. This way, you’ll have a comforting homemade meal with minimal effort required at serving time!
What to Serve with Easy Sheet-Pan Chicken Potpie
A comforting potpie deserves delightful companions to make your meal even more memorable and satisfying.
- Crispy Green Salad: A refreshing mix of greens, tomatoes, and cucumbers balances the rich flavors of the potpie while adding crunch.
- Steamed Broccoli: The earthy taste and tender texture of broccoli complement the creamy filling, providing a nutritious side that’s easy to prepare.
- Garlic Bread: Warm garlic bread is perfect for sopping up any leftover filling from your plate—so comforting and delicious!
- Roasted Sweet Potatoes: Their natural sweetness and caramelization pair excellently with the savory potpie, offering a delightful contrast.
- Buttery Corn on the Cob: A side of sweet corn brings a seasonal burst of flavor that feels like a warm hug and adds a pop of color to your table.
- Apple Crisp: Finish off the meal with a warm apple crisp, whose sweet-tart flavor and crumble texture create a cozy dessert that everyone will love.
- Chilled White Wine: A crisp Chardonnay perfectly complements the rich, creamy filling, adding a touch of sophistication to your casual family dinner.
- Lemonade or Iced Tea: Refreshing beverages like lemonade or iced tea cleanse the palate and add a bright touch that enhances the meal experience.
Storage Tips for Sheet-Pan Chicken Potpie
- Fridge: Store leftovers in an airtight container for up to 4 days. Make sure to cool the potpie before sealing to maintain freshness.
- Freezer: Freeze individual portions in freezer-safe containers for up to 3 months. Wrap tightly to prevent freezer burn and preserve flavor.
- Reheating: To reheat, thaw overnight in the fridge. Bake at 350°F for 20-25 minutes or until heated through, ensuring the potpie retains its delicious texture.
- Room Temperature: It’s best to keep this sheet-pan chicken potpie in the fridge or freezer; do not leave it at room temperature for more than 2 hours to prevent spoilage.
Sheet-Pan Chicken Potpie Variations
Feel inspired to customize this comforting dish, as the flavors and textures can be adjusted to your taste!
-
Seasonal Veggies: Swap in seasonal vegetables like squash or kale for a fresh twist. Enjoy experimenting with produce that’s currently bursting with flavor!
-
Spicy Kick: Add red pepper flakes or a dash of hot sauce for those who enjoy a little heat. This adds an exciting layer of flavor to the creamy filling.
-
Herb Alternatives: Try using rosemary or oregano instead of thyme for a unique aroma and taste. These herbs can transform your dish into a fragrant delight.
-
Easier Protein: Substitute shredded rotisserie chicken with cooked turkey or even canned chicken for a quick meal that’s still hearty and fulfilling. Your potpie stays comforting without extra effort!
-
Creamy Alternative: Replace heavy whipping cream with coconut milk for a dairy-free option that lends a slightly sweet flavor. It’s also perfect if you need a vegan twist.
-
Mushroom Medley: For a different texture, incorporate sautéed mushrooms into the filling. Their earthy richness complements the overall dish beautifully.
-
Cheesy Goodness: Stir in shredded cheese, like cheddar or mozzarella, for a cheesy variation that will melt into the filling. Who can resist that cheesy goodness?
-
Homemade Pastry: If you’re feeling adventurous, try making your own puff pastry from scratch instead of using frozen. It’s a fun way to bring homemade vibes to your potpie!
Explore these options and create a Sheet-Pan Chicken Potpie that’s all your own. And for more comforting recipes, consider trying out the delightful Greek Tzatziki Chicken or the savory Marry Chicken Pasta. Happy cooking!
Expert Tips for Sheet-Pan Chicken Potpie
-
Thicked Filling: Ensure your filling is thick enough before adding the pastry to avoid a soggy bottom. A well-cooked filling guarantees the perfect potpie texture.
-
Use Refrigerated Pastry: For ease, opt for refrigerated puff pastry and make sure to thaw it completely before use to prevent tearing during assembly.
-
Cook Veggies Separately: Consider pre-cooking the mixed vegetables if you prefer them softer in texture. This step enhances the overall mouthfeel in your Sheet-Pan Chicken Potpie.
-
Season Well: Don’t hesitate to adjust the seasoning based on your family’s preferences. A little extra salt or herbs can elevate your potpie’s flavor profile.
-
Personalize the Dish: Experiment with seasonal vegetables or fresh herbs to make this recipe your own. Customizing not only enhances flavor, but it also keeps the dish exciting!
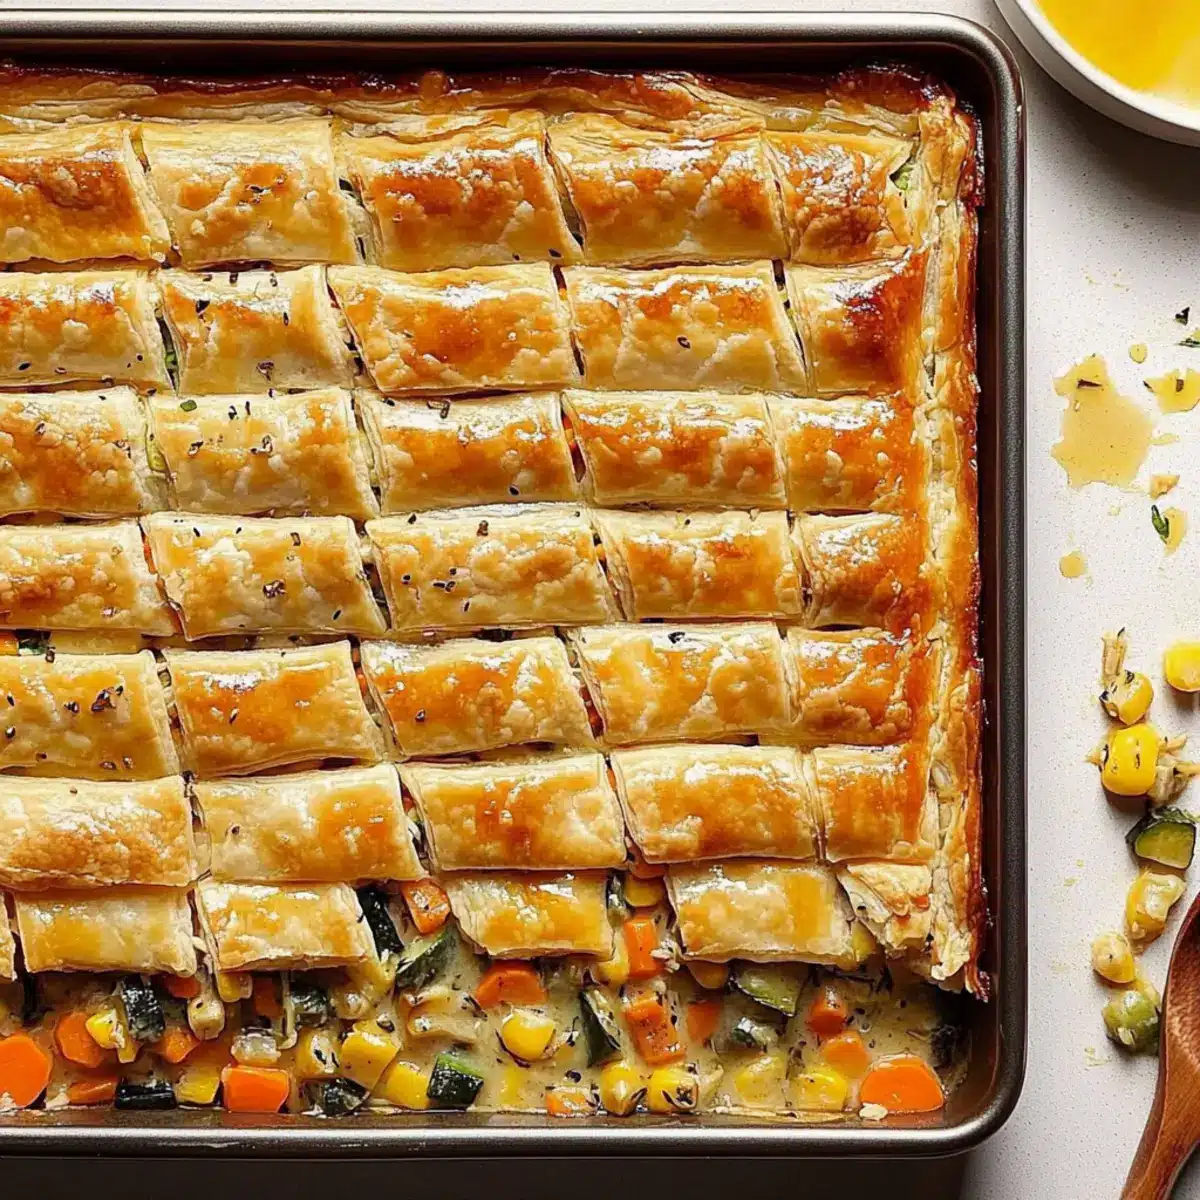
Sheet-Pan Chicken Potpie Recipe FAQs
What type of chicken is best for this sheet-pan chicken potpie?
I recommend using shredded rotisserie chicken for ease and flavor, but any cooked chicken will work beautifully. If you have leftover grilled or baked chicken, that can be a fantastic option too!
How do I know when the vegetables are fresh enough to use?
Look for vegetables that are vibrant in color without any dark spots or significant blemishes. Firmness is key; they should feel crisp. If you’re using frozen mixed vegetables, ensure they’re not freezer-burned, which can affect the taste.
How should I store leftovers from the sheet-pan chicken potpie?
Store any leftovers in an airtight container in the fridge for up to 4 days. Make sure the potpie is cool before sealing it to retain its delicious flavors. If you want to keep it longer, you can freeze individual portions in freezer-safe containers for up to 3 months.
Can I freeze the sheet-pan chicken potpie before baking?
Absolutely! To freeze it, prepare the filling and assemble the potpie with the puff pastry, but don’t bake it. Instead, cover the sheet pan tightly with plastic wrap and foil. When you’re ready to bake, you can go directly from the freezer to the oven; just add an extra 10-15 minutes to the baking time for best results.
What can I substitute if I have a garlic allergy?
If garlic is off the table, you can simply omit it altogether or use a pinch of garlic-infused olive oil to give a hint of that flavor without the actual garlic. Always check labels on store-bought ingredients to ensure they’re safe for your dietary needs.
What happens if my filling is too runny before adding the crust?
If your filling seems too runny, don’t panic! Simply return it to the heat, letting it simmer for a few more minutes until it thickens. You can also whisk in an extra tablespoon of flour or cornstarch mixed with water to create a slurry, then cook until the desired consistency is achieved.
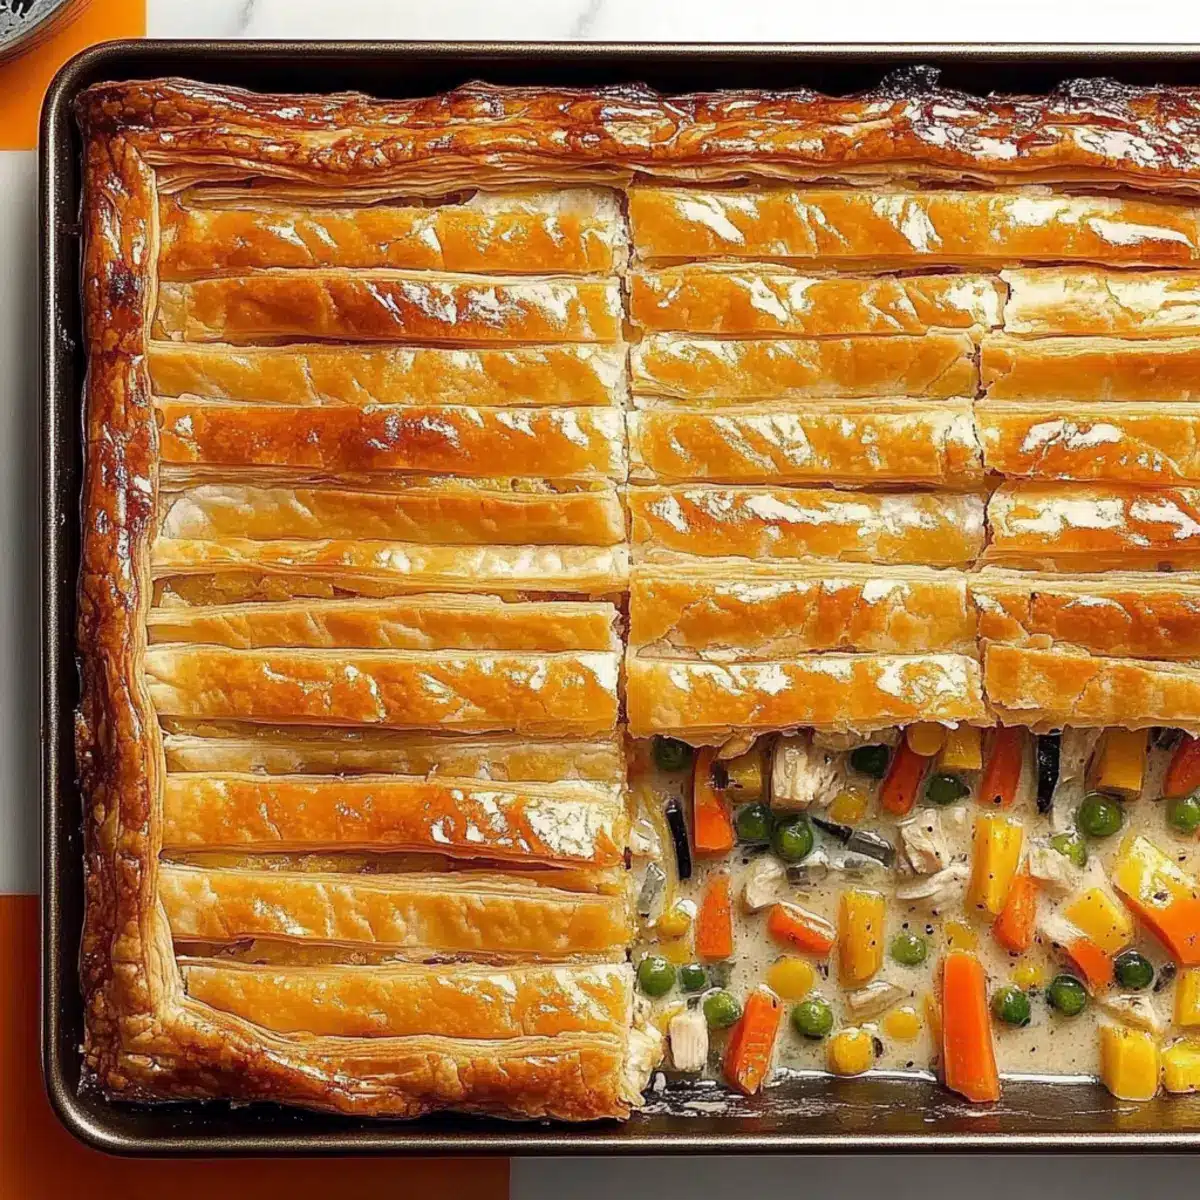
Savory Sheet-Pan Chicken Potpie for Cozy Family Dinners
Ingredients
Equipment
Method
- Preheat your oven to 400°F (200°C) and coat an 18x13-inch baking sheet with cooking spray.
- In a skillet over medium heat, melt 3 tablespoons of butter. Sauté chopped onion and celery until softened (about 5-6 minutes).
- Stir in minced garlic and cook for another 30-60 seconds until fragrant.
- Whisk in 1/4 cup of flour, cooking for 1-2 minutes. Gradually add 2 cups of chicken broth and 1 cup of cream, stirring until smooth.
- Season with thyme, salt, and pepper, bringing to a gentle boil. Reduce heat and simmer for 10 minutes.
- Fold in 2 cups of chicken and 2 cups of mixed vegetables, mixing thoroughly.
- Spread the mixture evenly on the prepared baking sheet.
- Roll out puff pastry into a 13x13 inch square, cut into strips and layer over the filling.
- Brush top with beaten egg and bake for 35-40 minutes until golden brown and filling is bubbling.
- Let cool for 10 minutes before slicing and serving warm.
Leave a Reply