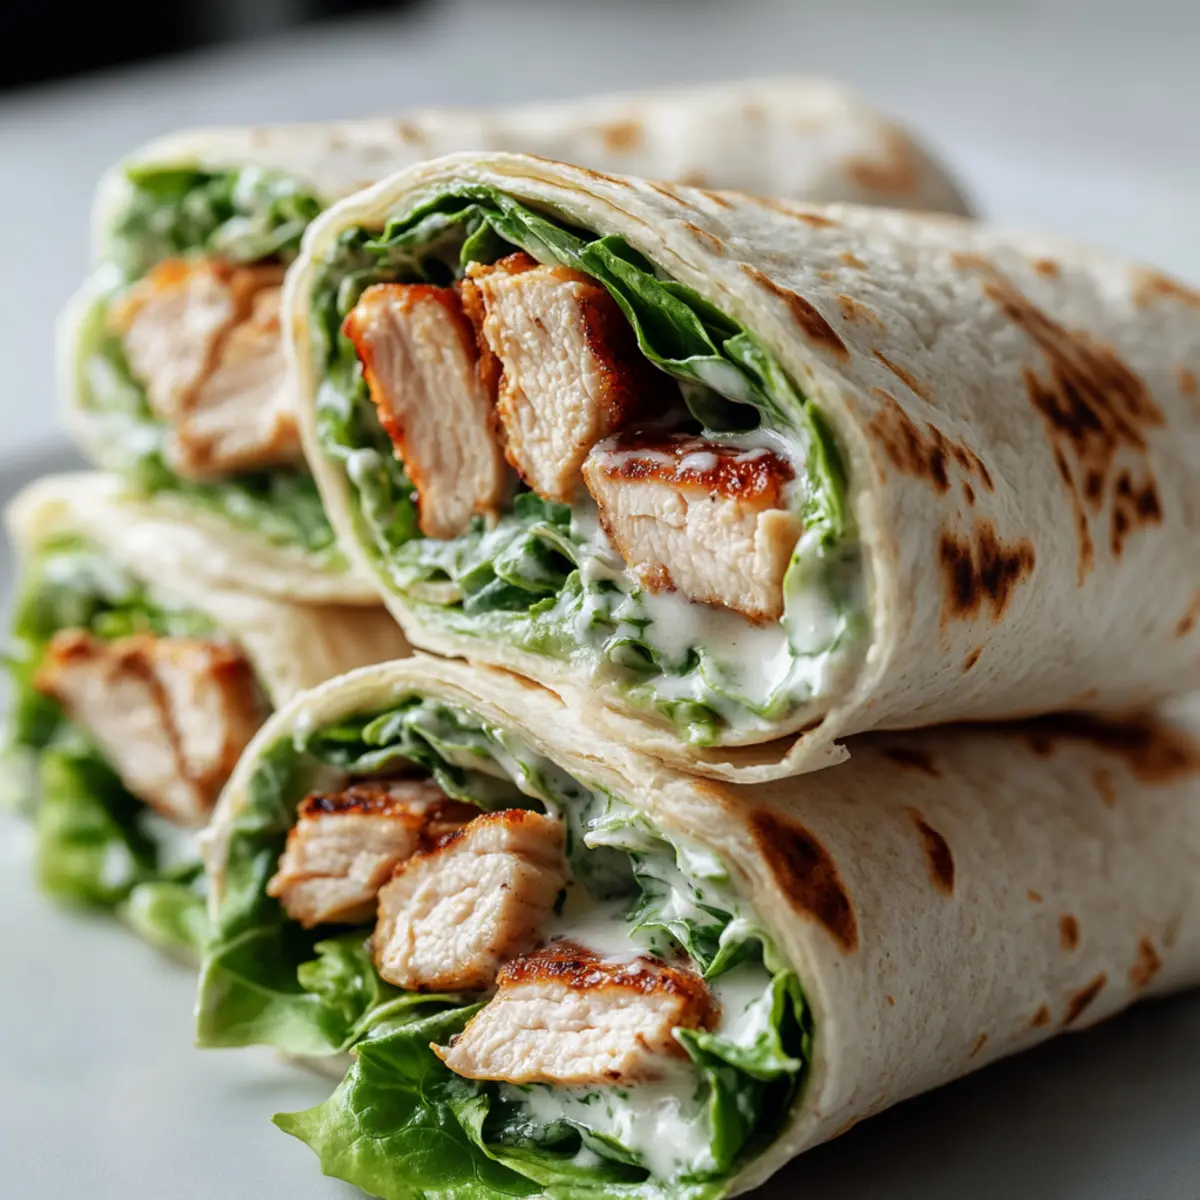
As the sun dipped below the horizon, I found myself battling an all-too-familiar dilemma: what to whip up for dinner that would keep both my taste buds and my loved ones happy? Enter my quick and customizable Chicken Caesar Wraps! With tender chicken snuggled against crisp romaine and a creamy Caesar dressing, these wraps are not just a delightful meal; they’re a solution for those hectic weeknights. In under 30 minutes, you’ll have a fun, handheld dinner that’s not only budget-friendly but also a crowd-pleaser for everyone at the table. Perfect for meal prep, these wraps allow for endless customization, so you can make them uniquely yours! What twists will you add to your wraps tonight?
Why are Chicken Caesar Wraps so beloved?
Quick and Easy: These Chicken Caesar Wraps are perfect for those busy weeknights, coming together in less than 30 minutes.
Budget-Friendly: With basic ingredients, they save you both time and money compared to takeout options.
Customizable: Personalize with your favorite proteins or veggies, making each wrap a unique creation. Whether you prefer classy grilled chicken or more adventurous shrimp, the choice is yours!
Crowd-Pleasing: Ideal for family dinners or casual gatherings, these wraps satisfy every palate, ensuring even picky eaters will love them.
Make-Ahead Option: Prep components ahead for quick assembly, making meals even simpler. Try pairing them with a side of fresh fruit or baked potato wedges for a complete meal!
Chicken Caesar Wraps Ingredients
• For the Wrap
- Flour Tortillas – Soft and pliable, they form the perfect base for your Chicken Caesar Wraps.
- Cooked Chicken – Offers a hearty dose of protein; feel free to substitute with grilled turkey or roasted veggies for a vegetarian spin.
• For the Filling
- Romaine Lettuce – Provides a crisp crunch and freshness that enhances each bite.
- Parmesan Cheese – Adds a salty rich flavor; grated pecorino makes a great alternative if desired.
• For the Dressing
- Caesar Dressing – This creamy element beautifully ties all ingredients together; a lighter yogurt-based version is a delicious, lower-calorie option.
Enjoy the delightful balance of textures and flavors with these Chicken Caesar Wraps, perfect for any occasion!
Step‑by‑Step Instructions for Chicken Caesar Wraps
Step 1: Prep Ingredients
Begin by gathering your ingredients: cooked chicken, romaine lettuce, flour tortillas, Parmesan cheese, and Caesar dressing. Chop the romaine lettuce into bite-sized pieces and slice the cooked chicken into thin strips. This should take about 5–10 minutes. Keep your knife and cutting board handy, as you’ll want to have everything ready for assembling your Chicken Caesar Wraps.
Step 2: Mix Dressing
In a mixing bowl, combine the sliced chicken with Caesar dressing. Use enough dressing to generously coat the chicken without drowning it. Toss everything together gently for about 1–2 minutes until the chicken is well-covered and glistening. This creamy mixture is key to evenly flavored Chicken Caesar Wraps, so make sure each piece gets a good coat.
Step 3: Assemble Wraps
Lay a flour tortilla flat on a clean surface. In the center, spoon out a generous amount of the chicken mixture and top it with a handful of chopped romaine and a sprinkle of Parmesan cheese. Aim for a balanced distribution, ensuring each bite will have that delightful crunch and flavor. This assembly process should take about 5 minutes.
Step 4: Wrap It Up
Starting from the bottom, fold the sides of the tortilla inwards, then roll it up tightly, ensuring all the fillings stay secure inside. Aim for a firm but gentle grip to avoid tearing the tortilla. This step is crucial for creating a neat Chicken Caesar Wrap, ready for slicing. It should take only a minute or so to perfect your technique.
Step 5: Serve
Using a sharp knife, slice the wraps diagonally for a visually pleasing presentation. Arrange them on a plate, and consider serving immediately while they’re fresh or refrigerating to enjoy later. These Chicken Caesar Wraps are delightful either way, and you can pair them with fresh fruit or baked potato wedges for a complete meal experience.
How to Store and Freeze Chicken Caesar Wraps
Fridge: Keep assembled Chicken Caesar Wraps in an airtight container for up to 2 days. Store them with parchment paper between wraps to prevent sogginess from the dressing.
Freezer: For longer storage, freeze the wraps wrapped in plastic wrap, then place them in a freezer-safe bag for up to 1 month. Thaw in the fridge overnight before enjoying.
Reheating: When ready to serve, heat thawed wraps in a skillet over medium-low heat for about 5 minutes per side, or pop them in the microwave for about 30-45 seconds until warmed through.
Assemble Fresh: For the best flavor and texture, consider prepping the individual components and storing separately until ready to assemble your Chicken Caesar Wraps for meals.
Make Ahead Options
These Chicken Caesar Wraps are perfect for busy home cooks looking to save time during hectic weeknights! You can prepare the cooked chicken and chop the romaine lettuce up to 3 days in advance, storing them separately in airtight containers in the refrigerator to maintain their freshness and prevent sogginess. Additionally, you can mix the chicken with Caesar dressing and refrigerate it for up to 24 hours before assembling the wraps. When you’re ready to serve, simply lay out the tortillas and layer the prepped components, finishing with a sprinkle of Parmesan cheese. You’ll enjoy the same delicious flavors and textures, ready in a flash with minimal effort!
What to Serve with Chicken Caesar Wraps
Pair your Chicken Caesar Wraps with delightful sides that elevate this quick meal into a full experience.
-
Fresh Fruit Salad: A colorful mix of seasonal fruits adds sweetness and balances the savory elements of your wraps.
-
Baked Potato Wedges: Crispy on the outside and fluffy inside, these wedges provide a comforting contrast that complements the wraps perfectly.
-
Simple Green Salad: A light salad drizzled with vinaigrette brings a refreshing crunch, enhancing the meal’s overall freshness and flavor.
-
Homemade Croutons: Add an extra crunch inside your wraps or as a side; their toasty flavor pairs beautifully with the Caesar dressing.
-
Garlic Breadsticks: Buttery, garlicky bites create a warm, indulgent component that pairs well with the wrap’s creamy nature.
-
Iced Lemonade: Refreshing and zesty, a glass of this drink not only quenches your thirst but also brightens the meal, making it feel more festive.
-
Chocolate Chip Cookies: End your meal on a sweet note with these classic cookies; their warm, gooey goodness is the perfect finish to your flavorful dinner.
Expert Tips for Chicken Caesar Wraps
• Prep Ahead: Prepare your chicken and lettuce in advance, storing them separately in the refrigerator, so they’re ready to go when you need a quick meal.
• Proper Mixing: Ensure to coat the chicken well with Caesar dressing, adding just enough to give flavor without making the wrap soggy.
• Don’t Overstuff: Avoid the temptation to fill your wraps too full. This prevents tearing and bursting as you roll them tightly for a neat presentation.
• Add Crunch: For an extra texture boost, toss in some homemade croutons or nuts inside the wrap. It elevates the Chicken Caesar Wraps even more!
• Diverse Options: Don’t hesitate to swap the protein for shrimp or tofu, and consider adding extra veggies like cucumbers or bell peppers to enhance nutrition and flavor.
Chicken Caesar Wraps Variations
Feel free to get creative with your Chicken Caesar Wraps, enhancing them with flavors and textures that excite your taste buds!
-
Vegetarian Delight: Swap chicken for grilled tofu or roasted vegetables for a meatless option that’s equally satisfying. Try adding some avocado for creaminess!
-
Spicy Twist: Incorporate sliced jalapeños or a dash of hot sauce into your wrap for a flavorful kick that brings the heat to your meal.
-
Extra Crunch: Mix in some homemade croutons or toasted nuts for a delightful crunch that contrasts beautifully with the creamy dressing.
-
Herbed Version: Add fresh herbs like basil or cilantro to elevate your wrap with fragrant notes that brighten each bite.
-
Alternative Greens: Use spinach or kale instead of romaine for a unique flavor profile and added nutrition, marrying perfectly with the creamy dressing.
-
Different Dressings: Experiment with alternative dressings, such as ranch or honey mustard, for a fun twist on the classic flavor profile. Each choice provides a new spin!
-
Flavor Packed Additions: Toss in extra veggies, such as diced bell peppers, shredded carrots, or cucumber slices, to boost nutrition and add vibrant color.
-
Grilled Perfection: Grill the wraps for a few minutes after assembling to crisp up the tortilla and meld the flavors, resulting in a warm, satisfying handheld meal.
To discover other chicken-inspired recipes that pack a flavorful punch, check out my delicious Honey BBQ Chicken or create a fresh twist with Greek Tzatziki Chicken for your next kitchen adventure!
Chicken Caesar Wraps Recipe FAQs
How do I choose the right chicken for my Chicken Caesar Wraps?
Absolutely! For the best flavor and texture, opt for cooked chicken breast since it’s tender and moist. You can use grilled or roasted chicken; just ensure it’s seasoned well. If the chicken is store-bought, look for options with minimal additives or preservatives.
What is the best way to store Chicken Caesar Wraps?
To keep your Chicken Caesar Wraps fresh, store them in an airtight container in the refrigerator for up to 2 days. Place parchment paper between wraps if you’re stacking them—this prevents the tortillas from becoming soggy due to the dressing.
Can I freeze Chicken Caesar Wraps for later?
Very! To freeze, wrap each assembled Chicken Caesar Wrap tightly in plastic wrap, then place them in a freezer-safe bag. They can be stored for up to one month. When you’re ready to enjoy, simply thaw them in the refrigerator overnight, and then you can heat them in a skillet or microwave for a quick meal!
What should I do if my wraps are falling apart?
If your Chicken Caesar Wraps are falling apart, you might be overstuffing them. Aim for just enough filling so you can still fold in the sides securely before rolling them up. If your tortillas are cracking, consider warming them slightly before assembling; this makes them more pliable and easier to wrap.
Can my pets share in enjoying Chicken Caesar Wraps?
While the ingredients are generally safe, avoid giving your pets the wraps directly. Caesar dressing usually contains garlic and onions, which can be harmful to pets. Instead, you could set aside plain chicken and romaine for a pet-friendly treat!
Is there a gluten-free option for the tortillas?
Absolutely! You can easily substitute flour tortillas with gluten-free options made from rice or corn. Just ensure they’re sturdy enough to hold the filling. These alternatives will still give you a delightful Chicken Caesar Wrap, so everyone can join in on the fun!
Savory Chicken Caesar Wraps: Quick, Easy, and Deliciously Fun
Ingredients
Equipment
Method
- Begin by gathering your ingredients: cooked chicken, romaine lettuce, flour tortillas, Parmesan cheese, and Caesar dressing. Chop the romaine lettuce into bite-sized pieces and slice the cooked chicken into thin strips. This should take about 5–10 minutes.
- In a mixing bowl, combine the sliced chicken with Caesar dressing. Use enough dressing to generously coat the chicken without drowning it. Toss everything together gently for about 1–2 minutes until the chicken is well-covered.
- Lay a flour tortilla flat on a clean surface. In the center, spoon out a generous amount of the chicken mixture and top it with a handful of chopped romaine and a sprinkle of Parmesan cheese. Aim for a balanced distribution.
- Starting from the bottom, fold the sides of the tortilla inwards, then roll it up tightly, ensuring all the fillings stay secure inside. Aim for a firm but gentle grip to avoid tearing the tortilla.
- Using a sharp knife, slice the wraps diagonally for a visually pleasing presentation. Arrange them on a plate and serve immediately or refrigerate to enjoy later.
Leave a Reply