
The first time I served these Cookie Fries with Frosting Dip, the room erupted in laughter and delight—who could resist a dessert that looks like fries but is entirely sweet? These playful treats combine the nostalgia of classic cookies with a fun twist, instantly becoming a crowd-pleaser at any gathering. Not only are they simple and quick to whip up, but they’re also freezer-friendly, making snack time a breeze. Plus, with customizable options for gluten-free and dairy-free diets, everyone can join in on the fun. Are you ready to bring this delightful hybrid into your kitchen? Let’s dive into the recipe!
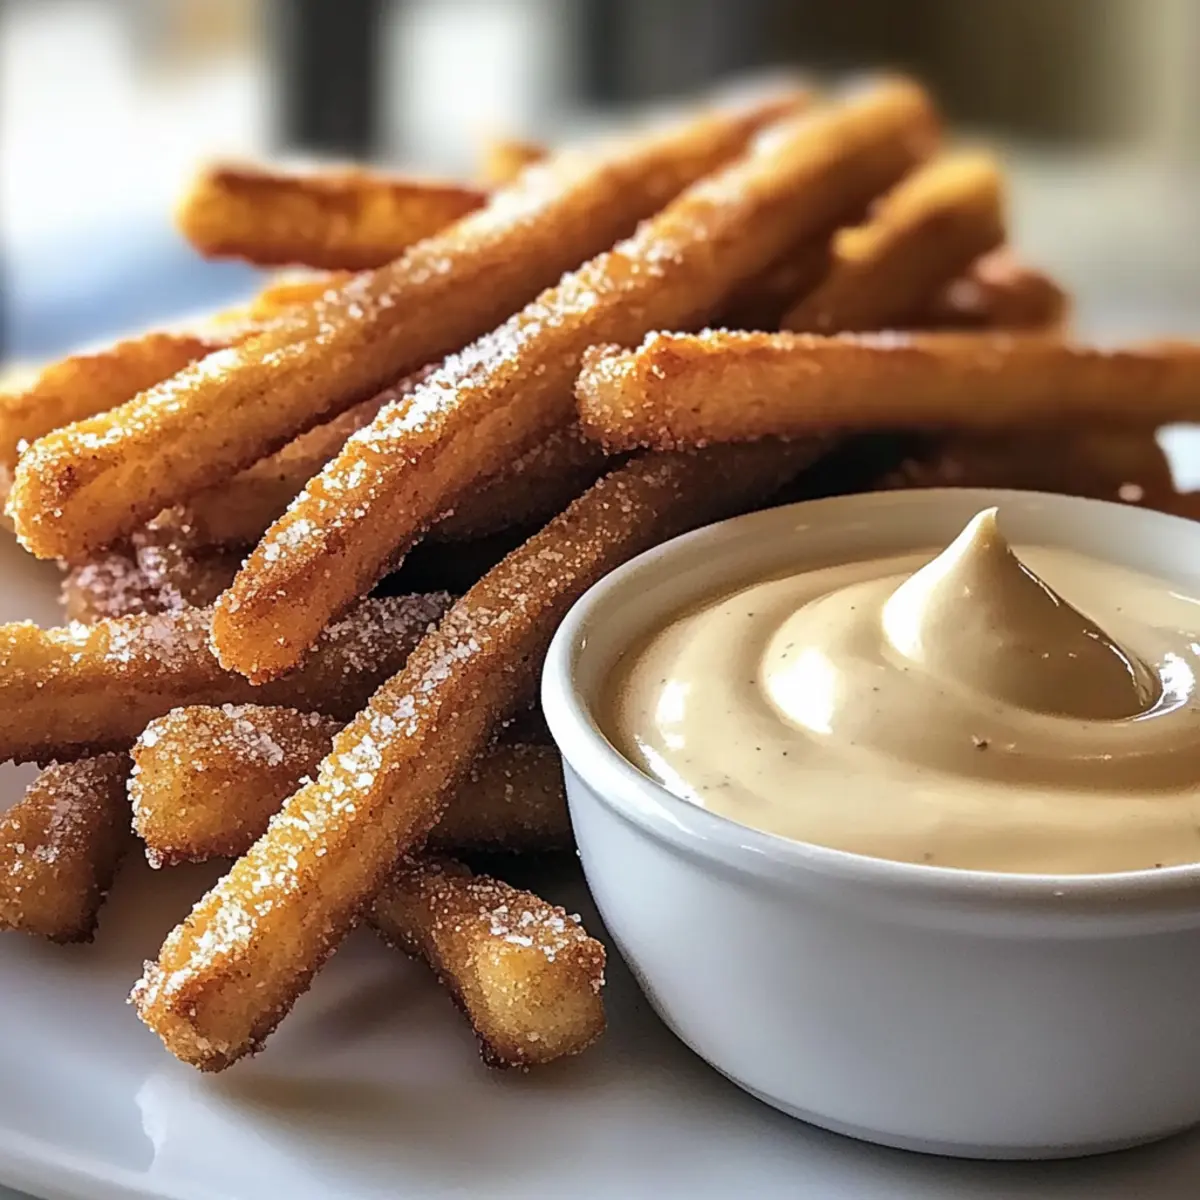
Why Are Cookie Fries a Must-Try?
Unforgettable Combination: Cookie fries bring together the best of cookies and fries in a playful twist that captivates everyone!
Easy to Make: With no complicated techniques, you can whip these up in no time—even on a busy day!
Customizable Delights: Want to cater to dietary preferences? Choose gluten-free flour or vegan options, and everyone can indulge.
Perfect for Sharing: These sweet treats are ideal for gatherings; watch your friends and family delight in this unique dessert that sparks joy.
Freezer-Friendly: Make a batch ahead of time, freeze them, and bake when cravings hit! These Cookie Fries are always ready to impress.
Cookie Fries Ingredients
For the Cookie Fries
- All-Purpose Flour – Provides structure; substitute with gluten-free flour blend for a gluten-free option.
- Cornstarch – Enhances texture for a tender cookie; no substitutions needed.
- Kosher Salt – Balances sweetness; use regular salt in the same quantity.
- Baking Powder – Creates the right leavening; do not substitute with baking soda.
- Unsalted Butter – Adds richness and moisture; can be substituted with vegan butter for a dairy-free version.
- Brown Sugar – Contributes sweetness and a chewy texture; can use white sugar, but the texture may differ.
- Large Egg – Binds the ingredients together; use a flax egg (1 tablespoon flaxseed meal + 2.5 tablespoons water) for a vegan option.
- Pure Vanilla Extract – Enhances overall flavor; substitute with almond extract or vanilla bean paste.
- Colorful Edible Confetti/Sprinkles – For a festive appearance; optional—can be omitted for simpler cookies.
For the Frosting Dip
- Heavy Cream – Creates a smooth dip; can be replaced with half-and-half or coconut cream for a non-dairy version.
- Cream Cheese – Provides richness in the frosting; vegan cream cheese can be substituted for a dairy-free alternative.
- Powdered Sugar – Sweetens and thickens the frosting; regular sugar can be ground for quick DIY powdered sugar.
Get ready to indulge in these delightful Cookie Fries with Frosting Dip, a sweet twist that will leave everyone smiling!
Step‑by‑Step Instructions for Cookie Fries with Frosting Dip
Step 1: Prepare Baking Sheets
Line two large baking sheets with parchment paper to ensure easy release of your Cookie Fries. This step is essential for preventing sticking and makes cleanup a breeze. Set the lined sheets aside while you move on to mixing the dry ingredients.
Step 2: Make Dry Mix
In a medium bowl, whisk together your all-purpose flour, cornstarch, kosher salt, and baking powder until no lumps remain. This dry mixture forms the foundation of your Cookie Fries. Ensure it’s well combined to guarantee an even texture throughout when mixing with the wet ingredients.
Step 3: Cream Butter & Sugar
In a large mixing bowl, beat the unsalted butter and brown sugar together using an electric mixer on medium speed for about 2 minutes, until the mixture is light and fluffy. The color should lighten, and the texture will become creamy, ensuring you have the right base for your Cookie Fries.
Step 4: Combine Wet Ingredients
Now, mix in the large egg and pure vanilla extract into the creamed butter-sugar mixture until fully incorporated. You should see a smooth blend, with no visible traces of the egg. This step adds moisture and flavor to your cookie dough, setting the stage for perfect Cookie Fries.
Step 5: Combine Mixtures
Gradually incorporate the dry mix into the wet ingredients on low speed, mixing just until everything is combined—be careful not to overmix. The dough should start to come together without any dry streaks visible. This balance is crucial to maintain the tender texture of your Cookie Fries.
Step 6: Chill Dough
Cover the dough with plastic wrap and refrigerate for about 30 minutes to firm it up. Chilling helps to ensure that your Cookie Fries hold their shape during baking, so don’t skip this essential step for a perfect result.
Step 7: Roll & Cut
On a floured surface, roll out the chilled dough to a thickness of roughly 3/8 inch. Use a knife or pizza cutter to cut the dough into fry shapes, about ½ inch by 4 inches. This playful shape adds to the fun of serving Cookie Fries with Frosting Dip!
Step 8: Freeze Shapes
Place the cut cookie fries on a baking sheet in a single layer and freeze for about 20 minutes. Freezing helps the cookies retain their shape during baking. You’ll know they’re ready when they feel firm to the touch, which is crucial for achieving that perfect fry-like texture.
Step 9: Preheat Oven
While the cookie fries are freezing, preheat your oven to 350°F (175°C). This ensures that the temperature is just right for baking your Cookie Fries to golden perfection. A well-preheated oven results in even cooking and helps achieve that desirable crispy exterior.
Step 10: Bake
Carefully transfer the frozen cookie fries to the oven and bake for 10-12 minutes. The cookies should be light in color and just firm when you take them out. Keep an eye on them during the last few minutes to avoid overbaking; you want them soft and chewy on the inside.
Step 11: Mix Dip
Prepare the frosting dip by whipping heavy cream, cream cheese, and powdered sugar together in a bowl until smooth and creamy. This delicious dip will perfectly complement your Cookie Fries, creating an indulgent treat. Mix until you achieve a consistent texture, ready for dipping!
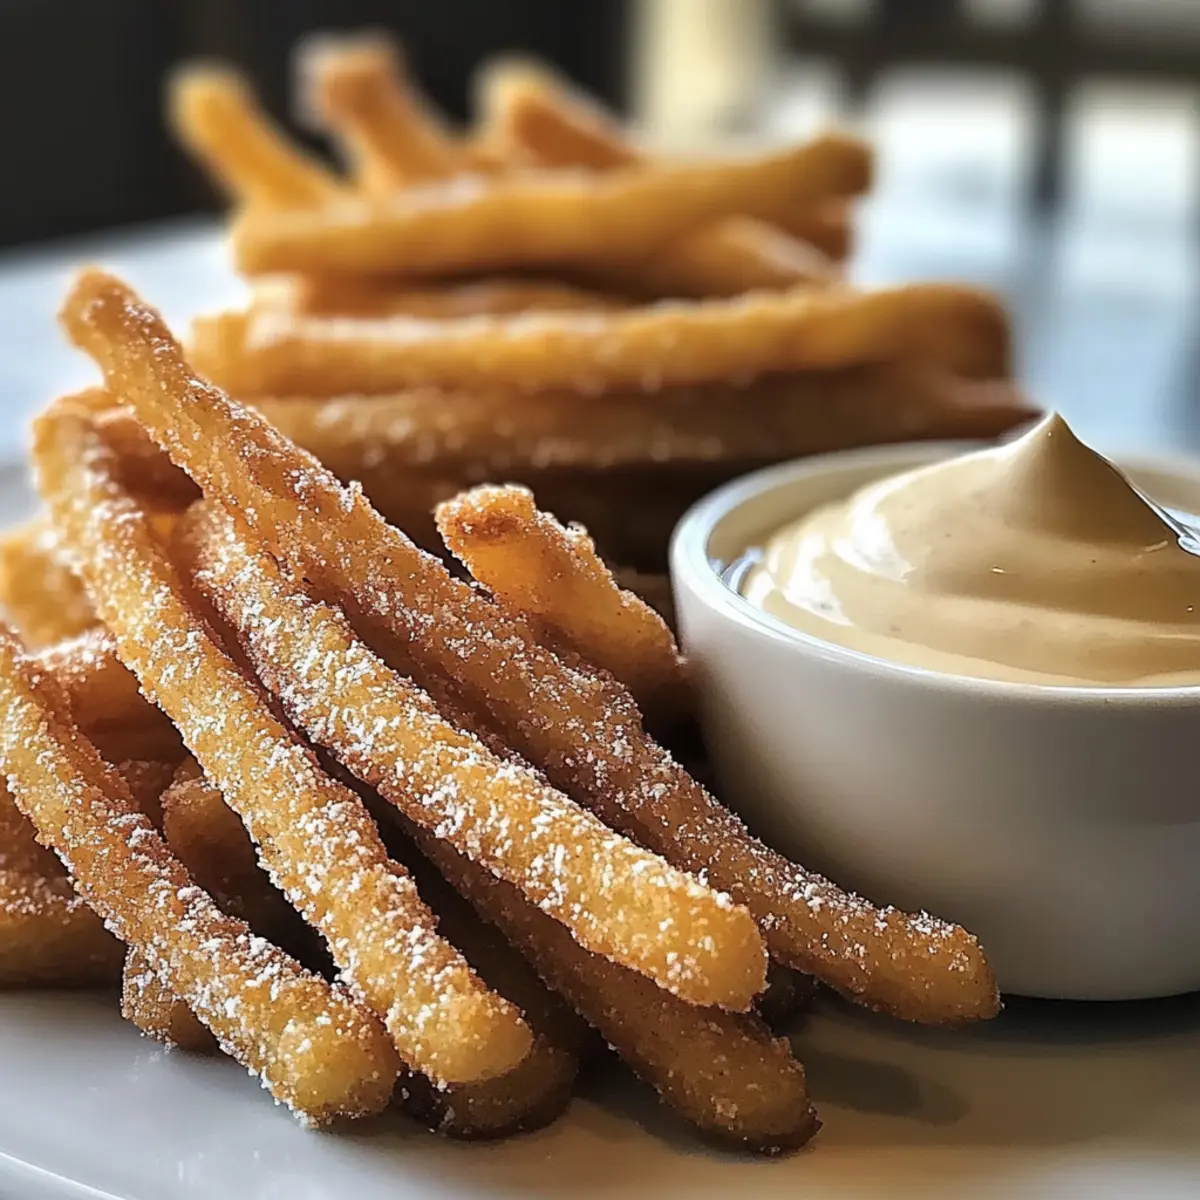
How to Store and Freeze Cookie Fries
Fridge: Keep your Cookie Fries in an airtight container for up to 3 days to maintain their freshness. Enjoy them cold or warmed slightly!
Freezer: Freeze unbaked cookie fries on a baking sheet until firm, then transfer them to a zip-top bag for up to 2 months. Bake directly from frozen at 350°F (175°C) without thawing!
Reheating: For leftover baked cookie fries, pop them in the microwave for about 10-15 seconds or warm in an oven at low heat until soft again.
Frosting Storage: Store any leftover frosting dip in the fridge for up to 5 days. Re-whip before serving to restore a creamy consistency.
Make Ahead Options
These Cookie Fries with Frosting Dip are perfect for meal prep, saving you time on busy days! You can prepare the cookie dough and cut it into fry shapes up to 24 hours in advance. Simply follow the recipe through the rolling and cutting steps, then freeze the cookie fries on a baking sheet. Once frozen solid, transfer them to an airtight container or freezer bag to maintain quality for up to 3 months. When ready to serve, bake directly from the freezer for 10-12 minutes. Mix the frosting dip just before serving for the freshest flavor. This way, you’ll have a crowd-pleaser treat ready with minimal effort!
What to Serve with Cookie Fries with Frosting Dip?
Creating a memorable meal is all about delightful pairings that elevate your experience.
-
Creamy Mashed Potatoes: Their smooth texture makes a comforting contrast to the crispy cookie fries. Perfect for soaking up some of that sweet frosting dip!
-
Fresh Fruit Salad: A vibrant medley of seasonal fruits provides a refreshing balance to the sweetness of your cookie fries. The natural acidity of citrus fruits enhances the flavors beautifully.
-
Zesty Lemonade: A cool, citrusy drink complements the sweetness without overpowering. It’s the ideal refreshment to cleanse the palate in between bites.
-
Nutty Granola Bars: A crunchy, wholesome addition that adds texture. These bars can also provide a delightful contrast alongside your indulgent cookie fries, making for an interesting snack platter.
-
Classic Vanilla Ice Cream: There’s something magical about combining warm cookie fries with a scoop of vanilla ice cream. The melty creaminess makes each bite feel extra special.
-
Chocolate Dipped Strawberries: For a touch of elegance, serve these fruit delicacies alongside your cookie fries. The rich chocolate immersed in fresh strawberries will elevate your dessert experience even further.
-
Mini Cheesecakes: Their rich and creamy texture harmonizes well with the cookie fries. A decadent choice that turns a cozy treat time into a delightful gathering.
-
Coconut Water: This hydrating drink pairs well with any dessert, offering a refreshing break between the sweetness of the cookie fries and frosting dip.
-
Homemade Whipped Cream: This lighter, airy topping can also serve as a complementary dip if you want an alternative to the rich frosting.
Cookie Fries with Frosting Dip Variations
Feel free to get creative and personalize your Cookie Fries with Frosting Dip for a delightful twist everyone will love!
-
Gluten-Free: Use a gluten-free flour blend in place of all-purpose flour for a safe treat. Enjoy the same crispy gluten-free goodness!
-
Nutty Crunch: Mix in chopped walnuts or pecans to add a delightful crunch and depth of flavor. Pairing nuts with the sweetness of cookies creates a beautiful balance.
-
Chocolate Lovers: Fold in chocolate chips before baking for a gooey surprise in every fry! The melty chocolate elevates this treat to decadent heights.
-
Spicy Twist: Sprinkle in some cinnamon or nutmeg for a warm, aromatic flavor that will surprise your taste buds. This little spice can turn a simple cookie fry into an exciting seasonal treat.
-
Fruit Fusion: Incorporate dried cranberries or cherries into the dough for a chewy burst of fruity goodness. This variation is refreshing and brings a wonderful texture contrast.
-
Dipping Variations: Switch it up by trying a rich chocolate ganache or a peppermint frosting if you’re feeling festive! Each dip brings its own unique flair to the cookie experience.
For more baking inspiration, you might enjoy trying out a delicious Sugar Cookie Cheesecake or a comforting Chicken Curry with Coconut Milk. Both are fantastic options for warm, homemade flavors!
Expert Tips for Cookie Fries
-
Room Temperature Butter: Ensure your butter is at room temperature for optimal creaming; melted butter can lead to flat cookies.
-
Chill the Dough: Don’t skip the chilling step! Chilling helps the Cookie Fries maintain their shape while baking for that perfect fry-like texture.
-
Mix with Care: When combining wet and dry ingredients, mix just until combined. Overmixing can make your cookies tough, affecting their tenderness.
-
Watch the Bake Time: Keep a close eye on your cookies while baking; they should remain soft after cooling for the best texture and flavor.
-
Customize Wisely: Feel free to customize your Cookie Fries by adding nuts or chocolate—but ensure they’re well-distributed for even texture and taste.

Cookie Fries with Frosting Dip Recipe FAQs
What type of flour should I use for Cookie Fries?
You can use all-purpose flour for this recipe. If you need a gluten-free option, I recommend substituting it with a gluten-free flour blend that is designed for baking to maintain their chewy texture.
How should I store Cookie Fries?
Store your Cookie Fries in an airtight container in the fridge for up to 3 days to keep them fresh. If you prefer, they can be enjoyed cold or warmed slightly in the microwave, which makes them delightfully chewy.
Can I freeze unbaked Cookie Fries?
Absolutely! Freeze the cut cookie fries on a baking sheet until firm, then transfer them to a zip-top bag for up to 2 months. When you’re ready to bake, simply place them directly in the preheated oven at 350°F (175°C) without thawing; they’ll be just as delicious!
What if my Cookie Fries spread out while baking?
If you notice your cookie fries spreading too much, it might be due to melted butter or not chilling the dough long enough. To troubleshoot, ensure your butter is at room temperature and follow the chilling steps closely to help them maintain their fry shape.
Are there any dietary considerations for pets or allergies?
Definitely! Keep in mind that Cookie Fries should not be shared with pets, as ingredients like chocolate and certain kinds of sugar can be harmful. If there are allergy concerns, always verify each ingredient label, particularly for gluten, dairy, and nut allergies.
Is the frosting dip customizable?
Very! You can modify the frosting dip by using vegan cream cheese for a dairy-free version or substituting heavy cream with coconut cream for a non-dairy alternative. You can also add flavors like almond extract or cocoa powder to create variations that excite your taste buds!
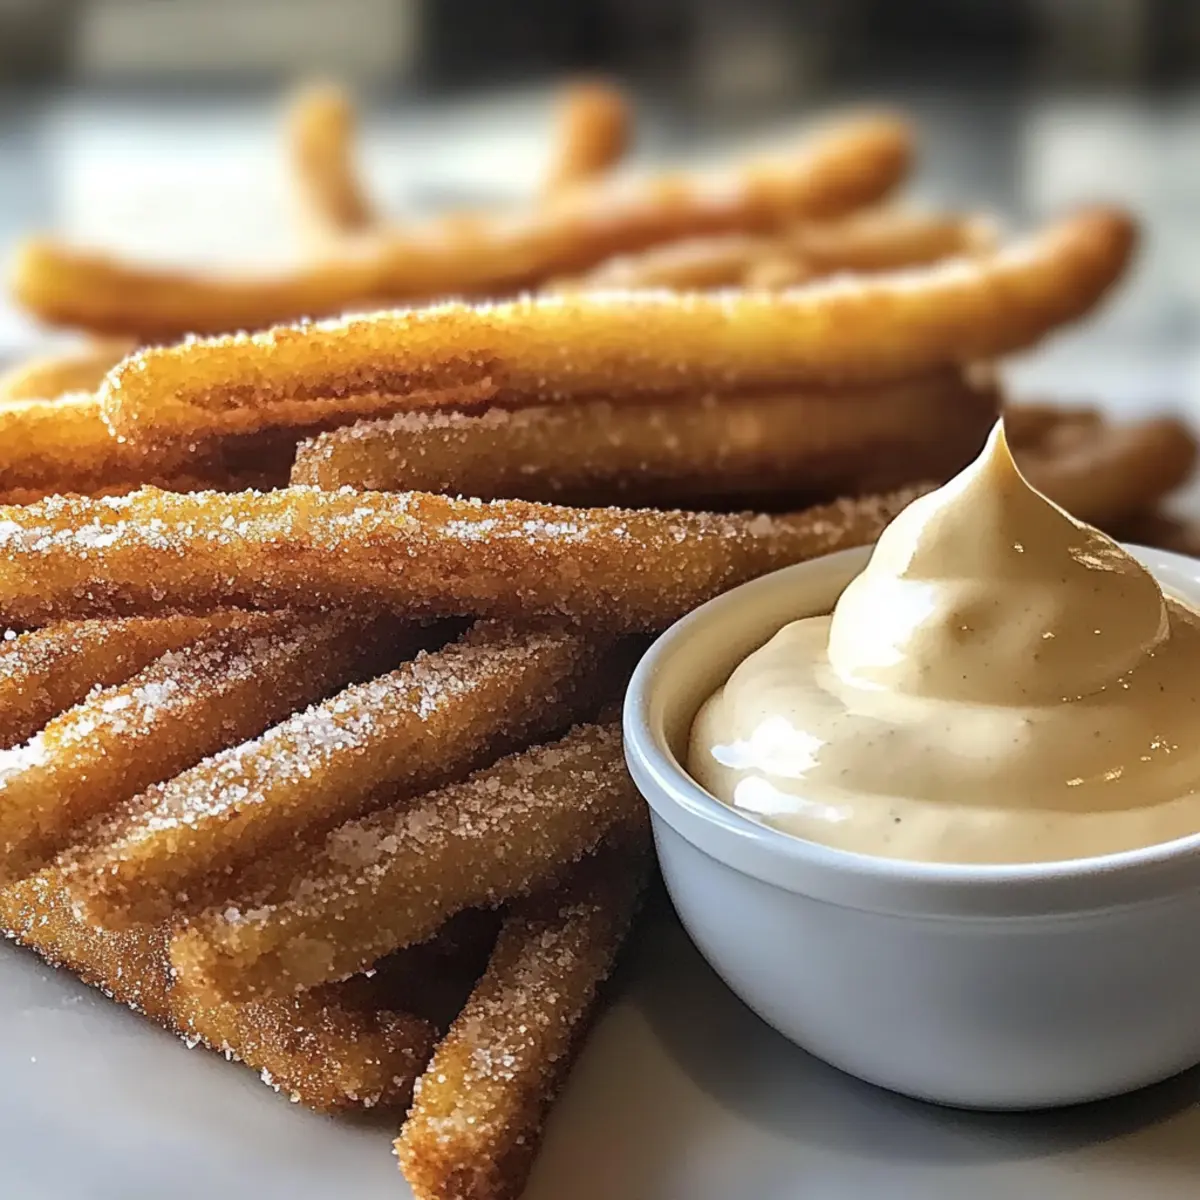
Cookie Fries with Frosting Dip: A Fun Twist on Desserts
Ingredients
Equipment
Method
- Line two large baking sheets with parchment paper.
- In a medium bowl, whisk together flour, cornstarch, salt, and baking powder.
- In a large bowl, beat butter and brown sugar until light and fluffy.
- Mix in the egg and vanilla extract until fully incorporated.
- Gradually incorporate the dry mix into the wet ingredients until just combined.
- Cover the dough with plastic wrap and refrigerate for 30 minutes.
- Roll out the chilled dough to 3/8 inch thick and cut into fry shapes.
- Freeze the cut fries on a baking sheet for about 20 minutes.
- Preheat the oven to 350°F (175°C).
- Bake for 10-12 minutes until light in color and just firm.
- Whip together cream, cream cheese, and powdered sugar until smooth for the dipping sauce.
Leave a Reply