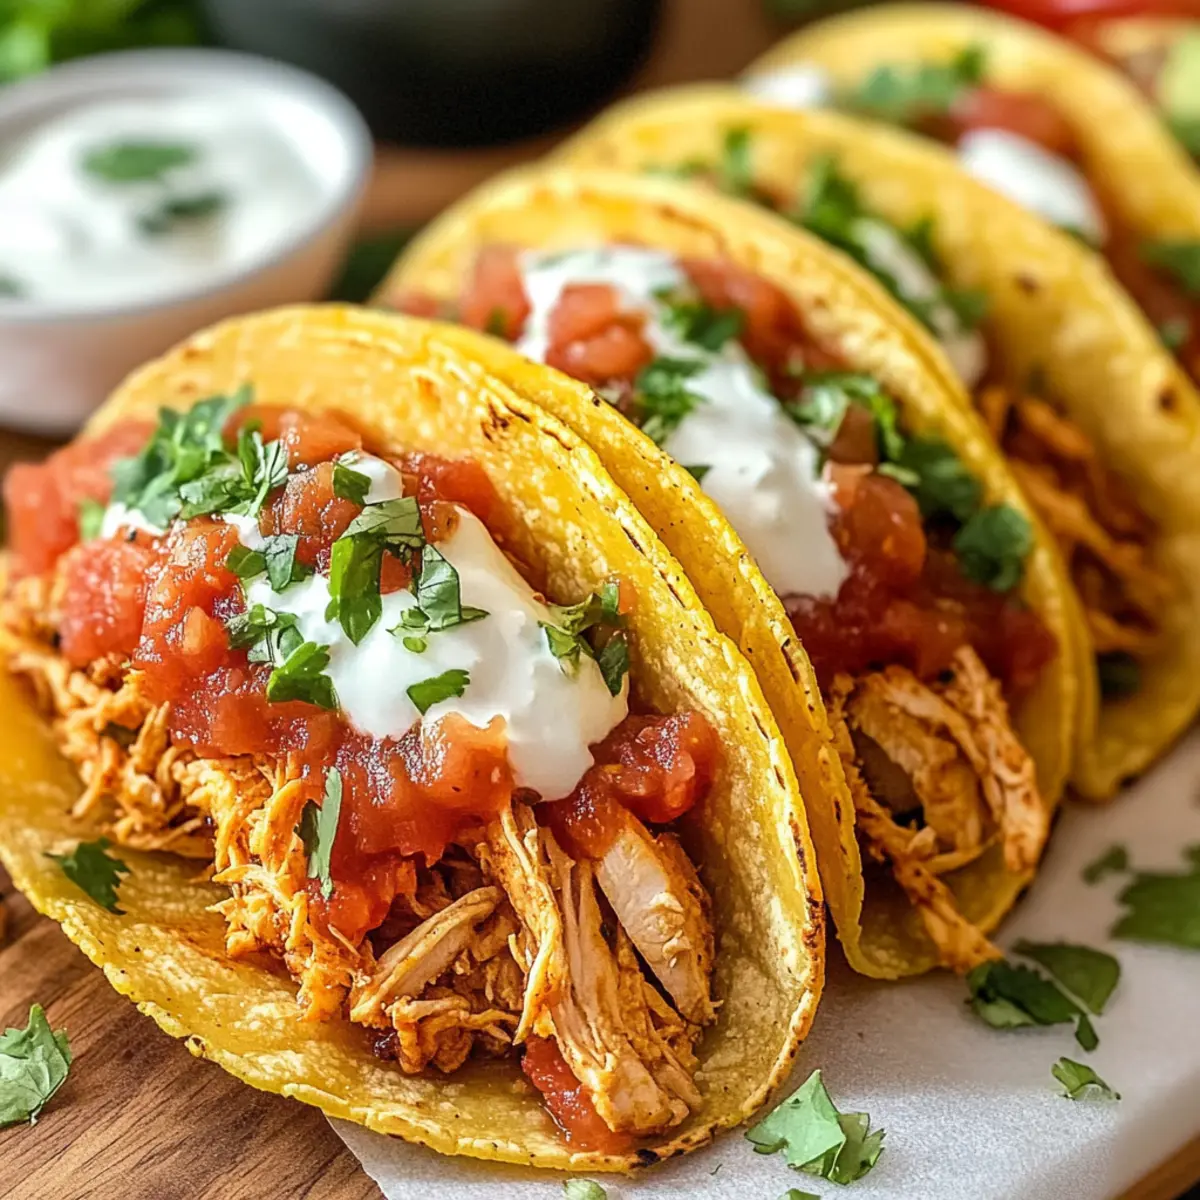
Every bite of a taco transports me to a lively cantina, where the air is filled with laughter and the scent of sizzling spices. Today, I’m thrilled to share my recipe for Delicious Crispy Chicken Tacos, a fun and effortless way to bring that vibrant atmosphere right into your kitchen. With this easy oven recipe, you can enjoy golden, crunchy tacos without the mess of frying, making it perfect for those busy weeknights when you crave comfort food but also want to keep things light. Plus, these tacos are completely customizable—swap in your favorite toppings or even try a different protein to suit your taste. Are you ready to impress your family with a dish that’s as fun to make as it is to eat? Let’s dive in!
Why are these tacos a must-try?
Delicious and satisfying: These Crispy Chicken Tacos pack a flavorful punch that your family will love. Customizable toppings allow everyone to personalize their meal, from spicy to mild. Quick and easy to prepare, they turn weeknight dinners into festive occasions without the hassle of frying. Nutritious yet indulgent, each taco is around 172 calories, making it a guilt-free option. If you’re in the mood for more Mexican delights, why not pair these with some Sticky Chicken Bowls or dive into some Chicken Enchiladas Savory? Your taste buds will thank you!
Delicious Crispy Chicken Tacos Ingredients
For the Chicken Filling
• Cooking Oil (1 ½ tablespoons) – Adds moisture and helps achieve a golden, crispy texture; substitute avocado oil or olive oil for variety.
• Chicken Breast (1 lb) – This main protein takes on great flavor when seasoned; boneless, skinless is essential for easy shredding.
• Taco Seasoning (1 batch) – Provides depth of flavor; feel free to use homemade or store-bought based on your spice preference.
• Salsa (½ cup) – Containing moisture and enhancing flavor; use mild or medium depending on taste sensitivity.
• Chicken Broth (½ cup) – Keeps chicken moist during cooking; adjust for sauce consistency to your liking.
For the Taco Assembly
• Corn Tortillas (12, 5-6 inches) – Ideal for baking, as they crisp better than flour tortillas; warm before folding to prevent cracking.
• Mexican Blend Cheese (8 oz) – Binds the filling beautifully and adds richness; swap for your favorite cheese variety to match your taste.
These Delicious Crispy Chicken Tacos are a fantastic homemade option that brings smiles to the dinner table!
Step‑by‑Step Instructions for Delicious Crispy Chicken Tacos
Step 1: Preheat the Oven
Start by preheating your oven to 425°F (220°C). While the oven warms up, prepare two baking sheets by lining them with parchment paper. This will prevent the tacos from sticking and help achieve that perfect crispy texture you desire.
Step 2: Sear the Chicken
In a large skillet, heat 1 ½ tablespoons of cooking oil over medium heat. Once the oil is shimmering, add the chicken breast, cooking for 3-5 minutes until it’s golden on one side. This quick sear locks in the moisture and flavor, making your filling succulent and delicious.
Step 3: Season and Cook
Flip the chicken gently and sprinkle your prepared taco seasoning over the top. Pour in the salsa and chicken broth, cover the skillet, and reduce the heat to low. Let it simmer for 10-12 minutes, or until the chicken is tender and easily shredded with a fork, absorbing all those fantastic flavors.
Step 4: Prepare the Tortillas
While the chicken cooks, warm the corn tortillas in a separate skillet over low heat for about 30 seconds on each side. Warming them keeps the tortillas pliable and prevents cracking while you assemble your Delicious Crispy Chicken Tacos. Keep the warmed tortillas covered to retain heat.
Step 5: Shred the Chicken
Once the chicken is done cooking, carefully remove it from the skillet and let it cool for a moment. Shred the chicken using two forks and reserve the cooking juices to drizzle over your tacos later, ensuring they stay moist and flavorful.
Step 6: Assemble the Tacos
On each warmed tortilla, place a generous sprinkle of Mexican blend cheese, followed by a portion of the shredded chicken. Drizzle some of the reserved cooking juices over the chicken for added moisture and flavor. Fold the tortillas in half and brush the outer sides lightly with oil to promote crispness in the oven.
Step 7: Bake the Tacos
Arrange the assembled tacos on the prepared baking sheets, ensuring they’re spaced out for even cooking. Bake in the preheated oven for 20-25 minutes, flipping and rotating the trays halfway through. You’ll know they’re done when the tortillas are golden brown and crispy.
Step 8: Rest and Serve
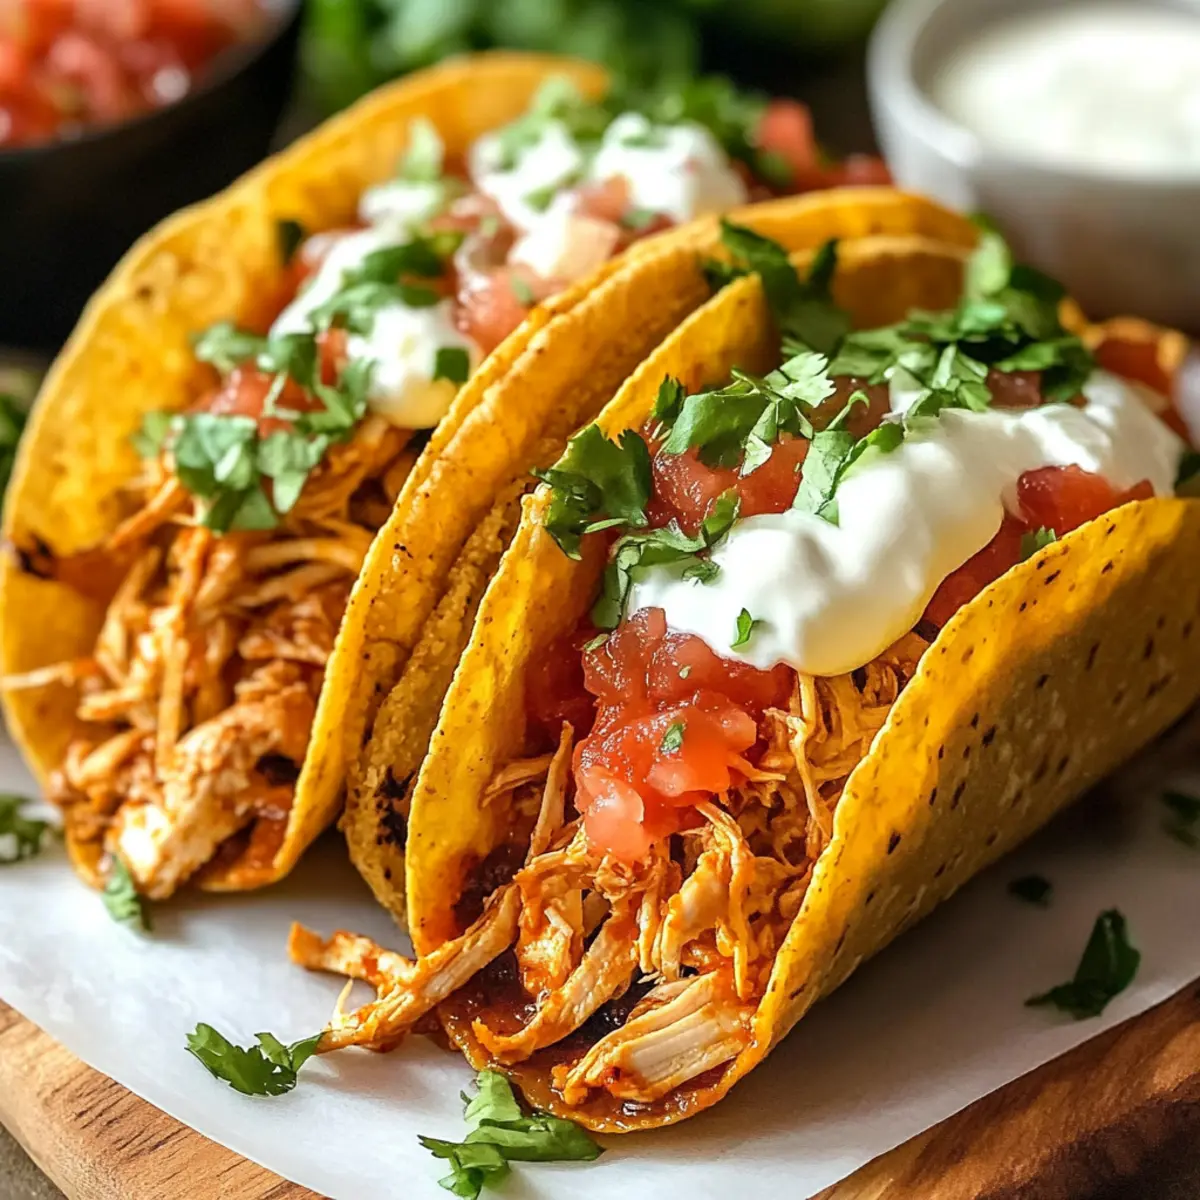
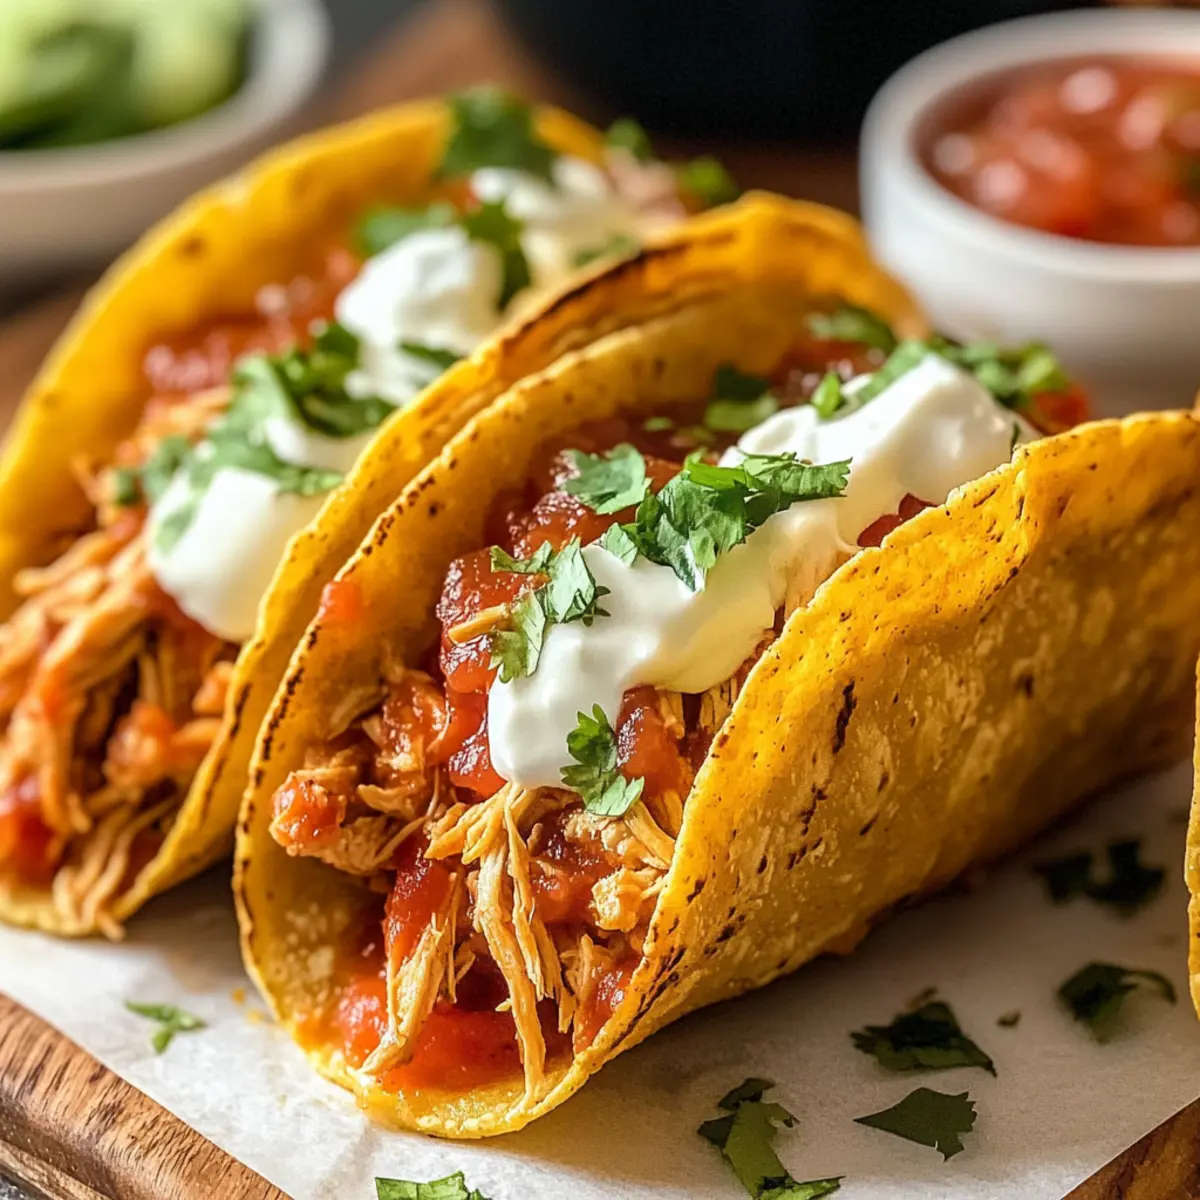
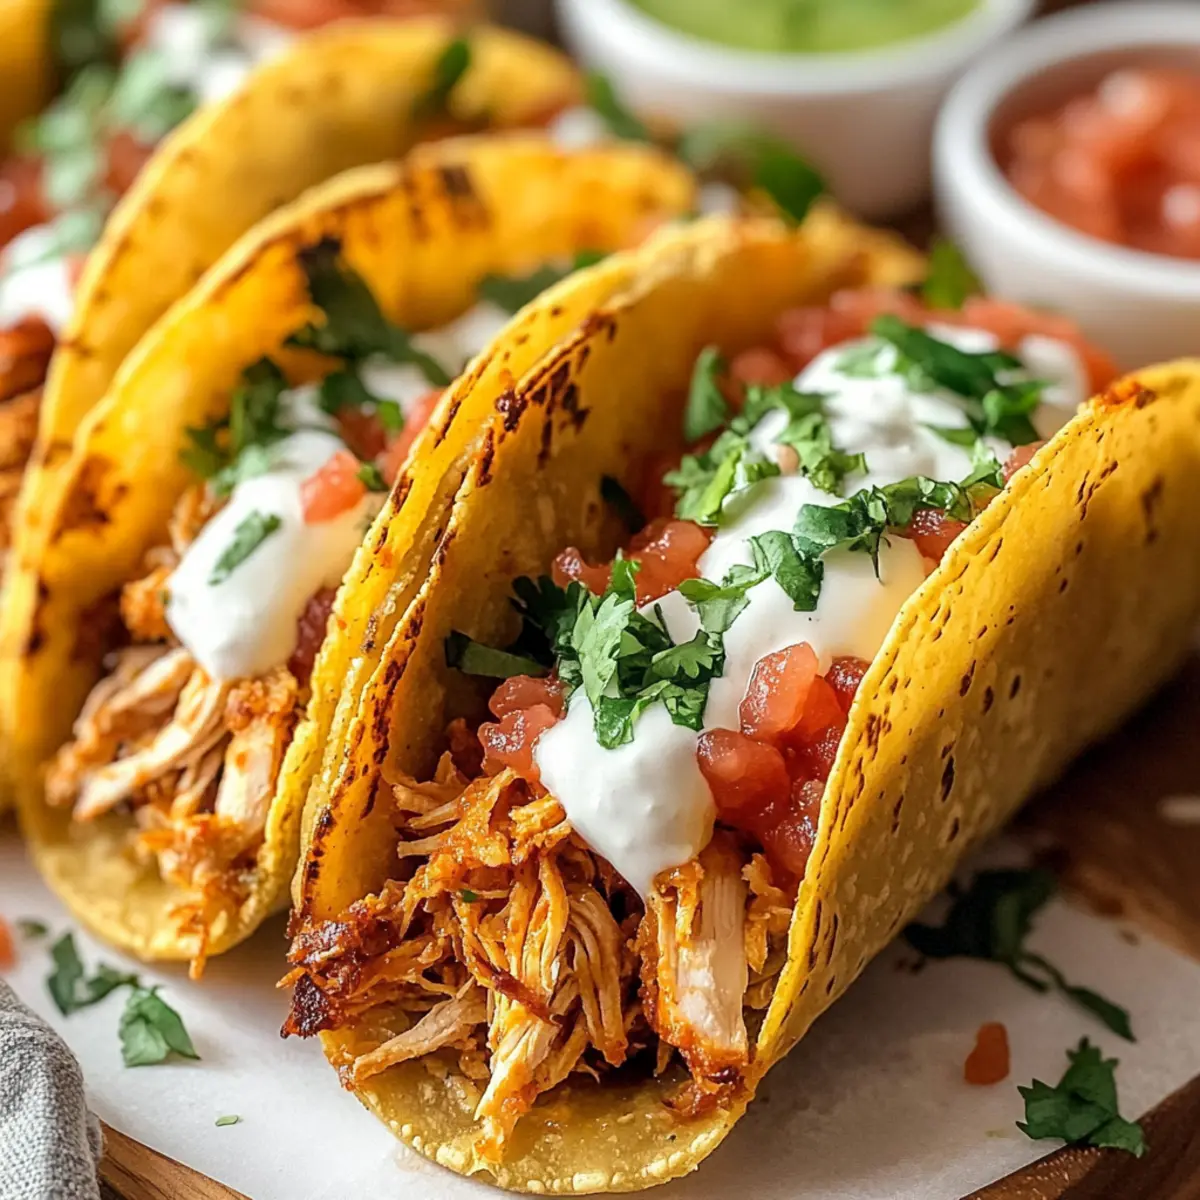
Once baked, allow your Delicious Crispy Chicken Tacos to rest for about 5 minutes. This lets the mozzarella cheese set slightly, perfect for holding all that flavorful filling. Serve the tacos garnished with your favorite toppings, like fresh salsa, guacamole, or sour cream, and enjoy the delightful crunch!
Make Ahead Options
These Delicious Crispy Chicken Tacos are perfect for meal prep enthusiasts looking to save time during busy weeknights! You can prepare the chicken filling up to 3 days in advance. Simply cook and shred the chicken as directed, then store it in an airtight container in the fridge. For optimal flavor, drizzle some reserved cooking juices over the shredded chicken before refrigerating to maintain moisture. The tortillas can also be warmed and stored separately, making assembly a breeze. When you’re ready to enjoy these tacos, simply fill the tortillas, brush with oil, and bake according to the recipe instructions—guaranteeing a delightful meal in no time!
Expert Tips for Delicious Crispy Chicken Tacos
• Oil Brushing: Brush tortillas lightly with oil to ensure the perfect crispiness. Skipping this step will lead to soft, chewy shells instead of the desired crunch.
• Cooking Sauce: Reserve some of the cooking juices to drizzle over the chicken filling. This enhances moisture and flavor, ensuring each bite of your Delicious Crispy Chicken Tacos is bursting with taste.
• Tray Rotation: Rotate the baking trays halfway through cooking to prevent any uneven crispness. This simple step guarantees that all tacos achieve that delightful golden-brown color.
• Storage Strategy: Store any leftovers in an airtight container in the fridge, where they’ll stay fresh for up to 3 days. For optimal reheating, place them in the oven to reclaim their delightful crunch.
• Customize Fillings: Feel free to swap chicken with ground beef, turkey, or even beans for a vegetarian option. Personalizing your tacos keeps mealtime exciting and allows everyone to enjoy their favorites.
What to Serve with Delicious Crispy Chicken Tacos
Pairing your crispy tacos with delightful sides can elevate your meal from good to unforgettable.
- Tangy Guacamole: Creamy and fresh, guacamole adds a zesty contrast that complements the crunch of the tacos.
- Zesty Black Bean Salad: This refreshing salad brings a mix of textures and a burst of flavor, balancing the richness of the chicken.
- Cool Mexican Street Corn: Sweet, buttery corn topped with lime and chili powder enhances the flavor profile, making every bite pop.
- Pico de Gallo: Fresh and vibrant, this chunky salsa adds a delightful crunch and brightens up the overall flavor of the tacos.
- Sour Cream Drizzle: A dollop of sour cream provides a rich, tangy finish that pairs beautifully with the seasoned chicken.
- Crisp Side Salad: A light salad with mixed greens, tomatoes, and a citrus vinaigrette offers a refreshing contrast to the hearty tacos.
- Margaritas or Iced Tea: Finish your meal with a refreshing drink like a classic margarita or a chilled iced tea to round out the experience.
By adding these sides, your dinner becomes a delightful, flavor-packed fiesta that everyone will love!
Delicious Crispy Chicken Tacos Variations
Feel free to let your creativity shine while making these tacos; the possibilities are endless!
- Ground Beef: Swap shredded chicken for seasoned ground beef for a classic twist. It’s a hearty alternative that’s just as satisfying.
- Turkey Option: Use ground turkey instead of chicken for a leaner protein choice that still delivers delicious flavor.
- Vegetarian Delight: Substitute the chicken with black beans or lentils for a hearty vegetarian option loaded with nutrients.
- Cheese Variety: Experiment with different cheeses like pepper jack or queso fresco for a unique flavor profile that excites your taste buds.
- Crunchy Topping: Add a sprinkle of crushed tortilla chips on top for an extra layer of crunch that will make each bite even more delicious.
- Spicy Kick: Include diced jalapeños or a drizzle of hot sauce to heat things up and satisfy your spice cravings.
- Herb Infusion: Fresh cilantro or chopped green onions can be added as a garnish to enhance freshness and complement all the rich flavors.
- Different Salsas: Try different salsa varieties, such as mango or pineapple salsa, for a fruity twist that will brighten your meal.
Ready to enjoy? You can pair these tacos with a side of Honey BBQ Chicken or expand your taco night with some Birria Tacos Savory! Enjoy every flavorful bite!
How to Store and Freeze Delicious Crispy Chicken Tacos
Fridge: Store cooled tacos in an airtight container for up to 3 days. This keeps them fresh and ready for quick reheating.
Freezer: For longer storage, freeze the chicken filling separately in a freezer-safe bag for up to 3 months. Thaw overnight in the fridge before assembling fresh tacos.
Reheating: When ready to enjoy again, reheat in the oven at 350°F (175°C) for about 10-15 minutes until heated through and crispy. This ensures your Delicious Crispy Chicken Tacos maintain their crunchiness.
Wrapping: If storing assembled tacos, wrap them tightly in foil or plastic wrap before refrigerating or freezing to prevent freezer burn and keep flavors intact.
Delicious Crispy Chicken Tacos Recipe FAQs
How do I know when my chicken is properly cooked?
Absolutely! The chicken should be white throughout with no pinkness remaining and should shred easily with a fork. Using a meat thermometer can help ensure safety, aiming for an internal temperature of 165°F (75°C).
Can I use corn tortillas that are already crispy for these tacos?
Very! While fresh corn tortillas give you a soft, pliable texture that crisps up beautifully during baking, using pre-crisped tortillas can work. Just be cautious about baking time as you don’t want them to over-brown or become too crunchy.
How should I store leftovers from the Delicious Crispy Chicken Tacos?
To store leftovers, let the tacos cool before placing them in an airtight container. They can stay fresh in the fridge for up to 3 days. For the best results when reheating, use the oven at 350°F (175°C) for about 10-15 minutes, allowing them to regain that crispy texture.
Can I freeze the chicken filling for later use?
Absolutely! To freeze, place the cooled chicken filling in a freezer-safe bag, removing as much air as possible. It can be stored for up to 3 months. When you’re ready to use it, thaw overnight in the refrigerator before assembling fresh tacos, making weeknight meals a breeze!
What are some allergy considerations I should keep in mind?
If someone in your family has a dairy allergy, consider substituting the cheese with a dairy-free alternative or simply omitting it. You can still enjoy mouthwatering flavors by using plenty of fresh veggies and sauces. For gluten sensitivities, ensure your corn tortillas are certified gluten-free.
Delicious Crispy Chicken Tacos Perfect for Family Dinner Nights
Ingredients
Equipment
Method
- Preheat your oven to 425°F (220°C) and prepare two baking sheets lined with parchment paper.
- Heat 1 ½ tablespoons of cooking oil in a skillet over medium heat. Add the chicken breast and cook for 3-5 minutes until golden on one side.
- Flip the chicken and sprinkle taco seasoning over. Pour in salsa and chicken broth, cover, and simmer for 10-12 minutes.
- Warm corn tortillas in a separate skillet for about 30 seconds on each side.
- Remove chicken from skillet, let it cool, then shred using two forks.
- On each tortilla, place cheese, followed by shredded chicken. Drizzle reserved cooking juices and fold tortillas.
- Arrange tacos on baking sheets and bake for 20-25 minutes, flipping halfway through.
- Let the tacos rest for 5 minutes before serving with your favorite toppings.
Leave a Reply