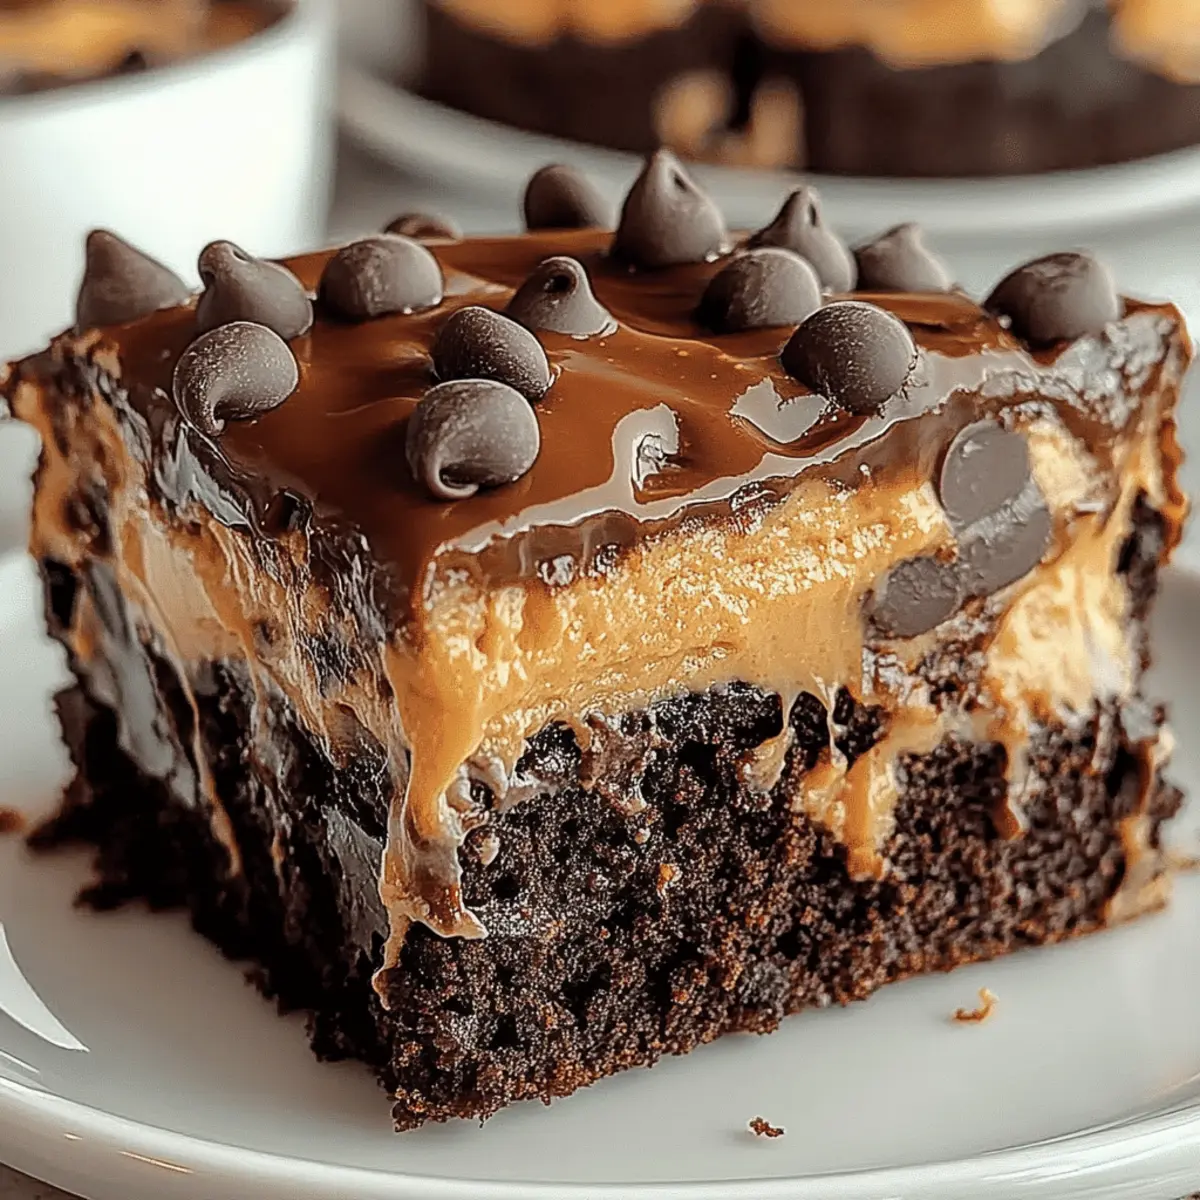
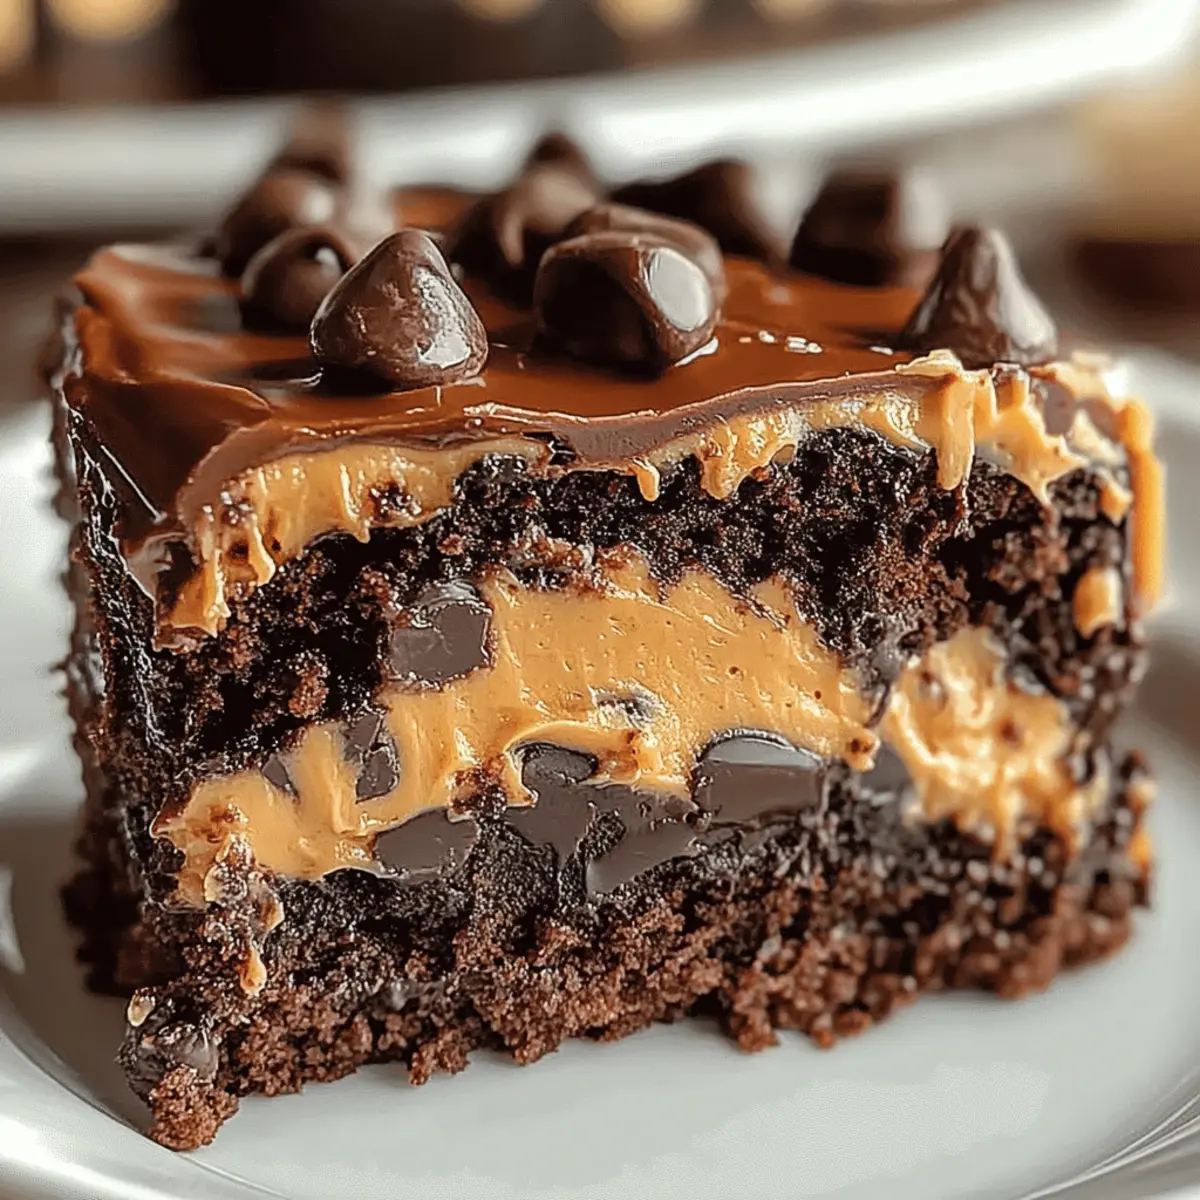
The first time I baked a cake that seemed to erupt with flavor, it was during a very chaotic family gathering. A mix of thrilling anticipation and a little kitchen anxiety danced in the air as I pulled this Gooey Peanut Butter Earthquake Cake from the oven. With its rich cocoa base cracking open to reveal a deliciously molten peanut butter center, this dessert quickly became a beloved staple in our home. Not only is it a showstopper for any potluck, but it’s also surprisingly simple to whip up using just a cake mix and some basic ingredients. If you’re tired of fast food and seeking a comforting yet impressive chocolate dessert, you’ve struck gold! How tempting does a slice of warm cake, oozing with creamy goodness, sound? Let’s dive into the delectable details!
Can Dessert Get Any Gooier?
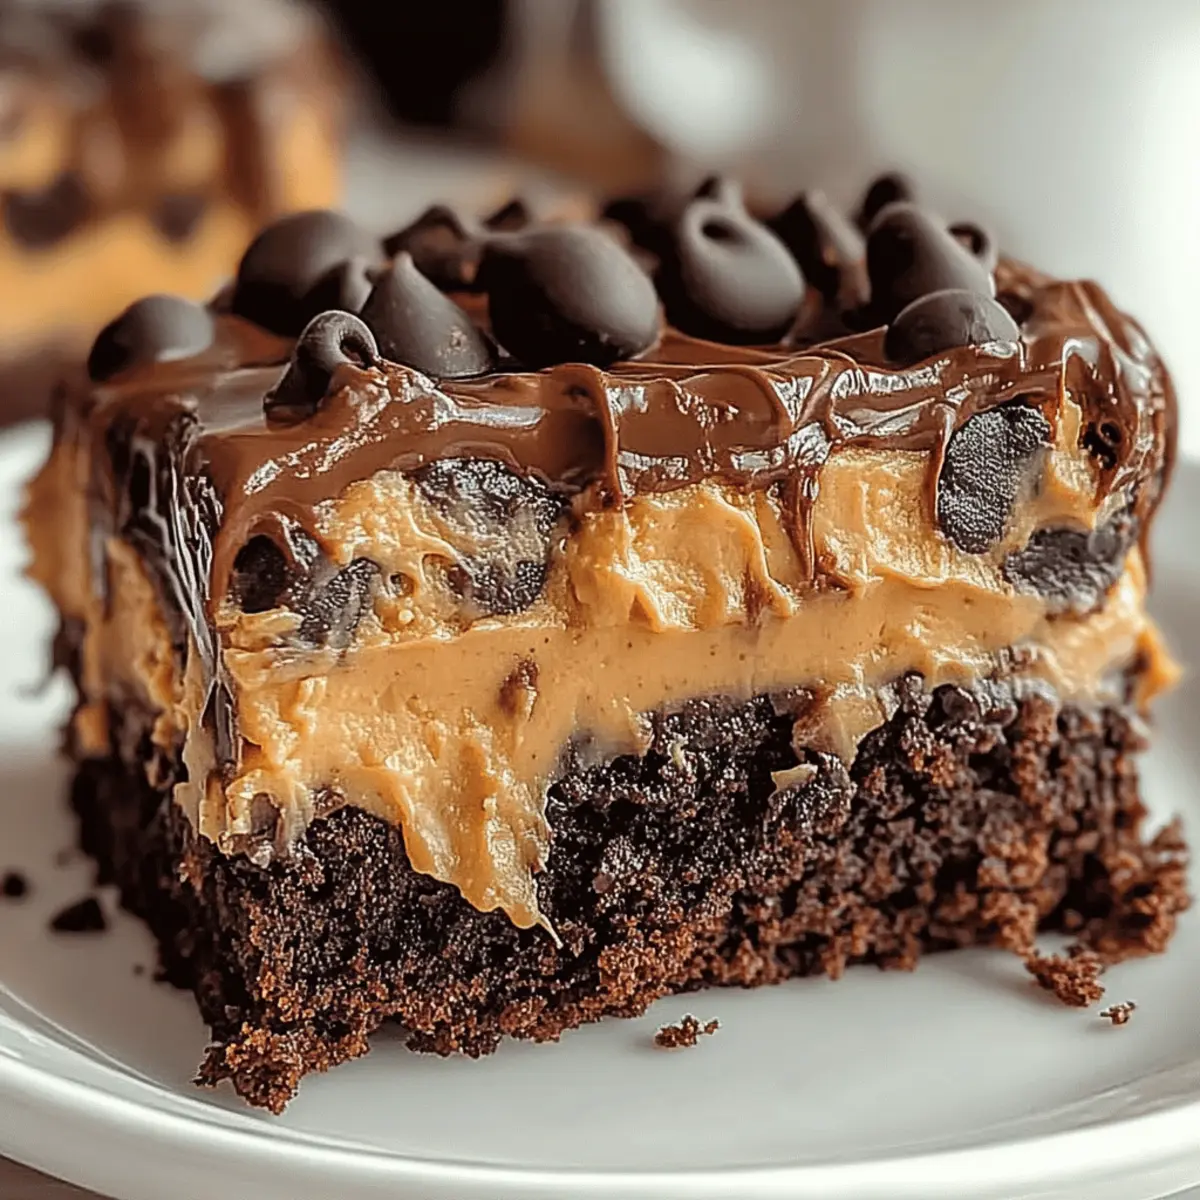
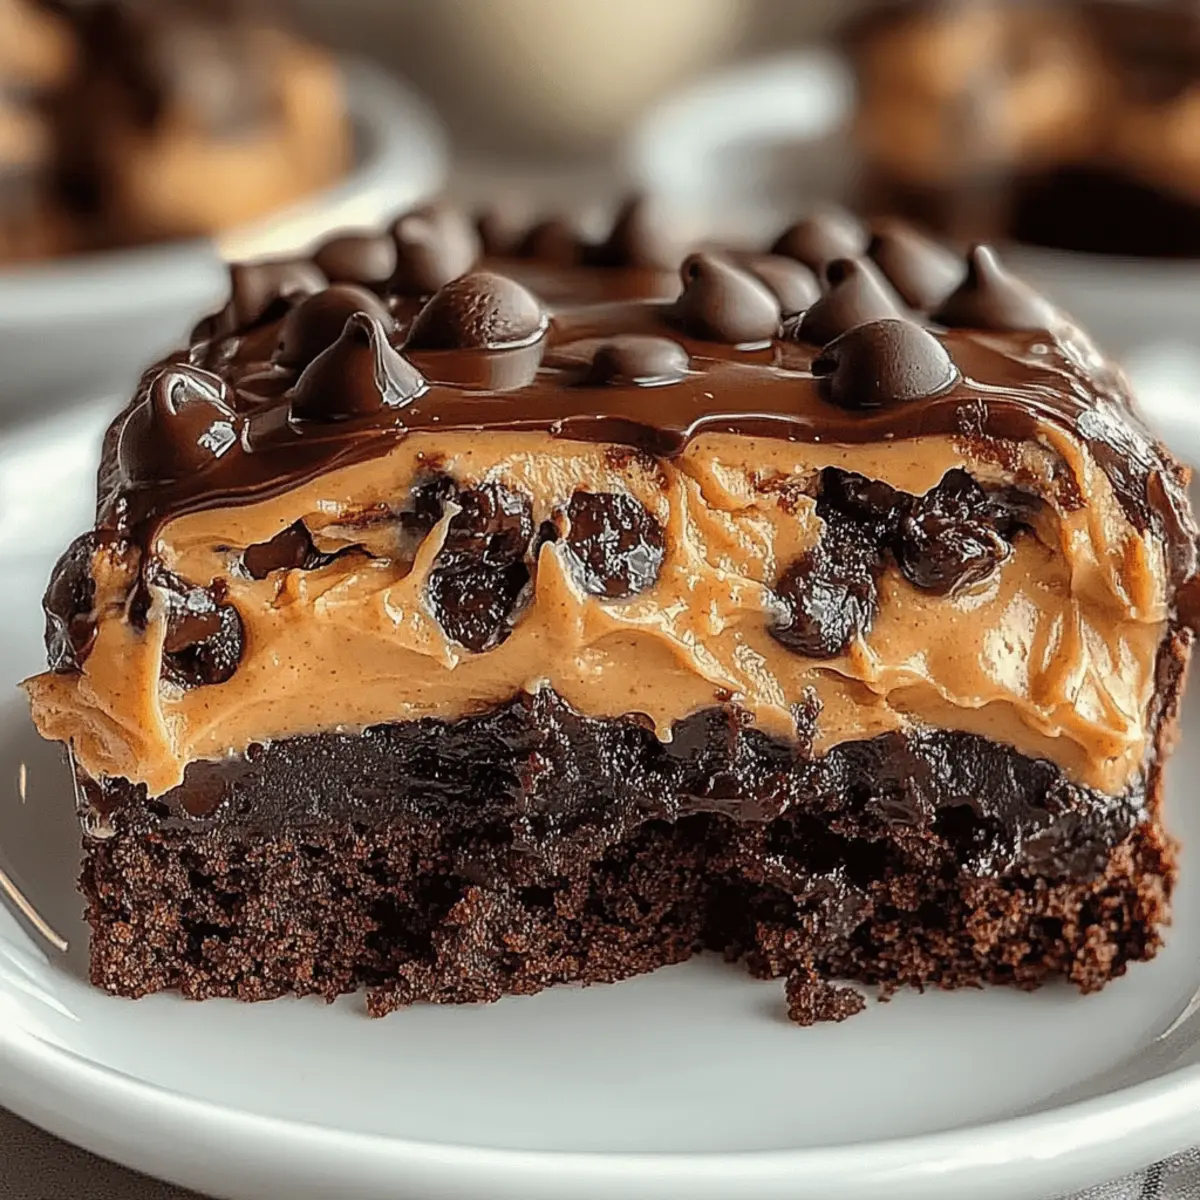
Decadence, that’s the essence of this Gooey Peanut Butter Earthquake Cake! Each slice is an explosion of flavor, where the rich chocolate cake meets a creamy, molten filling. Simplicity, with a few basic ingredients and just a cake mix, you can impress your family and friends without breaking a sweat. Versatile, feel free to swap in yellow or white cake mixes for a delightful twist, or even try different nut butters to switch things up! Crowd-Pleasing, this dessert is always a hit at potlucks — everyone will be coming back for seconds! When you serve a warm slice topped with a scoop of vanilla ice cream, it’s pure bliss! Don’t miss out on trying my Cinnamon Honey Butter Sweet Potato Cornbread next for a festive feast!
Gooey Peanut Butter Earthquake Cake Ingredients
For the Cake Base
• Chocolate Cake Mix – The foundation of this cake, giving it structure and flavor; feel free to choose your favorite brand.
• Eggs – Essential for moisture and structure; for a vegan alternative, try flax eggs!
• Oil – Keeps the cake moist and tender; melted coconut oil is a healthier substitute.
• Water – Hydrates the dry mix to create that perfect batter.
For the Creamy Filling
• Cream Cheese (8 oz) – Adds richness and a smooth texture; neufchâtel cheese makes a lower-fat swap.
• Peanut Butter (1/2 cup) – Brings that delightful salty creaminess; almond butter is great if you want to experiment.
• Melted Butter (1/2 cup) – Enhances the filling’s richness and gooeyness.
• Powdered Sugar (4 cups) – Sweetens and thickens, essential for that thick filling.
• Vanilla Extract (1/2 teaspoon) – Introduces depth to the overall flavor profile.
• Semi-Sweet Chocolate Chips (1/2 cup) – For that extra burst of chocolate; feel free to choose milk or dark chocolate instead.
Indulge in this Gooey Peanut Butter Earthquake Cake and enjoy the delightful eruption of flavors in every bite!
Step‑by‑Step Instructions for Gooey Peanut Butter Earthquake Cake
Step 1: Prepare Cake Base
Begin by preheating your oven to 350°F (175°C). Grease a 9×13-inch baking pan with non-stick spray or butter to prevent sticking. In a large mixing bowl, follow the instructions on the chocolate cake mix package, stirring in the required eggs, oil, and water until the batter is smooth. Pour the rich, luscious batter into the prepared pan, ensuring an even layer.
Step 2: Mix the Creamy Filling
In a medium-sized bowl, beat 8 oz of softened cream cheese with an electric mixer until it’s creamy. Gradually mix in the melted butter and ½ cup of peanut butter, blending until the mixture is silky and well combined. Add ½ teaspoon of vanilla extract for a touch of flavor, making sure everything is fully incorporated before moving on to the next step.
Step 3: Thicken the Filling
Slowly incorporate 4 cups of powdered sugar into the peanut butter mixture, mixing on low speed until fully combined. Continue to beat until you achieve a thick, spreadable consistency. This luscious filling will add that gooey texture to your delicious Gooey Peanut Butter Earthquake Cake, so be sure to scrape down the sides of the bowl to mix everything well.
Step 4: Create Earthquake Effect
Spoon dollops of the peanut butter filling mixture evenly across the top of the chocolate batter in the pan. Using a knife, gently swirl the fillings into the batter to create a marbled effect. Be careful not to over-mix; you want to keep distinct pockets of that creamy filling for the best “earthquake” surprise when baked.
Step 5: Bake the Cake
Sprinkle ½ cup of semi-sweet chocolate chips generously over the top of the swirled batter, adding an extra touch of chocolatey goodness. Place the cake in the preheated oven and bake for 40-45 minutes. Look for the edges to be set while the center remains slightly gooey—not fully cooked—to achieve that decadent, molten texture.
Step 6: Cool and Serve
Once baked, remove the cake from the oven and let it cool in the pan for at least 15 minutes. This brief cooling period allows the filling to set slightly, making it easier to cut. Serve warm to showcase the inviting, gooey filling that lies within, making your Gooey Peanut Butter Earthquake Cake a delightful treat for family and friends.
What to Serve with Gooey Peanut Butter Earthquake Cake
Looking to create a wonderful meal alongside this indulgent dessert? Let’s explore some delightful pairings that will elevate your dining experience.
-
Vanilla Ice Cream: The classic choice! A scoop of creamy vanilla ice cream beautifully balances the rich chocolate and peanut butter flavors.
-
Fresh Berries: Ripe strawberries, raspberries, or blueberries provide a refreshing contrast to the dense cake, adding a burst of naturally sweet acidity.
-
Chocolate Ganache: Drizzle warm chocolate ganache over each slice for an extra layer of chocolatey indulgence, making every bite even more decadent.
-
Peanut Butter Drizzle: Enhance the peanut buttery goodness of the cake with a warm peanut butter drizzle, which complements the cake’s filling perfectly.
-
Coffee or Espresso: A cup of rich coffee or espresso serves as a warming beverage that brings out the chocolate flavors and balances the sweetness of the dessert.
-
Whipped Cream: Light and airy, fresh whipped cream adds a fluffy texture and a dreamy touch that complements the cake’s gooey center beautifully.
-
Chocolate Milk: For a nostalgic twist, serve with a cold glass of chocolate milk. The chocolatey taste pairs perfectly with the cake’s richness.
Impress your guests by choosing two or three of these pairings, and get ready for a delightful feast that will keep everyone coming back for more!
Make Ahead Options
These Gooey Peanut Butter Earthquake Cakes are perfect for busy home cooks looking to save time! You can prepare the creamy peanut butter filling up to 24 hours in advance—simply mix all the ingredients and refrigerate. When you’re ready to bake, pour the prepared chocolate cake batter into your pan, then spoon the chilled filling on top and swirl gently. To maintain that irresistible gooeyness, make sure to bake shortly after combining the two components. This way, you’ll still achieve that delightful molten center, making your dessert just as delicious as if made fresh! Plus, having the filling ready in advance helps you whip up this crowd-pleaser in no time.
Gooey Peanut Butter Earthquake Cake Variations
Get ready to explore a world of delightful customization for your Gooey Peanut Butter Earthquake Cake that will excite your taste buds!
- Cake Mix Swap: Try using yellow or white cake mix instead of chocolate for a lighter flavor twist.
- Nut Butter Variety: Experiment with different nut butters like almond, cashew, or even sunflower seed butter for a uniquely creamy filling.
- Healthier Option: Substitute coconut oil for melted butter in the filling for a lighter, tropical flair.
- Sweetness Levels: Adjust the amount of powdered sugar in the filling according to your taste preferences; less sugar means a more balanced flavor.
- Decadent Topper: Add a sprinkle of sea salt over the melted chocolate chips for an enticing sweet-savory contrast!
- Texture Play: Fold in some crushed graham crackers or nuts into the filling for a satisfying crunch that complements the gooey interior.
- Flavor Boost: Infuse your cream cheese filling with a tablespoon of your favorite liqueur for a hint of sophistication—think Frangelico or Baileys!
- Mini-Size: Pour the batter into a muffin tin for individual gooey cakes, perfect for portion control and fun presentations!
These variations are just the beginning of exploring flavors; why not try whipping up my delightful Cheesecake Fudge Snap for a rich treat that pairs wonderfully with this cake? Whatever you choose, have fun and enjoy the process of making this indulgent dessert truly your own!
How to Store and Freeze Gooey Peanut Butter Earthquake Cake
Fridge: Store any leftovers in an airtight container in the refrigerator for up to 4 days, preserving the gooey goodness of this decadent dessert.
Freezer: If you wish to freeze the cake, wrap individual slices tightly in plastic wrap or aluminum foil, then place them in a freezer-safe container for up to 2 months.
Reheating: To enjoy your cake again, heat individual slices in the microwave for 10-15 seconds until warmed through, and the filling regains its luscious consistency.
Make-Ahead: For convenience, you can prepare the peanut butter filling up to 24 hours before baking. Store it in the fridge, then combine with the cake batter just before you’re ready to bake for optimal flavor.
Expert Tips for Gooey Peanut Butter Earthquake Cake
-
Room Temperature Cream Cheese: Ensure cream cheese is at room temperature for a lump-free filling. Cold cream cheese can lead to an uneven mixture.
-
Swirl Wisely: Avoid over-mixing the peanut butter filling into the batter. For the best volcanic effect, leave visible pockets of the filling.
-
Check for Doneness: Instead of a toothpick, gently pull the edges away from the pan to check if the cake is done. The center should remain gooey.
-
Experiment with Nut Butters: Try using almond or cashew butter for unique flavor profiles in your Gooey Peanut Butter Earthquake Cake.
-
Storage Tips: Store any leftovers in an airtight container in the refrigerator. Reheat slices in the microwave for that signature gooey texture.
Gooey Peanut Butter Earthquake Cake Recipe FAQs
What type of cake mix is best for the Gooey Peanut Butter Earthquake Cake?
Absolutely, you can use any chocolate cake mix you love as the base! However, if you’re feeling adventurous, swapping in a yellow or white cake mix can yield a lighter twist to the dessert while still delivering that delicious explosion of flavors.
How should I store any leftover Gooey Peanut Butter Earthquake Cake?
I recommend storing leftovers in an airtight container in the refrigerator for up to 4 days. This will keep the cake fresh while maintaining its gooey texture. Just reheat individual slices in the microwave for about 10-15 seconds before enjoying!
Can I freeze the Gooey Peanut Butter Earthquake Cake?
Yes, indeed! To freeze your cake, wrap individual slices tightly in plastic wrap or aluminum foil. Place them in a freezer-safe container or sealable bag for up to 2 months. When you’re ready to indulge, just heat a slice in the microwave for 10-15 seconds to bring back that delightful gooeyness.
How do I ensure the cream cheese doesn’t get lumpy in the filling?
For a perfectly smooth filling, be sure your cream cheese is at room temperature before mixing; this makes a world of difference! If it’s cold, it will not blend as smoothly, leading to lumps. Use an electric mixer to whip it until creamy before adding the other ingredients.
Are there any dietary considerations for the Gooey Peanut Butter Earthquake Cake?
If you or your guests have specific dietary needs, you can easily modify this recipe. For a plant-based option, substitute the eggs with flax eggs (1 tablespoon ground flaxseed mixed with 2.5 tablespoons of water equals one egg) and use almond butter instead of peanut butter. Additionally, choosing a gluten-free cake mix will keep it accessible for those with gluten sensitivities.
Gooey Peanut Butter Earthquake Cake for Ultimate Indulgence
Ingredients
Equipment
Method
- Preheat your oven to 350°F (175°C). Grease a 9x13-inch baking pan with non-stick spray or butter.
- Mix the chocolate cake mix with eggs, oil, and water until smooth. Pour into the prepared pan.
- Beat softened cream cheese until creamy. Gradually mix in melted butter and peanut butter until silky.
- Add vanilla extract and mix until fully incorporated.
- Incorporate powdered sugar into the peanut butter mixture until thick and spreadable.
- Dollop filling mixture evenly on the chocolate batter and swirl gently with a knife for a marbled effect.
- Sprinkle chocolate chips over the batter and bake for 40-45 minutes until edges are set and center is gooey.
- Let the cake cool in the pan for at least 15 minutes before serving warm.
Leave a Reply