
As I stood in my kitchen, the tempting scent of enchiladas wafting through the air, I couldn’t help but feel a surge of excitement. These High Protein Chicken Enchiladas are more than just another dinner; they’re a delightful escape into flavor land! Ready in just 30 minutes with only seven wholesome ingredients, this quick recipe makes healthy eating feel effortless and satisfying. The creamy filling and cheesy topping create a comforting hug for your taste buds, perfect for those busy weeknights when you’re craving both nourishment and flavor. Plus, they’re incredibly customizable—swap in your favorite veggies or proteins for a personal touch! Are you ready to unveil the secret to a homemade meal that’s as easy as it is delicious?
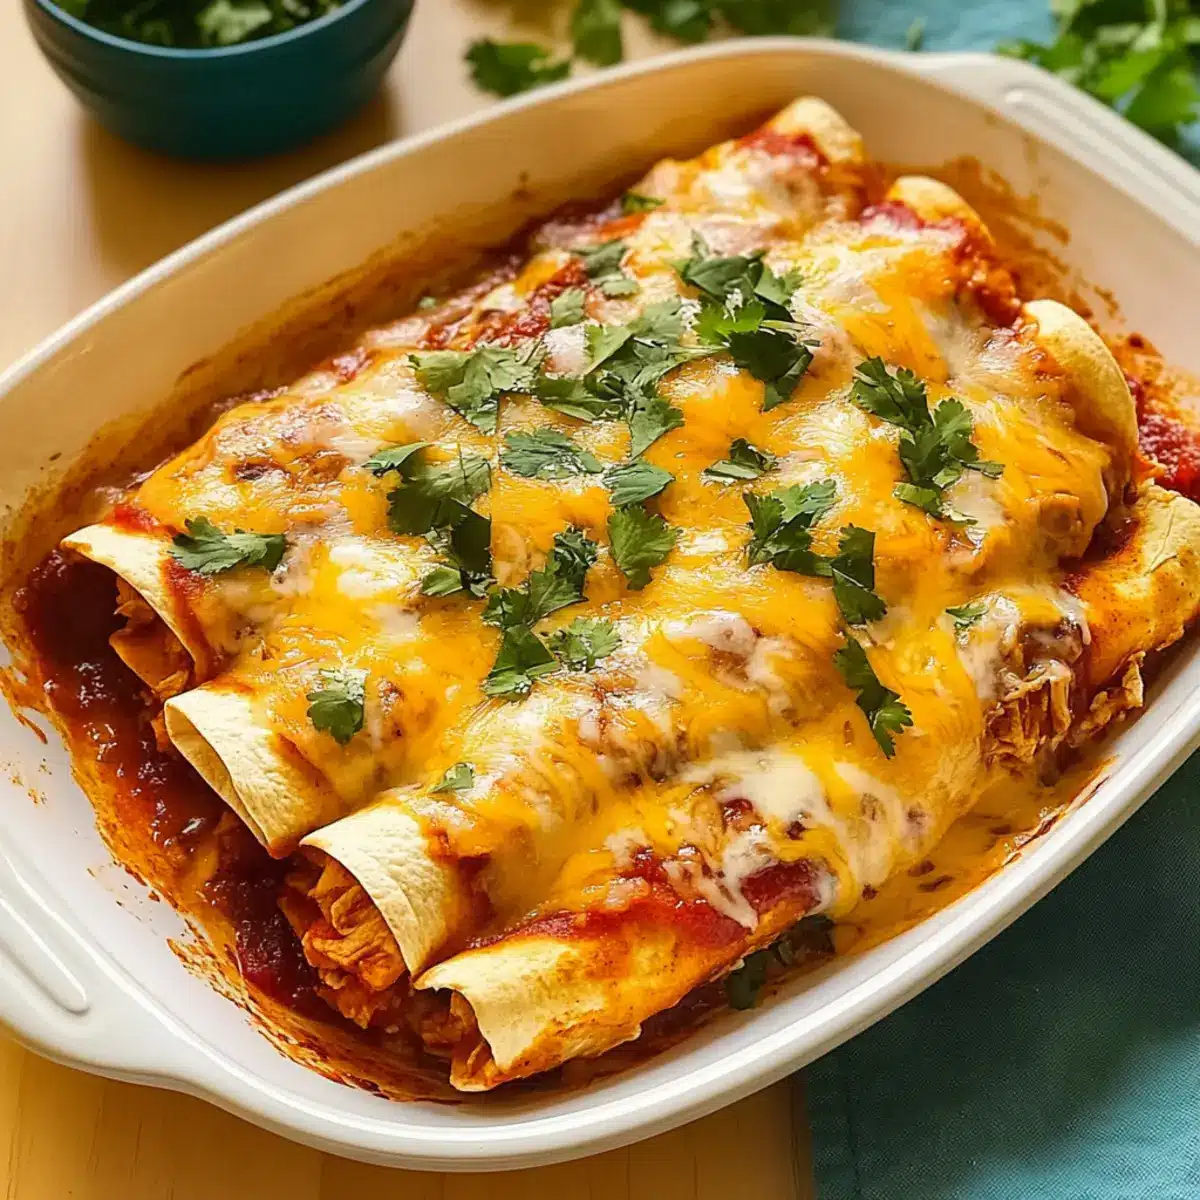
Why are High Protein Enchiladas the best?
Convenience: With just 30 minutes from start to finish, you’ll have dinner on the table faster than you can say “takeout!”
Nutritious: Packed with high protein and wholesome ingredients, these enchiladas fuel your body without compromising on taste.
Crowd-Pleaser: Perfect for family dinners or entertaining friends, they appeal to both kids and adults alike—everyone loves enchiladas!
Customizable: Whether you prefer ground turkey over chicken or want to toss in your favorite veggies, the options are endless. Don’t forget to check out our Greek Tzatziki Chicken for a fresh take!
Flavorful Layers: Each bite reveals a rich and creamy filling, thanks to Greek yogurt and Tex-Mex spices—who could resist that?
Effortless Meal Prep: You can even prepare the filling in advance for an even quicker dinner solution. Store leftovers and enjoy them throughout the week!
High Protein Chicken Enchiladas Ingredients
For the Filling
• Refried Beans – Adds creamy texture and elevates protein content. Can substitute with black beans or pinto beans for added fiber.
• Greek Yogurt – Acts as a healthy alternative to sour cream, providing tanginess and beneficial probiotics. Can be replaced with regular yogurt for a milder taste.
• Taco Seasoning – Enhances the flavor depth of your enchiladas. Opt for low-sodium versions to reduce salt intake.
• Shredded Chicken – The primary protein source contributing to satiety. Leftover rotisserie chicken works well, making meal prep quicker.
For the Toppings
• Shredded Mexican Cheese – Provides creamy texture and melty topping. Substitute with vegan cheese for a dairy-free option.
• Red Enchilada Sauce – Adds moisture and authentic flavor to the dish. Use homemade sauce for a fresh alternative.
• Flour Tortillas – Holds the filling together. Whole wheat or gluten-free tortillas can be used for healthier options.
Step‑by‑Step Instructions for High Protein Chicken Enchiladas
Step 1: Preheat the Oven
Begin by preheating your oven to 375°F (190°C). This ensures a hot environment for baking your High Protein Chicken Enchiladas, promoting a bubbly and golden finish. While the oven warms up, take a moment to prepare your baking dish by lightly greasing it to prevent sticking, making clean-up easier later.
Step 2: Mix the Filling
In a mixing bowl, combine refried beans, Greek yogurt, taco seasoning, and shredded chicken. Use a fork or spatula to blend the ingredients until they’re evenly integrated, creating a creamy filling rich in flavor and protein. This step should take about 3-5 minutes, setting a flavorful foundation for your enchiladas.
Step 3: Prepare the Tortillas
To ensure your flour tortillas are pliable and easy to roll, warm them briefly in the microwave for about 20-30 seconds. Wrapping them in a slightly damp paper towel while warming will keep them soft. This step is crucial to prevent tearing as you fill and roll your High Protein Chicken Enchiladas.
Step 4: Fill the Tortillas
With your tortillas warmed, lay one flat on a clean surface. Spoon approximately 1/4 cup of the filling mixture onto the center, then sprinkle some shredded cheese on top. Carefully fold the sides over the filling and roll it up tightly, placing it seam-side down in your greased baking dish. Repeat this step with the remaining tortillas until all the filling is used.
Step 5: Add Sauce and Cheese
Once your enchiladas are snugly arranged in the baking dish, pour red enchilada sauce evenly over the top. Make sure each enchilada is generously coated, helping to keep them moist while baking. Sprinkle any remaining shredded cheese on top, which will melt beautifully and create a deliciously gooey topping.
Step 6: Bake the Enchiladas
Place the baking dish in the preheated oven and bake for about 20 minutes. You’ll know your High Protein Chicken Enchiladas are done when they’re bubbly and the cheese is melted and slightly golden. This time in the oven allows the flavors to meld beautifully, ensuring a delightful dining experience.
Step 7: Cool and Serve
After baking, remove the enchiladas from the oven and allow them to cool for a few minutes before serving. This brief resting time enhances flavor melding and makes them easier to handle. Serve warm, possibly garnished with fresh cilantro or a dollop of Greek yogurt, and relish the satisfying tastes of your homemade enchiladas!
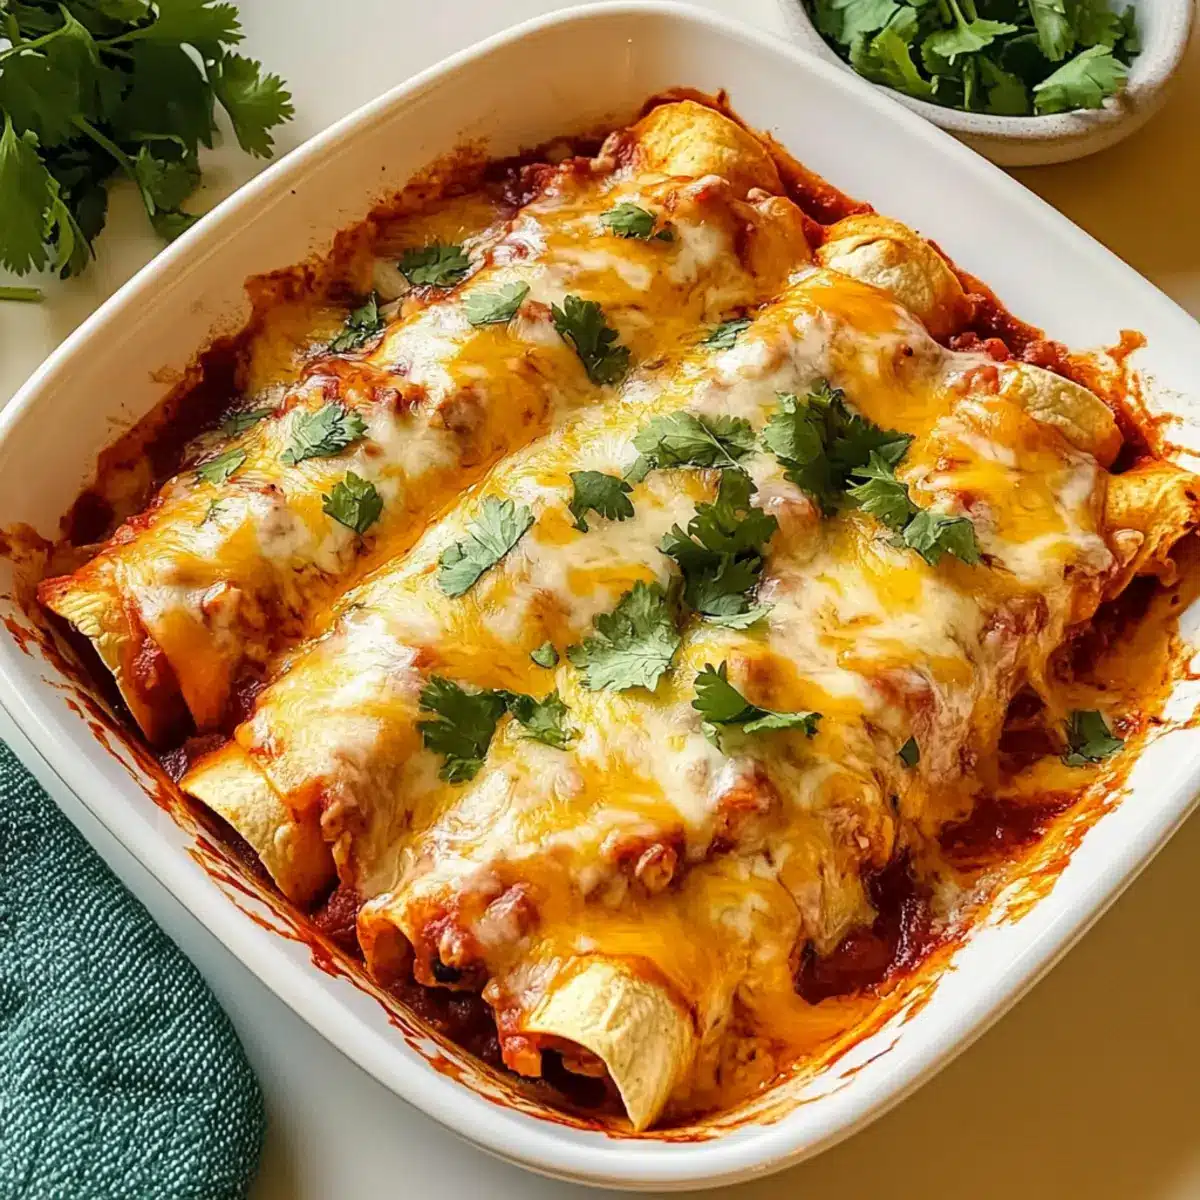
How to Store and Freeze High Protein Chicken Enchiladas
Fridge: Store leftovers in an airtight container for up to 3 days. Keep the enchiladas covered to maintain moisture and prevent drying out.
Freezer: For longer storage, freeze enchiladas before baking. Wrap tightly in plastic wrap and foil, then freeze for up to 3 months. Thaw overnight in the fridge before baking.
Reheating: To reheat, place in a preheated oven at 350°F (175°C) for 20-25 minutes or microwave until hot. If frozen, allow extra time to ensure they’re heated through.
Make-Ahead: Prepare the filling in advance and refrigerate for up to 2 days. Assemble and bake when ready to enjoy your delicious High Protein Chicken Enchiladas!
Make Ahead Options
These High Protein Chicken Enchiladas are perfect for meal prep enthusiasts! You can prepare the filling by mixing refried beans, Greek yogurt, taco seasoning, and shredded chicken up to 24 hours in advance. Simply refrigerate the mixture in an airtight container to maintain its creaminess and prevent browning. Additionally, you can assemble the enchiladas entirely and store them in the fridge for up to 3 days—just cover the baking dish tightly. When you’re ready to enjoy, pour the enchilada sauce and cheese over the rolled enchiladas and bake directly from the refrigerator. This way, you’ll have a delightful, home-cooked meal with minimal effort on busy weeknights!
Expert Tips for High Protein Chicken Enchiladas
Warm Tortillas: Ensure your tortillas are warm before filling to prevent tearing when rolling. A little warmth goes a long way!
Don’t Overfill: Roll the enchiladas tightly, but avoid overfilling to make assembly easier and keep them intact during baking.
Cool Before Serving: Allow the enchiladas to rest for a few minutes after baking. This helps the flavors meld together beautifully.
Add Extra Veggies: Consider adding diced jalapeños or spinach to the filling for an extra boost of nutrients and flavor in your high protein chicken enchiladas.
Use Low-Sodium: Choose low-sodium taco seasoning to keep your meal healthy while still enjoying a generous hit of flavor.
High Protein Chicken Enchiladas Variations
Customize your enchiladas to suit your taste and dietary preferences, making every bite a delicious adventure!
- Ground Turkey: Swap shredded chicken for ground turkey to change the protein source while keeping it lean and flavorful.
- Vegetable Boost: Add bell peppers, spinach, or even zucchini to the filling for an added layer of nutrition and color.
- Dairy-Free: Use a vegan cheese alternative in place of shredded Mexican cheese for a delightful dairy-free option that doesn’t skimp on creaminess.
- Spicy Kick: Incorporate diced jalapeños or a sprinkle of red pepper flakes into the filling or sauce for those who love a fiery heat.
- Pinto Beans: Replace refried beans with pinto beans for a slightly different texture and extra fiber in your enchiladas.
- Homemade Sauce: Experiment with a homemade green enchilada sauce for a fresh twist, enhancing the dish’s flavor profile.
- Whole Wheat Tortillas: Opt for whole wheat tortillas instead of white flour to increase the fiber content and improve overall healthiness.
- Cilantro Lime: Add chopped fresh cilantro and a squeeze of lime into the filling for a bright, fresh flavor that dances on your palate!
With so many possibilities, these High Protein Chicken Enchiladas can always be a new experience for your taste buds. If you’re in the mood for different flavors, why not explore a Greek Chicken or try making Marry Me Chicken Pasta next?
What to Serve with High Protein Chicken Enchiladas
Pair your delicious enchiladas with complementary sides and drinks that elevate your meal experience.
-
Avocado Lime Salad: This fresh salad adds a zesty crunch that brightens up the richness of the enchiladas, making every bite a refreshing delight.
-
Mexican Rice: Fluffy rice with a hint of lime and cilantro serves as a classic side, enhancing the dish’s flavors while providing a hearty base.
-
Grilled Corn on the Cob: Sweet, charred corn brings a burst of flavor and texture to your plate, making it a perfect summer pairing with your enchiladas.
-
Zesty Black Bean Salsa: A tangy salsa adds a flavorful kick, featuring black beans, tomatoes, and lime. It’s a great way to incorporate more veggies into your meal.
-
Crispy Tortilla Chips: These crunchy delights provide a fun element of texture, perfect for scooping up any leftover sauce or salsa alongside your enchiladas.
-
Iced Herbal Tea: Opt for a soothing herbal tea like hibiscus or mint, which balances the richness of the dish while keeping the meal light and refreshing.
-
Flan for Dessert: A creamy, caramel-flavored flan rounds off the meal with a sweet finish, offering a delightful contrast to the savory enchiladas.
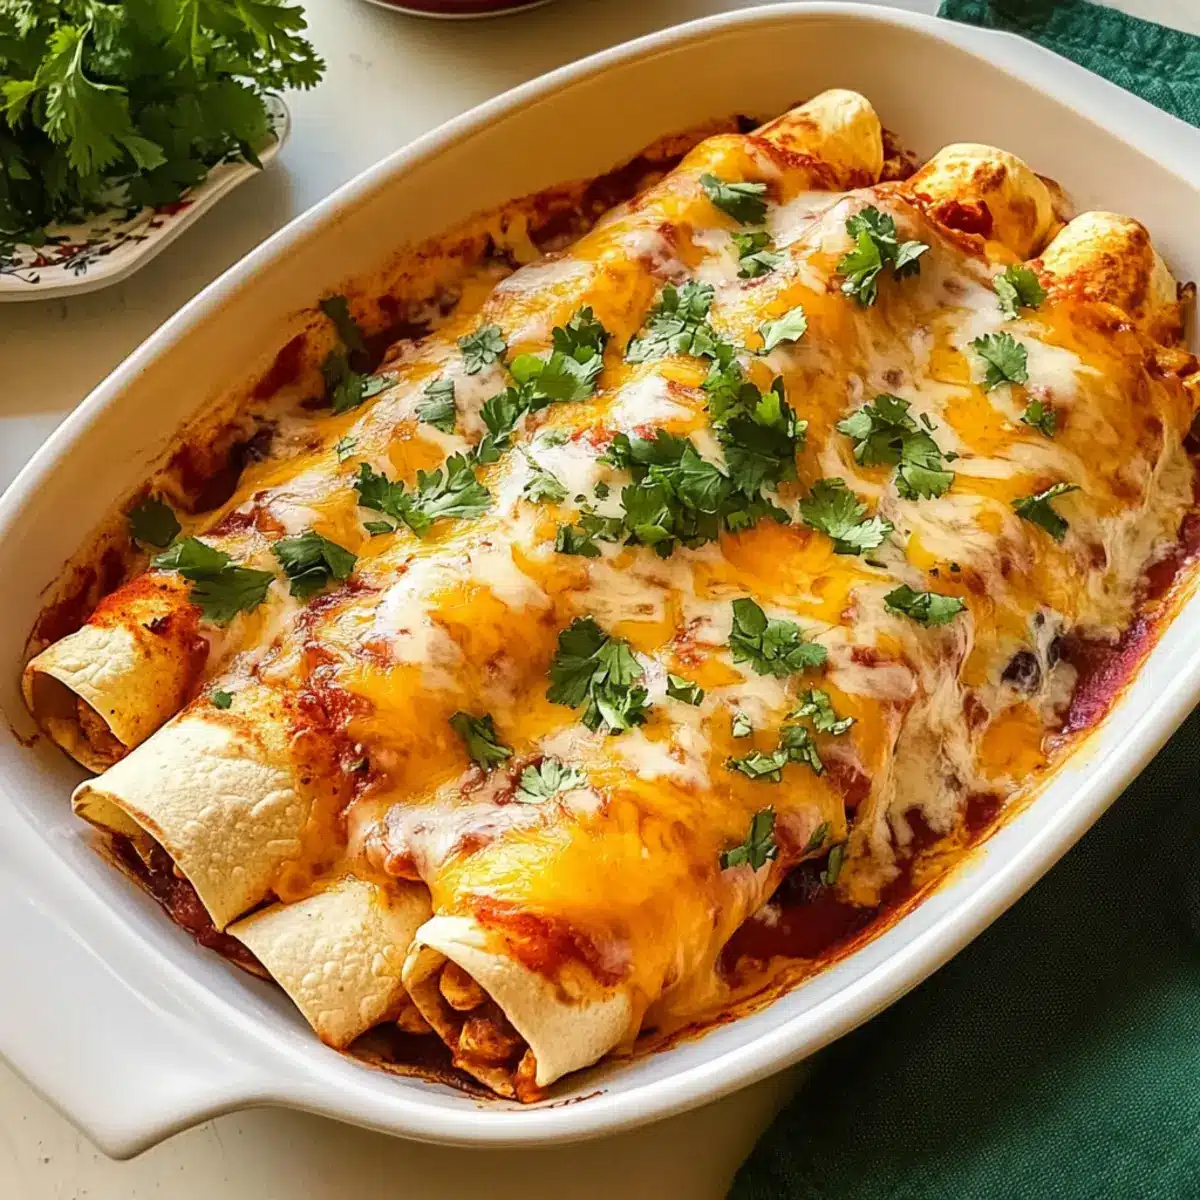
High Protein Chicken Enchiladas Recipe FAQs
Can I use different types of beans?
Absolutely! While refried beans provide a creamy texture and protein boost, you can swap them out for black beans or pinto beans. These alternatives add extra fiber and a delightful flavor twist to your High Protein Chicken Enchiladas.
How should I store leftover enchiladas?
Store any leftovers in an airtight container in the refrigerator for up to 3 days. Keeping them sealed helps retain moisture, ensuring they remain delicious for your next meal. You can also reheat them in the microwave or oven for a quick and satisfying lunch or dinner.
Can I freeze High Protein Chicken Enchiladas?
Yes, you can freeze these enchiladas before baking! Wrap them tightly in plastic wrap and then in foil to prevent freezer burn. They can be stored for up to 3 months. When you’re ready to enjoy them, simply thaw overnight in the fridge and bake as per the original instructions.
What if my tortillas are tearing when I roll them?
To prevent tearing, always warm your tortillas before filling them. A brief zap in the microwave for about 20-30 seconds will make them pliable. If you find them still tearing, try wrapping them in a damp paper towel as you heat them, which keeps them soft and easy to work with.
Are these enchiladas suitable for people with dietary restrictions?
Definitely! If you need a dairy-free option, simply substitute the shredded cheese with vegan cheese and the Greek yogurt with non-dairy yogurt. Also, those who are gluten-sensitive can opt for whole wheat or gluten-free tortillas. These easy adjustments make the recipe accommodating for various dietary needs.
Can I prepare the filling in advance?
Yes, preparing the filling ahead of time is a great idea! Simply mix the refried beans, Greek yogurt, taco seasoning, and shredded chicken as instructed, then store it in the refrigerator for up to 2 days. Assemble your High Protein Chicken Enchiladas when you’re ready to bake, making for an effortless dinner solution!
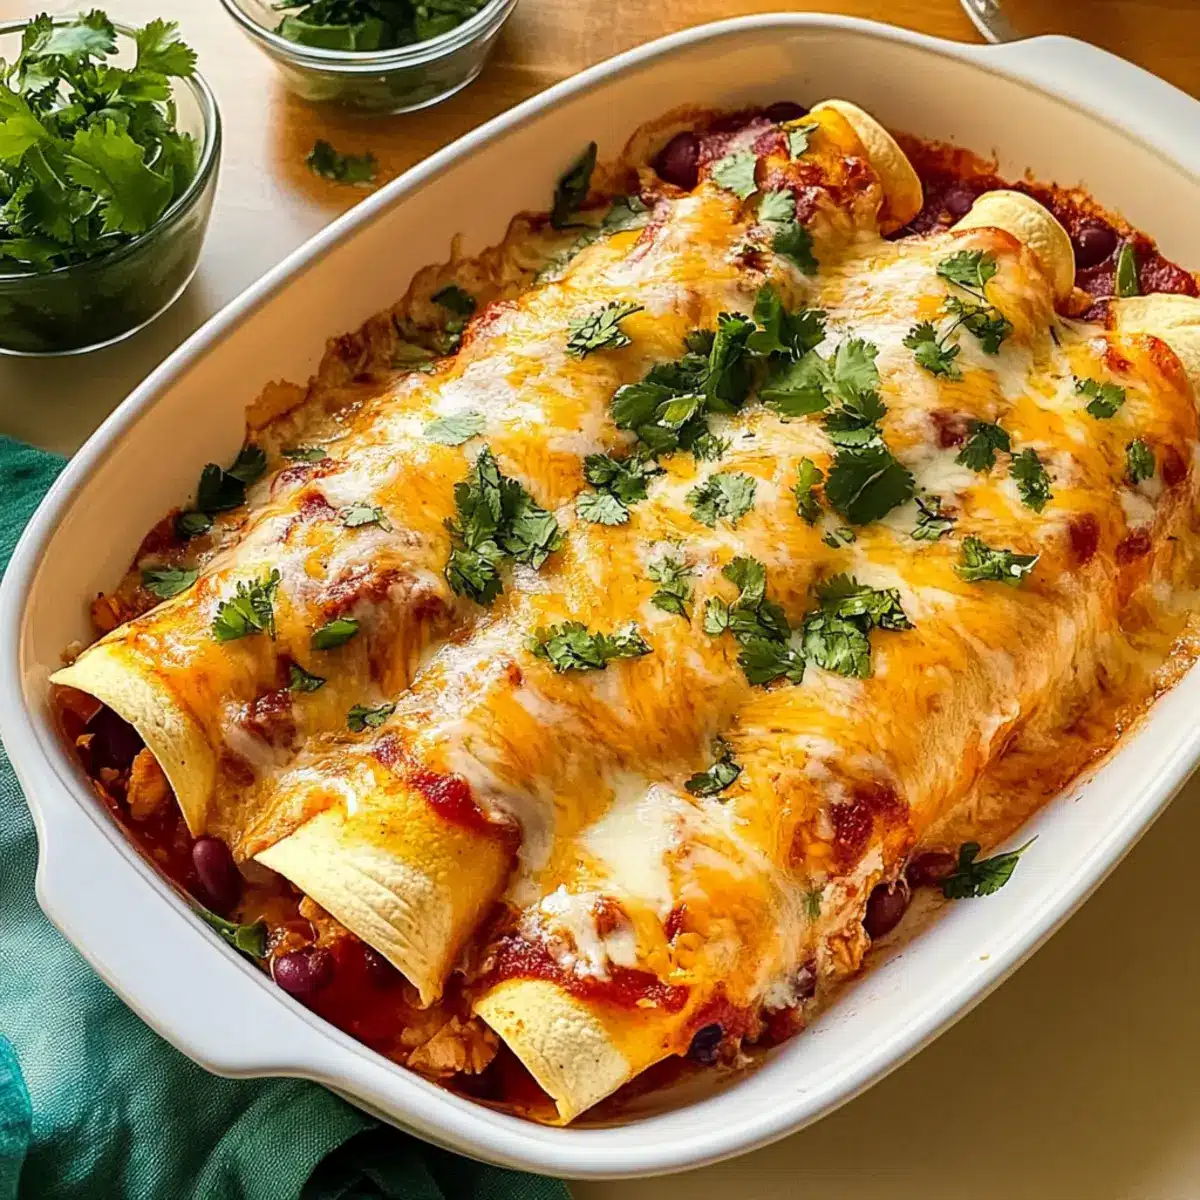
High Protein Chicken Enchiladas for a Tasty 30-Minute Meal
Ingredients
Equipment
Method
- Preheat your oven to 375°F (190°C) and grease a baking dish.
- In a mixing bowl, combine refried beans, Greek yogurt, taco seasoning, and shredded chicken.
- Warm flour tortillas in the microwave for about 20-30 seconds.
- Fill each tortilla with approximately 1/4 cup of the filling and some shredded cheese, then roll it up tightly.
- Pour red enchilada sauce over the rolled tortillas and sprinkle with remaining shredded cheese.
- Bake in the oven for about 20 minutes until bubbly and cheese is melted.
- Allow to cool for a few minutes before serving.
Leave a Reply