As I rummaged through my pantry, I stumbled upon a jar of creamy peanut butter and an idea struck me. What if I transformed this delicious spread into a delightful treat that I could enjoy guilt-free? Enter my Peanut Butter Frozen Yogurt Bars! This heavenly dessert balances indulgence with nutrition, utilizing protein-packed Greek yogurt and a touch of natural sweetness from honey or maple syrup. Not only are these bars a breeze to whip up, but they’re also customizable to satisfy your cravings, whether you prefer a crunchy granola topping or a hint of chocolate. Perfect for those busy weeknights or as a fun family activity, these frozen delights will quickly become a go-to in your kitchen. Curious how to make a batch of these creamy treats? Let’s dive into the recipe!
Why are Peanut Butter Frozen Yogurt Bars amazing?
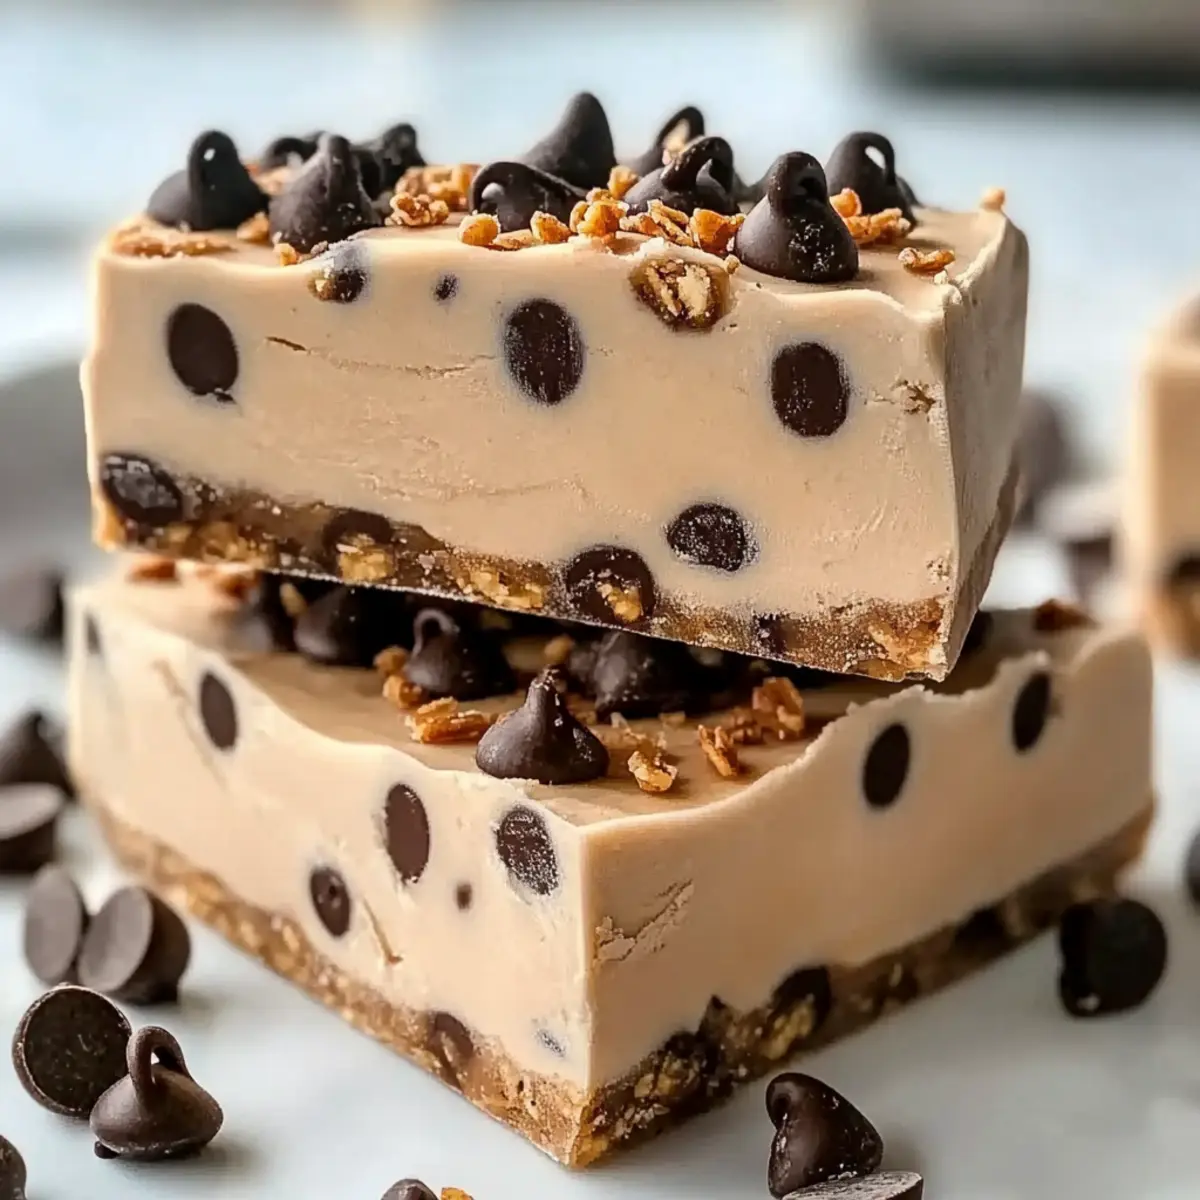
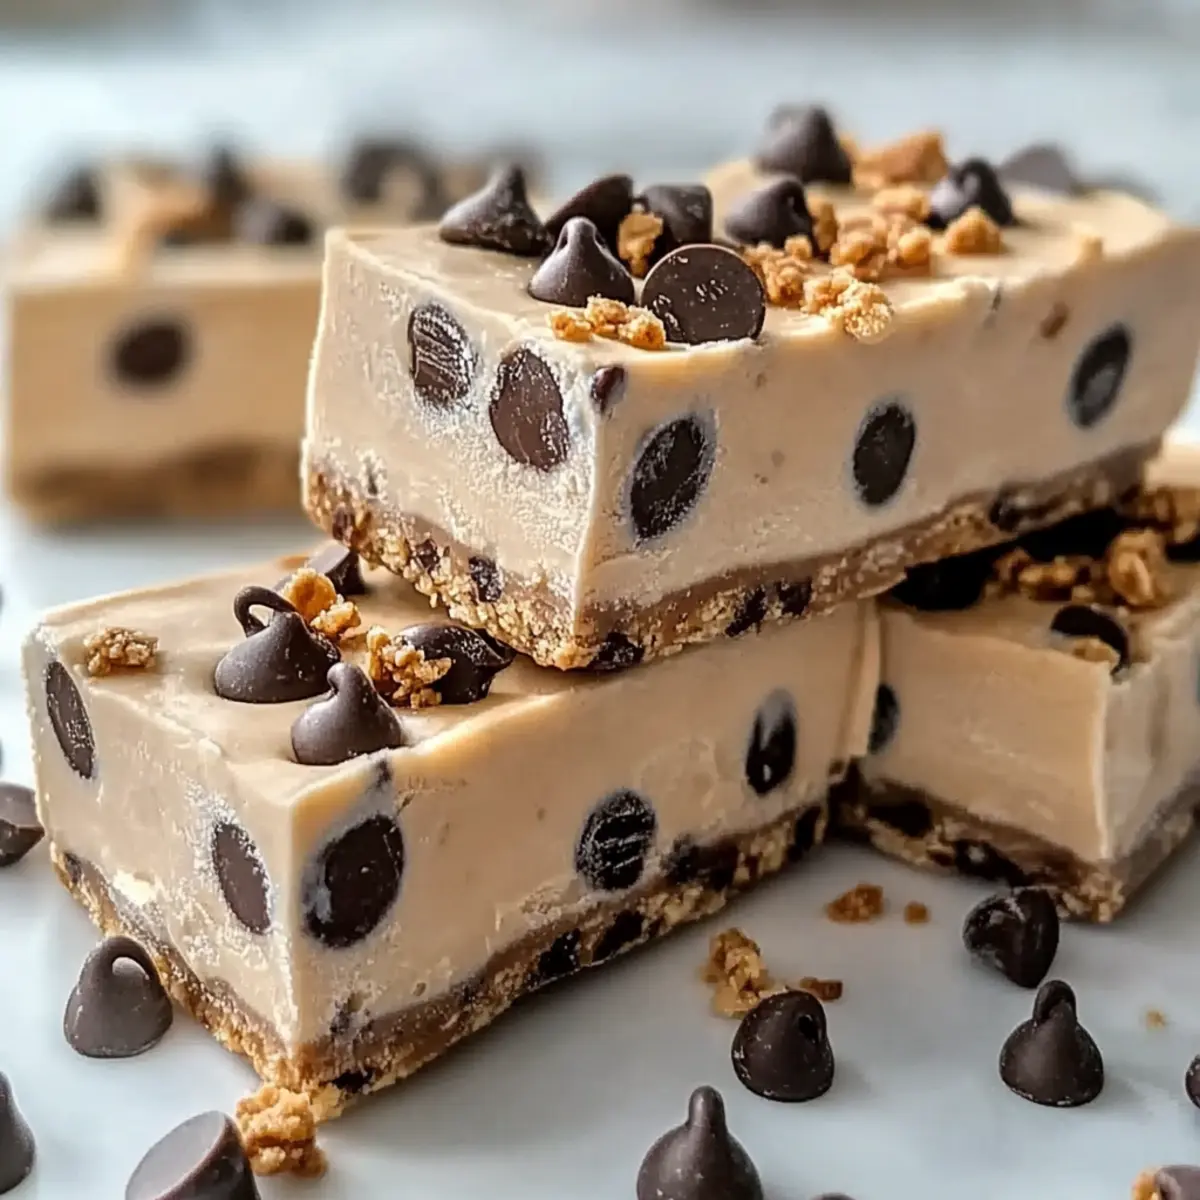
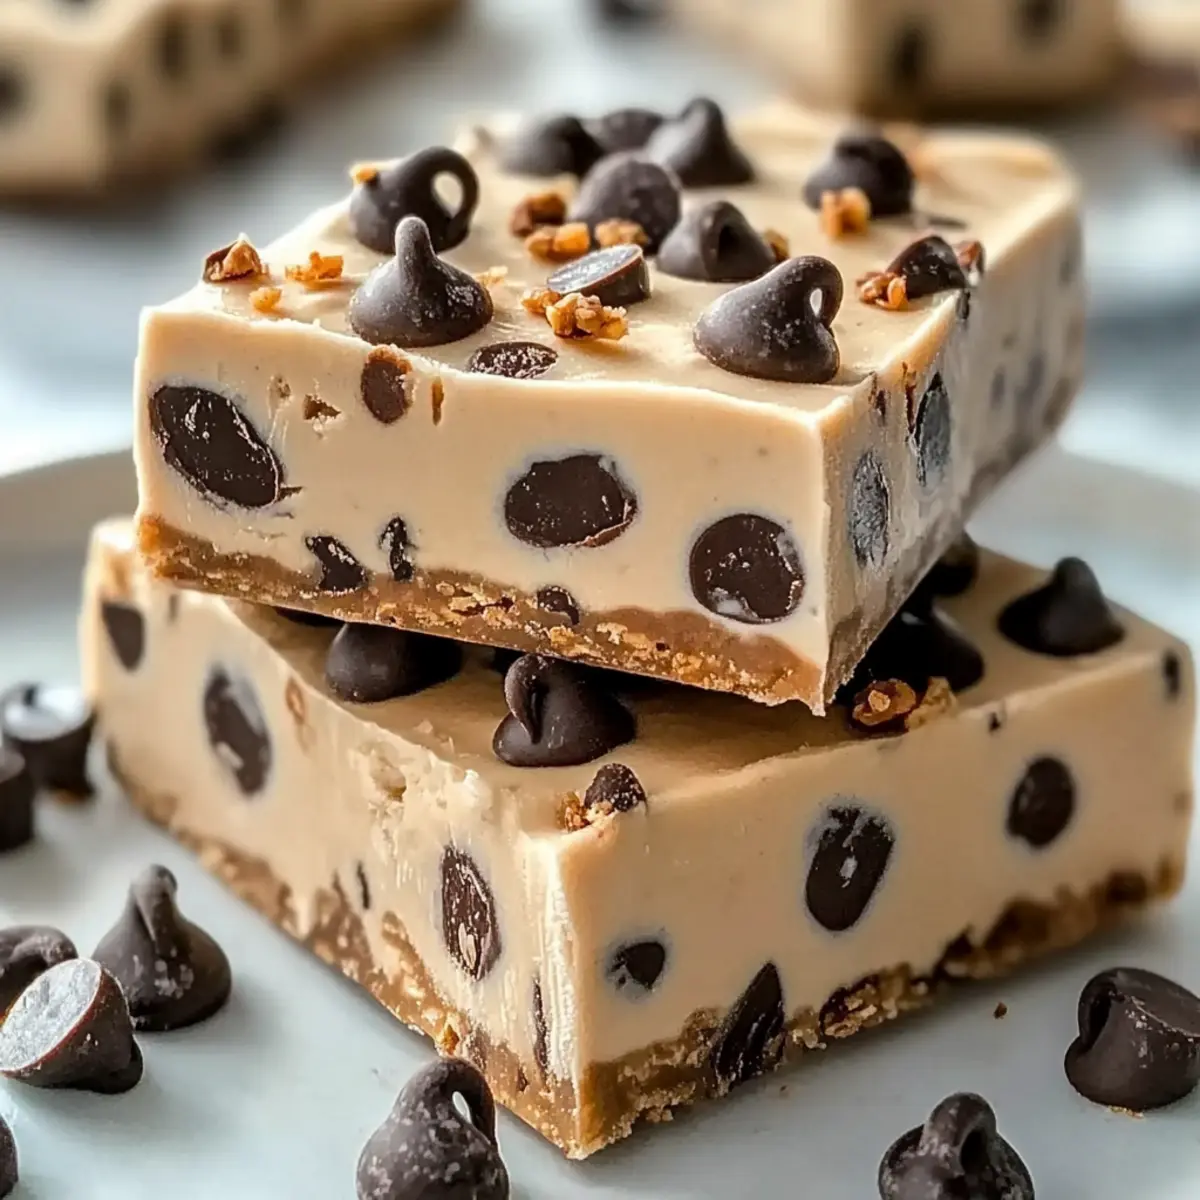
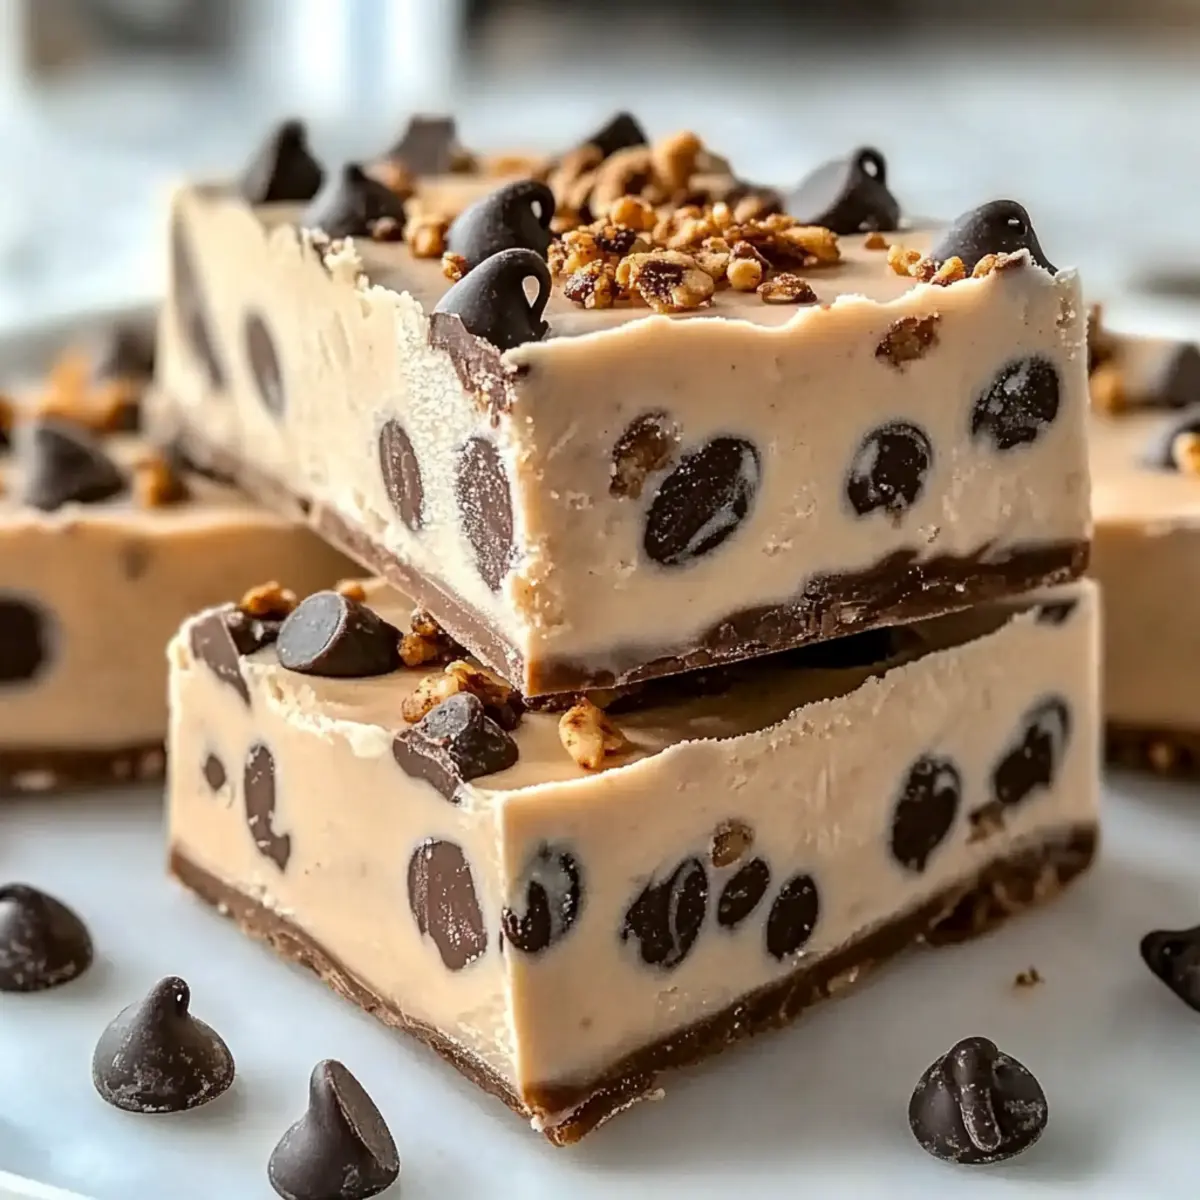
Creamy Texture: These bars offer a luscious, rich texture that feels indulgent while still being healthy.
Customizable Options: Add your favorite toppings, like granola or fruit puree, making each batch uniquely yours!
Quick & Easy: With just a few simple steps, you can create a delicious dessert that’s ready to enjoy after a short freeze.
Healthier Indulgence: Made with protein-packed Greek yogurt and natural sweeteners, they satisfy your sweet tooth without the guilt.
Crowd-Pleaser: Perfect for kids and adults alike, these bars are a fantastic way to please family and friends without resorting to fast food.
Make-Ahead Convenience: Freeze a batch ahead of time, and you’ll have a healthy treat ready to go whenever cravings hit! For even more creative ideas, check out my Cinnamon Honey Butter or Roasted Mushrooms in a Browned Butter recipes!
Peanut Butter Frozen Yogurt Bars Ingredients
• Let’s gather what you need!
For the Base
- Greek Yogurt – Provides creaminess and a tangy flavor; non-dairy Greek-style yogurt can be used as a substitute.
- Peanut Butter – Adds richness and protein; almond or sunflower seed butter makes great nut-free options.
- Honey or Maple Syrup – Sweetens the bars naturally; agave nectar can be used as an alternative.
- Vanilla Extract – Enhances flavor; using pure vanilla extract gives the best taste.
For the Toppings
- Granola – Adds texture and crunch; opt for gluten-free granola or crushed nuts if needed.
- Mini Chocolate Chips (optional) – Adds a touch of sweetness; substitute with dark chocolate shavings or omit if preferred.
Step‑by‑Step Instructions for Peanut Butter Frozen Yogurt Bars
Step 1: Mix the Base
In a large mixing bowl, combine 2 cups of Greek yogurt, 1 cup of creamy peanut butter, ¼ cup of honey or maple syrup, and 1 teaspoon of vanilla extract. Use a whisk or an electric mixer to blend until the mixture is smooth and creamy, about 2-3 minutes. The texture should be silky with no lumps, ensuring a delightful base for your Peanut Butter Frozen Yogurt Bars.
Step 2: Prepare the Dish
Take an 8×8-inch baking dish and line it with parchment paper, ensuring there’s some overhang to make later removal easier. Lightly grease the parchment with cooking spray for added security. This preparation will help you lift the bars out cleanly once they’re frozen, making it a breeze to cut into squares.
Step 3: Spread the Mixture
Pour the creamy yogurt mixture into the prepared baking dish, spreading it evenly with a spatula. Make sure the layer is uniform, about 1-inch thick, ensuring that all portions freeze evenly. This step is crucial for achieving that creamy texture in each of your Peanut Butter Frozen Yogurt Bars, so take your time to level it out nicely.
Step 4: Add Toppings
Sprinkle ½ cup of granola evenly over the top of the yogurt mixture, pressing gently to help it stick. If you’re feeling indulgent, add ¼ cup of mini chocolate chips on top for a sweet twist. This layer introduces a crunchy contrast to the creamy yogurt base, providing delightful texture and flavor combinations in each bite.
Step 5: Freeze Until Set
Cover the baking dish with plastic wrap and place it in the freezer. Allow the mixture to freeze for a minimum of 3-4 hours, or until fully set and firm to the touch. The bars need sufficient time to solidify completely; checking too early can result in a soft mess that doesn’t make the perfect Peanut Butter Frozen Yogurt Bars you desire.
Step 6: Cut and Serve
Once set, remove the dish from the freezer and pull the bars out using the parchment paper overhang. Place the slab on a cutting board and slice into squares with a warm knife for clean edges. This final step reveals the beautifully layered texture of your Peanut Butter Frozen Yogurt Bars, ready for enjoyment—or storage in the freezer for later!
Peanut Butter Frozen Yogurt Bars Variations
Feel free to get creative with these tasty frozen treats and customize the flavors to delight your taste buds!
-
Dairy-Free: Swap Greek yogurt for a non-dairy yogurt alternative to make this treat vegan-friendly. Almond or coconut yogurt works beautifully!
-
Nut-Free: Use sunflower seed butter instead of peanut butter for a creamy, nut-free treat. This substitution keeps the bars just as satisfying while catering to allergies.
-
Chocolate Lovers: Mix in 2 tablespoons of cocoa powder into the yogurt base for a chocolatey twist. This will deepen the flavor and make every bite irresistible!
-
Fruit Fusion: Layer in a fruit puree like strawberry or raspberry between the yogurt and toppings. This adds a burst of fruity freshness that complements the peanut butter perfectly.
-
Tropical Temptation: Fold in some shredded coconut into the yogurt mixture before freezing and top with crushed pineapple for a tropical delight. You’ll feel like you’re on a sunny beach with every bite!
-
Protein Boost: Stir in a scoop of your favorite protein powder into the yogurt base to amp up the nutritional profile. This makes for a fantastic post-workout snack that still tastes indulgent.
-
Crunchy Layer: Instead of granola, crush up some of your favorite nuts or seeds to sprinkle on top for extra flavor and texture. You can even mix in some dried fruit for a delightful chewy contrast!
-
Spicy Kick: Add a pinch of cayenne pepper or chili powder to the yogurt base for a surprising heat that balances the sweetness beautifully. Just a dash can elevate your bars to the next level!
These variations will not only keep your taste buds excited but also allow you to tailor your Peanut Butter Frozen Yogurt Bars for any occasion! For more delicious ideas, don’t forget to check out my Fashioned Amish Peanut recipe or my scrumptious Cinnamon Honey Butter to complement your culinary adventures!
How to Store and Freeze Peanut Butter Frozen Yogurt Bars
Fridge: Store in an airtight container for up to 3 days; however, these bars are best enjoyed frozen.
Freezer: Keep bars in the freezer for optimal freshness, pulling out just a few at a time; they stay good for up to 2 weeks.
Wrapping: For added protection against freezer burn, wrap each bar in plastic wrap before placing them in a container.
Reheating: Serve directly from the freezer or let them soften for a few minutes at room temperature before indulging in your delicious Peanut Butter Frozen Yogurt Bars.
What to Serve with Creamy Peanut Butter Frozen Yogurt Bars
Satisfying your dessert cravings can be even more delightful when paired with complementary dishes.
-
Fresh Berries: A medley of strawberries, blueberries, and raspberries adds a pop of color and acidity, balancing the creamy sweetness of the bars. Fresh fruit is also packed with vitamins!
-
Chocolate Drizzle: Warm and rich, a drizzle of melted dark chocolate adds a touch of elegance and extra flavor. It creates a decadent finish that makes for an irresistible dessert experience.
-
Nutty Granola Clusters: Serve alongside some homemade granola for an added crunch that mirrors the yogurt bars’ texture. The oats and nuts will bring a wholesome, earthy flavor that ties in beautifully.
-
Coconut Whipped Cream: Light and fluffy, this luscious topping enhances the tropical essence of your bars. It brings a sweet, airy element that contrasts with the dense peanut butter, making each bite truly special.
-
Iced Herbal Tea: A refreshing glass of iced herbal tea with lemon offers a cooling contrast to the creamy bars. Its subtle flavors cleanse the palate, making indulgence an even more enjoyable affair.
-
Banana Slices: Slices of ripe banana introduce a soft, sweet element that echoes the flavors of the peanut butter. Plus, bananas are the perfect, wholesome companion with their natural sweetness and satisfying texture.
-
Peanut Butter Banana Smoothie: Blend frozen bananas, Greek yogurt, and a scoop of peanut butter for a creamy, dreamy drink that echoes the bars’ flavors. It’s a great way to enhance the theme while adding nutrition!
-
Chocolate Chip Cookies (optional): For a true dessert spread, warm cookies bring nostalgia and comforting familiarity. They add a delightful crunch that contrasts with the smoothness of the yogurt bars.
Consider these delightful pairings the next time you whip up a batch of Peanut Butter Frozen Yogurt Bars, and let them transform your dessert experience!
Expert Tips for Peanut Butter Frozen Yogurt Bars
-
Mix Thoroughly: Ensure you fully blend the yogurt mixture for flavor consistency. Lumps in your base can lead to uneven texture in the finished bars.
-
Grease Parchment: Lightly grease the parchment paper, which will help with easy removal and prevent sticking when cutting the bars.
-
Freezing Time: Stick to the recommended freezing time. Checking before they’re fully set can lead to a soft consistency that’s too difficult to cut into bars.
-
Customize Wisely: While toppings like granola and chocolate chips make these bars delightful, be cautious not to overload them—too many toppings can lead to a messy finish.
-
Use a Warm Knife: For clean cuts, use a warm knife when slicing the bars. This simple trick ensures that you get beautiful squares that are a feast for the eyes and the taste buds!
Make Ahead Options
These Peanut Butter Frozen Yogurt Bars are perfect for meal prep enthusiasts! You can prepare the yogurt mixture up to 24 hours in advance, storing it in an airtight container in the refrigerator. Simply mix together the Greek yogurt, peanut butter, honey or maple syrup, and vanilla extract, then follow the remaining steps to freeze. The granola and optional chocolate chips can also be added before serving for added freshness. When you’re ready to enjoy, simply spread the mixture in the lined baking dish, freeze it for 3-4 hours, and cut into squares. This way, you’ll have delicious, guilt-free treats ready whenever cravings hit!
Peanut Butter Frozen Yogurt Bars Recipe FAQs
How do I choose ripe ingredients for my Peanut Butter Frozen Yogurt Bars?
Absolutely! For the best results, ensure your Greek yogurt is fresh and creamy, with no sour smell. If you’re using fruit purees or toppings, select ripe fruits that are sweet and flavorful. For nut butters, choose a good quality peanut butter that’s smooth and free of additives for the tastiest bars.
How should I store my Peanut Butter Frozen Yogurt Bars?
Very! For optimal freshness, store your bars in an airtight container in the freezer for up to 2 weeks. I recommend wrapping each bar individually in plastic wrap before placing them in the container; this helps prevent freezer burn while maintaining their delicious flavor!
Can I freeze Peanut Butter Frozen Yogurt Bars?
For sure! These bars freeze beautifully. After preparing and cutting them into squares, place them in a freezer-safe container, separating layers with parchment paper to prevent sticking. They’ll stay deliciously fresh for up to 2 weeks. Just remember to let them soften for a few minutes at room temperature before indulging!
What should I do if my bars don’t set properly?
If your Peanut Butter Frozen Yogurt Bars aren’t setting, it usually means they didn’t freeze long enough. I recommend leaving them in the freezer for at least 3-4 hours. If they still feel soft after this time, consider increasing the freezing time or using a thicker layer of Greek yogurt in the next batch. Having patience is key—it’s worth the wait for that creamy texture!
Are these bars safe for people with nut allergies?
Absolutely! If you’re catering to someone with nut allergies, simply swap out the peanut butter for sunflower seed butter or almond butter. Be sure to check the labels of your yogurt and other ingredients for possible allergens, especially if you’re using store-bought granola.
Can I use different toppings for my Peanut Butter Frozen Yogurt Bars?
The more the merrier! You can customize your bars based on your taste preferences. Try adding crushed nuts, seeds, or even shredded coconut for an extra crunch. If you prefer a chocolatey flavor, mix cocoa powder into the yogurt or swap out chocolate chips for dark chocolate shavings. The sky’s the limit, and it’s all about what brings you joy!
Creamy Peanut Butter Frozen Yogurt Bars You’ll Love
Ingredients
Equipment
Method
- In a large mixing bowl, combine Greek yogurt, creamy peanut butter, honey or maple syrup, and vanilla extract. Blend until smooth and creamy, about 2-3 minutes.
- Take an 8x8-inch baking dish and line it with parchment paper, lightly greasing it with cooking spray.
- Pour the yogurt mixture into the prepared baking dish, spreading it evenly with a spatula.
- Sprinkle granola evenly over the top of the yogurt mixture, pressing gently. Add mini chocolate chips if desired.
- Cover the baking dish with plastic wrap and place it in the freezer for a minimum of 3-4 hours until fully set.
- Once set, remove the dish from the freezer and pull the bars out using the parchment paper overhang. Slice into squares with a warm knife.
Leave a Reply